What Is a Printer Address and How to Find It
A printer address, also known as an IP address, is a unique number that lets your device connect to the printer over a network. It’s essential for setting up your printer, managing it, and troubleshooting any issues that come up. Without this address, your computer or phone won’t know where to send the documents you want to print.
You can find your printer’s IP address in several easy ways. Check your computer’s printer settings or look right on the printer’s control panel. Another option is to log into your router and see the list of connected devices. Plus, mobile apps and network scanner tools can also help reveal the IP address.
Knowing this info makes your printing experience smooth and hassle-free. Keep reading to learn detailed steps for locating and securing your printer’s IP address.
Key Takeaways
- A printer address is a unique IP number used to identify and connect the printer on a network for management and troubleshooting.
- Common printer IP ranges include 192.168.x.x for local networks and 169.254.x.x indicating DHCP failure.
- You can find the printer IP through the device GUI on Windows or macOS, the printer panel menus, or by printing the Network Configuration page.
- If you don’t have direct access, try using command-line tools, network scanners, or check your router’s DHCP tables to discover the printer’s IP.
- Mobile apps from printer vendors and router admin interfaces are also handy for locating and managing the printer’s IP address.
Understanding Your Printer IP Address and Why It Matters
Although it might seem technical, understanding your printer’s IP address is essential for smooth printing and troubleshooting. Your printer IP address is a unique numeric identifier, often in ranges like 192.168.x.x, that connects your devices to the printer over the network.
When you need to find the printer IP, it helps you manually set up the printer, access its web interface, or diagnose issues like a 169.x.x.x address signaling DHCP failure. You can typically find the IP on the printer’s display under Network or TCP-IP settings or by printing a network status page.
Knowing this address guarantees you can resolve connectivity problems quickly and manage your printer remotely without hassle. It really makes life easier when things go wrong or when you want to tweak settings from afar.
How to Find Your Printer IP Address on Windows and macOS
To find your printer’s IP address on Windows, you can check the Devices and Printers settings or use the Network folder for quick access.
On macOS, head to Printers & Scanners in System Preferences to view the IP details. You can also use command-line tools on both systems for a faster, more technical approach.
It’s pretty straightforward once you know where to look! Just a few clicks and you’ll have that IP address in no time.
Windows Printer IP
When you need to find your printer’s IP address on Windows or macOS, several straightforward methods can help you locate it quickly. On Windows, open Control Panel and go to Devices and Printers.
Right-click your printer, select Printer Properties, then the Ports tab. The checked port usually displays the printer’s IP address, like 192.168.1.5.
Another way is through Windows Explorer: navigate to Network, right-click the printer icon, and choose Show Device Web Page. The IP address often appears in the browser’s address bar or under Properties → Connectivity after logging in (default credentials may apply).
You can also use a network scanner on your LAN to find active devices, revealing printer IP addresses alongside their names for easy identification.
It’s pretty handy if you want to quickly check or troubleshoot your printer’s network info without digging too deep into settings.
macOS Printer IP
Finding your printer’s IP address on macOS is just as straightforward as it is on Windows. Start by opening System Settings (or System Preferences), then go to Printers & Scanners.
Select your printer and click Options & Supplies to see the printer’s IP address. If it’s not listed there, right-click the printer in Finder’s Network view and choose “Show Device Web Page.” The IP usually appears in the browser’s address bar.
You can also print a Network Configuration or Status page directly from the printer’s control panel under Network Settings. For printers using DHCP, check your router’s Connected Devices or DHCP Client table to match the printer’s hostname or MAC address with its IP.
Alternatively, use a network scanner app to discover active IPs on your macOS network. It’s a handy way to find devices when other methods don’t do the trick.
Command-Line Methods
Although graphical interfaces make locating your printer’s IP address easy, command-line methods offer powerful alternatives, especially if you prefer working with text commands or need to automate the process.
On Windows, open Command Prompt and try pinging your printer’s hostname, then use arp -a to list IP-to-MAC mappings and spot your printer’s IP address. You can also run netstat -r or route print to check routing tables for connected devices within common IP ranges like 192.168.x.x.
On macOS, open Terminal and run lpstat -p -d to find printers or dns-sd -B _ipp._tcp to browse network printers. After pinging, arp -a reveals IP addresses linked to MACs.
If you’re dealing with unknown printers, try network scanning tools like nmap to discover active IP addresses hosting printing services. It’s a handy way to track down devices without needing a graphical interface.
How to Find Your Printer IP Address Using Mobile Devices and Apps
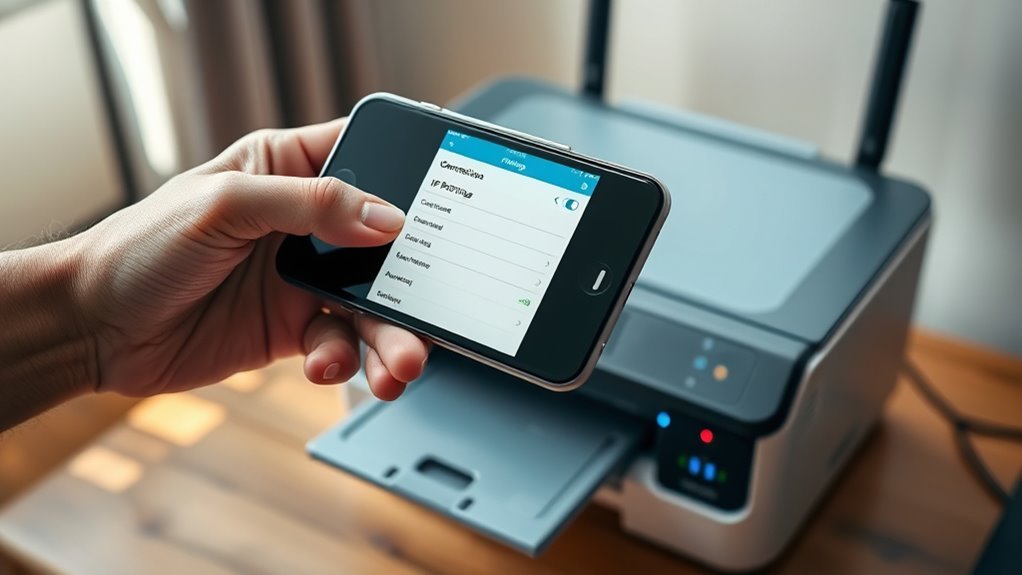
You can easily track down your printer’s IP address using your smartphone or tablet by leveraging dedicated printer apps or built-in network settings.
To find the IP address on your mobile device, start by opening your printer’s app like HP Smart or Canon PRINT while connected to the same Wi-Fi network; these apps usually display the printer’s IPv4 address.
On an iPhone or iPad, you can also check Settings → Wi-Fi → tap the (i) next to your network or look in AirPrint lists.
For Android, explore the Print service settings under Connected devices to find printers and their IPs.
If these methods don’t work, try a mobile network scanner app to identify devices by hostname or MAC address and find the IP address that way.
How to Find Your Printer IP Address From the Printer Panel
Check your printer’s front-panel menu to locate its IP address quickly. Navigate to Settings or Network/Wireless Settings and look under TCP/IP, IP Address, or Network Status for the assigned IPv4 address.
Many printers also let you print a Network Configuration or Network Status page from the Reports or Information menu. This gives you a hard copy of your printer’s network status and IP address.
If your printer lacks a display, just press and hold the Information or Network button to print this info. Below is a quick guide:
| Printer Type | Menu Option | How to Find IP Address |
|---|---|---|
| Touchscreen Panel | Network Settings | View IP under TCP/IP or Status |
| Basic LCD | Reports or Information | Print Network Status page |
| No Display | Info/Network Button | Press & hold to print config |
If you see an IP starting with 169.254.x.x, try restarting your printer. Or, you can assign a static IP through the panel settings to fix that.
How to Use Your Router to Find Your Printer IP Address
By accessing your router’s web administration page, you can quickly find the IP address assigned to your printer. First, log into the router using its IP (usually 192.168.1.1 or 192.168.0.1) and your admin credentials.
Then, navigate to the DHCP Clients, Connected Devices, or Device List section. Here, you’ll see all devices connected to your local network along with their assigned IP addresses.
Identify your printer by its hostname, device name, or MAC address found on the printer’s label. Once located, note the IP address assigned to it.
If you want your printer to keep the same IP address in the future, create a DHCP reservation in your router’s settings using the printer’s MAC address. Check your router’s guide for specific instructions, as interfaces vary.
How to Print a Network Configuration Page to Find Your Printer IP
If locating your printer’s IP address through the router isn’t an option, printing a network configuration page directly from the printer offers a straightforward alternative. To do this, navigate on your printer’s control panel to Settings or Menu, then to Network or Wireless Settings, and select “Print Network Configuration” or “Print Network Status.”
This will print a page listing the IPv4/IPv6 addresses, helping you find your printer’s IP. If your printer lacks a menu, just press and hold the Information, Network, or Wi-Fi button to force-print the network page.
Check the TCP/IP or Network section on the printed page for the IP address. If it’s not on the first page, take a look through the following pages or subsections. And if you’re unsure, refer to your printer’s User Guide for specific steps to print a network configuration page.
Troubleshooting Printer IP Address Problems
When your printer displays an IP address in the 169.254.x.x range, it means it failed to obtain a valid DHCP address. To fix this, restart your printer and router. Then, check the Ethernet or Wi-Fi connection.
Print a Network Configuration page to get the current IP address, subnet mask, gateway, and connection type. You can also check your router’s DHCP allocation table under Connected Devices or DHCP Clients to find the printer’s IP and hostname.
Using a network scanner like Advanced IP Scanner helps you quickly spot active IPs and identify the printer. If you still can’t access the printer’s IP address, log into the printer’s admin panel. From there, navigate to Connectivity settings to view or set a static IP.
How to Keep Your Printer IP Address Secure and Private
Although printers are essential network devices, they can become targets for unauthorized access if their IP addresses aren’t properly secured. To protect your printer’s IP address, start by changing the default administrator password to a strong, unique passphrase.
Place your printer on a separate VLAN or guest Wi-Fi to limit exposure to sensitive systems. Assign a static IP using your router’s DHCP reservation based on the printer’s MAC address to prevent unexpected changes.
Disable unnecessary remote-management protocols like UPnP and Telnet, enabling only secure services such as HTTPS and SNMPv3. Keep your printer’s firmware updated regularly, and restrict access to its web interface to trusted IP ranges via firewall rules.
These steps help maintain your printer’s IP address security and privacy effectively. Taking these precautions really makes a difference in keeping your network safe.
Frequently Asked Questions
What Is Your Printer IP Address?
Your printer IP address is the unique number that identifies it on your network. You can find it on the printer’s display or print a network status page.
Another way is to check your computer’s printer settings. Or you can look in your router’s device list. It’s pretty straightforward once you know where to look!
Is 192.168.1.1 an IP Address?
Yes, 192.168.1.1 is an IP address commonly used as a router’s default gateway on local networks. You can access your router’s settings there.
But your printer will usually have a different IP within the same range. So, don’t worry if it’s not 192.168.1.1—it’s probably something similar nearby.
How to Search for a Printer on a Network?
Searching for a printer on your network is like hunting for a hidden treasure—you scan your network map using tools like your router’s device list or a network scanner. Then, you pinpoint the printer’s IP address to claim your prize.
It’s pretty straightforward once you know where to look. Just think of it as a little adventure in your digital backyard!
Why Is My Computer Not Finding My Printer?
Your computer isn’t finding your printer because of network issues like mismatched subnets, disabled discovery services, or incorrect IP settings. Restart devices, check connections, update drivers, and guarantee both are on the same network to fix this.
Sometimes, it’s just a simple glitch. Have you tried turning your printer and computer off and on again? Also, make sure they’re both connected to the exact same Wi-Fi network.
Drivers can be a pain too. If they’re outdated or corrupted, your computer might not see the printer. So, updating those drivers can really help.
Lastly, double-check your IP settings. If your printer’s IP address has changed or is set incorrectly, your computer won’t find it. Simple fixes like these usually do the trick!
Conclusion
So, now that you know how to hunt down your elusive printer IP address, you’re basically a tech detective—minus the trench coat. Remember, your printer’s IP isn’t just some secret code; it’s the key to smooth printing or the gateway to endless frustration.
Keep it secure, or risk your printer staging a digital rebellion. Because nothing says “fun” like trying to print while your printer plays hide-and-seek with your network! Knowing your printer address helps you troubleshoot issues faster and keeps your printing process running without hiccups.
So always keep your printer’s IP address handy—it’s your best friend for efficient and hassle-free printing. After all, understanding what a printer address is and how to find it is essential for anyone looking to maintain a reliable and secure printing setup.