How to Reset Printer Spooler in 3 Easy Steps
To reset your printer spooler in 3 easy steps, first open Command Prompt as an administrator by right-clicking and selecting “Run as administrator.” This step is essential to have the right permissions to make changes.
Next, stop the Print Spooler service and clear stuck print jobs by deleting files in the spool folder.
Finally, restart the spooler service and test your printer to make certain everything runs smoothly. If you want to troubleshoot deeper or avoid common pitfalls, there’s more helpful info to explore. Resetting the printer spooler can fix many printing issues quickly, so it’s a handy trick to know.
Key Takeaways
- Open an elevated Command Prompt by searching “cmd” and selecting “Run as administrator.”
- Stop the Print Spooler service using the command: net stop spooler.
- Delete all files in the folder C:WindowsSystem32spoolPRINTERS to clear stuck print jobs.
- Restart the Print Spooler service with the command: net start spooler.
- Power on the printer and send a test print to confirm the spooler reset resolved the issue.
Open Command Prompt As Administrator

To open Command Prompt as an administrator, click Start and type “Command Prompt.” Right-click the result and select “Run as administrator.” If prompted by User Account Control, click “Yes” to grant permission.
This elevated prompt is essential for managing the print spooler service. Once open, verify the title bar shows “Administrator: Command Prompt” or “Windows PowerShell (Admin)” to confirm you have the necessary rights.
If you can’t find Command Prompt via Search, press Windows+R, type cmd, then press Ctrl+Shift+Enter to launch it as administrator.
Before running commands related to the print spooler, make sure you save your work and close any unnecessary applications. This way, you won’t disrupt any active print jobs while you work with the spooler service.
Stop the Print Spooler and Clear Stuck Print Jobs

Stopping the print spooler is the essential first step before clearing any stuck print jobs that might be clogging your queue. To do this, open Services via Control Panel → Administrative Tools → Services. Find “Print Spooler,” right-click it, and select “Stop.”
Once stopped, navigate to C:WindowsSystem32spoolPRINTERS and delete all files inside. These files represent stuck print jobs blocking your printer. You’ll likely need administrator rights to remove them.
Alternatively, you can quickly run an elevated Command Prompt and enter: net stop spooler, then del /Q “%windir%System32spoolPRINTERS*.*”. It’s a faster way if you’re comfortable with commands.
Also, turn off or disconnect your printer during this process to avoid resending problematic print jobs. After clearing, you’ll be ready to restart the spooler and test printing in the next step.
Restart the Print Spooler Service and Test Printing
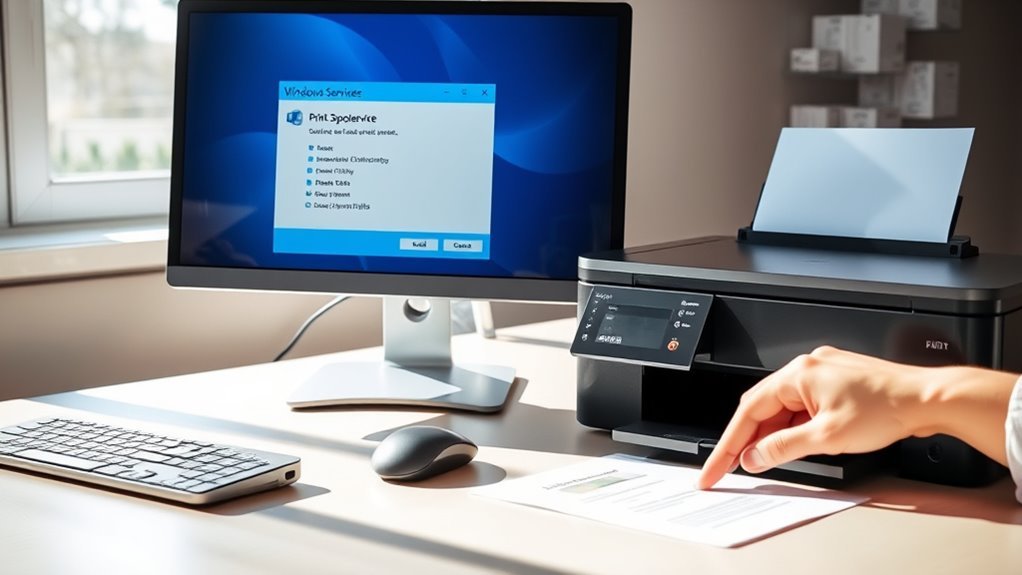
Restart the Print Spooler service by opening Services from the Control Panel, locating “Print Spooler,” right-clicking it, and selecting “Restart.” This stops and starts the service without a full reboot, resolving many corrupted print issues.
If the Restart option isn’t available or fails, stop the service manually, delete all files in %windir%System32spoolPRINTERS to clear stuck jobs, then start the service again. Use elevated Command Prompt commands for this if needed.
Make sure to turn off your printer before these steps and power it back on after the spooler restarts to guarantee proper communication. Finally, send a test print to confirm the corrupted print problem is fixed and your printer is working smoothly again.
Frequently Asked Questions
How Do I Restart the Printer Spooler in Windows?
You can restart the printer spooler by opening Services, right-clicking “Print Spooler,” then selecting Stop and Start.
Alternatively, you can use an elevated Command Prompt. Just type net stop spooler, delete the spool files, and then run net start spooler.
It’s a quick way to get your printer back up and running if it’s acting up. Just make sure you have the right permissions before you try!
Why Is My Computer Suddenly Not Recognizing My Printer?
Your computer might not recognize your printer because the print spooler crashed, drivers are outdated, network settings changed, or malware/system file issues occurred.
Check these areas to quickly identify and fix the problem.
Sometimes, it’s just a simple glitch that can be sorted out fast. So don’t worry, you’re not alone!
How to Clear Out a Printer Spooler?
You stop the Print Spooler service, delete all files in the spool folder, then restart the service.
This clears stuck jobs, letting your printer spooler work smoothly again without old print tasks blocking it.
How Do I Reinstall the Print Spooler Service in Windows 11?
Think of your print spooler like a trusty librarian. To reinstall it, stop and disable the service first.
Then, rebuild it using sc commands. After that, start the service again.
Finally, update your printer drivers to keep everything running smoothly. That way, you’ll be back to printing in no time!
Conclusion
Resetting your printer spooler is like hitting the refresh button on a busy crossroads. By opening Command Prompt as an administrator, you take the driver’s seat.
Stopping the spooler and clearing stuck jobs is like clearing traffic jams, letting everything flow smoothly again.
Finally, restarting the spooler is like turning on the green light, sending your print jobs on their way without delay.
With these simple steps, you’re back in control and printing like a pro. Resetting the printer spooler helps fix common printing errors and speeds up your workflow. It’s a quick and easy way to keep your printer running smoothly without any hassle. So next time your print jobs get stuck, remember these three easy steps to reset the spooler and get back to printing in no time!