How to Setup Canon Printer in 5 Easy Steps
To set up your Canon printer in five easy steps, start by unboxing the printer and placing plain A4 paper in the tray. Then, power it on to get things rolling.
Setting up a Canon printer is super straightforward, and with just a few simple steps, you’ll be printing like a pro in no time.
Next, install the ink cartridges and select your preferred language on the control panel. This helps customize your printer for smooth operation right from the start.
After that, align the printer and calibrate the scanner for accurate results. This ensures your prints and scans come out crisp and clean every time.
Download and install the Canon software from their support site. This software is essential for managing your printer and accessing all its features.
Finally, connect your printer via WiFi or USB cable for seamless printing.
Ready to dive deeper? Keep going to discover detailed tips for each step!
Key Takeaways
- Unbox the Canon printer and remove all the protective materials. Then, load plain A4 paper into the tray before you power it on.
- Next, install the ink cartridges by opening the access area. Follow the on-screen prompts to confirm the printer recognizes them.
- Now, print an alignment grid and calibrate the scanner. You can do this using the printer’s control panel and software tools.
- After that, download and install the Canon printer software from the official support site. Make sure to select your operating system.
- Finally, connect the printer to your computer via WiFi or USB during installation. Just follow the setup wizard instructions, and you’re good to go!
Get Your Canon Printer Ready to Go
Before you plug in your Canon printer, unbox it carefully and remove all tape and protective materials inside. Make sure you don’t leave any transport materials in the paper tray or inside the printer.
Unbox your Canon printer carefully, removing all tape and transport materials before plugging it in.
Also, check that no connectors are plugged in yet. Next, place plain A4 paper in the tray before turning the printer on.
Once plugged in and powered up, follow the on-screen instructions carefully. If anything goes wrong during setup, don’t hesitate to contact Canon customer service right away—they’re ready to help.
Taking these steps ensures your printer is ready for the next stages and prevents common setup issues. By making sure you prepare your printer correctly from the start, you’ll save time and avoid frustration during installation.
Insert Ink Cartridges and Choose Your Language
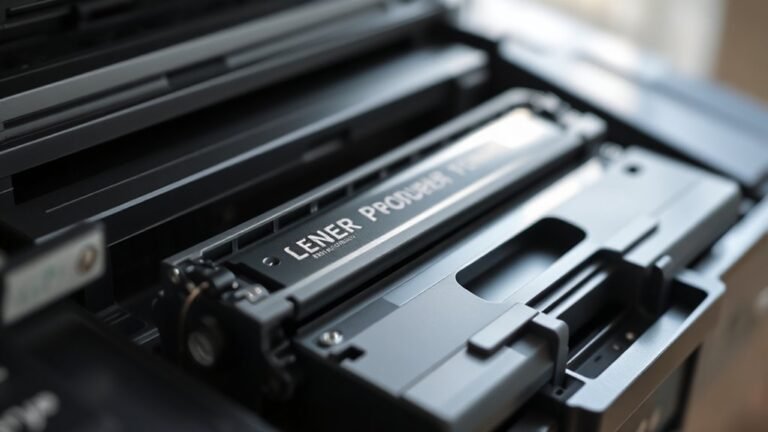
After you’ve got your Canon printer powered on and loaded with paper, it’s time to make sure the ink cartridges are installed. Open the cartridge access area and insert the correct cartridges into their slots.
If your printer came with smaller setup cartridges, install those first—they’re essential for the initial setup despite containing less ink. Once installed, the printer will recognize the cartridges and confirm the ink status.
Next, use the control panel to start the setup wizard. When prompted, select your preferred language from the list to ensure all on-screen instructions display correctly.
Make sure to confirm your choice only after the printer indicates the cartridges are installed properly. Following these steps makes certain smooth cartridge initialization and prepares your Canon printer for the next stage of setup.
Align Your Canon Printer and Calibrate the Scanner
How do you make sure your Canon printer delivers sharp prints and accurate scans? Start by printing the initial grid or test pattern from the control panel. This shows exactly where the printer deposits ink on the page.
Next, place the document or PCB on the scanner glass, aligning it with the marks so the printed grid lines match the scanner’s position. Run the scan alignment or calibration job via the printer software to correct scan placement and reduce cropping or shifting.
Place your document carefully on the scanner glass, align with the grid, and run calibration to ensure precise scanning.
If the scanned output is offset, repeat the grid print and scan process, adjusting the document’s position until it matches perfectly. Always keep the scanner lid closed during calibration and use the same paper type and size for consistent results.
This process ensures precise print and scan alignment every time.
Download and Install the Canon Software
Once you’ve aligned your Canon printer and calibrated the scanner, the next step is to download and install the necessary software. Head to the Canon Support website and enter your printer’s exact model number to find the correct page.
Under Drivers, select your operating system like Windows or MacOS High Sierra, then click Download. When the download finishes, open the installer file and follow the prompts.
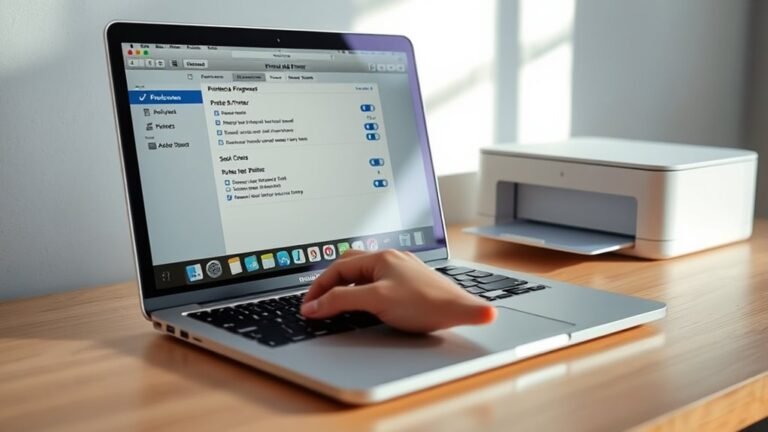
You’ll be asked to choose a connection method—select Wi‑Fi or USB cable if supported. For Wi‑Fi setup, pick the wireless installation option.
Complete the on-screen steps to finish installing the driver and establish communication between your laptop and the Canon printer. This ensures your printer operates smoothly with your computer.
Connect Your Canon Printer via WiFi or Cable
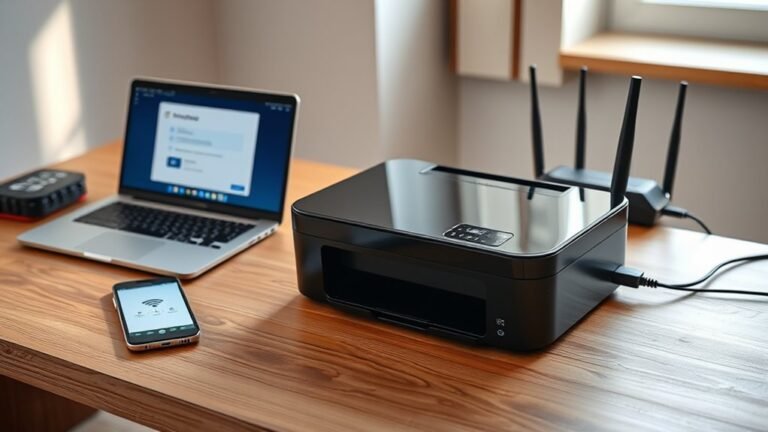
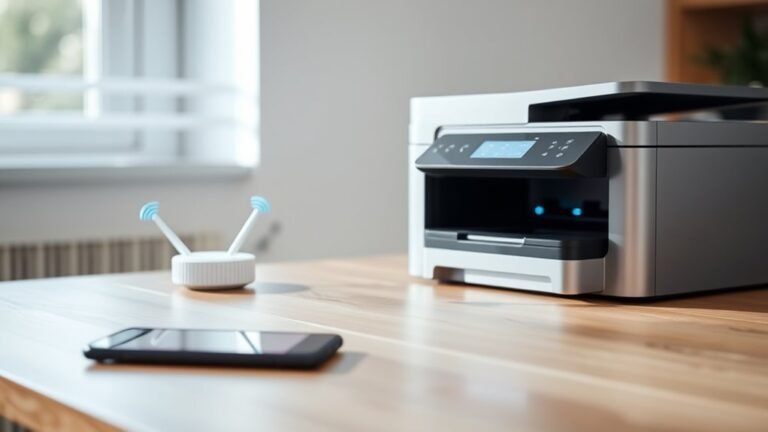
To get your Canon printer up and running, you’ll need to connect it to your computer either through WiFi or a USB cable. During installation, just choose the connection type when prompted.
For WiFi setup, navigate your printer’s menu: Settings → Device Settings → Wireless LAN Settings → Default Settings → Setup without Cable**. Then, select your network SSID, enter the password**, and confirm.
Navigate Settings → Device Settings → Wireless LAN Settings → Default Settings → Setup without Cable to connect your printer to WiFi.
If you prefer a wired connection, simply plug in a compatible USB cable between your printer and computer. After that, select the cable option in the software installer to proceed.
Before finalizing everything, make sure you’ve downloaded the correct Canon printer driver for your model from the Canon support page. This step is really important to ensure smooth operation.
Key steps to connect:
- Choose WiFi (recommended) or USB cable during setup
- Access Wireless LAN Settings for WiFi connection
- Select your network SSID and enter password
- Connect USB cable for wired setup
- Install the correct Canon driver for your model
Frequently Asked Questions
How Do I Setup My Canon Printer to My Computer?
You connect your Canon printer by installing its driver software, then choosing Wi-Fi or USB during setup.
For Wi-Fi, select your network on the printer, enter the password, and link it to your computer’s printer software.
It’s pretty straightforward once you get the hang of it! Just follow the prompts, and you’ll be printing in no time.
Where Is the Setup Button on a Canon Printer?
Canon printers don’t have a dedicated setup button. You’ll usually press the Home or Menu button, then select Settings or Wireless LAN setup on the screen to start setup.
It’s pretty straightforward once you get the hang of it. Just keep in mind, the exact names might be a bit different depending on your model.
How Do I Connect My Canon Printer to Wi-Fi Wirelessly?
Imagine your printer reaching out invisibly—connect it wirelessly by selecting Wi-Fi in its settings. Then, enter your network’s password and confirm.
Your Canon will then seamlessly join your digital world. It’s ready to print anywhere, anytime.
Why Can’t I Get My Canon Printer to Connect to My Wi-Fi?
You can’t connect your Canon printer to Wi-Fi because you might’ve chosen the wrong setup mode, entered an incorrect password, or your printer and device aren’t on the same network.
Try restarting both your printer and device. Then, give it another go—just take it slow and double-check everything.
Conclusion
Setting up your Canon printer is simple and stress-free when you follow these straightforward steps. By preparing your printer, placing the ink, and perfecting alignment, you pave the path to printing perfection.
Plugging in properly is key to getting started without a hitch. Downloading the dedicated software next ensures your printer communicates well with your devices.
Deciding between WiFi or a wired connection delivers dependable, dynamic results tailored to your needs. Stay steady, stay smart, and start smoothly.
This setup strategy simplifies your printing process so you can create confidently and consistently every time. With the right preparation and connection, your Canon printer will provide reliable, high-quality prints whenever you need them. Just follow these easy steps and enjoy hassle-free printing from the get-go.