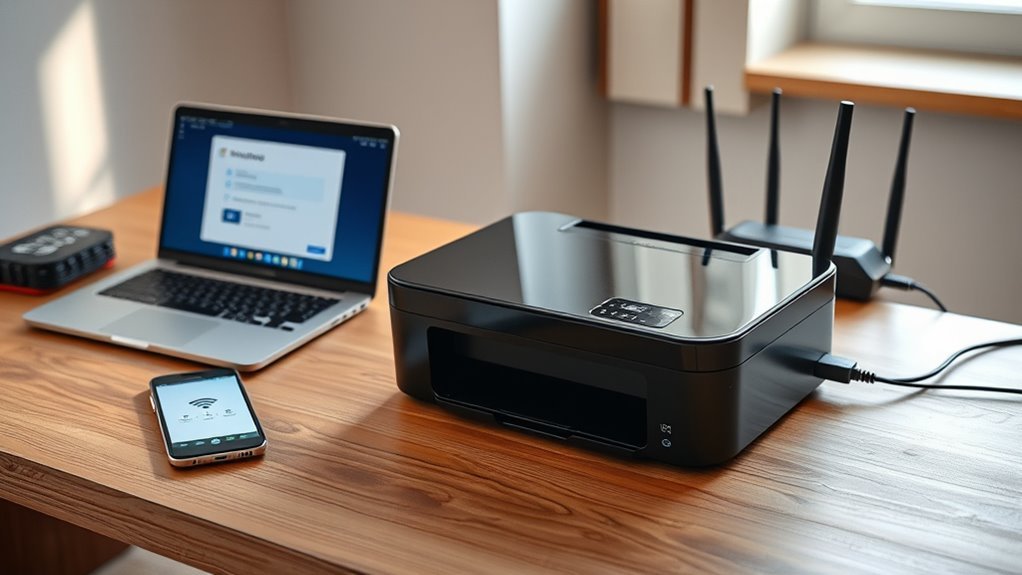
How to Connect a Wireless Printer in 10 Easy Steps
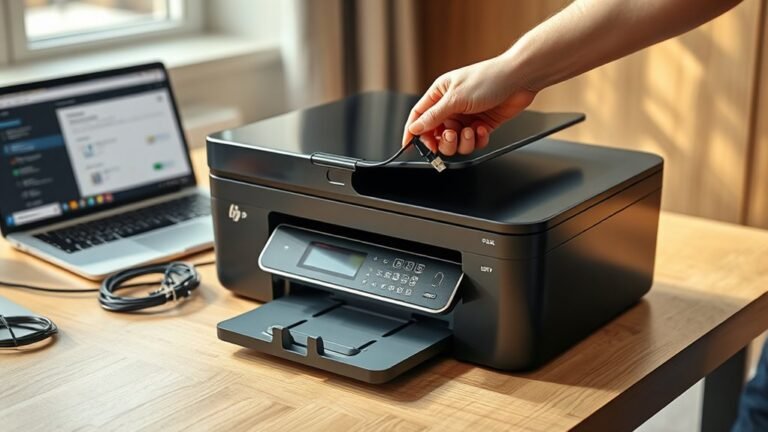
Start by unboxing your wireless printer and removing all the protective tape.
Then, place it near your Wi-Fi router and power it on. This helps ensure a strong connection from the start.
Next, install the ink cartridges and load paper correctly. It’s pretty straightforward, but taking your time here prevents issues later.
Now, access the wireless setup menu on the printer.
Select your Wi-Fi network and enter the password. If your printer supports WPS, you can use that for an even quicker connection.
Once connected, link your devices by installing the necessary drivers or apps. This step is key for smooth printing from your computer or smartphone.
Finally, print a test page to confirm everything’s working perfectly.
After that, position the printer where the signal is strongest for reliable performance. Keep following along for detailed tips and troubleshooting advice!
Key Takeaways
- Place the printer within 6–10 meters (20–33 feet) of the Wi‑Fi router for a strong signal and a stable connection.
- Power on the printer and use the control panel to access the Wireless Setup Wizard or Wi‑Fi menu.
- Select your router’s SSID and enter the correct Wi‑Fi password to connect the printer to the network.
- Install the printer drivers or app on your computer or mobile device. Make sure both your device and the printer are on the same Wi‑Fi network.
- Print a test page from your device to confirm the printer is connected and communicating wirelessly. Easy, right?
Unbox and Power On Your Wireless Printer
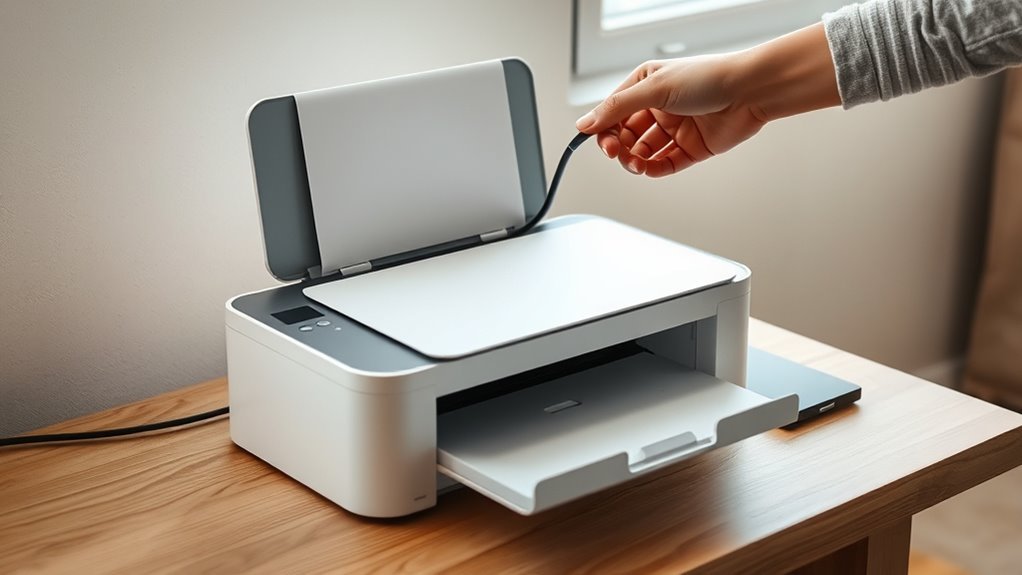
Start by unboxing your wireless printer and removing all protective tape and packing materials carefully. Once that’s done, place the printer on a stable, level surface with good ventilation. Ideally, keep it within one room of your Wi-Fi router to guarantee a strong signal.
Next, plug it into a nearby power outlet and turn it on. You’ll likely see initial setup prompts on the touchscreen or LED display—just follow these to set language, date, time, and region.
If your printer came with a quick-start guide, CD, or QR code, keep it handy. You might need it later for downloading drivers or the manufacturer’s app.
Install Ink and Load Paper Properly
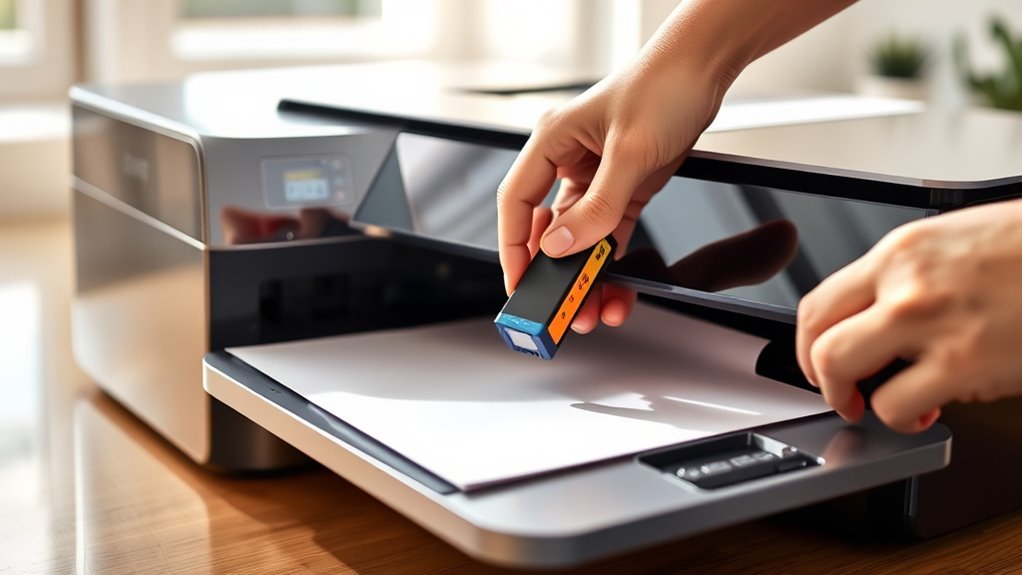
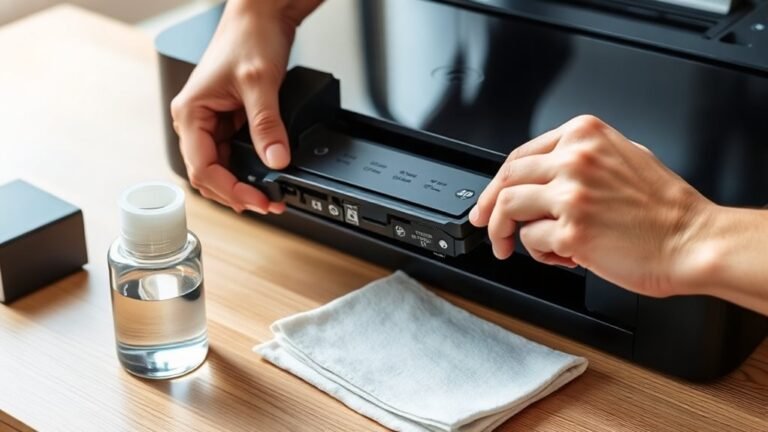
Carefully remove all protective tape and packaging from the ink cartridges and print head before installing them to prevent clogs and poor contact. When you set up a wireless printer, this step guarantees smooth ink flow and reliable printing.
Insert each cartridge into its color-coded slot until it clicks, then close the cartridge door. Load plain letter or A4 paper aligned to the guides in the input tray, adjusting the sliders snugly without overfilling.
After installation, run a nozzle check or alignment print to confirm everything’s set.
- Remove tape from cartridges and print head
- Insert cartridges into color-coded slots
- Close cartridge access door and wait for initialization
- Load paper aligned with tray guides, avoid overfilling
- Run nozzle check or alignment print for accuracy
These steps help you properly install ink and paper to set up a wireless printer successfully. Just follow them, and you’ll be printing in no time!
Access the Printer’s Wireless Setup Menu
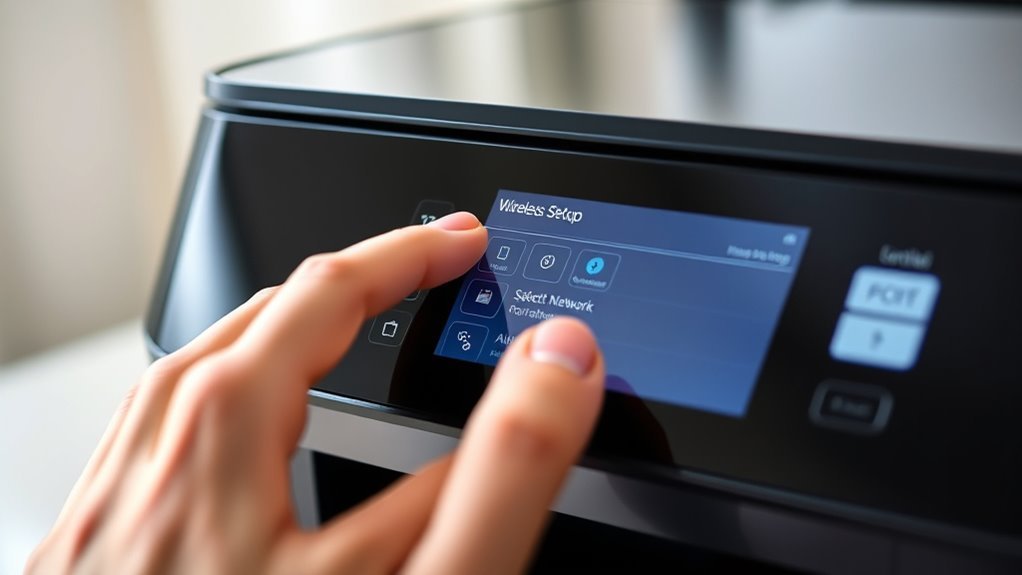
Once your ink cartridges are installed and paper is loaded correctly, you’re ready to connect your printer to your wireless network. To set up your wireless, start by accessing the printer’s control panel or touchscreen.
Open the Settings or Network/Wireless menu, then select “Wireless Setup Wizard,” “Wi‑Fi,” or “Network Setup” to begin. If your printer lacks a touchscreen, press the wireless or WPS button, or use the directional buttons to navigate the small LCD menu and enter wireless setup.
The setup wizard will scan for nearby networks. Choose your router’s exact SSID and enter the Wi‑Fi password using the on-screen keyboard.
After entering credentials, wait for a confirmation message or a solid Wi‑Fi light to confirm your printer is connected.
Connect Your Wireless Printer to Wi-Fi
Before you connect your wireless printer to Wi-Fi, make sure it’s powered on and close enough to your router for a strong signal. Use the printer’s control panel to select your network and enter the exact password.
Once you’re connected, print a test page to double-check everything’s working. Also, make sure your device is on the same network as your printer. Easy, right?
Preparing Printer For Connection
Although connecting your wireless printer to Wi-Fi might seem tricky, you can simplify the process by placing the printer within 6 to 10 meters of your router and powering it on. This guarantees a strong signal during setup.
Next, prepare your printer for connection by checking the following:
- Make sure the printer is plugged in and powered on
- Locate the Wireless or Network menu on the printer’s touchscreen
- Have your exact Wi-Fi password ready (case-sensitive)
If available, use the WPS button on both printer and router for quick pairing. It’s a handy shortcut that can save you some time.
Also, consider a temporary USB or Ethernet connection to run the Wireless Setup Wizard. This can make the setup process smoother if you’re having trouble connecting wirelessly right away.
Selecting Wi-Fi Network
Navigate to the Wireless or Wi-Fi setup menu on your printer’s control panel or touchscreen, then select your router’s SSID from the list of available networks. When prompted, enter the exact Wi-Fi password, keeping in mind it’s case-sensitive.
Many printers let you reveal characters before confirming to avoid errors. If your printer and router support WPS, you can press the printer’s WPS button or select WPS from its menu, then press the router’s WPS button within two minutes to connect without typing the password.
For printers without displays, temporarily connect via USB or Ethernet, run the manufacturer’s setup utility on your computer, and use the Wireless Setup Wizard to send Wi-Fi credentials to the printer. This guarantees your printer joins the correct Wi-Fi network.
Verifying Network Connection
Once you’ve selected your Wi-Fi network and entered the correct password, it’s time to verify that your printer has successfully connected. First, make sure your printer is powered on, awake, and within 6–10 meters of the router for a strong network signal.
Check the printer’s display for a solid Wi-Fi icon or a “Connected” message. If your printer lacks a touchscreen, connect it temporarily via USB or Ethernet to configure the network settings through its setup software.
Finally, print a test page from a device on the same network to confirm proper connectivity.
- Printer powered on and awake
- Within 20–33 feet of the router
- Solid Wi-Fi icon or “Connected” confirmation
- Use USB/Ethernet setup if no touchscreen
- Print test page from a network device
Use WPS to Connect to Wi-Fi (If Available)
If your router and printer both support WPS, you can quickly connect them by pressing the WPS button on each device within about two minutes. Start by holding the printer’s WPS button for 2–5 seconds or following its prompts until the WPS light blinks. Then, press the WPS button on your router.
The wireless printer will automatically pair with your Wi-Fi network—no need to enter a password. A solid Wi-Fi light on the printer usually means it connected successfully.
Keep in mind, WPS works only if both devices are on the same wireless band and SSID, typically 2.4 GHz. If your router has WPS disabled or the connection fails, you’ll need to connect your wireless printer using its setup menu or the manufacturer’s app.
Add the Wireless Printer to Your Windows or Mac Device
Add your wireless printer to your Windows or Mac device by first making sure both are connected to the same Wi-Fi network.
On Windows, go to Settings > Devices > Printers & scanners, then click Add a printer or scanner and select your wireless printer.
On Windows, navigate to Settings > Devices > Printers & scanners, then add your wireless printer easily.
On Mac, open System Settings (or Preferences) > Printers & Scanners, click +, and choose your printer. If it doesn’t show, add it by IP or install the manufacturer’s drivers.
- Select the wireless printer from the discovered devices.
- Use the IP address if the printer isn’t listed.
- Install drivers automatically or via the manufacturer’s website.
- Print a test page to confirm connection.
- Use AirPrint on macOS if supported for driver-free setup.
This makes sure your wireless printer is ready for seamless printing. Easy, right?
Connect Your Wireless Printer to Phones and Tablets
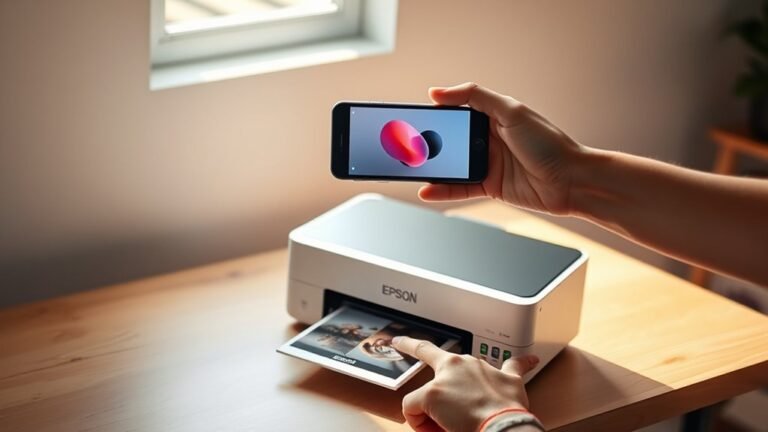
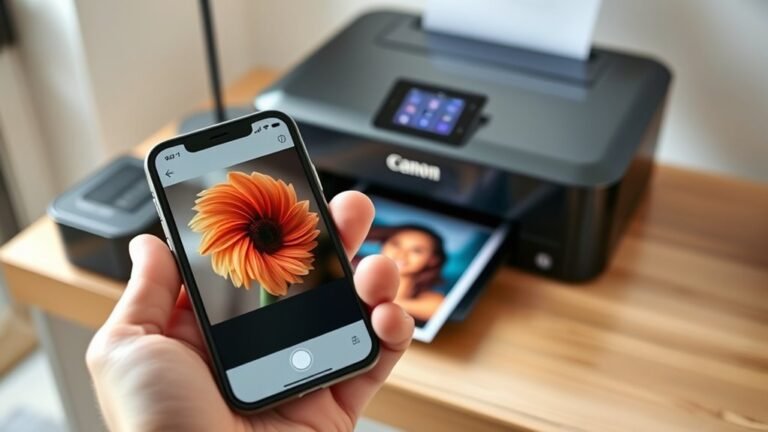
Now that your wireless printer is set up on your computer, you can connect it to your phone or tablet for convenient mobile printing. First, make sure both your printer and mobile device are on the same Wi-Fi network.
Use your printer’s wireless settings or app to join the network if needed. Next, download the printer manufacturer’s app, like HP Smart or Epson iPrint, to find and add your printer easily.
If you’re using an iPhone or iPad, check for AirPrint support to print directly without extra apps. For Android, enable Nearby Share or use the Mopria Print Service via Settings > Printing to detect your printer.
If your printer isn’t found, restart devices and verify a solid Wi-Fi connection before trying again. This way, you’ll smoothly connect a wireless printer to your mobile devices.
Print a Test Page to Confirm Your Connection
Now that your printer is connected, print a test page to confirm everything’s working correctly. Use the printer’s control panel, your computer, or mobile device to send a test print and check the network details on the page.
If the test fails, try restarting your devices. You might also want to adjust the printer’s position to fix any connection issues.
Importance Of Test Page
Printing a test page is one of the simplest yet most effective ways to confirm your wireless printer has successfully connected to your network. It helps you verify that your device communicates properly and prints accurately.
When you print a test page, you check for correct alignment and sharp text, and accurate color blocks without streaks. You also make sure your printer drivers are installed properly and that your network setup is on point.
Plus, it’s a quick way to confirm you have a strong Wi-Fi signal and the right IP address. And don’t forget, it helps ensure your printer works smoothly across all your devices—whether you’re using Windows, Mac, iOS, or Android.
How To Print Test
To confirm your wireless printer is properly connected, start by printing a test page directly from the printer’s control panel or touchscreen. Look for options like “Print Test Page,” “Print Quality Report,” or “Network Configuration Page” to verify the device is powered and communicating.
On Windows, head to Settings > Devices > Printers & scanners, select your printer, then click “Manage” and “Print a test page.” Mac users can go to System Settings > Printers & Scanners, choose the printer, then click “Options & Supplies” and select “Print Test Page.”
You can also use your printer’s app or AirPrint on mobile devices. If the test page doesn’t print, check the network configuration page to find the printer’s IP address and confirm it’s connected properly.
Troubleshooting Connection Issues
After you print a test page to check your wireless printer’s connection, you might still face issues like stalled print jobs or the printer showing as “offline.”
Make sure your printer has a valid IP address and is connected to the correct Wi-Fi network by checking its network status screen.
We’ve put together this step-by-step guide to troubleshoot effectively and make sure your printer is set up to print from anywhere. Start by verifying:
- Printer’s IP address matches your network
- Network name (SSID) is correct
- Ping the IP to check connectivity
- Move the printer closer to the router
- Reinstall or update drivers if needed
If problems persist, try disabling your firewall temporarily or creating a new account on your PC.
Following these tips should help you get your wireless printer working smoothly in no time.
Position Your Printer for the Best Wi-Fi Signal
When positioning your wireless printer, placing it within your router’s recommended range—usually 30 to 50 feet indoors—helps guarantee a strong Wi-Fi signal. Avoid thick walls or metal objects, as they can weaken the connection.
Start setup with the printer close to your computer and router to make certain a smooth Wi-Fi setup and driver installation. Once done, move it to a stable, level surface at least a few inches away from electronics like microwaves or cordless phones to prevent interference.
If you plan to keep the printer in another room, test the signal strength by printing a wireless test page or checking the signal indicator. Ideally, place the printer on the same floor and within line of sight of the router, or use a Wi-Fi extender if needed.
Update Your Printer and Install Drivers
Once your printer is positioned for the best Wi-Fi signal, it’s important to update its firmware and install the correct drivers to guarantee smooth communication with your devices. Start by checking your printer’s firmware via its settings or manufacturer app, then install any updates to fix Wi-Fi or security issues.
Next, download and install the latest drivers specific to your printer model. On Windows, use the manufacturer’s site or Windows update in Settings > Printers & scanners. On macOS, add the printer in System Settings to auto-install drivers or download from the website.
For mobile, install the official printer app or use AirPrint on iOS. If problems arise, try connecting via USB or Ethernet temporarily. Sometimes, disabling your firewall or antivirus during installation helps, but remember to switch back to wireless once you’re done.
Frequently Asked Questions
How to Add a Wireless Printer in Windows 10?
You’ll go to Start > Settings > Devices > Printers & scanners, then click “Add a printer or scanner.”
Wait for Windows 10 to detect your wireless printer, and when it shows up, just select it.
If it doesn’t find your printer right away, no worries. You can add it manually using its IP address.
How Do I Know if My Wireless Printer Is Connected to My Wi-Fi?
If your printer’s Wi-Fi light is steady, not flashing, it’s connected.
You can also print a network status page or enter its IP address in a browser to confirm.
If it shows “Connected,” you’re set!
How Do I Connect My Phone to My Printer?
You connect your phone by ensuring both devices share the same Wi-Fi.
On iPhone, use AirPrint by tapping Share, then Print.
On Android, enable printing in Settings or use the printer’s app to find and connect to it.
It’s pretty straightforward once both devices are on the same network!
How to Connect Brother Printer to Laptop?
Connecting your Brother printer to your laptop is a breeze—just add it through your device’s printer settings. Make sure both are on the same Wi-Fi, then select your printer and follow on-screen prompts to install drivers.
It’s pretty straightforward once you get started. Just take it step by step, and you’ll have it set up in no time!
Conclusion
Connecting your wireless printer is as simple as baking a cake—you just follow the steps and enjoy the results. Once you’ve powered it on and installed ink, you’re halfway there.
Next, connect to Wi-Fi and print a test page to make sure everything’s working. You’re almost all set!
Just remember to position your printer where the signal is strong. This helps avoid any connection hiccups.
Also, keep your drivers updated regularly to ensure smooth performance. With these easy steps, your printer will work seamlessly, making your printing tasks quicker and hassle-free.
By following these simple steps to connect your wireless printer, you’ll enjoy reliable printing whenever you need it. A strong Wi-Fi connection and updated drivers are key to preventing interruptions. So, set up your printer in a good spot, keep everything up to date, and you’ll breeze through your printing jobs without any stress.