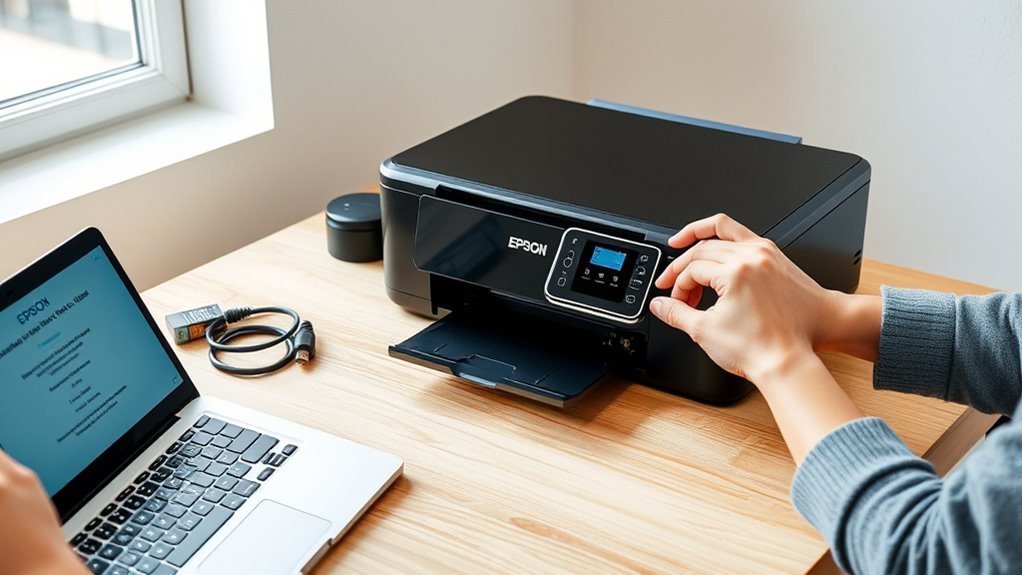
How to Set Up Epson Printer in 10 Easy Steps
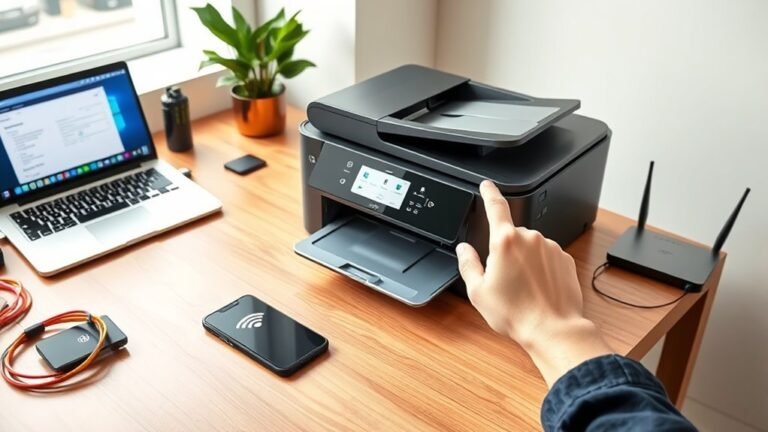
First, get your Epson printer ready along with your Wi-Fi details, and make sure to power on the printer with the wireless feature enabled. Connecting your Epson printer to Wi-Fi is super simple using the control panel and the Wi-Fi Setup Wizard. This step is key to ensuring a smooth wireless printing experience right from the start.
Next, head over to the official Epson website to download and install the necessary software. Once installed, run the Epson Connect utility — it’s a handy tool that enables optional cloud features for your printer. This makes printing from various devices and locations much easier.
After that, don’t forget to register your printer and set it as your default device. It’s a good idea to print a few test pages directly from your apps to make sure everything is working perfectly. If you hit any snags, troubleshoot common connection issues to keep things running smoothly. Keep following along for more detailed steps to guarantee your Epson printer is set up perfectly.
Key Takeaways
- Power on the Epson printer, enable wireless, and place it near the router within 10–15 feet for optimal Wi-Fi signal. This helps ensure a strong connection and smooth setup.
- Use the printer’s control panel to select Wi-Fi Setup Wizard. Then, choose your network SSID and enter the WPA/WPA2 passphrase. It’s pretty straightforward once you follow the prompts.
- Download and run the official Epson software from epson.com/support. Make sure to select your operating system, then just follow the on-screen installation instructions step by step.
- Register the printer with Epson Connect using the setup utility. This lets you enable remote printing and access cool cloud features, which can be really handy.
- Finally, add the Epson printer to your computer through the Control Panel’s Devices and Printers. Just double-check it’s connected to the same Wi-Fi network, and you’re good to go!
Prepare Your Epson Printer and Wireless Network
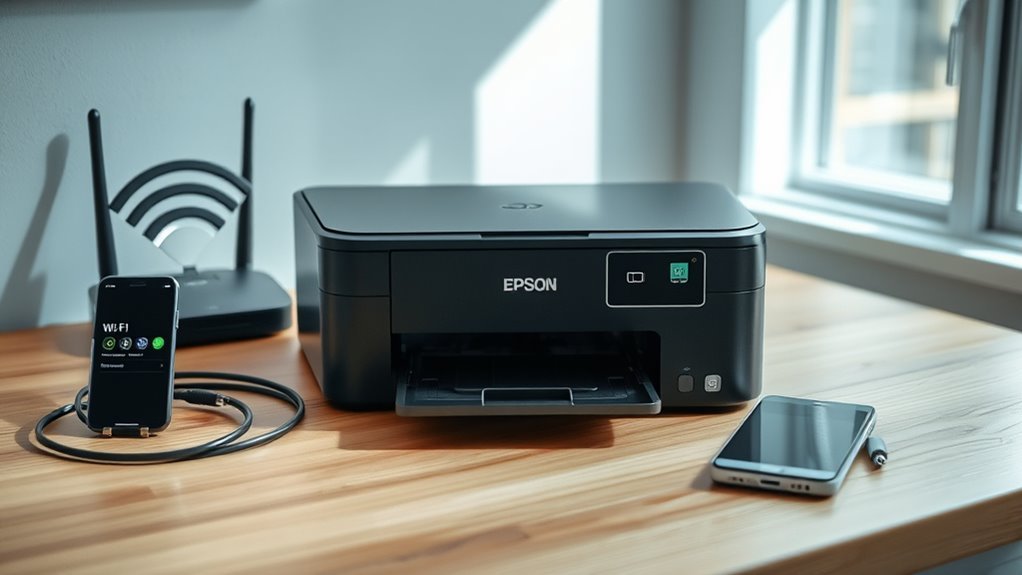
Before you begin setting up your Epson printer, make sure you have your wireless network name (SSID) and password handy. Also, check that the printer is powered on with wireless enabled.
Have your Wi-Fi name and password ready, and ensure your Epson printer is powered on with wireless enabled.
Take a quick look at the control panel to confirm the printer shows a ready status. Make sure wireless is active in the network settings too.
Place your printer within 10–15 feet of your Wi-Fi router. Try to avoid thick walls or metal objects since they can weaken the signal.
If your computer doesn’t have a CD/DVD drive or you’re using a Mac, you’ll need an internet connection. This way, you can download the necessary software from Epson’s support site.
During setup, just follow the prompts carefully and click Next when asked to proceed. Avoid USB connections unless you’re specifically told to use one.
Connect Epson Printer to Wi-Fi via Control Panel
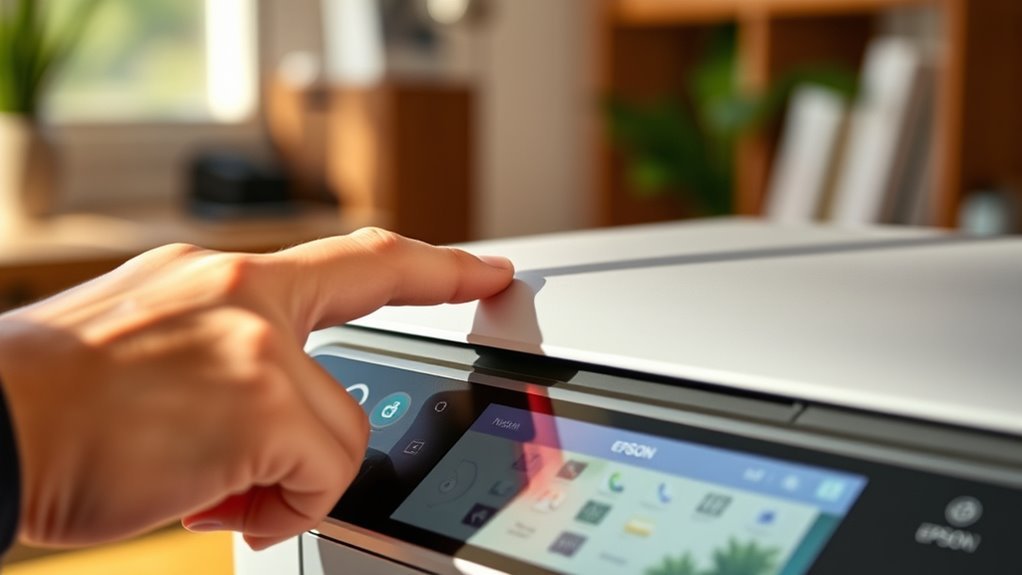
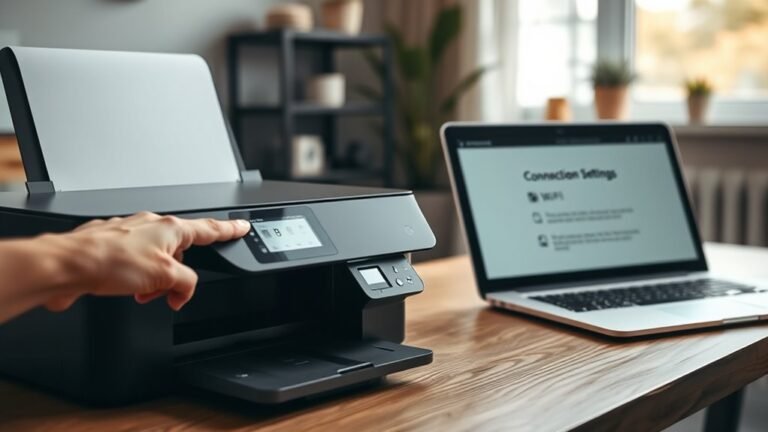
Access the Setup or Network Settings on your Epson printer’s control panel to start connecting it to your Wi-Fi network. Select Wi‑Fi Setup or Wireless LAN Setup, then choose the Wi‑Fi or Wireless option.
Next, pick Wi‑Fi Setup Wizard to scan for available networks. From the list, select your network’s SSID and enter the WPA/WPA2 passphrase using the control panel keypad.
Make sure you enter the password correctly to avoid connection issues. Confirm your selection, then verify the network settings if prompted.
Wait for the printer to display a confirmation message or the Wi‑Fi icon, indicating a successful connection. If your printer can’t find your network or you can’t enter the password, try the WPS push-button method or connect via Epson software later.
Download and Install Epson Printer Software
First, locate the official Epson software for your printer model on Epson’s support site or use the product CD.
Next, run the installation executable file you downloaded or found on the CD. Make sure to accept the license agreement to proceed with the setup.
It’s pretty straightforward from there! Just follow the on-screen instructions, and you’ll be good to go in no time.
Locate Official Epson Software
Where can you find the right software to get your Epson printer up and running? Start by locating your printer model on the label or in the Settings menu.
Then, visit Epson’s official support site at global.latin.epson.com/Support or epson.com/support. Enter your model to find drivers and utilities tailored for it.
Make sure to select your operating system—Windows or macOS—from the dropdown to match your version and system architecture (32-bit or 64-bit).
Download the full printer software package or the Epson Connect Printer Setup Utility if you want features like scanning or mobile printing. This guarantees you get all necessary tools, not just the basic driver.
Having an active internet connection helps if you don’t use a CD/DVD or are on a Mac, enabling the installer to fetch updates and components during setup.
Run Installation Executable
Download the correct Epson installer for your printer model from the official support site and save the executable file to your Downloads folder. Next, double-click the downloaded .exe file to launch the Epson Connect Printer Setup Utility or the full driver package.
If Windows Firewall prompts a warning during installation, just select “Allow” or “Unblock.” This lets the installer detect your printer on the network without any issues.
Follow the on-screen instructions to choose your wireless connection and preferred setup method—whether that’s auto connect, using the control panel, or a temporary USB connection. The installation might take a few minutes as the drivers and utilities install.
Once it’s done, the utility might automatically detect your printer and offer Epson Connect registration. If your printer doesn’t show up in applications, don’t worry—just check the installation by printing a test page or adding the printer through Control Panel > Devices and Printers.
Accept License Agreement
After launching the Epson installer and selecting your connection method, you’ll encounter the End User License Agreement (EULA) screen. You must read and accept the license to proceed.
On Windows, click “Accept” or “I Agree”; on macOS, click “Continue” then “Agree.” Without acceptance, installation halts.
You can selectively accept licenses for optional features like Epson Connect to control what gets installed. Keep a copy of the terms to review privacy or usage restrictions later.
| Step | Action | Emotion |
|---|---|---|
| EULA Screen | Read terms carefully | Cautious |
| License Acceptance | Click “Agree” | Confident |
| Optional Features | Accept selectively | In Control |
| Installation | Drivers copy to system | Reassured |
| Review Terms | Save or note license | Prepared |
Run Epson Connect Setup Utility (Optional Cloud Service)
To get started with Epson Connect, run the Epson Connect Printer Setup Utility on your Windows PC. Download it from Epson’s support site if you haven’t already, then launch the installer from your Downloads folder.
When prompted, allow firewall access so the utility can detect your Epson printer on the network. The utility will find your printer and prompt you to register or re-register an Epson Connect email address for remote printing and scan-to-cloud features.
You’ll need to create or sign in to an Epson Connect account by entering your email and password twice, accepting the license agreement, then clicking Finish. After registration, your printer prints a test page confirming Epson Connect is active.
If your printer isn’t visible in Windows apps, add it manually via Control Panel to install the local driver. It’s a quick step that helps your PC recognize the printer properly.
Register Your Epson Printer With Epson Connect (Optional)
To register your Epson printer with Epson Connect, start by creating or signing in to your Epson Connect account using a valid email.
Follow the on-screen prompts to complete the email registration process and enable remote printing features.
Once done, print a test page to confirm your printer is properly registered and ready to use.
It’s pretty straightforward, and it opens up some handy features for printing from anywhere!
Epson Connect Account Setup
When you download and launch the Epson Connect Printer Setup Utility from Epson’s support site, you can quickly register your printer on the same Wi-Fi network. The utility will auto-detect your printer, making the setup super easy.
Just follow the prompts to register it with Epson Connect. You’ll need to create or sign in to your Epson Connect account by entering a valid email and a secure password twice.
Be sure to accept the license agreements, then click Finish to complete registration. If a firewall warning pops up, don’t worry—just make sure to allow the utility to communicate with Epson servers.
After registering, your printer might print a test page and enable handy features like Email Print and Scan to Cloud. You can activate any additional services as they’re prompted to get the most out of your device.
Email Registration Process
After setting up your Epson Connect account, you can register your printer using the Epson Connect Printer Setup Utility. Open the utility on your computer and let it auto-detect your networked Epson printer.
When prompted, choose to register the printer with Epson Connect. Enter a valid email address and create a password, typing it twice to confirm.
If a firewall alert appears, allow it so the utility can connect with Epson servers. The installer may print a test page after registration.
If needed, you can replace a previously registered email by confirming the deletion during the process. Registering your printer enables optional features like Scan to Cloud and Remote Print.
You can activate these features later through Epson Connect settings. Registration is optional but it really enhances your printer’s functionality.
Printer Test Page
Registering your Epson printer with Epson Connect triggers the utility to print a test page, confirming your XP-410 is properly linked and ready for cloud and remote printing.
After installing the Epson Connect Printer Setup Utility, sign in or create an Epson Connect account using a valid email and password. The utility may detect your Wi-Fi-connected XP-410 and prompt you to delete or re-register any existing Epson Connect email before printing.
Once registration completes, the test page prints in black-and-white and color to verify connectivity. If it doesn’t print, make certain your printer and computer share the same Wi-Fi, temporarily allow the utility through your firewall, and try again.
While optional, printing this test page confirms your printer is reachable and configured for Epson’s cloud services. It’s a quick way to make sure everything’s set up just right.
Add Your Epson Printer via Windows Devices and Printers
To add your Epson printer via Windows Devices and Printers, start by opening the Control Panel and steering to Hardware and Sound > Devices and Printers. Click “Add a printer” to let Windows scan for available printers.
Make sure your Epson printer is powered on and connected to the same Wi-Fi network as your computer so it can be detected. If Windows finds your Epson model, select it and click Next; it will install drivers automatically or prompt you to download them.
If your printer isn’t listed, choose “The printer that I want isn’t listed” and manually add it using options like “Add a network, wireless or Bluetooth printer” by entering its hostname or IP address. After installation, print a test page to confirm everything’s set up correctly.
Set Epson Printer as Default Printing Device
Once you’ve added your Epson printer to your system, setting it as the default printing device helps streamline your printing tasks. Head to Windows Settings > Devices > Printers & scanners, select your Epson model, click “Manage,” then “Set as default.”
Alternatively, you can use Control Panel > Devices and Printers. Just right-click your Epson printer and choose “Set as default printer.” If Windows keeps resetting your choice, you’ll want to disable “Let Windows manage my default printer” in Settings.
Make sure your apps use your Epson by checking their print dialog settings. That way, you’re always printing to the right device without any extra hassle.
| Step | Location | Action |
|---|---|---|
| Add Printer | Add Printer Wizard | Select Epson only |
| Set Default (Settings) | Windows Settings > Printers | Manage > Set as default |
| Set Default (Control Panel) | Devices and Printers | Right-click > Set as default |
| Disable Auto Management | Settings > Printers & scanners | Turn off Windows default management |
| Confirm in App | Application Print Dialog | Use system default or select Epson |
Print Test Pages From Different Applications
Now that your Epson printer is all set up, you can go ahead and test printing from different applications to make sure everything works smoothly.
Start by printing a simple text page from Notepad. This helps you check the basic functionality.
Then, try printing from Microsoft Word. That way, you can verify the formatting and layout accuracy.
Testing From Notepad
Launch Notepad and press Ctrl+P (or select File > Print) to open the print dialog. Then make certain your Epson printer, such as the Epson XP-410, is selected before sending the job.
If your printer doesn’t appear, go to Control Panel > Hardware and Sound > Devices and Printers. From there, add it to let Windows find and install your Epson device.
Print a simple one-page test, like “This is a test page,” to check basic text printing. Listen for printer activity to confirm the job’s received.
Review the output for formatting, margins, and font clarity. If something looks off, open Printer Properties > Preferences to adjust paper size, print quality, or tray selection.
This quick test makes certain your Epson printer handles text documents properly.
Printing Via Word
Open your Word document and press Ctrl+P (or select File > Print) to bring up the print dialog. Then, confirm your Epson printer, like the Epson XP-410, is chosen.
Next, set the Page Setup to match your paper size (such as A4 or Letter) and orientation (Portrait or Landscape) under Layout or Print settings.
Click Printer Properties or Preferences to adjust print quality (Draft, Normal, or Best), color mode (Color or Grayscale), and paper type (Plain or Photo). This helps optimize output and ink use.
Print a quick test page with text and an image to check alignment, color accuracy, and margins. If your Epson printer doesn’t appear, add it via Windows Devices and Printers or set it as default before trying again.
Fix Common Epson Wireless Setup Problems
If your Epson printer isn’t connecting wirelessly, start by confirming it’s on the same Wi-Fi network as your Windows laptop. Check the printer’s control panel for the network name and signal strength.
If the printer doesn’t appear automatically, run the Epson installer or Epson Connect Printer Setup Utility. Use the “temporary USB connection” or “printer buttons” manual setup to transfer Wi-Fi credentials.
Temporarily disable your firewall or antivirus during setup to allow the utility to detect and register the printer. If your printing or scanning apps still don’t list the printer, go to Windows Control Panel → Devices and Printers → Add a printer. Let Windows find and install it.
Finally, make sure your printer firmware and Epson software are updated. And don’t forget to re-enter your Wi-Fi passphrase if your router settings change.
Verify Wireless Printing and Scanning Functionality
You’ll want to regularly confirm that your Epson printer stays connected to your Wi-Fi network by checking its control panel or printing a network status sheet displaying the SSID and IP address.
On your Windows laptop, open Devices and Printers to verify your Epson model appears with the correct IP address. This confirms your system recognizes it.
Print test pages from both the printer’s menu and an application like Notepad to check print quality and ensure the job was received.
For scanning, launch Epson Scan or Windows Fax and Scan, then select your networked Epson device. Perform a preview scan and save the file to check communication and image quality.
If printing or scanning fails, try power-cycling your printer and router first. Then, double-check your Wi-Fi settings and reinstall drivers if needed to restore wireless functionality.
Frequently Asked Questions
How to Setup an Epson Printer?
You’ll power on your Epson printer and connect it to your Wi-Fi network. Then, download and install the Epson driver on your computer.
Just follow the setup prompts as they appear. If it asks, go ahead and register your printer.
Finally, print a test page to make sure everything’s working properly. Easy, right?
Is the Epson ET-2418 a Good Printer?
Think of the Epson ET-2418 like a reliable coffee maker: it’s perfect for daily use without breaking the bank. You’ll love its low ink costs and sharp prints.
Especially if you print moderately at home or a small office. It’s a solid choice that keeps things simple and efficient.
Where Can I Download an Epson App?
You can download Epson apps from Epson’s official support site at global.latin.epson.com/Support.
Or, if you prefer mobile apps like Epson iPrint, you can get them directly from the Apple App Store and Google Play Store. Just search for your printer model, and you’re good to go!
How to Connect Printer to Laptop?
You connect your printer to your laptop by ensuring both use the same Wi-Fi network. Then, download and run the Epson driver.
Follow the installation prompts and select the wireless setup option. After that, confirm the connection by printing a test page. Easy, right?
Conclusion
Setting up your Epson printer is simpler than you might think—just follow these 10 easy steps, and you’ll be printing wirelessly in no time. Did you know that over 60% of users report faster setup times with Epson’s intuitive software?
By connecting your printer to Wi-Fi and installing the right drivers, you can enjoy seamless printing and scanning from multiple devices. It’s pretty convenient once everything is up and running.
Give it a try, and you’ll see how effortless it can be! Setting up an Epson printer not only saves time but also enhances your printing experience with reliable wireless connectivity and easy driver installation. Whether you’re printing documents or scanning photos, Epson’s setup process makes it straightforward and hassle-free. So, follow these steps and enjoy smooth, wireless printing right from your laptop, smartphone, or tablet.