How to Clean a 3D Printer Nozzle in 7 Easy Steps
Start by identifying nozzle clogs through extrusion issues or residue. These are common signs that your 3D printer nozzle needs cleaning. Heating your nozzle to the printing temperature helps soften any stuck filament, making it easier to purge manually.
Next, perform a cold pull by cooling the filament slightly, then pulling it out to extract debris trapped inside. This technique is great for clearing out stubborn bits without damaging the nozzle. You can also use a cleaning needle carefully to clear partial blockages while the nozzle is still warm. Just be gentle to avoid causing any damage.
For those really stubborn clogs, soak the removed nozzle in acetone overnight, then make sure to dry it thoroughly. Thermal cleaning can also be applied if necessary. Once clean, reinstall and calibrate your nozzle to keep your prints smooth and consistent.
Keep following these steps regularly to master deeper cleaning techniques and maintain your 3D printer’s performance over time. It’s all about staying on top of nozzle care!
Key Takeaways
- Heat the nozzle to printing temperature and manually extrude filament to purge softened material and verify flow. This helps clear out any blockages inside the nozzle.
- Use a 0.4 mm cleaning needle gently to dislodge debris without damaging the nozzle bore. Be careful not to push too hard or you might cause damage.
- Perform cold-pull cleaning by heating the nozzle, feeding cleaning filament, then cooling to the pull temperature. After that, pull the filament straight out smoothly to remove any remaining residue.
- Soak removed brass nozzles in acetone overnight to dissolve stubborn ABS residue. Once soaked, rinse and dry them thoroughly before reinstalling.
- Reinstall the nozzle and re-torque it at printing temperature. Finally, calibrate the z-offset and run a test print to make sure everything’s working perfectly.
Identify Nozzle Clogs Before Cleaning
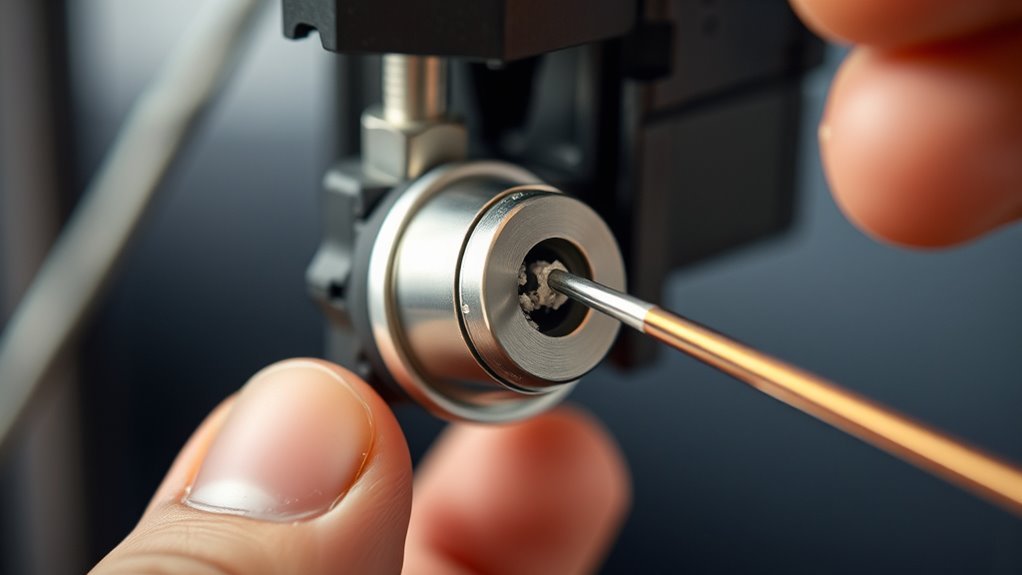
Before you start cleaning, you need to identify whether the nozzle is clogged. Look for under‑extrusion signs like thin or missing perimeters, gaps in infill, weak layers, or reduced filament flow. These often point to a clogged nozzle.
Listen for clicking or grinding sounds from the extruder drive gears, which can indicate filament blockage at the nozzle. If no filament extrudes when commanded at operating temperature, check the nozzle opening for visible molten filament or a bead. If you don’t see any, it usually means a full clog.
Use a magnifier to inspect the nozzle opening for any off‑center, enlarged, or oval hole, or dark carbonized residue. These signs could mean severe blockage or even damage. But before blaming the nozzle, make sure the filament feed, print temperature, and hotend cooling are all working properly to rule out upstream issues.
Heat the Nozzle and Purge Softened Residue
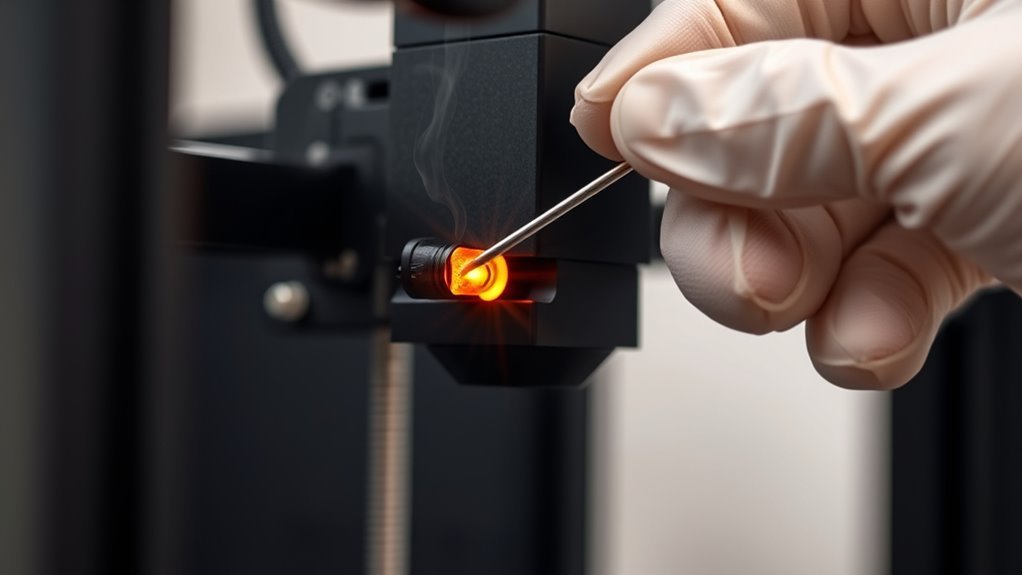
Heat your nozzle to the filament’s typical printing temperature to soften any residue inside. Then, use your printer’s controls to extrude filament and push out the clogged material.
If the flow isn’t steady, increase the temperature slightly and try purging again until you see consistent extrusion. It might take a couple of tries, but you’ll get there!
Optimal Heating Temperature
How hot should you get your 3D printer nozzle before cleaning? You want to heat the nozzle to your filament’s normal printing temperature—around 200–210 °C for PLA or 230–245 °C for PETG—so the plastic softens and flows easily.
If you’re dealing with stubborn PLA residue, bump the temperature to 240–250 °C briefly to soften charred material for a cold pull or needle cleaning. Just don’t overheat it for too long, or you might damage the nozzle.
When using cleaning filament for a cold pull, heat it to extrusion temperature to load it. Then cool it down to about 90 °C before pulling to extract debris.
Keep in mind, hardened steel nozzles heat up more slowly than brass ones. So, give your printer some extra time to truly reach the target temperature before you start purging.
Purging Techniques Explained
To clear out softened residue effectively, you’ll want to bring your nozzle up to the filament’s usual printing temperature—around 200–210 °C for PLA or 230–245 °C for PETG. Once heated, manually extrude 20–30 mm of filament to purge the softened material, assuring a smooth, continuous flow.
If switching materials, raise the temperature slightly to clear lower-melt residues, then load a cleaning filament or nylon to perform a cold pull. This helps remove deeper clogs and keeps things running smoothly.
For stubborn partial blockages, heat the nozzle to about 250 °C and gently use a 0.4 mm cleaning needle to dislodge particles near the orifice. Always let the nozzle soak for 1–2 minutes after reaching temperature to assure the core is fully heated before purging.
Perform a Nozzle Cold Pull to Remove Clogs
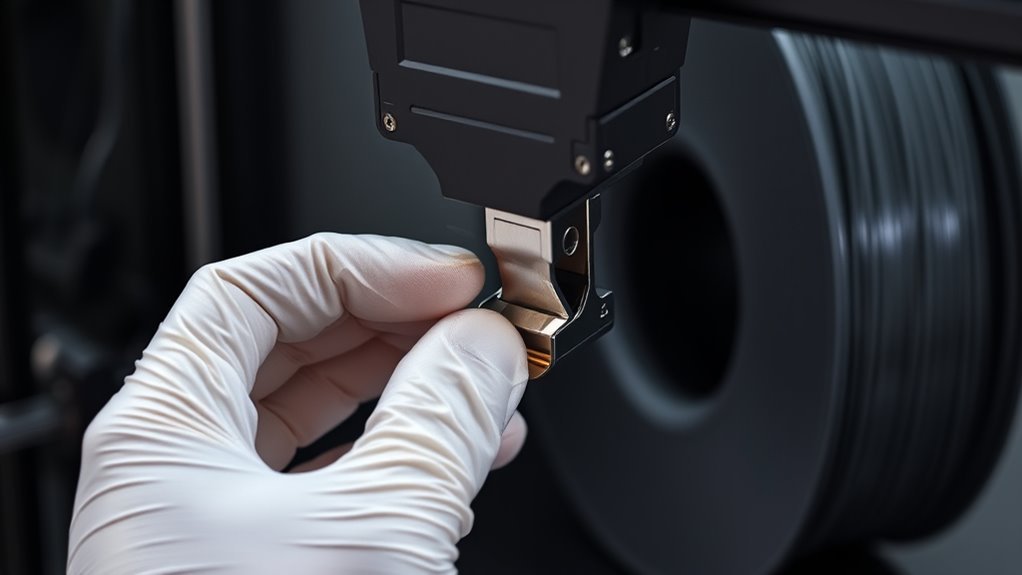
Start by heating your nozzle to the right temperature and feeding in nylon or a cleaning filament before lowering the heat for the cold pull.
Choose the correct filament and pull gently to avoid damage, repeating the process until the filament comes out clean.
This method helps remove stubborn clogs and gets your nozzle ready for smooth printing again.
Cold Pull Procedure
When you run into a clogged nozzle, performing a cold pull can clear out stubborn residue effectively. First, heat the nozzle to the printing temperature of the stuck filament—around 250 °C for stubborn PLA. Push fresh nylon or dedicated cleaning filament through until a small, clean bead extrudes.
Then, lower the hotend to the recommended cold-pull cool temperature—about 90 °C for PLA or 110 °C for nylon/ABS. Firmly pull the filament straight out in one smooth motion to extract softened debris. Repeat this heat-and-pull cycle 2–3 times or until the filament shows no dark flecks and extrusion is clean.
Use nylon or cleaning filament for best results, and avoid sideways force to protect your nozzle. If clogs persist, try other cleaning methods. It’s a simple trick that can save you a lot of hassle.
Filament Selection Tips
How do you choose the right filament to keep your nozzle clog-free? Using the proper filament for a cold pull is key. Cleaning filament or nylon works best since they soften at appropriate temperatures and effectively remove debris.
| Filament Type | Ideal Pull Temperature | Benefits |
|---|---|---|
| Cleaning Filament | ~90°C (PLA) | Removes residues, reusable |
| Nylon | ~110°C | Strong, effective on tough clogs |
| Standard PLA/ABS | Variable | Less effective for cold pulls |
Heat the nozzle to about 250 °C to feed your cleaning filament or nylon until it extrudes slightly. Then cool to the recommended pull temperature.
Grip firmly and pull steadily to extract softened clogs. Repeat 2-3 times if needed, switching to fresh filament. Avoid excessive force to protect your printer.
Regular cold pulls with the right filament maintain smooth extrusion and prevent clogs. It’s a simple trick that saves you from headaches down the line!
Repetition and Results
Performing repeated cold pulls is essential to thoroughly clear stubborn clogs from your nozzle. Using cleaning filament or nylon, you’ll heat the nozzle to around 250 °C, push filament through, then cool it to about 90–110 °C before pulling firmly.
Here’s how to get the best results:
- Heat the nozzle and push cleaning filament until a bit extrudes.
- Cool to the recommended temperature, then perform a cold pull by pulling the filament firmly but gently.
- Repeat the cold pull 2–3 times if you see dark flecks or residue on the pulled filament.
- After success, heat the nozzle and extrude fresh filament to flush any remaining debris.
This nozzle cleaning method prevents damage and guarantees smooth extrusion without swapping parts prematurely. It’s a simple process that really pays off!
Clear Partial Blockages Using a Cleaning Needle
To clear partial blockages, start by heating the nozzle to your filament’s normal printing temperature—around 200–220 °C for PLA or 230–240 °C for PETG. This helps soften the material so it can be pushed out easily.
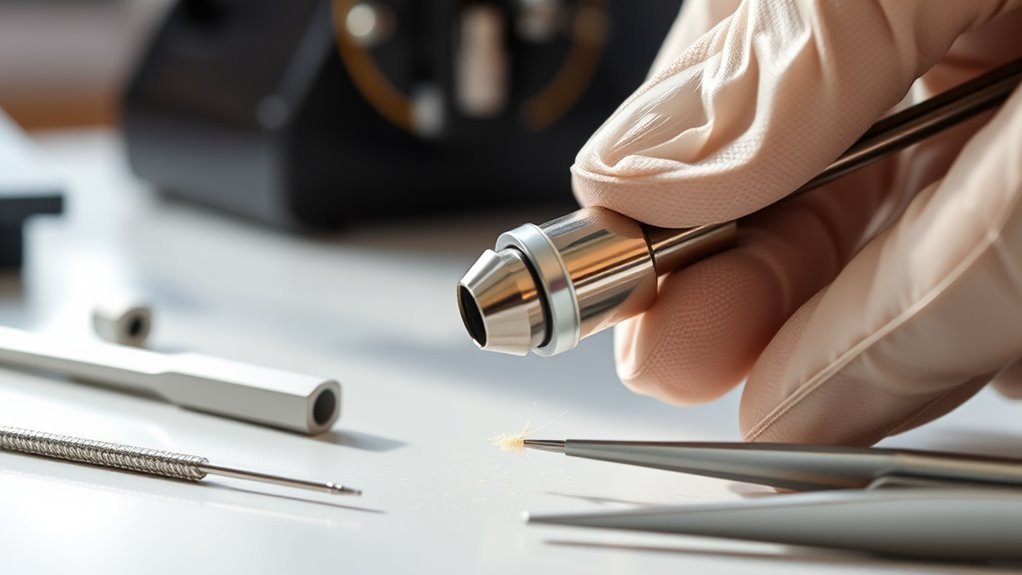
Next, insert a straight 0.4 mm cleaning needle vertically into the printer nozzle. Be careful to avoid sideways pressure that could damage the bore. Gently push the needle in and out several times until you see filament ooze or feel resistance break.
After that, manually extrude 20–30 mm of fresh filament to flush out any loosened debris. If you hit hard resistance, stop right away. It’s better to switch to a cold-pull method or consider removing the nozzle instead of risking bending the needle or damaging the nozzle.
Finally, brush the warm nozzle exterior with a brass brush. Then, run a test print to make sure the flow is smooth again.
Soak the Nozzle to Dissolve Stubborn Residue
When dealing with stubborn ABS residue inside a brass nozzle, soaking it in acetone overnight can effectively dissolve and loosen the buildup. Before you soak, inspect your brass nozzle carefully—if the orifice looks widened or deformed, replace it instead.
To soak safely and effectively:
- Remove the cooled brass nozzle from the printer.
- Place it in a small metal container filled with acetone.
Soak overnight in a well-ventilated area, avoiding heat or flames. After soaking, rinse the nozzle with isopropyl alcohol and dry thoroughly.
Optionally, you can run a cleaning filament or do a cold pull at around 250 °C to clear softened residue. Just remember, acetone won’t work on PLA, and soaking plated or hardened-steel nozzles requires caution to avoid damage.
Thermally Clean the Nozzle Using Heat Methods
Heat your nozzle to the filament’s printing temperature—around 200–210 °C for PLA or 230–245 °C for PETG—and manually extrude to purge any softened material.
For a deeper thermal clean, raise the temperature to about 250 °C. Then insert a 0.4 mm cleaning needle carefully to clear debris without damaging the bore or heat break.
You can also perform a cold-pull with nylon or cleaning filament to extract trapped residue. The torch-and-quench method involves heating a removed nozzle red-hot with a torch, then dunking it in water to eject char.
Make sure to use safety gear and ventilate your workspace. Repeated thermal clean methods can soften brass nozzles or affect nozzle geometry, so handle with care.
| Method | Temperature Range | Purpose | Risk | Notes |
|---|---|---|---|---|
| Manual Extrude | 200–245 °C | Purge softened filament | Low | First step |
| Needle Cleaning | ~250 °C | Dislodge residue | Medium (scratching) | Use carefully |
| Cold-pull | ~250 °C → 90–110 °C | Extract debris | Low | Repeat 2–3 times |
| Torch-and-Quench | >800 °F (427 °C) | Burn out char | High (softens brass) | Remove nozzle first |
| Heat Break Care | Varies | Avoid damage | Medium | Handle with care |
Reinstall, Calibrate, and Troubleshoot Your Nozzle
Although reinstalling the nozzle might seem straightforward, you’ll want to carefully verify its fit and function before resuming prints. Follow these steps to guarantee optimal performance:
First, heat the hotend to your printing temperature and extrude 20–30 mm of filament to check for smooth flow. This helps ensure everything is working as it should.
Next, re-torque the nozzle at printing temperature using a two-wrench technique. This prevents leaks and protects the threads from damage.
After that, perform z-offset calibration immediately after nozzle replacement. Use a paper or feeler gauge to set the perfect first layer height—it makes a big difference.
Finally, run a test print to confirm proper extrusion and adhesion. If the extrusion is weak or you hear clicking, try a cold pull or needle cleaning before assuming the nozzle is defective.
Frequently Asked Questions
How Do I Clean the Nozzle on My 3D Printer?
Heat your nozzle to printing temperature, then manually push filament through. Use a thin needle to clear any clogs you find.
If that doesn’t do the trick, try a cold pull with cleaning filament. Sometimes that helps get rid of stubborn bits.
Still have residue? You might need to remove the nozzle. Soak it or go ahead and replace it if necessary.
How to Unclog 3D Printer Nozzle Without Needle?
You can unclog your 3D printer nozzle without a needle by heating it to printing temperature. Then, manually extrude some filament to help push out any blockages.
Next, try doing a cold pull with nylon or a cleaning filament. This helps grab and remove debris stuck inside the nozzle.
Finally, while the nozzle is still warm, gently brush it with a brass brush. This will clear away any leftover bits and keep your nozzle clean.
How to Use a Nozzle Cleaning Needle?
You heat the nozzle, then gently insert the cleaning needle straight into the tip without forcing it sideways. Push until softened filament breaks.
Then, extrude fresh filament to flush debris. Repeat carefully if needed for a clean nozzle.
Just take your time with it, and don’t rush. A little patience goes a long way in keeping your nozzle clear!
Why Is My 3D Printer Clogging?
Your 3D printer’s clogging because of incorrect temperatures, dirty or moist filament, heat creep, or leftover residue inside the nozzle.
You’ll want to check these factors and maintain regular cleaning to keep your prints smooth and consistent. It’s all about keeping things clean and at the right heat to avoid those annoying clogs.
Conclusion
Now that you’ve gently freed your 3D printer’s nozzle from its little hiccups, you’re all set to bring your creations back to life. With a bit of patience and care, you’ve given your printer the fresh start it needed, like a gust of revitalizing wind for your projects.
Keep up this simple maintenance, and you’ll enjoy smoother prints and fewer frustrations. Regularly cleaning your 3D printer nozzle helps prevent clogs and ensures consistent extrusion. Your nozzle will thank you for the tender loving care you’ve just provided.
By following these easy steps, you’re not just fixing a problem—you’re extending the life of your 3D printer and enhancing print quality. So, keep that nozzle clean, and watch your 3D prints come out flawless every time!