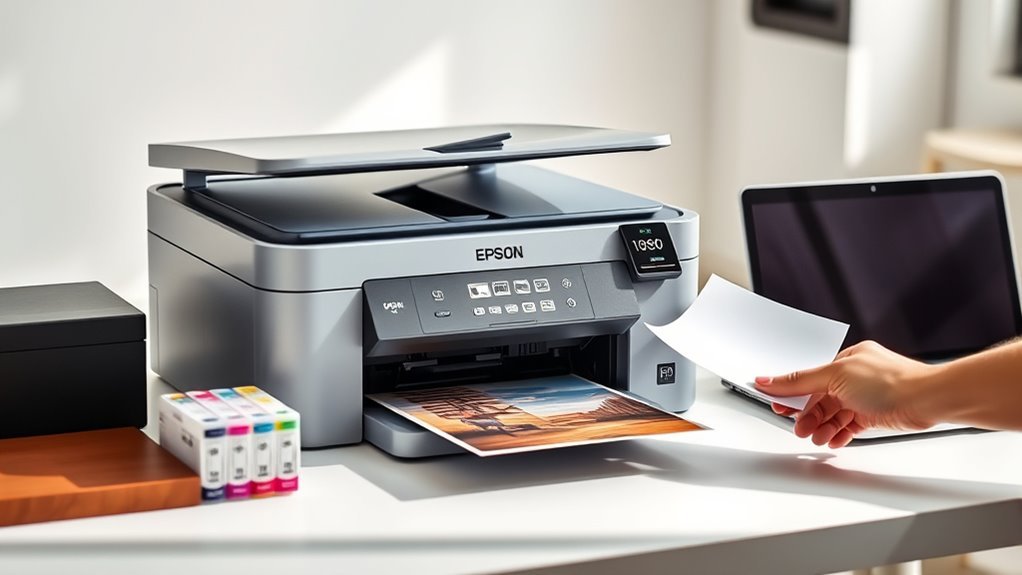
How to Use Epson Printer in 7 Easy Steps
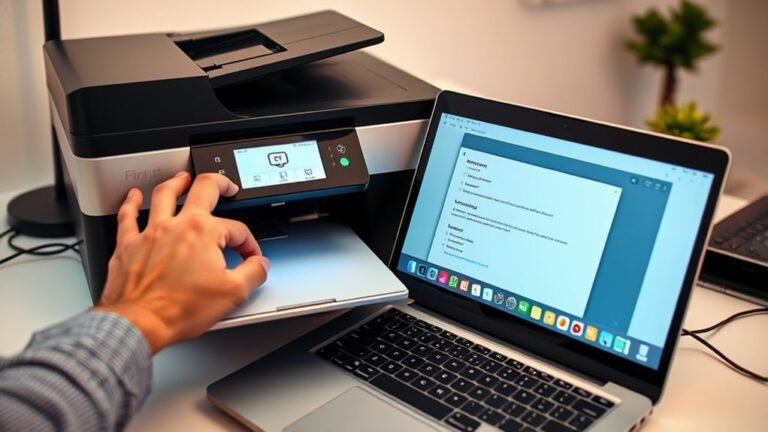
To use your Epson printer in 7 easy steps, start by unpacking it and setting it up. This means installing the ink cartridges and loading the paper tray. It’s simple and gets your printer ready for action.
Next, connect your printer to your Wi-Fi network or Ethernet cable. You can do this through the printer’s control panel or by using WPS for a quick setup. This step is key for wireless printing from your devices.
After that, download and install the correct drivers on your computer, smartphone, or tablet. This ensures everything communicates smoothly. Don’t forget to register your printer with Epson Connect. This lets you access your printer remotely, which is super handy.
You can also set up Email Print to send documents straight to your printer from anywhere. Plus, installing Epson iPrint on your mobile devices makes printing on the go a breeze.
And if anything goes wrong, there are easy troubleshooting tips to help you out.
Key Takeaways
- Unpack the printer, install ink cartridges or EcoTank bottles, and load plain paper into the input tray.
- Power on the printer and complete the initial setup by setting language, date, time, and region via the on-screen prompts.
- Connect the printer to your Wi-Fi network using the control panel’s WiFi Setup Wizard or the WPS button method.
- Download and install the correct printer drivers and the Epson iPrint app for mobile or desktop printing.
- Register your printer with Epson Connect to enable remote printing, cloud services, and easily manage your print jobs.
Get Your Epson Printer Ready to Use
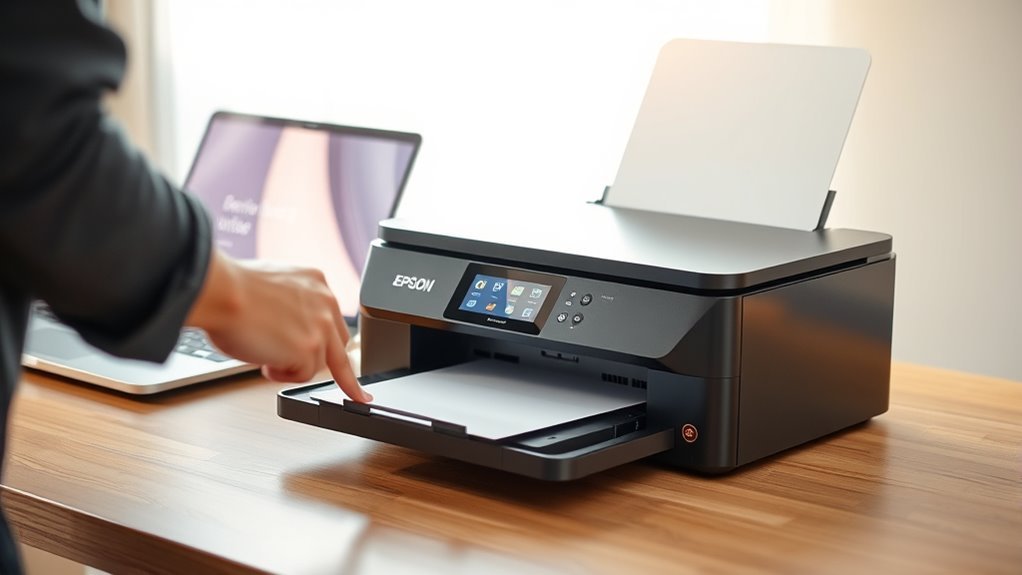
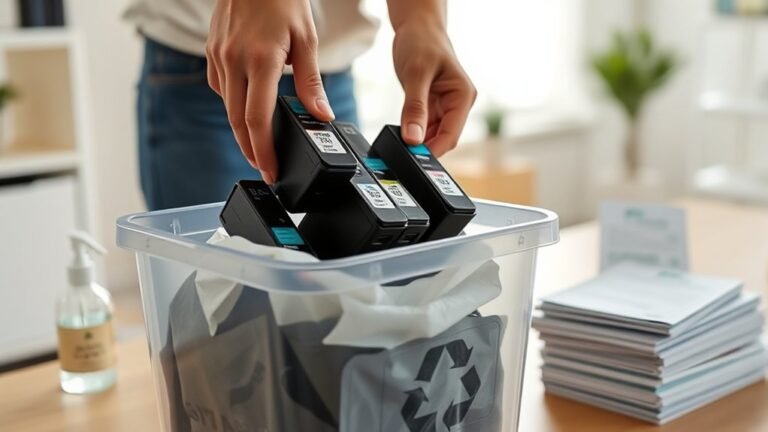
To get your Epson printer ready to use, start by unpacking it and installing the ink bottles or cartridges as shown in the quick start guide. If you have an Epson EcoTank model, carefully fill the ink tanks to avoid spills.
Begin by unpacking your Epson printer and installing ink or cartridges following the quick start guide instructions.
Next, load plain paper into the input tray. Power on your Epson printer and follow the on-screen prompts to set language, date, time, and region.
This initial setup is essential before connecting to a network. Setting up Epson devices properly guarantees smooth operation and access to all features.
Completing these steps gets your printer primed for the next phase, like connecting to WiFi. By following this process, you’ll have your Epson printer ready quickly and correctly, assuring peak performance from the start.
Connect Your Epson Printer to WiFi or Ethernet
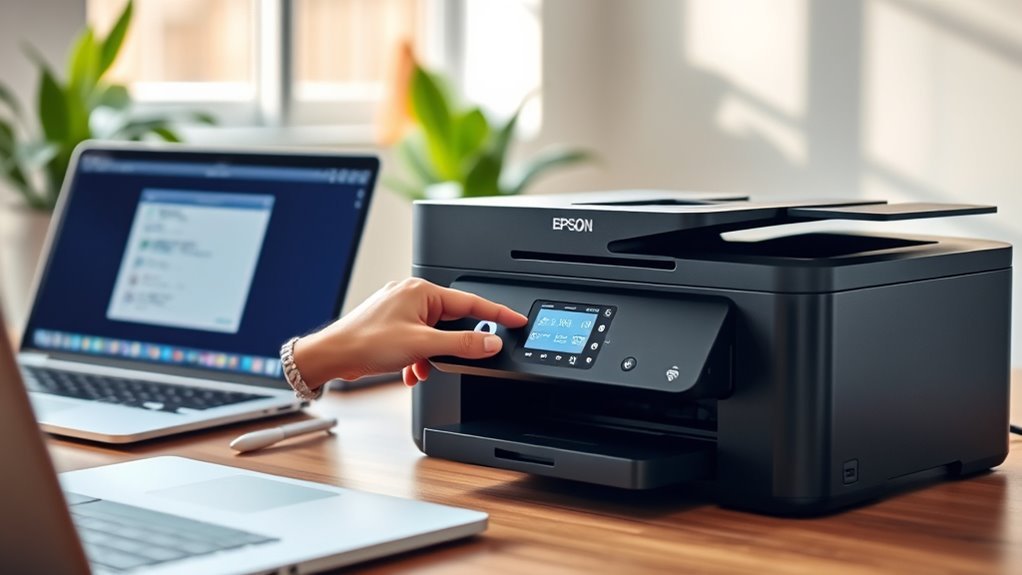
Start by checking your Epson printer’s compatibility and making sure it’s powered on before connecting it to your network. If your model is EcoTank, WorkForce, SureColor, Expression, or Business Inkjet, you’re good to go.
For Wi-Fi, open the control panel, run Network Settings > WiFi Setup Wizard, select your home network SSID, and enter the password carefully—it’s case-sensitive. Alternatively, use WPS by pressing your router’s WPS button, then the printer’s WPS option for a quick connection.
For Ethernet, simply plug a cable from your router into the printer’s LAN port and verify the connection status. After connecting, you’ll create a new account during the Epson Connect setup to enable remote printing and cloud features.
This guarantees your printer is ready to work seamlessly on your network.
Install Epson Printer Drivers on Your Devices
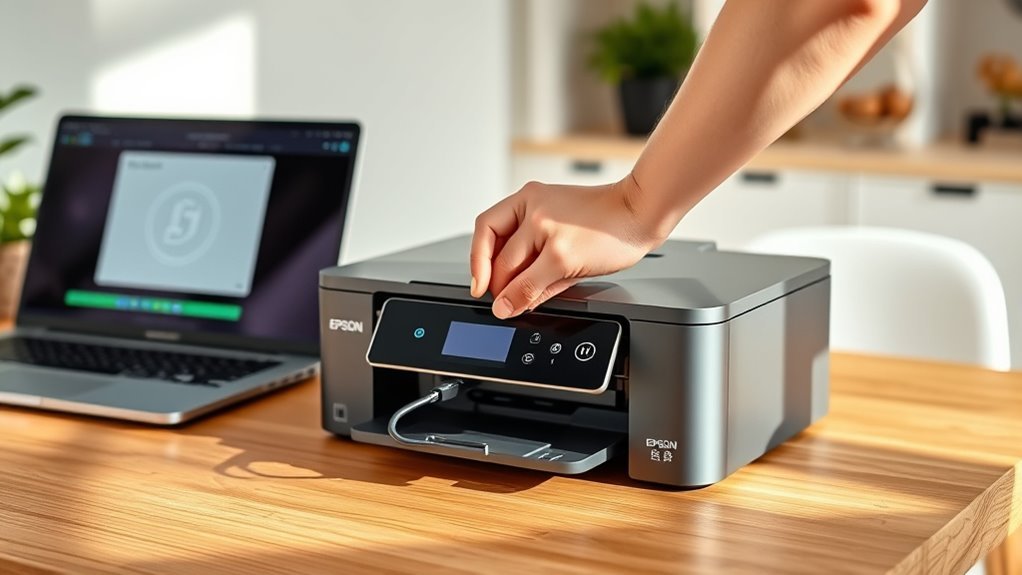
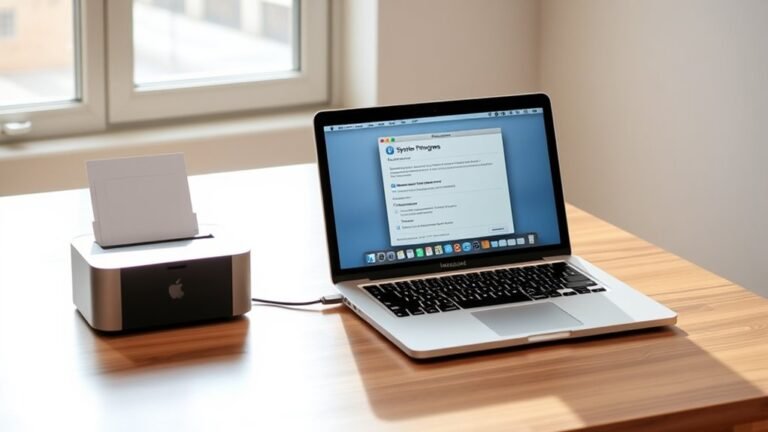
Start by downloading the correct Epson printer driver for your model from Epson Support. Then, install the driver on your desktop by following the on-screen prompts to connect via Wi-Fi or Ethernet.
Once that’s done, set up the Epson iPrint app on your tablet or smartphone. This way, you can print easily over the same network without any hassle.
Download Drivers Online
Getting your Epson printer up and running begins with downloading the correct drivers from Epson’s official support website. This guarantees your device communicates properly with your computer or mobile device.
Here’s how to do it efficiently:
- Visit Epson’s support page and enter your exact printer model to find the latest drivers for Windows or macOS.
- For mobile use, download the Epson iPrint app from Google Play or the Apple App Store.
- Run the downloaded installer, select your connection type (Wi-Fi, Wi-Fi Direct, or USB), and follow the prompts while your printer is powered on and connected.
- After installation, open Epson Connect Printer Setup Utility to register your printer and enable remote printing.
Make sure to keep your drivers updated regularly. This helps avoid connectivity issues and keeps everything running smoothly.
Install On Desktop
To install your Epson printer drivers on your desktop, you’ll first want to download the driver package and Epson Connect Printer Setup Utility from the support page for your specific model.
Before installing, connect your printer to the same Wi-Fi network as your desktop using the Wi-Fi Setup Wizard, or connect via USB or Ethernet cable. Run the downloaded driver package and follow the prompts, selecting your printer model and connection type to guarantee proper setup.
During installation, register your printer with Epson Connect to enable Email Print and Remote Print features. Once installed, print a test page to confirm functionality.
Finally, open Devices and Printers (Windows) or Printers & Scanners (macOS) to set your Epson printer as the default and adjust preferences like paper size and print quality.
Set Up On Tablets
Setting up your Epson printer on tablets is straightforward once you download the Epson iPrint app from the App Store or Google Play. First, confirm your tablet’s compatibility with iOS or Android and install the app.
Then, make sure your printer is powered on and connected to the same Wi-Fi network as your tablet. Use Epson iPrint’s “Printer Search” to find your printer automatically or enter its IP address manually.
You can also register for Epson Connect to enable Email Print, which lets you send documents remotely via email. Finally, link your cloud storage accounts like Google Drive or Dropbox within the app to print or scan documents directly.
- Download Epson iPrint and confirm tablet compatibility.
- Connect printer and tablet to the same Wi-Fi network.
- Add the printer via automatic search or IP address.
- Register for Epson Connect to use Email Print and cloud services.
Register Your Printer With Epson Connect
Start by confirming your printer model is compatible with Epson Connect, like those in the EcoTank (e.g., ET‑2980, ET‑3950, ET‑4950), WorkForce, SureColor, Expression, or Business Inkjet families. Make sure your printer is powered on, connected to the internet via Wi‑Fi or Ethernet, and you have administrator access plus an active email address.
Next, download and run the Epson Connect Printer Setup Utility or use your printer’s control panel to launch the Printer Registration wizard. Create or sign in to your Epson Connect account by entering a valid email, choosing a password, accepting terms, and completing any email verification.
Once registered, confirm your printer’s unique Epson Email Print address. You can also enable optional services like Remote Print, Epson iPrint, and Scan to Cloud for added convenience. It’s pretty straightforward and makes printing from anywhere super easy!
Set Up Epson Email Print for Remote Printing
Once your Epson printer is registered and connected to the internet, you can enable Epson Email Print to send documents and photos directly via email. This feature lets you print remotely by emailing files to your printer’s unique Epson Email Print address.
Follow these steps to set it up:
- Download and run the Epson Connect Printer Setup Utility from Epson support.
- Use the Printer Registration wizard to sign into or create an Epson Connect account.
- Enable Epson Email Print in your Epson Connect account settings.
- Optionally, set approved sender lists or security options to control who can print via email.
After setup, test remote printing by sending a supported file to your printer’s email. Then, check the print job’s status online to make sure everything’s working smoothly.
Install and Use the Epson iPrint Mobile App
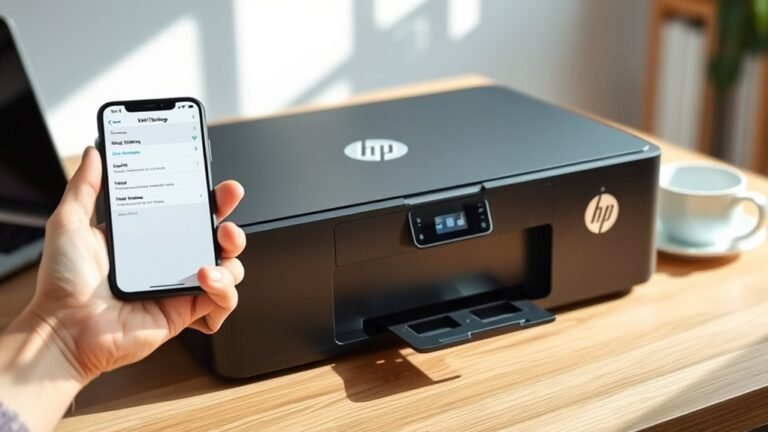
You’ll frequently find the Epson iPrint Mobile App invaluable for printing, scanning, and managing your Epson printer directly from your smartphone or tablet. Start by downloading Epson iPrint from the Apple App Store or Google Play Store and install it on your device.
Make sure your Epson printer is powered on and connected to the same Wi-Fi network as your phone or tablet. Open the app, tap the menu, and add your printer via Wi-Fi or Wi-Fi Direct by selecting its name or entering its IP address.
From the Home screen, you can print photos, documents, or web pages, scan to your device or cloud, and check printer status like ink levels. You can also link cloud accounts in settings to print or scan directly from Google Drive, Dropbox, OneDrive, or Evernote.
Troubleshoot Common Epson Printer Issues
If your Epson printer won’t connect to WiFi, first check the network name and password. Make sure your devices are on the same network.
When print jobs get stuck or don’t print correctly, try clearing the print queue. Then, restart both your printer and device.
These simple steps often fix common connection and printing errors quickly. Give them a try before diving into more complicated fixes!
WiFi Connection Problems
Although WiFi connection issues with your Epson printer can be frustrating, you can often resolve them by checking that your printer is powered on and connected to the same network as your device. Start by verifying the printer’s Network Settings or Wi-Fi Status menu.
If it fails to obtain an IP address, restart both your router and printer, and make certain DHCP is enabled on the router. Use the Wi-Fi Setup Wizard or the WPS push-button method to reconnect, entering the correct SSID and password.
Also, update your printer’s firmware and install the latest Epson drivers to fix bugs.
Here’s a quick checklist to troubleshoot:
- Confirm printer is on and connected to the same Wi-Fi as your device
- Restart router and printer; check DHCP settings
- Reconnect using Wi-Fi Setup Wizard or WPS
- Update firmware and install latest drivers
Print Job Errors
When print jobs get stuck in the queue, you can clear the backlog by opening the printer spooler on your computer. Cancel all pending jobs, then restart the spooler service before resending your document.
If your Epson printer shows offline, make sure both your computer and printer are connected to the same Wi-Fi network. If needed, restart your router and printer firmware to refresh the connection.
For Email Print errors, double-check that your printer is registered with Epson Connect. Also, verify the unique printer email address is correct.
Paper jams require you to power off the printer first. Then, gently remove any jammed paper and reposition the paper trays properly.
Driver issues usually mean it’s time to install the latest Epson drivers. Also, make sure your firewall isn’t blocking the printer connection.
| Problem | Quick Fix |
|---|---|
| Print Jobs Stuck | Cancel jobs, restart spooler, resend document |
| Printer Offline | Check Wi-Fi, restart router and printer |
| Paper Jam | Power off, remove paper, reload trays |
Frequently Asked Questions
How Do I Print From My Phone to My Epson Printer?
You’ll install the Epson iPrint app and connect your phone and printer to the same Wi-Fi. Then, open your file and tap Print.
Next, select your Epson printer, adjust your settings if you want, and tap Print again. That’s it — your job will send wirelessly and start printing.
Why Won’t My Epson Printer Turn On?
Your Epson printer won’t turn on probably because the power cable’s loose, the outlet lacks power, or the power button isn’t pressed properly.
Check the cables and the power source. Try unplugging it for a minute before restarting.
Sometimes, it’s just a simple fix like making sure everything’s connected right. Give it a quick look and see if that helps!
What Is an Epson Connect Printer?
When it comes to Epson Connect printers, you’ve hit the jackpot—they let you print remotely via the cloud from your phone or laptop. Just connect, register, and print anytime, anywhere.
It makes tasks a breeze. No more being tied down to your desk or office printer. You can get your documents or photos printed on the go, super easily!
How to Print in Epson L5290 Using Phone?
You just install the Epson iPrint app and connect your phone and Epson L5290 to the same Wi-Fi.
Then, open the app, select your printer, and pick the file you want to print.
Adjust your settings if needed, and tap Print to start printing easily from your phone.
It’s pretty straightforward and super convenient!
Conclusion
Now that you’ve set up your Epson printer, imagine the contrast between tangled cords and seamless wireless printing. What once felt like a frustrating maze is now a smooth, effortless flow.
With just a few simple steps, your documents go from screen to paper in moments. You’ve turned complexity into convenience—your Epson printer is ready, connected, and working for you whenever inspiration strikes.
Printing has never been this easy or this reliable. Whether you’re sending important documents or cherished photos, your Epson printer delivers quality results fast. Enjoy the freedom of wireless printing and the simplicity of Epson’s user-friendly setup. Now, your printing experience is smooth, hassle-free, and perfectly tailored to your needs.