Blog

  • How to Add a Printer to an iPad in 10 Easy Steps

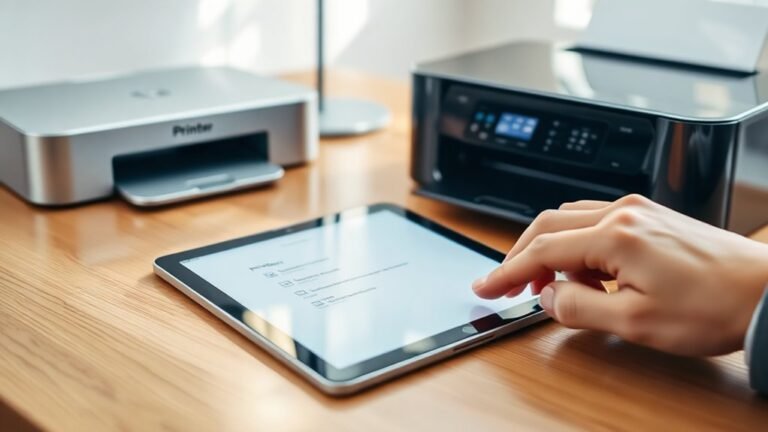
    To add a printer to your iPad, first make sure your printer supports AirPrint and both devices are on the same Wi-Fi network. Open the app with your document or photo, tap the share or menu button, then select Print.

    Choose your AirPrint printer from the list, adjust settings if needed, and tap Print. If your printer doesn’t appear, try restarting devices or use a third-party app for non-AirPrint models.

    Keep going to find helpful troubleshooting tips and extra options. You’ll be printing in no time!
  • 7 Steps to Design Something for a 3D Printer

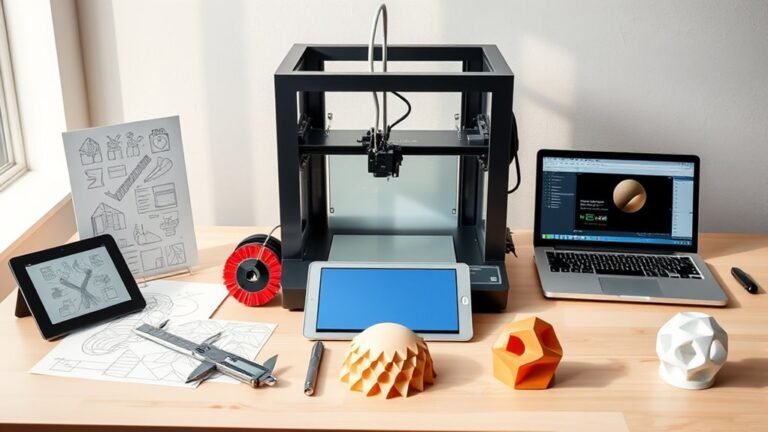
    Start by defining your object’s purpose, size, and strength needs to guide design choices. Set your software units to millimeters for real-world accuracy.

    Block out the basic shape with simple geometry, then add details while keeping wall thickness around 1–2 mm. Center and orient your model for best printing.

    Fix mesh issues like non-manifold edges and inverted normals. Finally, export a clean, watertight STL file.

    Following these steps guarantees a precise print and sets you up to explore expert tips.

  • How to Connect Orca Slicer to Printer in 10 Easy Steps

    To connect Orca Slicer to your 3D printer in 10 easy steps, first make sure your printer and computer share the same Wi-Fi network. Also, check that your printer has a valid IP address.

    Next, find your printer’s IP through its network settings or router. Open Orca Slicer, add the printer using its HTTP address, and load your 3D model.

    Slice the model to generate G-code and send it wirelessly via Creality Print WLAN. Follow these basics to get started, with more details waiting ahead.

  • How to Connect Canon MG Printer to WiFi in 5 Easy Steps

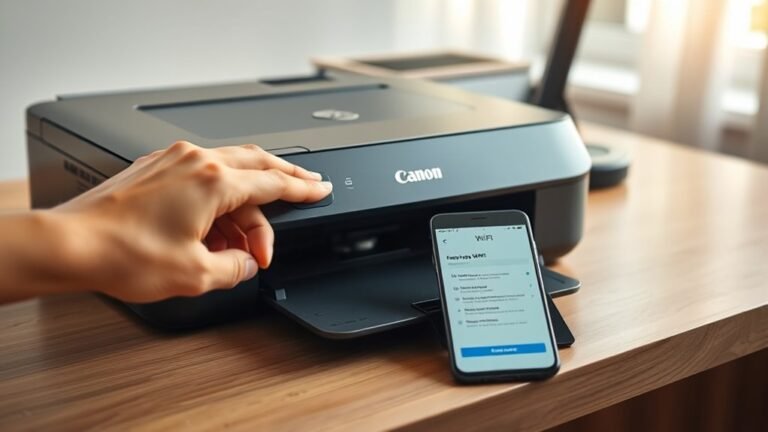
    Turn on your Canon MG printer and hold the Wi-Fi button until the alarm lamp flashes to start setup.

    Next, connect your phone or computer to the router’s 2.4 GHz network. Then, open the Canon PRINT app to add your printer and enter the Wi-Fi password.

    If the connection stalls, don’t worry. Just restart your devices or try setting up via USB.

    Finally, install the full software to complete wireless printing.

    Keep following along to explore helpful tips and troubleshooting for a smooth connection!

  • How to Add a Printer to an Android Phone in 3 Easy Steps

    To add a printer to your Android phone, first confirm both devices are powered on and connected to the same Wi-Fi network.

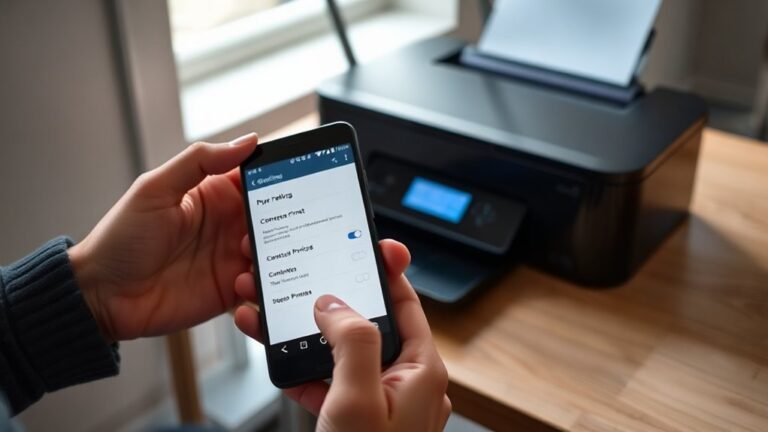
    Next, open your phone’s Settings, go to “Connected devices” or “Printing,” and add a print service like Mopria.

    Finally, select your printer from the available list to connect and start printing instantly.

    If you run into issues or want to optimize your setup, there are simple tips and troubleshooting steps to help you along. Just take it step by step, and you’ll be printing in no time!

  • How to Reset Printer Spooler in 3 Easy Steps

    To reset your printer spooler in 3 easy steps, first open Command Prompt as an administrator by right-clicking and selecting “Run as administrator.”

    Next, stop the Print Spooler service and clear stuck print jobs by deleting files in the spool folder.

    Finally, restart the spooler service and test your printer to make certain everything runs smoothly.

    If you want to troubleshoot deeper or avoid common pitfalls, there’s more helpful info to explore.

  • How Do You Copy on a Printer in 10 Easy Steps?

    To copy on a printer in 10 simple steps, switch it on and load the right paper type and size. Place your original document properly—face up in the feeder or face down on the glass.

    Open the copy menu, set the number of copies, and select the matching paper size. Choose color or black-and-white mode, then adjust copy quality settings as needed.

    Press start to begin copying. Watch the output to ensure everything’s correct, and if needed, you can further fine-tune settings for the best results.

  • Does a Printer Need WiFi?

    You don’t need WiFi to use a printer since most printers work great through wired connections like USB or Ethernet. Connecting directly to your computer or network keeps printing simple, fast, and more secure.

    Wired setups reduce risks from WiFi attacks and offer stable performance, especially for large jobs or offices. You can also print from phones using USB adapters or network cables.

    If you want to explore how wired and wireless printing truly compare, there’s more to discover. It’s worth checking out the pros and cons of each to find what works best for you.

  • How Do You Put a Printer Back Online in 5 Easy Steps

    To put your printer back online, first check that all cables are securely connected and the printer is powered on. Next, restart both your printer and computer to refresh the connection.

    Then, make sure your printer is set as the default device in your system settings. Clear any stuck print jobs from the queue to avoid errors.

    Finally, update or reinstall the printer drivers to fix any software glitches. Keep going if you want to explore detailed troubleshooting tips.

  • How to Add a Printer to Your Laptop in 5 Easy Steps

    To add a printer to your laptop, first find its IP address from the printer’s network settings or router. Next, open Devices and Printers on your Windows laptop and choose Add a Printer.

    Select “The printer that I want isn’t listed” to add it manually using the IP address. Then, install the correct driver downloaded from the manufacturer’s site.

    Finally, verify the setup by printing a test page. Keep going if you want step-by-step details to guarantee a smooth connection.