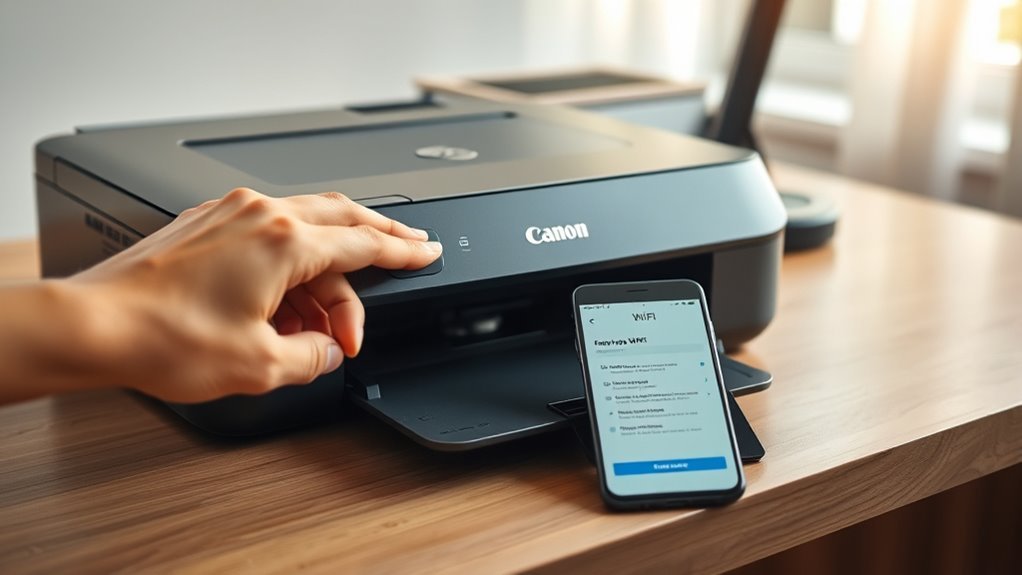
How to Connect Canon MG Printer to WiFi in 5 Easy Steps
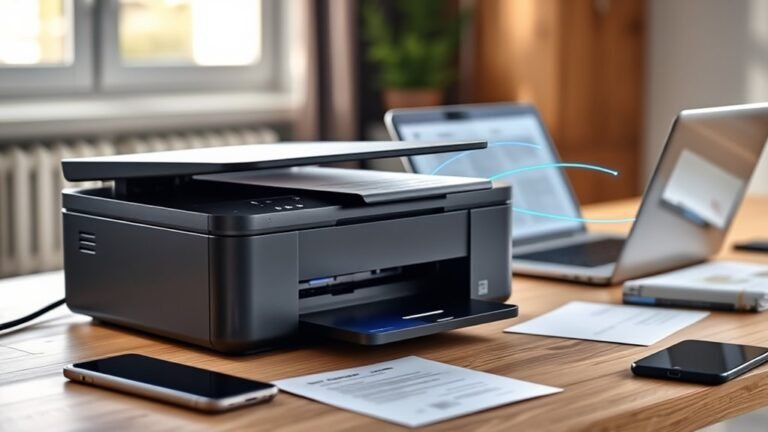
Turn on your Canon MG printer and hold the Wi-Fi button until the alarm lamp flashes to start setup. This is the first step to connect your Canon MG printer to WiFi easily and quickly. Make sure you’re ready to get your printer online without any hassle.
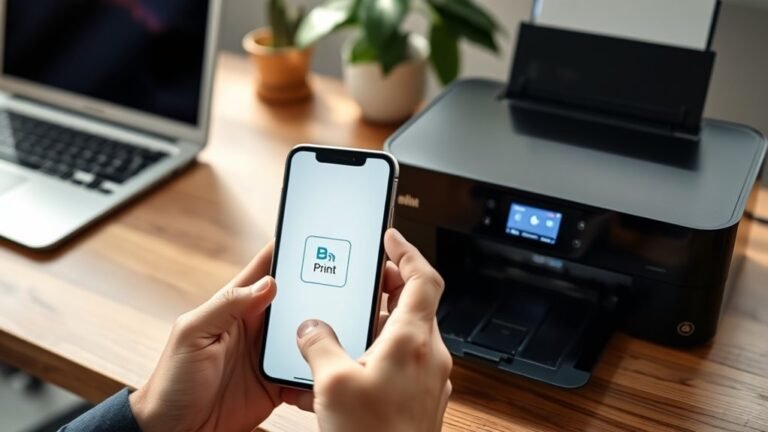
Next, connect your phone or computer to the router’s 2.4 GHz network. Then, open the Canon PRINT app to add your printer and enter the Wi-Fi password. This app makes it super simple to link your devices and get printing wirelessly in no time.
If the connection stalls, don’t worry! Just restart your devices or try the USB setup method as an alternative. Finally, install the full software to complete wireless printing. Keep following along to explore helpful tips and troubleshooting for a smooth connection.
Key Takeaways
- Turn on the Canon MG printer and press the Wi-Fi button until the alarm lamp flashes to enter Wi-Fi setup mode.
- Next, connect your phone or computer to the 2.4 GHz Wi-Fi network. Make sure the SSID is active and you have the password handy.
- Open the Canon PRINT app, tap Add Printer, and follow the setup wizard. Select the 2.4 GHz network and enter the password when prompted.
- Wait for the Wi-Fi lamp on the printer to glow steadily. This means your printer has successfully connected to the wireless network.
- Finally, download and run the Canon MG series setup software. This will install the necessary drivers and help you verify that wireless printing is working.
Turn On Your Canon MG Printer and Start WiFi Setup
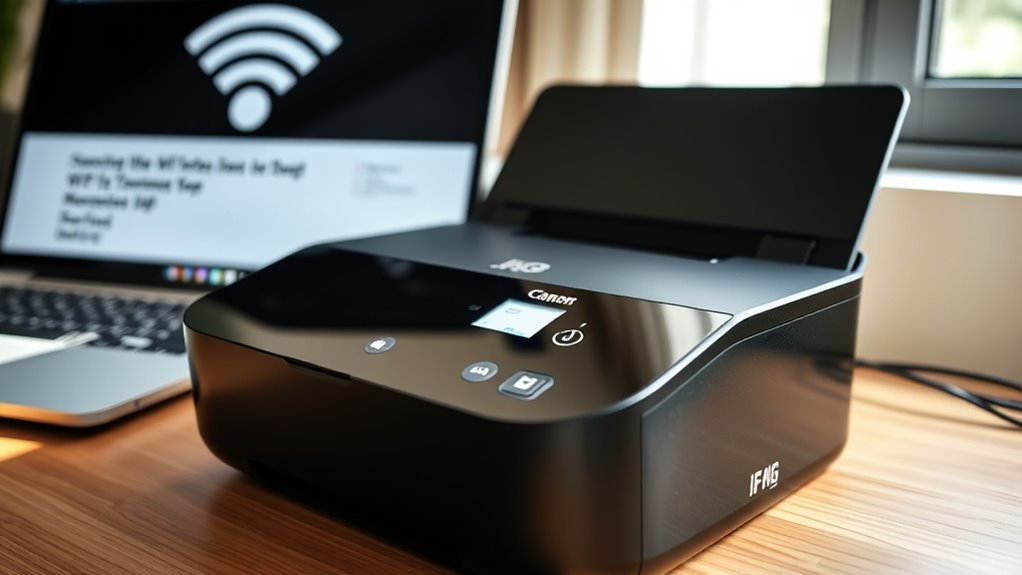
To get started, power on your Canon PIXMA MG printer and wait until the lamps stop flashing. The display will show when it’s ready.
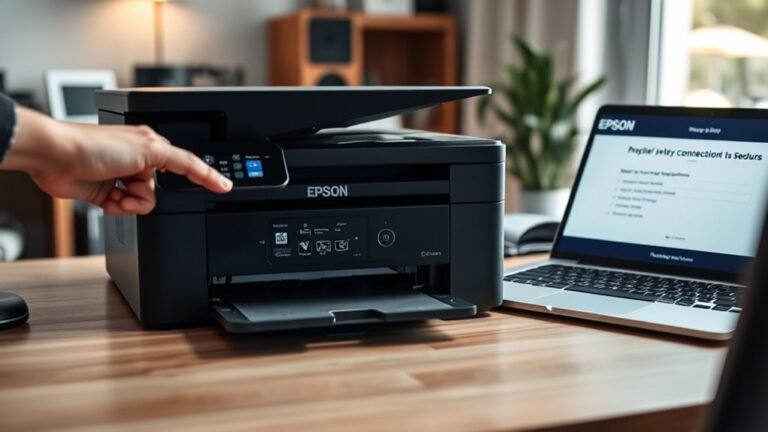
Next, press and hold the Wi‑Fi button until the alarm lamp flashes. This means the printer is in Wi‑Fi setup mode and ready to connect.
Make sure your router broadcasts a 2.4 GHz Wi‑Fi network. The Canon MG won’t connect over 5 GHz during setup.
While setting up wireless, open the Canon PRINT app on your phone or computer. Follow the on-screen prompts to detect your printer.
If your printer doesn’t show up, try restarting both devices. You can also disable 5 GHz temporarily or create a separate 2.4 GHz network.
You’ll enter your wifi password later, so keep it handy for a smooth wireless setup.
Pick Your 2.4 GHz WiFi Network and Enter Its Password
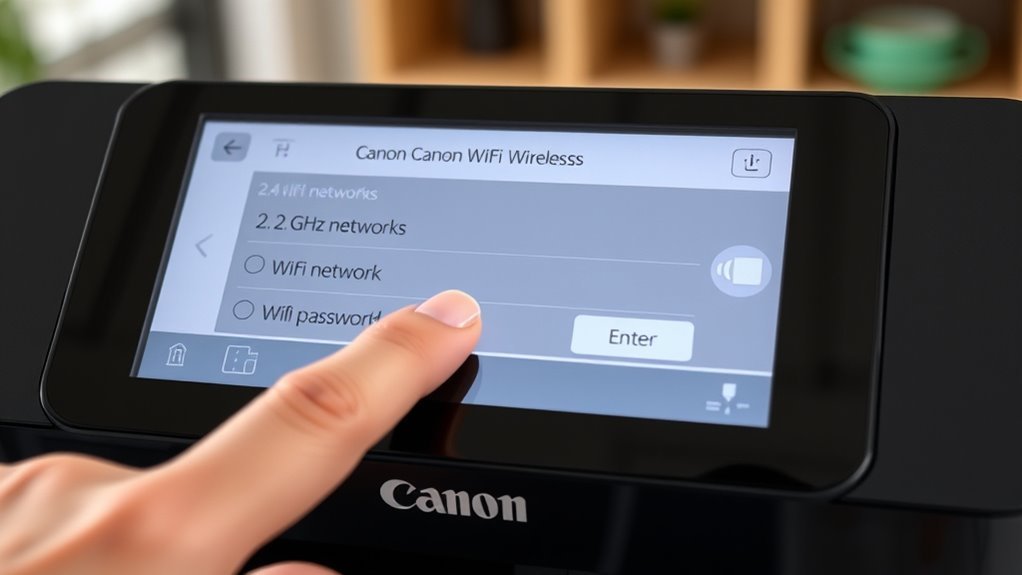
When selecting your WiFi network, make sure your device is connected to the 2.4 GHz band since the Canon MG printer doesn’t support 5 GHz. Check your router settings to confirm the 2.4 GHz SSID is active.
If your router uses one SSID for both bands, create a separate 2.4 GHz-only SSID temporarily to avoid connection issues.
During Wi-Fi setup, carefully enter the exact Wi‑Fi password for that SSID. Pay attention to capitalization and special characters.
Here’s a quick guide:
| Step | Detail |
|---|---|
| Confirm Band | Connect to 2.4 GHz Wi‑Fi network |
| Check SSID | Use the correct 2.4 GHz SSID |
| Enter Password | Type exact Wi‑Fi password |
| Troubleshoot | Move printer closer if needed |
This guarantees smooth connection for your Canon MG series printer.
Set Up WiFi on Canon MG3620 Using Canon PRINT App
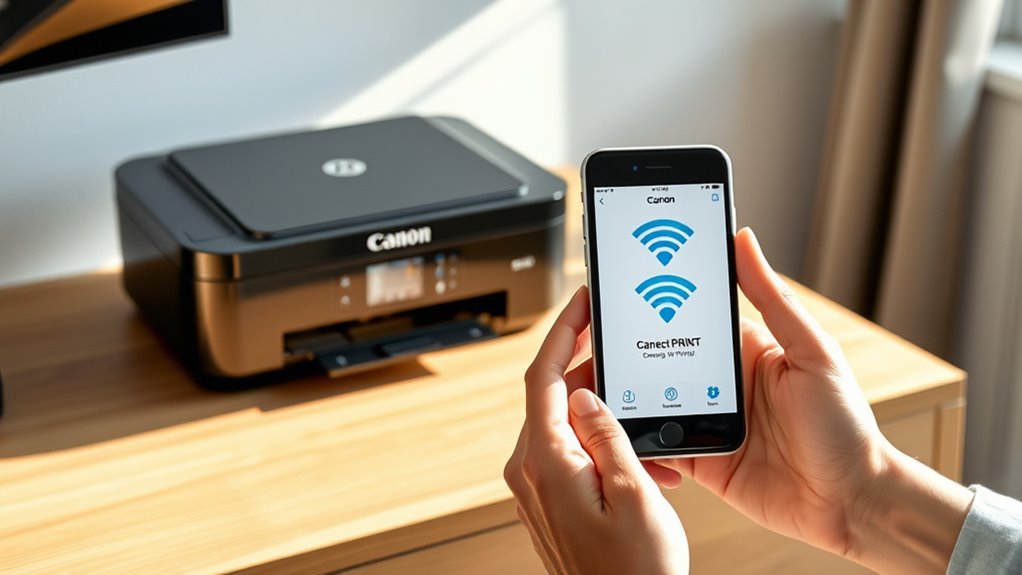
Get your Canon MG3620 ready for Wi-Fi by holding down the Wi-Fi button (or Wi-Fi + Stop on some models) until the alarm lamp flashes. This puts the printer into wireless setup mode.
Hold the Wi-Fi button until the alarm lamp flashes to start wireless setup on your Canon MG3620.
Next, install and open the Canon PRINT app on your iPhone or Android device. In the app, tap Add Printer to launch the wireless setup wizard.
Make sure your phone is connected to the same 2.4 GHz network, as the MG3620 doesn’t support 5 GHz. When prompted, select your Wi-Fi SSID and carefully enter the password, including any special characters or spaces.
The app will finish the Wi-Fi setup, and the printer’s Wi-Fi lamp will glow steadily once connected. This easy process connects your Canon MG3620 quickly and securely.
Troubleshoot Common WiFi Issues on Canon MG Printers
You’ll often encounter WiFi issues with Canon MG printers because they only support 2.4 GHz networks. So, make sure your router is broadcasting a 2.4 GHz SSID and that your device is connected to it.
Use the Canon PRINT app to select the correct SSID when you’re in wifi setup mode. If the setup doesn’t go through, try using a USB setup transfer with a cable instead.
Also, double-check your router password for any special characters. Sometimes those can cause problems. Don’t forget to restart your printer and router, and update the firmware if needed.
| Issue | Solution |
|---|---|
| Printer won’t find SSID | Disable 5 GHz or create a separate 2.4 GHz SSID |
| Wireless setup fails | Use USB setup transfer |
| Password rejected | Remove symbols or spaces from password |
| Connection unstable | Restart printer and router, update firmware |
Following these wireless troubleshooting tips will help keep your Canon MG printer running smoothly.
Install Drivers and Print Wirelessly
After resolving any WiFi connection issues, the next step is to install the proper drivers to enable full wireless functionality on your Canon MG printer. Download and run the full-version Canon MG series setup software from Canon’s support site rather than relying on built-in OS drivers.
During installation, select the “Wireless LAN connection” option. If the printer isn’t found, connect it temporarily via USB cable to transfer Wi-Fi credentials.
Make sure your router broadcasts a 2.4 GHz Wi‑Fi network and both devices are on the same router SSID. This helps avoid connection problems.
After setup, disconnect the USB cable and verify the printer IP address via the printer menu or router. It’s a quick way to ensure everything’s connected properly.
Finally, install the Canon PRINT app or enable AirPrint/Mopria to print wirelessly from your mobile devices. Following these steps guarantees seamless wireless printing with your Canon MG series printer.
Frequently Asked Questions
How to Connect the Wi-Fi to a Canon Printer?
You hold the Wi-Fi button until it flashes, then use the Canon PRINT app or setup software to select your network and enter the password.
If it fails, connect via USB and run the wireless setup again.
How Do I Connect My Canon G3060 Printer to Wi-Fi?
You’ll connect your Canon G3060 to Wi-Fi by pressing the Wi-Fi button until it flashes. Then, use the Canon PRINT app to enter your 2.4 GHz network details.
If it doesn’t work, don’t worry! Try setting it up via USB or simply restart your devices and give it another go.
How Do I Connect My Canon MG3650 Printer to Wi-Fi?
You hold the Wi-Fi button on your Canon MG3650 until the alarm lamp flashes. Then, you use the Canon PRINT app to select your 2.4 GHz network.
After that, just enter the password, and your printer will connect wirelessly. It’s pretty straightforward once you get the hang of it!
How Do I Get My Printer to Recognize My Wi-Fi?
Think of your printer as a ship needing a lighthouse—it recognizes Wi-Fi when you press its Wi-Fi button to start setup mode.
Then, connect your device to the same 2.4 GHz network so it can spot your signal.
Conclusion
Connecting your Canon MG printer to WiFi is as simple as following a recipe—you just need the right steps and ingredients. Once you’ve powered on your printer, selected your 2.4 GHz network, and set it up using the Canon PRINT app, you’re almost there.
If you hit any snags, troubleshooting is quick and easy. Don’t worry, most common issues can be fixed with a few simple adjustments. Finally, installing the drivers lets you print wirelessly with ease.
This makes your workflow smooth and hassle-free. By connecting your Canon MG printer to WiFi, you enjoy the convenience of wireless printing from any device. So, whether you’re at home or in the office, following these steps ensures your Canon MG printer works seamlessly on your network, saving you time and effort.