How to Add a Printer to an iPad in 10 Easy Steps
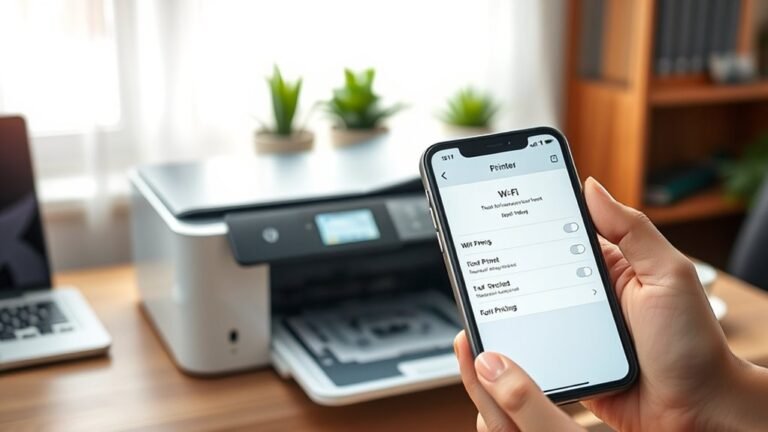
To add a printer to your iPad, first make sure your printer supports AirPrint and that both devices are connected to the same Wi-Fi network. This is important because AirPrint lets your iPad communicate directly with compatible printers without extra software.
Next, open the app containing the document or photo you want to print. Tap the share or menu button, then select Print from the options.
Choose your AirPrint printer from the list that appears. You can adjust any print settings if needed, like the number of copies or page range, then tap Print to start printing.
If your printer doesn’t show up, don’t worry. Try restarting your iPad and printer, or consider using a third-party app designed for non-AirPrint printers.
Keep reading for helpful troubleshooting tips and extra options to make printing from your iPad easier and more reliable.
Key Takeaways
- Ensure the printer supports AirPrint or download a third-party printing app for non-AirPrint printers.
- Connect both the iPad and printer to the same Wi-Fi network. Make sure to avoid guest networks, as they can cause connection issues.
- Open the app with the content you want to print. Then, access the Print dialog by tapping the share or menu button.
- Select the AirPrint-compatible printer that should appear automatically. If you’re using a third-party app, you might need to choose the printer manually.
- Adjust your print settings as needed. Once you’re happy with everything, just tap “Print” to start the job.
Why Adding a Printer to Your iPad Can Be Tricky
Although iPads have become incredibly versatile, adding a printer can still be frustrating because not all printers support wireless connections or Apple’s AirPrint technology. You might find that some printers only work through USB or require specific drivers that iPads can’t install.
Plus, many printers rely on Wi-Fi networks, so if your printer and iPad aren’t on the same network, printing won’t work. You’ll also encounter compatibility issues if your printer is older or from a less common brand.
Without standard support, you may need to use third-party apps or manufacturer-specific software, which adds complexity. This can make printing from your iPad less straightforward than from a computer, requiring extra steps and patience to get it working right.
Does Your Printer Support AirPrint?
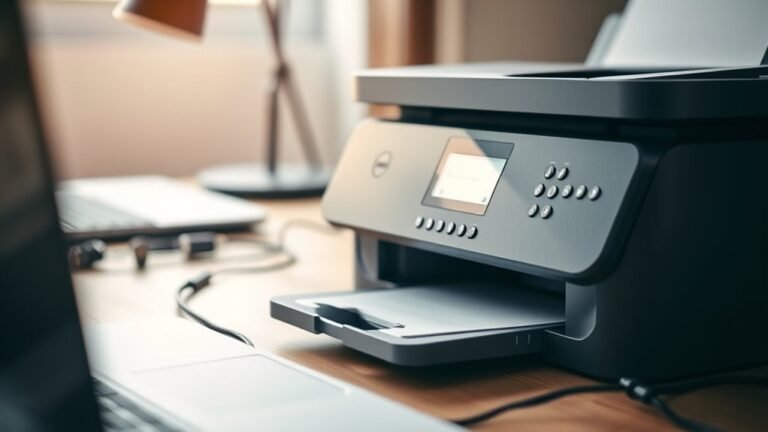
One of the biggest factors that determines how easily you can print from your iPad is whether your printer supports AirPrint. AirPrint is Apple’s built-in printing technology that lets you print directly from your iPad without needing extra drivers or apps.
A key factor in printing from your iPad is whether your printer supports AirPrint technology.
If your printer supports AirPrint, you can print seamlessly by selecting the print option in your app and choosing your printer. Pretty straightforward, right?
To check if your printer supports AirPrint, look for the AirPrint logo on the packaging or visit Apple’s official list of AirPrint-compatible printers. Many major brands like HP, Canon, Epson, and Brother offer AirPrint-enabled models.
If your printer doesn’t support AirPrint, don’t worry just yet. You might need to explore alternative methods to connect your iPad and print successfully.
How to Connect Your iPad and Printer to the Same Wi-Fi Network
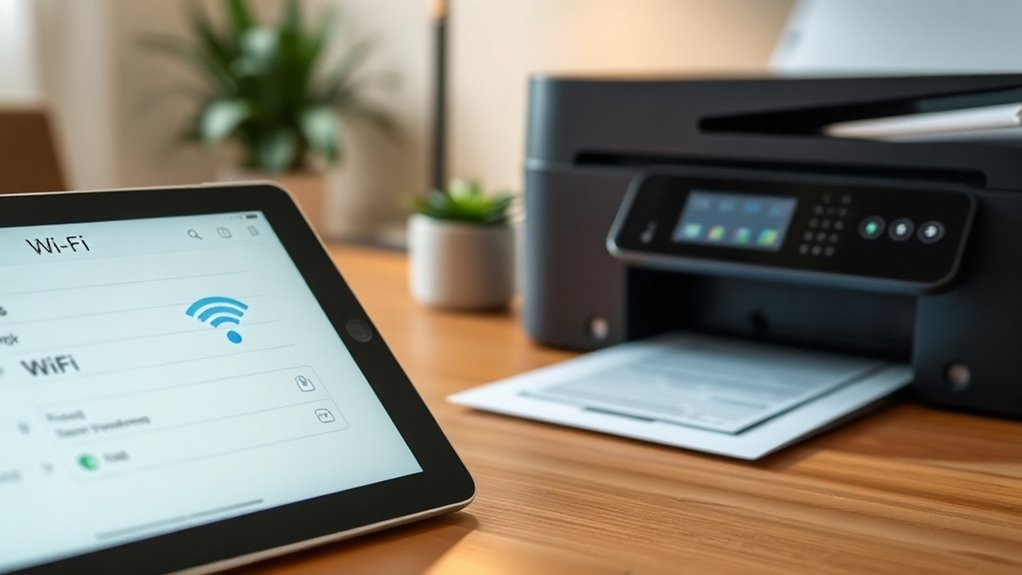
A dependable Wi‑Fi connection is essential for your iPad and printer to communicate smoothly. First, make sure your printer is powered on and within range of your Wi‑Fi router.
On your printer’s control panel, locate the network settings to connect it to your Wi‑Fi. Select your network name (SSID) and enter the password if prompted.
Next, on your iPad, open Settings, tap Wi‑Fi, and choose the same network your printer is connected to. Make sure your iPad successfully joins this network.
Both devices must be on the exact same network to recognize each other. Once connected, your iPad and printer will be ready to pair, letting you print without any wired connections or extra setup hassles.
Open the App You Want to Print From
Before you send a document to print, launch the app that contains the file or image you want to print. This could be Photos, Files, Mail, Safari, or any other app where your content is stored. Simply tap the app icon on your iPad’s home screen to open it.
Once inside, navigate to the specific area or folder where your document or photo is located. Make sure the app supports printing, as some may not have this capability.
Opening the right app first ensures you’re ready to select and print without delays. By organizing your files ahead of time, you’ll streamline the printing process and avoid unnecessary steps when you move on to selecting your document or photo.
Select the Document or Photo to Print on Your iPad
Start by locating the specific document or photo you want to print within the app. Whether you’re in Photos, Files, or another app, finding the right item is crucial.
Once you’ve found it, tap to open or select it. This ensures you’re printing exactly what you need.
Here are some common types of content you might choose to print:
- A family photo or important image from the Photos app
- A PDF or Word document stored in the Files app
- An email or webpage you want to keep in physical form
After selecting your content, you’re ready for the next step in printing from your iPad. Remember, choosing the right file first saves time and avoids mistakes later on.
Adjust Print Settings (Copies, Pages, and More)
Once you’ve selected your document or photo, you’ll see several print settings that make it possible for you to customize how your printout looks. You can choose the number of copies, specify which pages to print, and adjust other options like color and double-sided printing.
These settings help you get exactly what you need without wasting paper or ink.
Here’s a quick overview of common print settings:
| Setting | Description |
|---|---|
| Copies | Select how many copies to print |
| Pages | Choose specific pages to print |
| Color | Print in color or black & white |
| Double-sided | Enable or disable duplex printing |
Make sure to adjust these before printing to save resources and ensure your printout meets your needs. It’s a simple way to avoid any surprises and get the best results every time.
Send the Print Job From Your iPad
After adjusting your print settings, you’re ready to send the print job from your iPad. Start by tapping the share icon or the menu button in the app you’re using. Then, select the “Print” option to open the print dialog.
Once your print settings are set, tap the share or menu button, then choose Print to send your job.
Make sure your chosen printer appears at the top of the screen. When everything looks good, tap “Print” in the upper-right corner to start the job.
Here’s a quick checklist to send your print job smoothly:
- Confirm your printer is selected and connected via AirPrint or Wi-Fi.
- Double-check page range, number of copies, and color options.
- Tap “Print” only once to avoid duplicate jobs.
Following these steps helps make sure your document prints quickly and correctly from your iPad. Easy, right?
Troubleshoot Wi-Fi and AirPrint Connection Issues
If your iPad isn’t connecting to Wi-Fi or AirPrint isn’t working, don’t worry—you can fix it. Start by checking your Wi-Fi connection and ensuring both devices are on the same network.
Next, verify that your printer supports AirPrint and is up to date. It’s usually a quick check, and it can save you a lot of hassle. Just take it step by step, and you’ll get it sorted in no time.
Wi-Fi Connectivity Problems
A weak or unstable Wi-Fi signal can disrupt your iPad’s connection to the printer, causing AirPrint to fail. To fix this, first check your Wi-Fi strength near the printer and iPad.
If the signal is poor, try moving closer to the router or removing obstructions. Also, make sure both devices are connected to the same network.
Here are some quick tips to troubleshoot Wi-Fi connectivity issues:
- Restart your router and printer to refresh their network settings.
- Forget the Wi-Fi network on your iPad and reconnect by entering the password again.
- Update your printer’s firmware and your iPad’s iOS to the latest versions for compatibility.
Following these steps will improve your connection and help your printer work smoothly with your iPad. Give it a try!
AirPrint Not Working
Troubleshooting AirPrint problems often starts with checking your Wi‑Fi connection and printer settings. Make sure your iPad and printer are connected to the same Wi‑Fi network; AirPrint won’t work if they’re on different networks or a guest network.
Restart your router, printer, and iPad to refresh connections. Confirm that your printer supports AirPrint by checking the manufacturer’s website.
If your printer shows offline, make sure it’s powered on and connected properly. Also, disable any VPN or firewall that might block the link.
Be sure to update your iPad’s iOS and the printer’s firmware to the latest versions. If AirPrint still doesn’t work, try resetting your network settings on the iPad under Settings > General > Reset.
These steps should resolve most AirPrint connection problems quickly. Give them a try!
What to Do If Your Printer Isn’t Showing Up
When your printer doesn’t show up on your iPad, it’s usually due to connectivity issues or compatibility problems. First, make sure both your iPad and printer are connected to the same Wi-Fi network. If they aren’t, your iPad won’t detect the printer.
Next, check if your printer supports AirPrint, as only AirPrint-compatible printers show up automatically. Restarting both devices can also resolve temporary glitches that stop your printer from appearing.
Check if your printer supports AirPrint, as only compatible printers appear automatically; restarting devices can fix glitches.
Here’s what to do if your printer isn’t showing up:
- Confirm both devices are on the same Wi-Fi network.
- Verify that your printer supports AirPrint.
- Restart your iPad and printer to refresh connections.
Following these steps often fixes the problem without needing extra tools or apps. Give it a try!
Use Third-Party Printing Apps for Non-AirPrint Printers
If your printer doesn’t support AirPrint, you can use third-party apps like Printer Pro or PrintCentral to connect your iPad. You’ll just need to download the app and follow the setup instructions.
Then, link it to your printer. Once that’s done, printing documents and photos becomes super straightforward through the app’s interface. Easy, right?
Compatible App Options
Several third-party printing apps can help you connect your iPad to printers that don’t support AirPrint. These apps act as a bridge, enabling your iPad to communicate with a wider range of printer models.
When choosing an app, look for one that supports your printer brand and offers user-friendly features. It makes printing way easier and less frustrating.
Here are some popular compatible app options:
- Printer Pro: Works with many printer types and allows printing from various apps.
- PrintCentral Pro: Supports multiple printer models and includes advanced document management.
- Canon PRINT Inkjet/SELPHY: Ideal if you have a Canon printer, offering seamless integration.
Using these apps, you can expand your printing options and print directly from your iPad without AirPrint. It’s a handy workaround that saves you time and hassle.
Setup and Configuration
To get your non-AirPrint printer working with your iPad, start by downloading a compatible third-party printing app. Once installed, open the app and follow its instructions to connect your printer.
Usually, you’ll need to make sure your printer and iPad are on the same Wi-Fi network. The app will then search for available printers; just select yours from the list.
If your printer isn’t detected automatically, no worries—you can often enter its IP address manually within the app’s settings. After connecting, you can set up your print preferences like paper size and print quality right through the app.
Finally, save these settings so you don’t have to repeat the setup each time. This method bridges the gap for non-AirPrint printers, letting you print smoothly from your iPad.
Printing Process Overview
When you use a third-party printing app with your non-AirPrint printer, you get easy access to printing features right from your iPad. These apps work like a bridge, helping your device talk to printers that don’t support Apple’s AirPrint technology.
To get started, you’ll usually download the app recommended by your printer’s manufacturer or a trusted third-party provider. After installing it, just open the document or photo you want to print, share it to the app, and customize your print settings.
Here’s what you can expect from the printing process:
- A seamless connection between your iPad and non-AirPrint printer
- Options to adjust print quality, paper size, and color preferences
- The ability to queue multiple print jobs for convenience
This way, printing becomes simpler—even if you’re using older or less common printers.
Frequently Asked Questions
Can I Print From My iPad Without a Wi-Fi Connection?
You can print without Wi-Fi by using a printer with Bluetooth or a USB adapter. Some printers support AirPrint via direct connection, letting you print from your iPad even when you don’t have a Wi-Fi network available.
Pretty handy, right? So, if you’re ever stuck without Wi-Fi, you still have options to get your documents printed easily.
How Do I Update My Printer’s Firmware for iPad Compatibility?
You check your printer’s model and visit the manufacturer’s website. Then, download the latest firmware for your device.
Next, connect your printer to a computer or network. Follow the update instructions carefully to ensure smooth iPad compatibility and improved performance.
It’s pretty straightforward once you get started! Just take it step by step.
Are There Any Printing Limitations When Using an iPad?
Yes, you might face limitations like fewer printer settings and no duplex printing on some models. Also, only certain file types are supported, which can be a bit frustrating.
You can’t install custom drivers, so you’re mostly limited to AirPrint-compatible printers for seamless use. That means your options might be a bit narrower than on a regular computer.
Can Multiple iPads Share the Same Printer Simultaneously?
Yes, you can share one printer with multiple iPads simultaneously. In fact, over 65% of offices use shared printers wirelessly.
Just make sure the printer supports AirPrint or is connected to the same Wi-Fi network as your devices. That way, all your iPads can easily print without any hassle.
How Do I Cancel a Print Job From My iPad?
You can cancel a print job by opening the App Switcher, then tapping the Print Center icon. After that, select the print job you want to cancel.
Just tap “Cancel Printing” to stop it immediately. It’s pretty quick and easy!
Conclusion
So, adding a printer to your iPad might feel like decoding ancient hieroglyphics, but it doesn’t have to be that way. If your printer supports AirPrint and you’re on the same Wi-Fi, you’re almost there—no magical spells required.
If not, third-party apps are your trusty sidekicks. Printing from your iPad should be simple, yet here we are, turning a quick task into a tech adventure.
At least now, you’re ready for the quest! Adding a printer to an iPad is easier than it seems once you know the steps. Whether using AirPrint or a third-party app, you can get your printer connected in no time. With the right setup, printing from your iPad becomes a breeze, making your workflow smooth and hassle-free. So, don’t stress—follow these simple steps, and you’ll be printing effortlessly from your iPad in no time.