How Do You Print Labels on a Printer in 7 Steps?
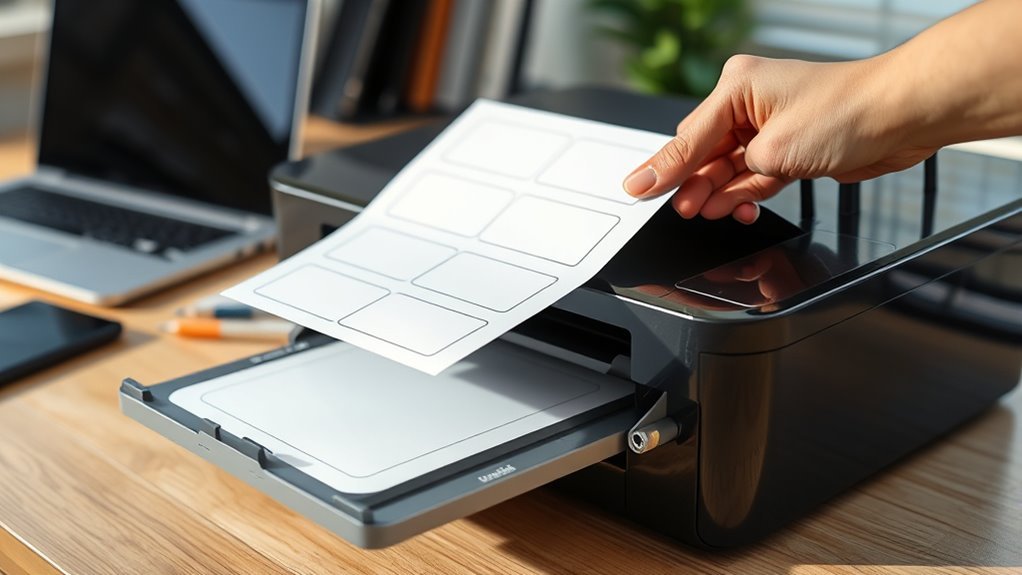
To print labels on a printer, start by picking a template that matches your printer type and label layout. This makes sure everything fits perfectly, so you avoid any misprints or wasted labels.
Next, create or upload your design. Remember to keep important content inside the safe zones with bleed margins to prevent anything from getting cut off.
Once your design looks good, preview it and save a high-quality, print-ready file. This step is super important because a clear file means sharp, professional-looking labels. Then, apply your design across all the labels using the template tools. This saves time and keeps everything consistent.
Now, load your label sheets into the printer with the correct orientation. Don’t forget to adjust the paper guides so the sheets feed properly. Finally, print a test sheet to check alignment and quality. If it looks good, you’re all set to print the rest. Follow these steps, and you’ll soon master label printing with confidence!
Key Takeaways
- Select the correct label template that matches your printer type and label layout. This helps ensure accurate printing and alignment.
- Prepare your design and save it as a high-resolution, print-ready PDF. Make sure to embed fonts and use 300 dpi images for the best quality.
- Load the label sheets into the printer, paying attention to the correct feed orientation. Don’t forget to adjust the paper guides to prevent jams.
- Set the printer scaling to 100% or “Actual Size.” Then, print a test sheet to check label alignment and color accuracy.
- Finally, check the barcode readability and overall print quality. Apply a sample label on the actual container to confirm it’s durable enough.
Choose the Right Label Template for Your Printer

Before you print, make sure you choose the right label template for your printer. First, verify if you’re using an inkjet printer, laser, or thermal label printer. This step guarantees you pick a template that matches your device’s supported format.
Choose the right label template by first identifying your printer type—inkjet, laser, or thermal—for best results.
For example, desktop inkjet printers often use the “Normal – Half Page” template, which typically fits two labels per 8.5″ × 11″ sheet. Adjust your printer settings accordingly to match the template dimensions and layout.
Also, check the template’s bleed, margin, and safe-area specs to avoid cutting off barcodes or text. If you’re printing variable data like serial numbers, select a template that supports data merging to keep your labels aligned throughout the print run.
Proper template choice streamlines your labeling process and prevents costly errors. It really makes the whole printing job smoother and saves you time.
Create or Upload Your Label Design File
You’ll want to create your label design in a program that lets you save files in printer-friendly formats like PDF or high-res TIFF.
When uploading your design, check that the platform supports these formats and retains all important details like fonts and colors.
This guarantees your labels print exactly as you intended without any surprises.
Design File Formats
When creating or uploading your label design file, saving your artwork as a print-ready PDF with embedded fonts, 300 dpi images, and matching bleeds guarantees accurate color and layout during printing.
This format works best for most printers, ensuring your labels look sharp and professional.
For logos and barcodes, vector formats like AI or EPS preserve clarity at any size. Thermal printers require monochrome bitmaps or compatible language files to avoid scaling issues.
| File Format | Use Case | Works Best For |
|---|---|---|
| PDF (Print-ready) | General label printing | Most printers |
| AI, EPS, SVG | Logos, barcodes | Maintaining sharpness |
| PNG (1-bit) | Thermal printers | Avoiding dithering, scaling |
Choose your format wisely for flawless label prints every time.
Uploading Design Options
Getting your label design uploaded smoothly starts with choosing the right file type and matching it to the correct template size. Save your artwork as a print-ready PDF with flattened layers, embedded fonts, and 300 dpi images for quality output.
For raster printers, PNG or TIFF at 300 dpi works well. Always select a template matching your sheet or roll size—like Avery 8293 for 1.5″ round labels—to keep your layout precise.
If you’re using variable data such as barcodes or names, provide a structured CSV or Excel file mapped to your template. It’s a good idea to run a test batch to check merges and scannability.
For industrial presses, confirm your file format and substrate for proper color management. Finally, preview a printable PDF with crop marks and print a test sheet to verify registration and color accuracy before the full run.
Adjust Your Design Within Safe and Bleed Areas
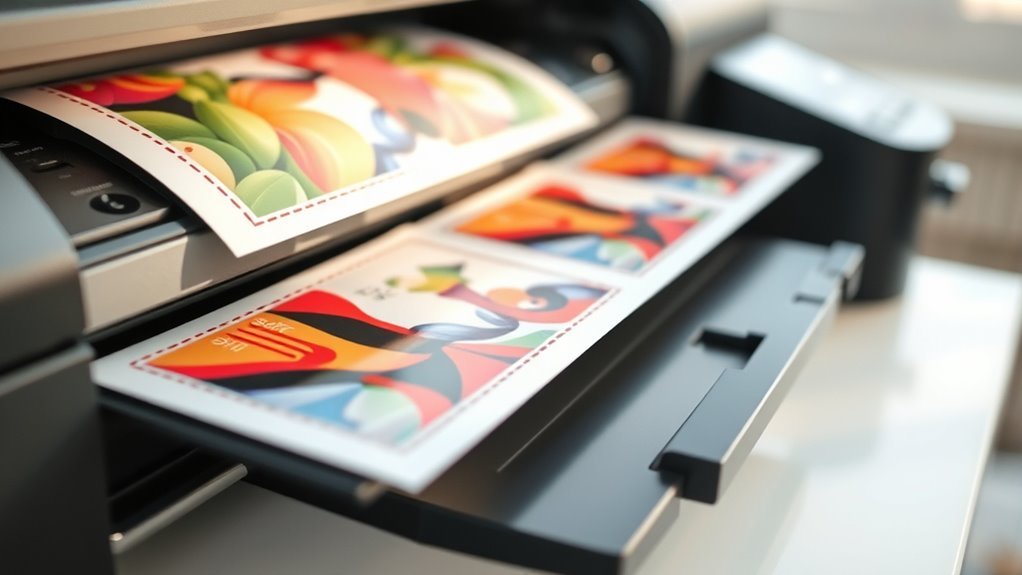
To make certain your labels print perfectly, keep all important text and barcodes inside the safe zone, which is typically 1/8 inch from the edge.
Extend background colors and images to the bleed margin beyond the cut line to avoid unwanted white borders. Adjust your design elements within these guides and use high-resolution artwork to maintain sharpness after trimming.
This way, your labels will look exactly how you want them—clean and professional every time. Just take a moment to double-check those margins before sending your design off!
Define Safe Zones
Although designing your label might seem straightforward, defining safe zones is essential to guarantee your important text, barcodes, and logos don’t get trimmed or obscured during cutting. Safe zones create an inner margin—usually 0.125 to 0.25 inches—inside the label edge where all critical elements must stay. This prevents damage during die-cutting and application.
When placing small fonts or barcodes, keep them at least 1/8 inch inside the safe zone and run a scan test on a printed sample to confirm readability. Your design file should include guides for the trim line, bleed line, and safe zone to help you position elements precisely.
If you use template tools, enable built-in safe-area settings and print test sheets on actual label stock before full production. It’s a simple step that can save you a lot of headaches later!
Manage Bleed Margins
Once you’ve set your safe zones, it’s important to manage bleed margins to guarantee your design prints cleanly without unwanted white edges. Extend background colors or images beyond the trim line by 1/8 inch (3 mm), matching your label supplier’s specs.
Make sure to keep all critical text and logos at least 1/8 inch inside the safe area to avoid trimming cuts. Export your final design as a high-resolution PDF with crop marks and bleed enabled.
If you’re printing at home, preview the PDF first and set page scaling to 100% for accurate alignment. This way, your design will look just as crisp and professional as you intended.
| Precision | Confidence | Perfection |
|---|---|---|
| Extend | Protect | Assure |
| Align | Preview | |
| Clean | Crisp | Professional |
Adjust Design Elements
When you adjust your design elements, keep all critical text and barcodes well within the safe area—usually 1/8 inch inside the trim line—to prevent accidental trimming.
Also, extend background colors and artwork intended to reach the edge all the way to the bleed area, about 1/8 inch beyond the trim. This helps avoid those annoying white slivers after cutting.
Use vector formats like PDF or SVG for logos and small text. Make sure images are at least 300 dpi at final size to keep things sharp and ensure barcodes scan properly.
Keep stroke weights at a minimum of 0.25 pt, and avoid fonts smaller than 6–7 pt. If your text is dense or regulated, go ahead and increase the size for better readability.
Finally, place variable data like QR codes within safe zones. Don’t forget to do a test print to confirm everything is aligned and easy to read before printing the full run.
Preview and Save a Print-Ready Label File
Before you print your labels, open the purchased PDF and use the print preview to confirm the layout shows two labels per 8.5″ x 11″ page or matches your selected format. Check that the page size is set to Letter (8.5″ x 11″) and the scale is 100% or “Actual Size” in the print dialog to keep barcodes and margins accurate.
Make sure your printer profile matches your label type—laser or inkjet for Normal – Half Page, thermal for Thermal formats—to guarantee proper media and resolution. If you’ve disabled One-Click Purchase, review personalized and variable data on-screen to verify accuracy.
Finally, save your print-ready file as a PDF with embedded fonts and full-resolution images. This preserves layout, color, and barcode integrity for the best printing results.
Apply Your Design to All Labels on the Sheet
After saving your print-ready PDF, the next step is to apply your design across all labels on the sheet. Use your label template—like an Avery product number—in your design tool so your master design automatically tiles to every label position.
Select options such as “Edit All” or “Apply to All” to replicate logos, text, and bleed-safe elements without copying them manually. Always check the safe area and bleed guides in the template to make sure critical text and artwork won’t be trimmed.
Before printing, preview the full-sheet PDF to confirm proper alignment, color placement, and consistent repetition of your design. If you plan to print locally, download the PDF and set your printer to preserve scale at 100% or “actual size” to keep your design’s dimensions accurate across all labels.
Load Label Sheets Into Your Printer Following Orientation Guidelines
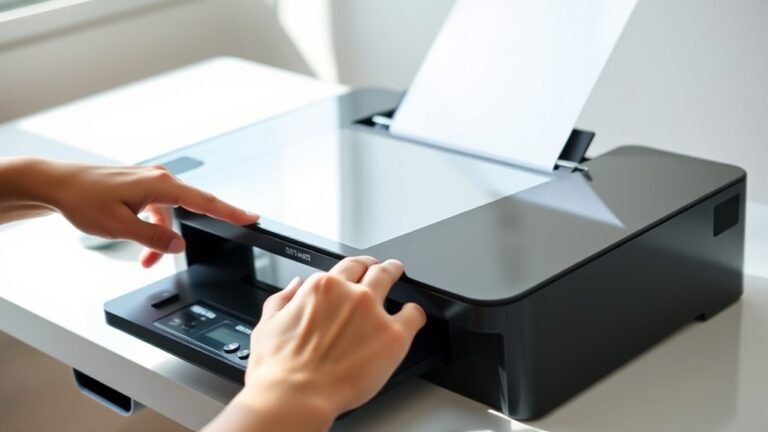
Start by checking the label sheet packaging or your template to identify the correct feed orientation—whether face-up or face-down and which edge goes in first. For most 8.5 x 11 label sheets, load them with the top edge entering first, unless your printer states otherwise.
If your printer has a manual feed or straight-path bypass, use it for thicker sheets to prevent jams and curling. Adjust the paper guides to fit snugly without bending the edges.
Also, select the correct media type in your printer settings to guarantee smooth printing.
| Feeling Confident | Avoid Frustration |
|---|---|
| Proper orientation | Reduced jams |
| Correct guides | Crisp printouts |
| Right media type | Smooth feeding |
Print a Test Sheet to Check Alignment and Quality
You’ll usually want to print a single test sheet to verify that your label design aligns perfectly with the die-cuts on your sheets. Use the chosen label format, like Normal – Half Page, and set your printer’s media options—paper type, quality, and orientation—to match your labels.
For thermal printers, pick the correct format, such as Thermal – Wide or Thermal – Skinny, to make certain proper heat and ink transfer. After printing, inspect color accuracy, edge alignment, and text clarity under the lighting where labels will be viewed.
Test barcode readability with your scanner and apply a sample label to the actual container at working temperature to check adhesion and durability. If anything’s off, adjust margins or scale in the print dialog or template, then print another test sheet until everything meets your standards.
Frequently Asked Questions
What Are the Steps of Printing a Document?
You open your document and press Ctrl or Cmd plus P. Then, select your printer from the list.
Next, set how many copies you want and choose the pages to print. You can also adjust the orientation and paper size here.
After that, pick the print quality that suits your needs. When everything looks good, just hit Print.
Finally, don’t forget to collect your printed pages from the output tray. Easy, right?
How Can I Print a Label With No Printer?
You don’t need a quill to print labels without a printer. Just upload your label PDF to an online service or a print shop, then pick them up or get them shipped straight to your door.
Easy!
Why Are My Avery Labels Not Printing Correctly?
Your Avery labels aren’t printing correctly because you might’ve selected the wrong template, used incorrect scaling, or loaded the label sheet improperly.
Double-check settings, paper size, and run a test print to fix alignment and smudging issues.
It’s usually a simple fix once you spot what’s off! Just take it step by step and you’ll have perfect labels in no time.
How to Print a Label on a Printer?
Printing labels is easier than you think! Just select the right format, download your label PDF, and make sure your printer settings don’t resize it.
Then, hit print. You’ll have perfect labels ready to impress in no time!
Conclusion
Now that you’ve mastered these seven steps, printing labels will flow like a well-choreographed dance. Picture your printer as a painter’s brush, bringing your designs to life on crisp sheets.
With each test print, you’re fine-tuning a masterpiece, ensuring every label aligns perfectly, like stars in a constellation. So, load your sheets, press print with confidence, and watch your creations transform from digital dreams into tangible, polished works ready to shine.
Printing labels on a printer doesn’t have to be complicated. By following these simple steps, you can easily create professional-looking labels that stand out. Whether it’s for organizing, shipping, or branding, your printer and label sheets are all you need to get the job done right. Just remember to check your settings, do a test print, and you’re set to produce crisp, clear labels every time.