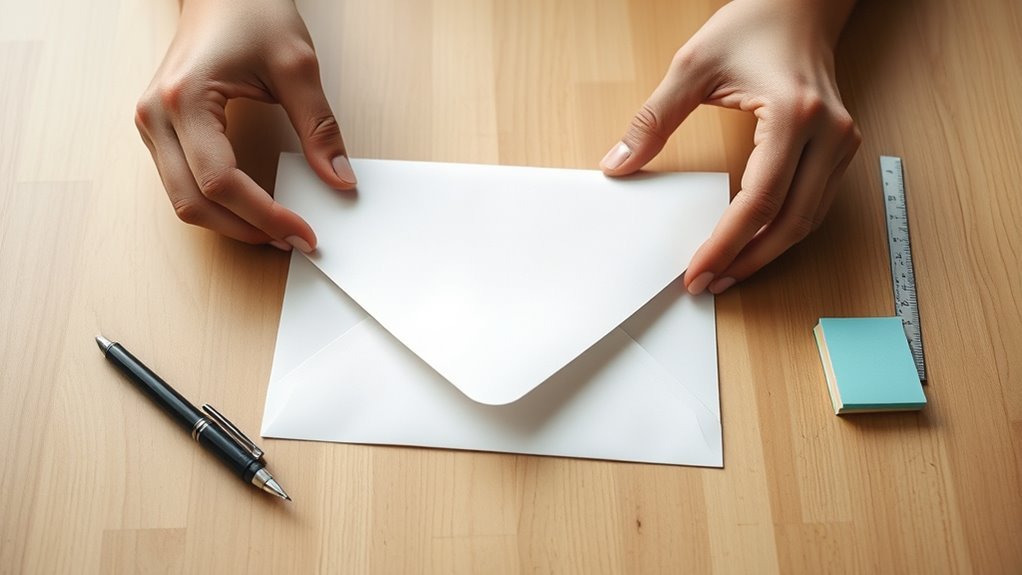
How to Make an Envelope Out of Printer Paper in 3 Easy Steps
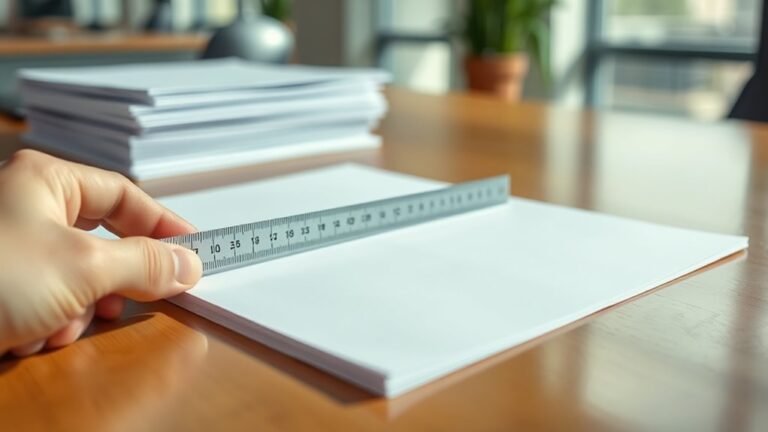
Start by trimming your standard printer paper into a square, around 8.5 inches on each side. Folding printer paper into an envelope is easy and fun—you’ll love how simple it is to create your own custom envelope at home.
Fold the paper diagonally to form a triangle, then bring the left and right corners toward the center so they overlap. Next, fold the bottom flap up over the folded sides and secure it with glue or tape.
Press firmly to create crisp creases, then add your choice of seal or decoration. Keep going to discover tips for making your envelope both durable and stylish.
Key Takeaways
- Trim standard printer paper into a square, about 8.5 x 8.5 inches, for easy folding.
- Fold the square diagonally to form a triangle, then fold the left and right corners inward to meet at the center.
- Fold the bottom corner up over the side flaps to create the envelope pocket.
- Secure side flaps with glue or double-sided tape before folding the bottom flap for a strong seal.
- Finish by folding down the top flap and sealing it with a sticker or tape for a neat closure.
Gather Paper and Tools for Your Envelope
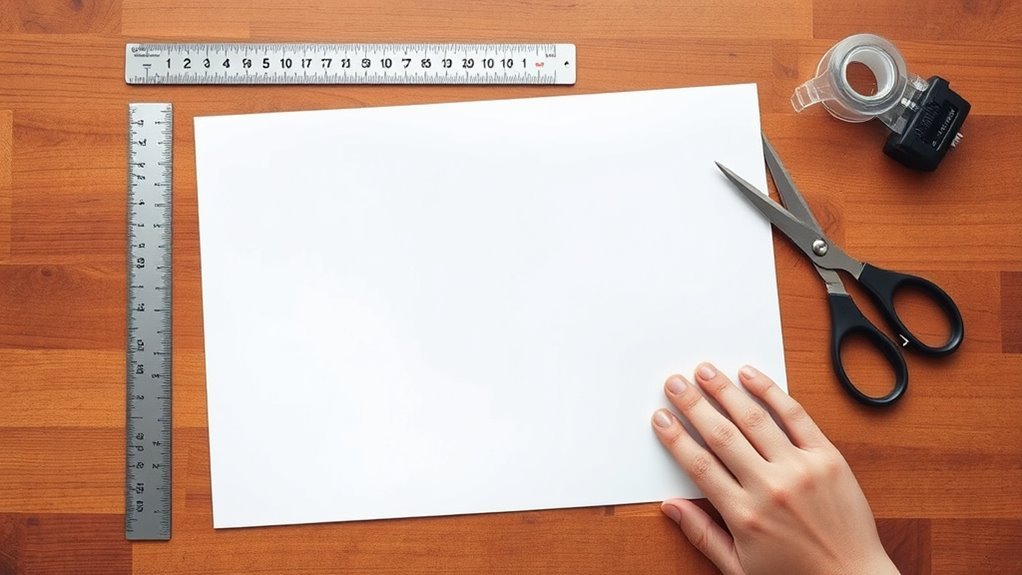
Before you start folding, gather all the materials you’ll need to make your envelope. Start with standard printer paper—either 8.5 x 11 inches or A4—and trim it to a square if you want an origami-style envelope.
You can also use patterned paper or DIY paper with printed designs for a decorative touch. Just keep in mind that thicker paper over 120 gsm might be harder to fold neatly.
Next, assemble your tools: a ruler and pencil for marking folds, scissors or a paper trimmer for cutting, and a bone folder or the back of a spoon to create crisp creases.
Don’t forget adhesive options like a glue stick, double-sided tape, or a strong permanent glue to seal your envelope securely. Scoring fold lines lightly will help keep your paper from tearing.
Fold Your Paper Envelope Step-by-Step
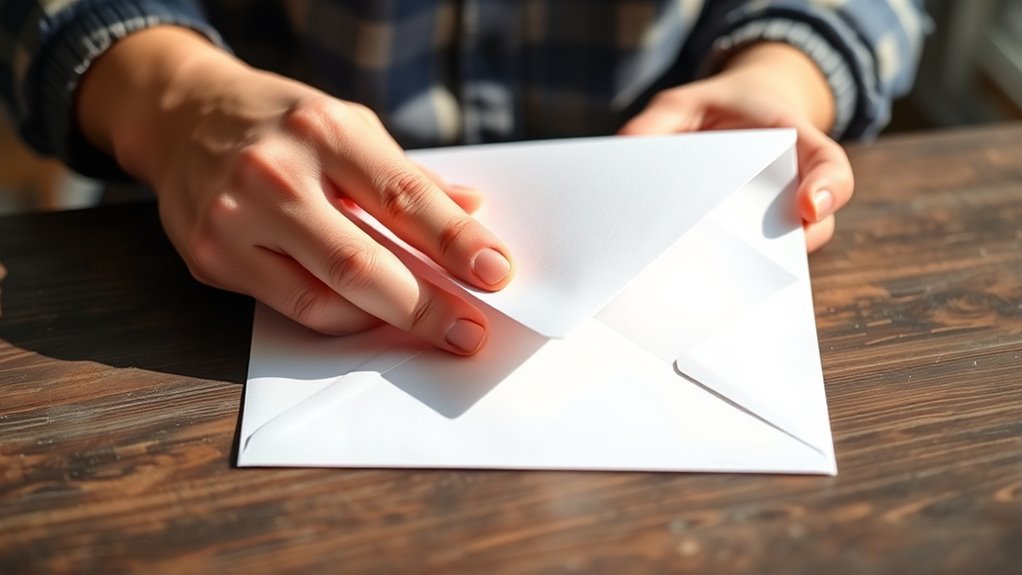
Start by trimming your printer paper into a square—8.5 by 8.5 inches works well—and position it like a diamond on your workspace. Fold the bottom corner up to meet the top corner, creating a triangle.
Next, fold the left and right corners inward so their tips overlap slightly at the center; these form the side flaps of your paper envelope. Now, fold the bottom flap up over the overlapping side flaps about half an inch to create the envelope pocket. Press firmly to crease.
For custom envelopes, add glue or double-sided tape along the inner edges of the side flaps before folding the bottom flap up to secure everything in place. This step guarantees your paper envelope holds its shape and contents safely.
Seal and Customize Your Paper Envelope
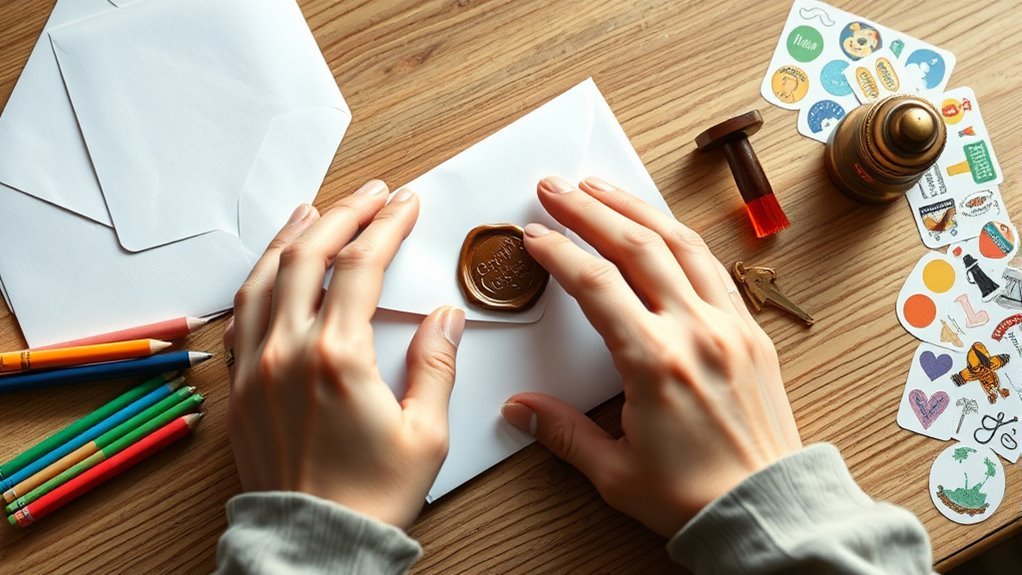
Once you’ve folded and secured your envelope flaps, give the seams a firm press for 30 to 60 seconds. Then, let the adhesive set for at least 5 to 10 minutes to guarantee a strong seal.
To close the top flap neatly, use a decorative sticker, washi tape, or a sealed label. This also lets you customize your envelope with a stylish touch—perfect for party invitations.
For mailing, reinforce the flap inside with clear packing tape and add a white mailing label for address clarity. You can further customize your envelope by adding rubber stamps, hand lettering, or a glued paper band.
Lining the envelope with thin contrasting paper or sealing edges with archival glue helps protect contents and prevents tearing. This way, your party invitations arrive in great shape.
Frequently Asked Questions
How Do We Make an Envelope With Paper?
You start by folding the paper’s bottom edge up two-thirds, then fold the sides inward to create flaps.
Seal the sides with glue or tape. After that, fold the bottom flap up, and close the top flap to finish.
It’s pretty simple once you get the hang of it! Just take it step by step.
How to Fold a Paper in Thirds?
To fold paper in thirds, measure and mark one-third and two-thirds along the long edge. Then fold one side to the first mark and crease firmly.
Next, fold the opposite side over, aligning edges evenly for a neat fold. It’s pretty simple once you get the hang of it!
How Do I Make My Printer Print on Envelopes?
You’ll need to load the envelope correctly in your printer’s manual feed tray. Make sure it’s positioned the right way so the printer can grab it easily.
Next, adjust your document size to match the envelope. This step helps your text fit just right.
Also, select the envelope media type in your printer settings. It tells the printer what kind of paper you’re using.
Finally, print a test to check the alignment before printing the whole batch. This way, you avoid wasting envelopes if something’s off.
How to Fold 8.5 x11 to Fit Into 5×7 Envelope?
Fold your 8.5 x 11 paper in half short-edge to short-edge. Then, trim 0.5 inches from the long side.
Next, tuck one short edge about 0.25 to 0.5 inches. This way, it creates a neat 5 x 7 fit. Easy, right?
Conclusion
Now that you’ve made your own envelope, you’re part of a clever tradition—over 90 billion envelopes are used in the U.S. every year!
By crafting your own, you not only save money but also add a personal touch to your mail. It’s simple, fun, and eco-friendly.
So next time you need to send a letter, skip the store and create a unique envelope that’s all your own. Making an envelope out of printer paper is a great way to be creative and environmentally conscious. Plus, it feels good to send something handmade! Give it a try and enjoy the satisfaction of a personalized, budget-friendly envelope every time.