5 Factors That Affect How Much Filament a 3D Printer Does Use
You control filament use by considering five key factors that affect how much filament a 3D printer actually uses. These include your model’s shape and volume, infill percentage and pattern, wall thickness and top layers, supports, and layer height along with filament joining. Understanding these helps you manage material consumption better and balance print quality with costs.
Your model’s shape and volume impact how much filament is needed to build part strength and detail. Then, infill percentage and pattern drastically affect material use—efficient patterns save filament while keeping durability.
Wall thickness and top layers add strength but naturally use more filament.
Supports can increase filament usage, so minimizing or optimizing them helps keep material use down. Finally, layer height and filament joining influence print time and waste. Knowing all these lets you fine-tune costs and quality effectively, making your prints both economical and strong.
Key Takeaways
– Model volume and shape, especially solid vs hollow designs, significantly influence filament consumption due to infill and perimeter requirements.
Basically, a solid model will use way more filament than a hollow one because of all that extra material inside.
– Infill percentage and pattern type directly impact filament use; higher density and less efficient patterns increase material consumption.
So, if you crank up the infill or pick a pattern that’s not so efficient, expect to use more filament.
– Wall thickness and number of top/bottom layers raise filament use, with thicker walls adding strength more efficiently than higher infill.
Thicker walls are a smart way to make your print stronger without wasting too much filament on infill.
– Support structures can add substantial filament usage, but optimized support types and orientations reduce material needs and waste.
Using supports is sometimes necessary, but if you optimize them, you can save a good chunk of filament.
– Layer height affects filament use; larger layers reduce filament and print time but may compromise surface detail and strength.
If you go for bigger layers, you’ll use less filament and print faster — but just keep in mind the surface might not look as smooth or be as strong.
How Your Model’s Shape Affects Filament Use
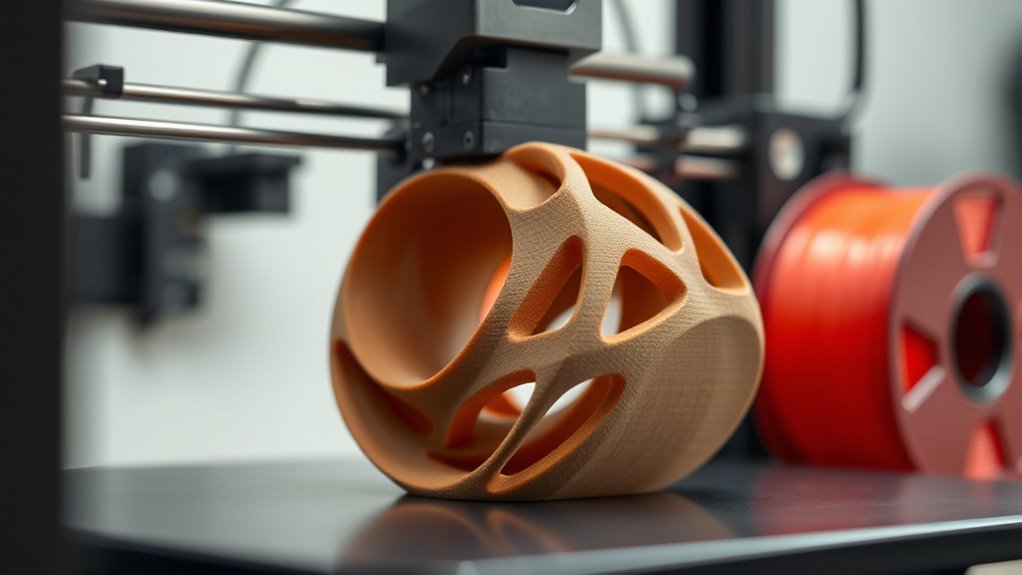
When you design a model with large solid volumes or high infill, you’ll use considerably more filament. For example, a solid 100 mm³ cube consumes about twice the filament of the same cube at 50% infill. The infill percentage directly impacts how much material you need.
Models with hollow geometries, like those using gyroid or honeycomb patterns, can save you 30–70% filament without sacrificing stiffness. Pretty cool, right? If your design has thin, tall features or a high aspect ratio, expect more filament use since these require extra perimeters and often need supports.
Supports add 10–50% more filament depending on their density and the size of overhangs. So, it’s worth thinking about how your model’s shape affects material use. Considering your model’s shape carefully helps you balance strength, detail, and material efficiency.
Why Infill Percentage and Pattern Matter for Savings
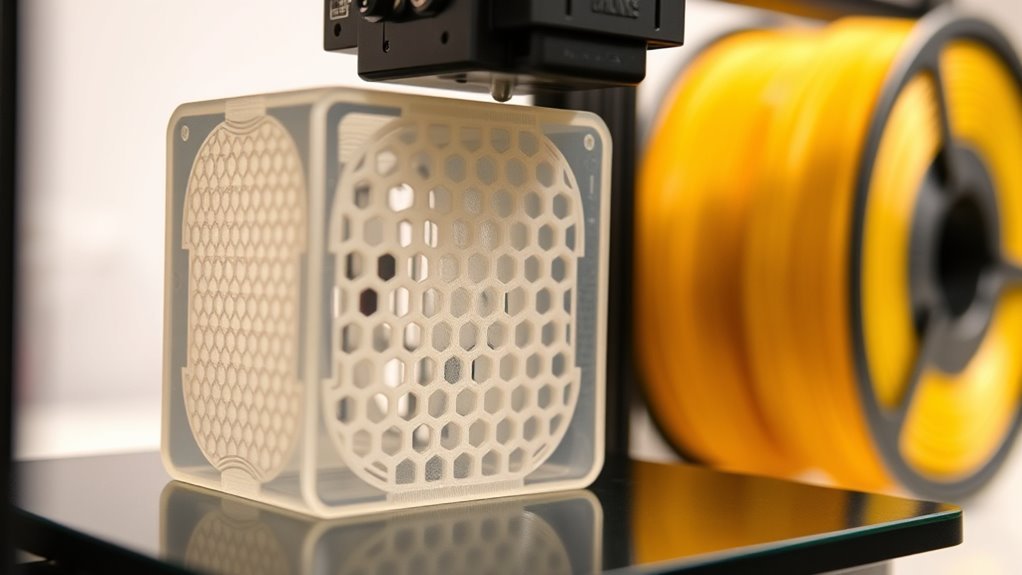
The amount of filament your model consumes depends heavily on the infill percentage and pattern you choose. Adjusting these can drastically affect filament usage and your print’s strength-to-material ratio.
Here’s why you should care: Increasing infill percentage from 10% to 50% can roughly quintuple filament usage, hiking cost and weight.
Choosing an efficient infill pattern like gyroid or honeycomb gives you better strength-to-material ratio than simple rectilinear. That means you can use less filament without sacrificing durability.
Using stronger patterns allows you to lower the infill percentage while maintaining strength. This way, you save filament and money in the long run.
Balancing Wall Thickness and Top/Bottom Layers for Efficiency
Although adjusting infill settings can save filament, balancing wall thickness and top/bottom layers often impacts material usage and strength more markedly.
Increasing wall thickness by one nozzle width noticeably raises filament usage but improves strength more efficiently than upping infill density.
Adding top layers also increases filament use markedly, so you need enough to avoid surface defects like pillowing without overdoing it.
| Parameter | Impact on Filament Usage |
|---|---|
| Wall Thickness | Marked increase per step |
| Top Layers | Adds full layer volume usage |
| Infill Density | Moderate effect on material |
| Wall + Infill Combo | Efficient strength per gram |
| Reducing Top Layers | Saves filament but risks quality |
Finding the right balance guarantees efficiency and part strength.
How Supports Impact Filament Use and Ways to Minimize Them
Balancing wall thickness and layer settings helps optimize filament use, but supports can be an even bigger factor in material consumption. Supports can increase your amount of filament by 10–50% or more, depending on your model’s geometry and support density.
Luckily, slicer software offers ways to minimize this impact while maintaining print quality.
Try these three strategies:
- Choose tree or adaptive supports instead of full-grid ones to cut support material by 30–70%.
- Lower support infill density to 10–20% and increase support Z-distance or slope to save filament without compromising backing.
- Reorient your model to reduce overhangs beyond 45°, add chamfers, or use support blockers for precise support placement.
These tips help you use less filament and improve print quality efficiently.
Choosing Layer Height and Joining Filament to Cut Waste
When you choose a larger layer height, like 0.28 to 0.32 mm, you cut print time and slightly reduce filament use since fewer layers are needed—though this comes at the cost of some surface detail. Matching your layer height to your nozzle diameter helps maintain proper extrusion and avoids wasting filament through over- or under-extrusion.
For less detailed parts, increasing layer height and lowering top/bottom layers and infill can halve both print time and filament consumption. To minimize waste from near-empty spools, use a spool joiner to splice leftover filament with a new spool.
Make certain the joint is smooth and consistent in diameter to prevent jams. For flexible or hygroscopic filaments, dry and test your joins before printing to avoid feeding issues that waste filament and time.
Frequently Asked Questions
What Is the Biggest Problem With 3D Printing?
The biggest problem you’ll face with 3D printing is material warping and poor bed adhesion, especially with ABS and Nylon. This causes prints to lift or crack.
You usually need high bed temperatures to fix it, and sometimes an enclosure helps too. It can be a bit tricky to get right at first. But once you do, your prints come out much better!
Is 3D Filament Expensive?
3D filament isn’t a wallet-buster if you play smart—you’ll find affordable options like PLA around $15 per kilogram.
But specialty filaments can hike costs, so you’ll want to balance quality and budget wisely for each project.
Should I Use PLA or PETG?
You should use PLA if you want easy printing, low warping, and minimal smell.
It’s great for beginners or quick prototypes.
Choose PETG if you need stronger, weather-resistant parts and can handle a bit more tuning and stringing during printing.
It’s a bit trickier but worth it for tougher, longer-lasting prints.
Why Is PLA Not Sticking to Bed?
PLA isn’t sticking because your bed’s too cold, nozzle’s too far, or surface is dirty. Clean it, set proper Z-offset, heat the bed to 50–60°C, and reduce fan speed during the first layers for better adhesion.
Try warming up the bed a bit more if it’s chilly. Also, double-check that your nozzle isn’t sitting too far from the bed.
And don’t forget to keep the surface clean—dust and grease can mess with sticking. Lowering the fan speed at the start helps too, so the layers bond well.
Conclusion
By paying attention to these five factors, you can markedly cut down on filament use without sacrificing quality. Did you know that adjusting your infill percentage alone can reduce filament consumption by up to 50%? That’s a huge saving!
So, by tweaking your model’s shape, wall thickness, supports, and layer height, you’re not just saving material—you’re also saving money and time. Start experimenting today, and watch your 3D printing become more efficient and cost-effective!
When you focus on these factors that affect how much filament a 3D printer uses, the benefits are clear. Less filament means less waste, lower costs, and faster print times. Plus, optimizing your print settings helps maintain the quality you want without overusing materials.
In the end, understanding and adjusting these five key factors will make your 3D printing projects smarter and more sustainable. Give it a try—you’ll be surprised how much filament you can save while still getting great results!