How to Setup HP Printer in 10 Easy Steps
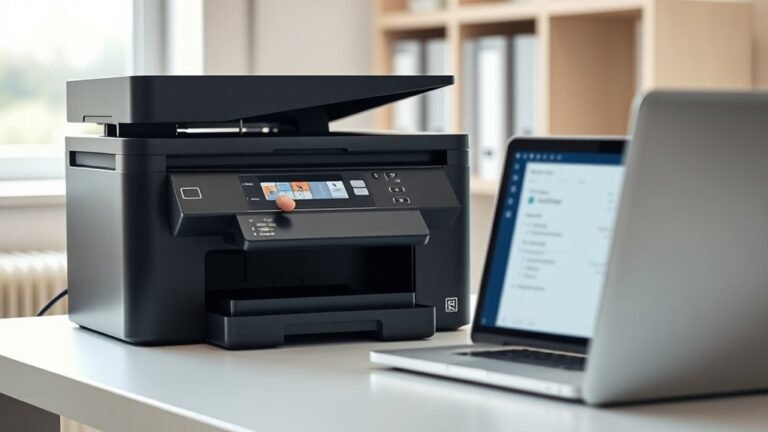
To set up your HP printer, start by unboxing it and removing all the protective materials carefully. Power on the printer and follow the on-screen prompts to select your language, region, and time. These initial steps are crucial for a smooth setup and ensure your printer is ready to go.
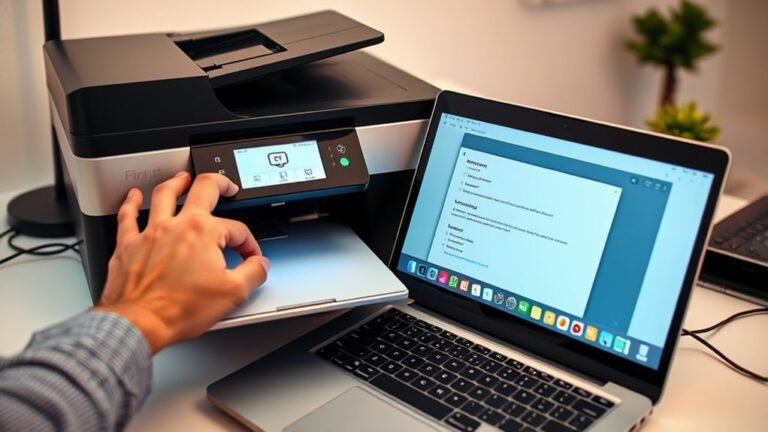
Next, connect your printer to Wi-Fi using the touchscreen menu. If you prefer, you can also use the HP Smart app to simplify the wireless connection process. Alternatively, you can connect your printer to your computer via USB and download the necessary drivers directly from HP’s website.
Make sure to update your printer firmware regularly to keep it running efficiently. Once everything is set up, print a test page to confirm the installation went smoothly. Don’t forget to maintain the paper path and keep it clean for the best printing results.
Once you’ve mastered these basics, you can explore troubleshooting tips and advanced configurations. This way, you’ll enjoy hassle-free and smooth printing every time!
Key Takeaways
- Unbox the printer and remove all the protective materials. Then, install the cartridges until they click securely in place.
- Load plain white paper into the input tray. Make sure to adjust the guides so the paper fits snugly.
- Power on the printer. Follow the touchscreen prompts or use the HP Smart app to set up the language, region, and time.
- Connect your printer to Wi-Fi using the Wireless Setup Wizard on the touchscreen. If your model doesn’t have a touchscreen, you can do this through the HP Smart app.
- Finally, print a configuration report. This helps you verify the settings, check the network connection, and confirm the date and time are correct.
Unbox and Prepare Your HP Printer Hardware
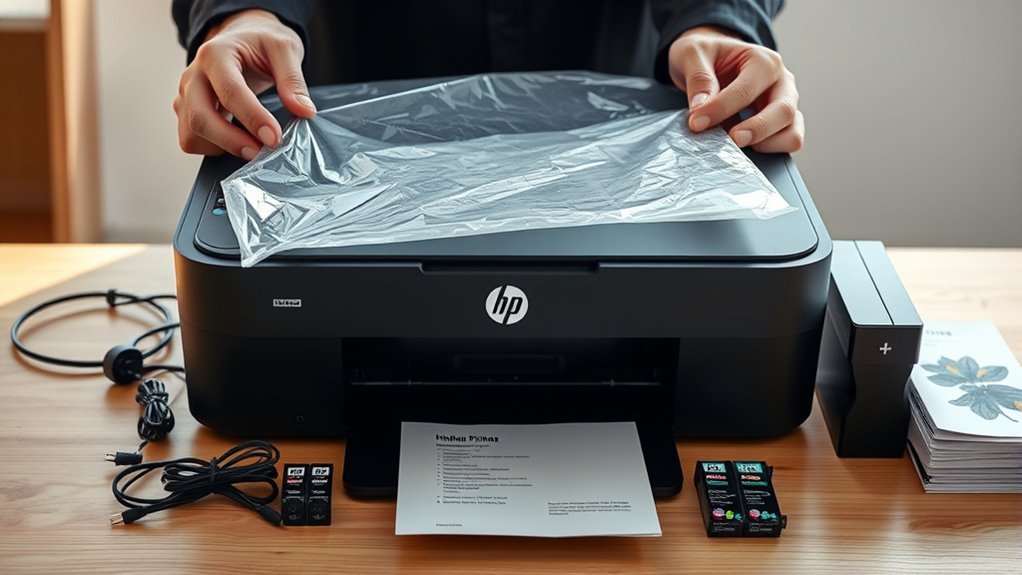
Start by carefully removing all packing materials, including tape and protective foam from inside the printer and cartridges. This helps prevent any damage when you power it on.
When you unbox your HP printer, take your time to remove packing materials thoroughly. Doing this upfront can save you from issues during the printer setup.
Next, install cartridges by following the quick start guide closely. Make sure each cartridge clicks into place and that any protective strips are removed.
Then, load paper into the input tray. Adjust the guides so the stack fits snugly without bending.
After these steps, you’re ready to power on your printer. Finally, complete the initial prompts on the control panel or through the HP app if your model lacks a touchscreen. This ensures your printer is correctly configured and ready for use.
Power On and Set Up Your Printer
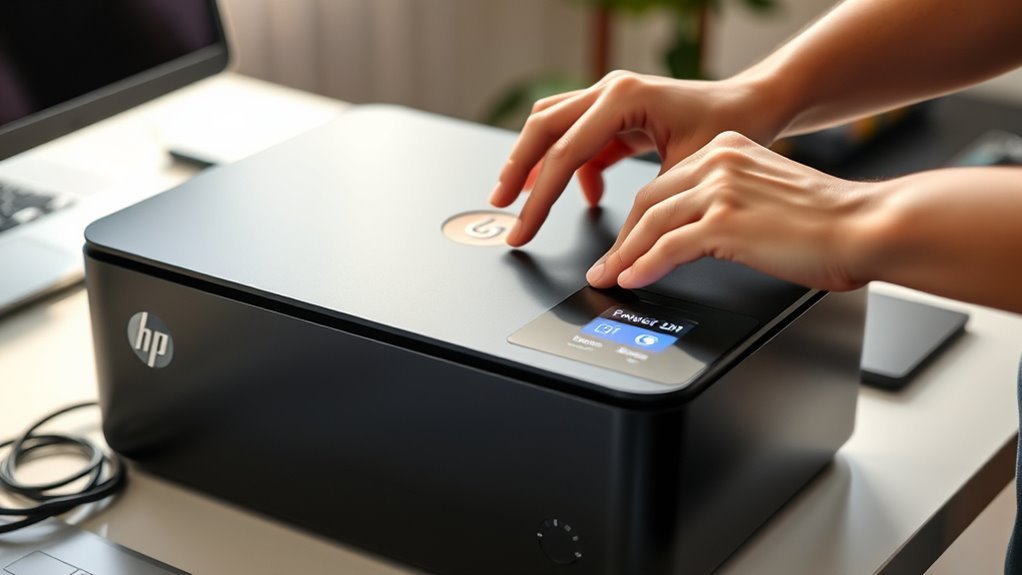
Plug your HP printer into a power outlet and press the power button to turn it on. After you unbox your HP printer, remove all packing materials.
Next, install ink cartridges by following the printer touchscreen prompts or the quick-start guide. Then, load plain white paper into the input tray to avoid setup errors.
Complete the on-screen configuration by selecting your language, region, and date/time. If your printer doesn’t have a touchscreen, enable wireless setup by holding the Wireless and Cancel buttons for about 5 seconds.
You can then use the HP Smart app to finish the setup.
| Step | Action |
|---|---|
| Unbox Power On | Remove packing, plug in, turn on |
| Install Ink Cartridges | Follow guides on touchscreen |
| Load Paper | Insert plain white paper |
Connect Your HP Printer to Wi-Fi Using the Touchscreen
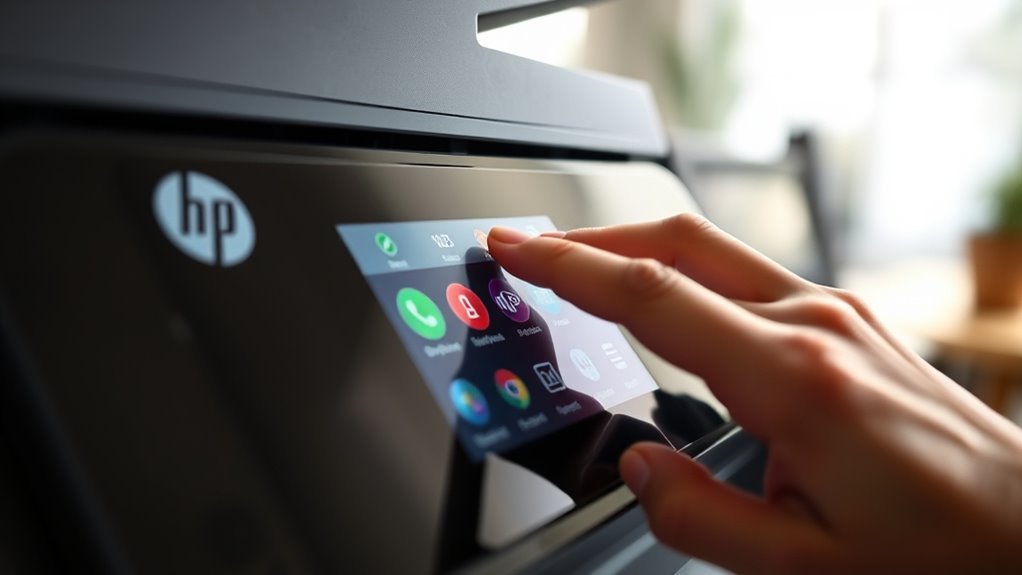
Navigate to the Setup or Settings icon on your printer’s touchscreen to access Network or Wireless Settings, then select the Wireless Setup Wizard to scan for available Wi‑Fi networks. From the list, choose your Wi‑Fi network—make sure to pick the correct 2.4 GHz SSID if your HP printer supports only that band—and enter the password using the on-screen keyboard.
After you connect, the printer will confirm with a message or a Wi‑Fi icon. It’s a good idea to print a wireless network report to verify the connection.
If your printer touchscreen is unresponsive, press and hold the Wireless and Cancel (or Wireless and Power) buttons to enable setup mode and then use the HP Smart app to complete the connection.
If your network doesn’t appear, restart your router and printer, disable guest or AP isolation, and try the wireless setup wizard again. Just give it another shot!
Set up Wi-Fi With the HP Smart App
Get your printer connected to Wi-Fi easily by using the free HP Smart app, which you can download from 123.hp.com or your device’s app store. After opening the HP Smart app, sign in or select Guest Mode, then tap “Add Printer” to start the wireless setup.
Make sure your printer is powered on, near your device, and any initial setup (like language or ink) is done. If your printer has a touchscreen, use the Wireless Setup Wizard (Settings → Network → Wireless Setup Wizard) to join your Wi‑Fi network first.
For printers without a touchscreen, hold the Wireless and Cancel buttons about 5 seconds to enable setup mode. The app installs necessary drivers and printer firmware automatically.
If the printer isn’t found, try adding it by its IP address or check your Wi‑Fi connection. It usually does the trick!
Connect Your Printer via USB (Backup Option)
To connect your HP printer via USB, plug a USB A-to-B cable directly into your computer’s port. Make sure to avoid using any hubs.
Once the printer is powered on, your computer should detect it and guide you through the driver installation automatically. If it doesn’t, don’t worry!
You can manually add the printer through your system settings or install the driver from HP’s website. It’s pretty straightforward either way.
USB Connection Setup
Start by unplugging both your printer and computer, then connect them using a high-quality USB A-to-B cable from the printer’s USB port to your computer. Power on your HP printer to allow your system to detect it automatically via the USB connection.
On Windows, go to Settings → Bluetooth & Devices → Printers & Scanners → Add Device, or simply plug in the USB and let Windows handle the printer driver installation. For macOS, open System Settings → Printers & Scanners, click the + button, and select your printer.
If the printer doesn’t appear, install the latest driver from HP Support. After installation, print a test page to confirm the connection works properly.
If detection fails, try different USB ports, cables, or reinstall the latest printer driver. Sometimes, a quick swap can make all the difference!
Driver Installation Process
If your printer isn’t automatically detected after connecting via USB, you’ll need to manually install the driver to guarantee proper communication between your computer and the printer. Use a USB A-to-B cable to connect your HP printer firmly before powering it on.
On Windows, head to Printers & scanners under Bluetooth & devices to add the printer or run HP Smart for automatic driver installation. On macOS, open Printers & Scanners in System Settings, click +, and select the USB printer to let macOS handle driver installation.
If that fails, download the driver from HP Support and install it manually.
- Connect using USB A-to-B and power on the printer
- Use Windows Printers & scanners or HP Smart for driver installation
- Use macOS Printers & Scanners to add the USB printer
- Download drivers from HP Support if automatic install fails
Install HP Printer Software on Windows and macOS
Begin by downloading the HP Smart app from 123.hp.com or your device’s app store. It quickly detects your printer, installs the correct driver, and guides you through Wi-Fi setup on both Windows and macOS.
If you prefer manual driver installation on Windows, head to Settings → Bluetooth & Devices → Printers & Scanners → Add Device. Or you can download drivers directly from HP Customer Support.
On macOS, open System Settings → Printers & Scanners, click +, and select your printer. You can also enter its IP address for driver installation if needed.
For USB installation, just connect your printer directly and run the HP installer. Or simply let your OS detect it—it’s usually that easy.
| Task | Windows Setup |
|---|---|
| HP Smart app | Download & run from Microsoft Store |
| Driver installation | Automatic or via HP Customer Support |
| USB install | Connect USB, run installer |
| Network wireless setup | Guided by HP Smart app |
Troubleshoot Common HP Printer Setup Issues
When setting up your HP printer, connection issues often pop up, especially with Wi-Fi. Many HP models support only the 2.4 GHz network, so make sure your printer and device share the same Wi-Fi band.
Use the printer’s Wireless Setup Wizard or press and hold Wireless + Cancel for about 5 seconds to start setup mode. Then, complete Wi-Fi configuration and driver installation via the HP Smart app.
Try these troubleshooting tips: Restart your router, printer, and computer if printing fails after detection. Sometimes, a quick reboot is all it takes to fix the problem.
Also, temporarily disable any VPN or firewall that might block communication. If wireless setup keeps failing, try using a USB connection for automatic driver installation instead.
You can also run HP Print and Scan Doctor on Windows for deeper diagnostics. It’s a handy tool that can pinpoint and fix many issues.
Keeping drivers and firmware updated helps avoid many problems. So, make sure to check for updates regularly!
Update HP Printer Firmware for Best Performance
Keep your HP printer running smoothly by updating its firmware regularly. Use the HP Smart app or the printer’s Embedded Web Server (EWS) at its IP address to check for firmware updates at least monthly.
Make sure your printer is connected to a stable internet connection and a reliable power source before starting the update. Interruptions during the update can cause issues, so it’s best to be prepared.
You can also enable automatic updates through the HP Smart app. This way, you’ll get timely fixes and security patches without lifting a finger.
If you prefer manual updates, just verify your printer model on hp.com or 123.hp.com. Download the exact firmware file from there and avoid third-party sites to keep things safe.
Once the update finishes, power-cycle your printer and print a test page to confirm everything works as expected. Don’t forget to keep track of the firmware version found in Settings or via EWS for troubleshooting later on.
Configure Key Printer Settings
Now that your firmware is updated, it’s time to configure key printer settings. You’ll want to set the language, region, date, and time to guarantee accurate system messages and logs.
Next, adjust the network settings to connect your printer to the right Wi-Fi. This will help keep everything running smoothly.
Language And Region Setup
Although setting up your HP printer might seem straightforward, configuring the language and region correctly is essential for accurate menus, help text, and network settings. On first power-up, use the printer touchscreen prompts to select your language and country/region.
If your printer lacks a touchscreen, hold the Wireless and Cancel buttons to enter setup mode. Then, use the HP app to choose language and region during guided setup.
Be sure to select the correct time zone to guarantee scheduled tasks and job timestamps are accurate. If you miss this step, you can always adjust these settings later via the control-panel Setup or Network/Preferences menu.
- Use the printer touchscreen or HP app for initial language and country/region setup
- Select the correct time zone for accurate job scheduling
- Access control-panel Setup to change settings anytime
- Guarantee consistent language and region in managed environments for smooth operation
Date And Time Configuration
When you set up your HP printer, make sure to enter the correct date and time as prompted on the screen. Accurate timestamps are essential for scan, fax jobs, and logs.
If your printer doesn’t have a touchscreen, don’t worry. You can use the control-panel buttons or hold Wireless + Cancel for about 5 seconds to enter setup mode.
From there, you can configure the date and time via the HP app or the Embedded Web Server. Just enter the printer’s IP address in your browser and go to Regional Settings → Date/Time.
For network printers, it’s a good idea to enable SNTP or NTP. This way, your printer will automatically sync with time servers and keep timestamps consistent.
Once you’ve set the date and time, print a printer configuration report. This helps you verify the changes and make sure your settings were saved correctly.
Network Settings Adjustment
How do you make sure your HP printer connects smoothly to your network? Start by using the Wireless Setup Wizard on the printer control panel to select your Wi‑Fi SSID and enter the exact password. Remember, most HP printers require a 2.4 GHz network for setup.
If your printer lacks a touchscreen, press and hold the Wireless and Cancel buttons to enable setup mode. Then, use the HP Smart app to finish the configuration.
To avoid connection issues, assign a static IP via the printer’s Network Setup or reserve the DHCP address on your router. Also, enable mDNS/Bonjour on your router so devices can find the printer easily.
Finally, secure your printer by changing the admin password in the Embedded Web Server and enabling firmware auto‑update.
- Use Wireless Setup Wizard for Wi-Fi connection
- Configure static IP to prevent network conflicts
- Enable mDNS/Bonjour for seamless device discovery
- Secure printer via Embedded Web Server and auto‑updates
Maintain Your HP Printer for Reliable Performance
Regularly maintaining your HP printer guarantees it runs smoothly and produces high-quality prints. Start by performing a firmware update monthly via the HP app or Embedded Web Server to enhance security and reliability.
Print a test page weekly to detect clogged nozzles early and keep ink flowing, especially for inkjet models. Using original cartridges or high-quality compatibles is key. Replace low-ink cartridges promptly to prevent printhead damage.
Keep the paper path clean and address paper jams by running a roller cleaning cycle if needed. When your HP printer becomes unresponsive, power it off using the power button and perform a 30-second power-cycle to clear temporary errors.
Also, make sure your wireless connection is stable for uninterrupted printing. Following these steps really helps maintain your HP printer’s performance.
Frequently Asked Questions
How Do I Setup My HP Printer Step by Step?
Unbox your HP printer, plug it in, then power it on. Next, install the ink cartridges and load the paper tray.
Now, connect your printer to Wi-Fi. You can do this either through the control panel on the printer or by using the HP Smart app.
After that, install the necessary drivers on your computer. Once everything is set up, print a test page to make sure it’s all working properly.
How Do I Set up My HP Printer With My Computer?
You connect your HP printer to Wi-Fi or USB, then download and run the HP app or drivers from 123.hp.com.
Next, add the printer via your computer’s settings. Once that’s done, print a test page to confirm it’s ready.
Easy, right? Just follow these steps, and you’ll be all set in no time!
How Do I Install a Printer on My Computer Step by Step?
You know what they say, “A journey of a thousand miles begins with a single step.”
Start by connecting your printer via USB or Wi-Fi. Then, add it through your computer’s settings.
Next, install the necessary drivers. After that, print a test page to make sure everything’s working.
Why Won’t My HP Printer Complete Setup?
Your HP printer won’t complete setup because it’s likely stuck on a 5 GHz Wi-Fi, incorrect password, or weak signal.
Sometimes outdated drivers, firewall blocking, or leftover settings can also cause trouble.
Fix these to get your printer connected smoothly. It’s usually easier than it seems!
Conclusion
Setting up your HP printer is like planting a seed—you just need the right steps to help it grow smoothly. By following these simple steps, you’ll have your printer ready to tackle any task with ease.
Remember, keeping it updated and well-maintained guarantees it won’t let you down. So, take a little time now, and your printer will be your reliable partner for years to come.
Happy printing! Setting up your HP printer correctly ensures seamless performance and hassle-free printing. Regular updates and maintenance help avoid common issues and keep your device running efficiently. With these easy steps, your HP printer will be ready for all your printing needs, whether at home or in the office. Taking the time to set up your HP printer properly means fewer headaches and more quality prints. So, get started today and enjoy smooth, reliable printing every time!