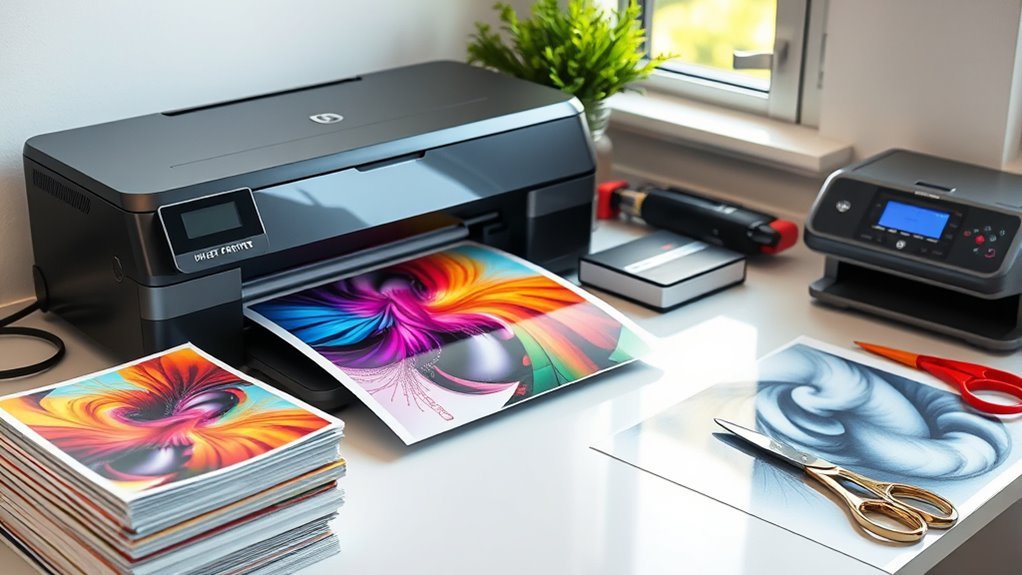
7 Steps to Make DTF Transfers With an Inkjet Printer
To make DTF transfers with your inkjet printer, start by printing your design on the film’s matte side facing the printhead. This is super important because it ensures the ink sticks properly and your design comes out sharp.
Once printed, you’ll want to work quickly to keep the ink wet for the next step.
Next, evenly apply DTF powder to the wet ink and shake off any excess powder. This powder is what makes your design transferable and adds that cool texture. Don’t worry if some powder falls off—that’s totally normal.
Preheat your heat press to about 320°F and hover it over the powder-coated film to cure the powder into a gel. This step locks everything in place and prepares the transfer for fabric application.
After that, press the transfer onto your fabric, then peel the film off once it’s cooled.
Finish with a quick second press to smooth everything out and make sure your design looks flawless.
Keep going for detailed tips on each step—you’ll nail it in no time!
Key Takeaways
- Print the image on the matte side of PET film using DTF-compatible ink in an inkjet printer. Make sure your printer settings are optimized for the best quality. This step is crucial for a sharp and vibrant transfer.
- Evenly apply DTF adhesive powder onto the wet ink and shake off excess for uniform coverage. You want the powder to stick well but not clump up. This helps the design adhere perfectly later on.
- Pre-cure the powder by hovering a heat press at 320°F (160°C) for 1–3 minutes to melt the powder into a gel. Keep the heat press moving slightly to avoid overheating any spot. This step sets the adhesive just right.
- Press the transfer onto the garment at 320°F for 30 seconds with parchment paper protecting the print. The parchment paper keeps your design safe from direct heat. This is where the magic really happens.
- Perform a quick second press for 15 seconds to smooth and enhance adhesion. After that, let the transfer cool completely before peeling it off. Patience here makes a big difference in the final look.
Understand DTF Printing Materials and Process
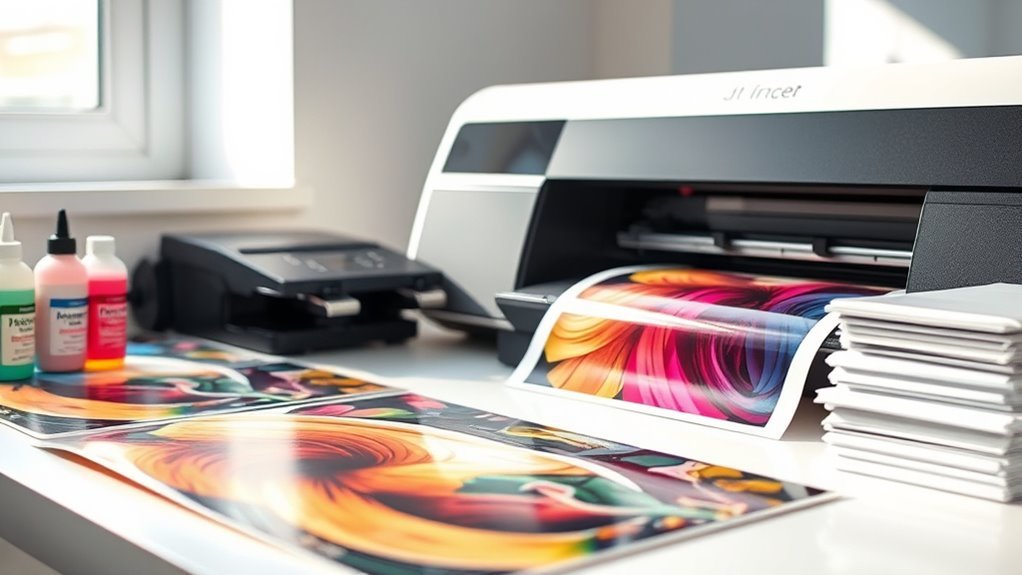
Before you start printing, know that DTF film has two sides: the matte side is where the ink must go, facing the printer to guarantee proper adhesion. You’ll print only on this one side to make sure the ink sits properly and doesn’t smear.
After printing, you apply DTF powder to the wet ink, which helps keep the design vibrant and firmly attached during transfer. It’s important to contain excess powder with a tray to prevent mess and allow reuse.
Once coated, you cure the powder with heat to melt it into a gel, locking the image in place. Handling the printed film before powder application or curing can ruin the print, so avoid touching the inked side to maintain quality throughout the process.
Prepare Your DTF Film and Set Up the Printer
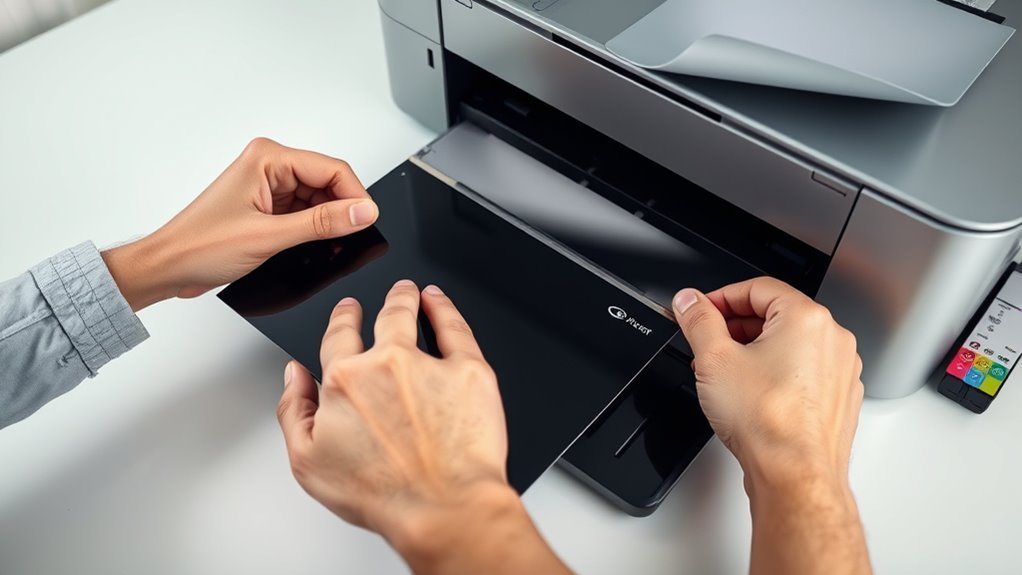
To get started, make sure you load your DTF film with the matte side facing the printer so the ink prints correctly. Secure the film with painter’s tape or a small weight to prevent slipping during printing.
Also, gather all your printer materials and prepare your workspace for a smooth printing process. This will help everything go smoothly and avoid any last-minute hassles.
Identifying Film Sides
Start by figuring out which side of your DTF film is printable—the matte finish is the one you’ll want to print on, while the glossy side won’t accept ink properly.
Always load your film with the matte side facing the printer’s printhead so the ink lands exactly where it should.
If your film feels thin, apply painter’s tape along the leading edge to add weight, helping the printer feed it smoothly.
Keep your work area clean and flat, placing the film on a non-stick backing or its original carrier sheet to avoid dust or debris on the matte side.
Be careful not to touch the matte side before curing, since the wet ink is prone to smearing or contamination.
Identifying and handling the film correctly guarantees crisp, clean prints every time.
Loading Film Correctly
Getting your DTF film loaded correctly sets the foundation for a smooth printing run and sharp results. First, identify the matte side as the printable surface and load the film with that side facing the printer’s printhead.
If your printer struggles to pick up the thin film, try adding painter’s tape weights to the leading edge or corners. This helps prevent curling and guarantees smooth feeding.
Double-check your RIP software to confirm film orientation and printable area. You want to make sure your design fits perfectly without getting cut off.
Handle the printed film only by the glossy, non-printed side to avoid smudging. Also, keep your workspace clean and dust-free for the best results.
Prepare a tray nearby for immediate powder application. This helps contain spread and keeps everything organized right after printing.
Preparing Printer Materials
Once your DTF film is loaded correctly and ready to print, focus on preparing the printer materials for a smooth production process. First, add painter’s tape weights to the trailing edge of thin film sheets to prevent misfeeds and guarantee consistent printer pickup.
Keep the printable matte side facing the printhead so the ink lands on the correct surface. After printing, avoid touching the wet ink to prevent smudging.
Have your DTF adhesive powder and a shallow tray ready beside the printer for immediate application while the ink is fresh. Finally, prepare parchment paper and set your heat press to about 320°F for the initial curing.
Use a cool-peel method after the first press to guarantee proper adhesion and quality results. This little step really makes a difference!
Load DTF Film Matte Side First and Print Your Design
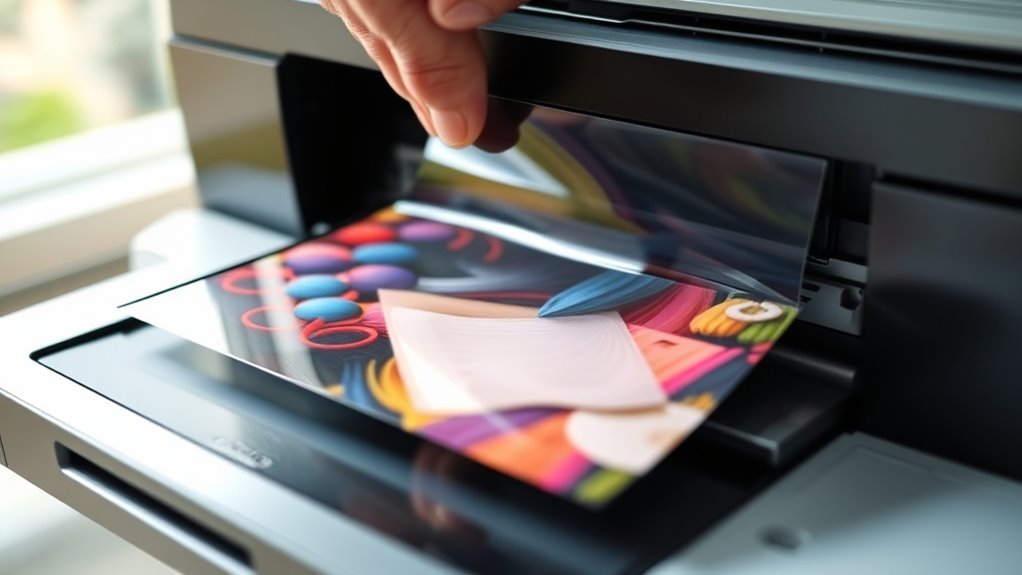
When loading your DTF film into the inkjet printer, make sure the matte side faces the print direction. This is important because the matte side is the surface designed to receive the ink.
If the film is thin and tends to misfeed, try adding painter’s tape weights to the roll edges. This helps the printer pick up the matte side more reliably.
Print your design at the final size and orientation. Just be careful not to use images larger than the film or feeder area, so you don’t end up cutting off parts.
After printing, keep the matte side untouched. Move quickly to powdering to avoid smearing the ink.
Apply Powder Evenly and Shake Off Excess Coating
Right after printing, while the ink is still wet, sprinkle the DTF powder evenly over the matte side. This helps guarantee the entire image is coated without any clumps.
Use a shallow tray or contained surface to catch any excess powder. You can funnel it back for reuse, which is pretty handy.
Gently tap or shake the film to help the powder settle. Then carefully shake off the excess so only a thin, uniform layer stays on the printed areas.
Try to avoid touching the wet ink. Secure the film edges with painter’s tape or weights to keep everything flat.
Finally, dust off any loose powder with a soft brush or light tapping. This step prevents sparkles or uneven curing spots, making sure your coating is clean and consistent for the transfer.
Preheat Heat Press and Hover to Cure Powder (Optional)
Set your heat press to around 320°F (160°C) before you start curing the powder for consistent results.
Hover the film under the platen for about 3 minutes to melt the powder into a smooth gel that brings out vibrant colors. Timing and temperature are key to avoiding smears and achieving the best finish.
Optimal Temperature Settings
Although curing DTF powder on the film is optional, preheating your heat press to around 320°F (160°C) is essential for achieving vibrant colors and proper adhesion. This temperature guarantees the powder melts well into a gel, revealing true colors when you hover the press above the film.
Hover times of about three minutes work best for full powder integration, but you can experiment based on your needs.
When transferring to the garment, maintain 320°F for about 30 seconds during the first press, then press again for 15 seconds to smooth the print.
Always use a cool-peel method after the initial press to avoid smearing and guarantee clean release.
Sticking to these ideal temperature settings will give you consistent, high-quality DTF transfers every time.
Hovering Duration Effects
Hover your heat press above the powdered DTF film for 60 seconds to 3 minutes to melt the powder into a gel-like texture and enhance color vibrancy. Hovering around 3 minutes yields the best color reveal by fully fusing the powder, while shorter hovers might leave a powdery, less vibrant look.
Keep the temperature near 320°F, matching your press setting, to cure the powder without touching the film—this prevents smearing uncured ink. Although optional, hovering is especially helpful with heavier powder coats, stabilizing the powder to avoid spreading or blowing during transfer and ensuring a more even application.
Once you’ve hovered, proceed with your usual cold-peel and pressing steps to firmly adhere the image to your fabric and smooth it in with a quick second press. It’s a simple step that really makes a difference!
Press DTF Transfer Onto Fabric and Cool Peel
Once you’ve aligned the DTF transfer on your garment, press it at around 320°F (160°C) for about 30 seconds to bond the image to the fabric. Place parchment paper between the heat platen and transfer to protect the print and prevent excess powder or ink from sticking.
After pressing, let the garment and transfer cool until it’s safe to touch. This cool peel method prevents smearing and secures a clean film release. When the film peels off smoothly, your image stays intact, showcasing vivid colors and durability, especially on fabrics like black cotton shirts.
Avoid removing the film while hot, as that can ruin the print. Following these steps guarantees a sharp, well-adhered transfer ready for the next finishing process.
Finish With a Quick Second Heat Press for Smoothness
Typically, after the initial 30-second press at 320°F, you’ll want to perform a quick second press at the same temperature for about 15 seconds. This step smooths the ink and powder into the fabric, eliminating any raised or powdery texture left after curing.
Use parchment paper between the heat platen and the print to protect the image and prevent scorching. After allowing a short cool-peel following the first press, immediately do this quick second press to lock in adhesion and flatten the transfer.
Make sure to apply consistent, even pressure during this step to avoid hot spots and guarantee uniform smoothness across the entire transfer area. This final press won’t affect color vibrancy but will provide a smoother, more integrated hand-feel.
Frequently Asked Questions
What Type of Printer Do I Need for DTF Transfers?
You need an inkjet printer that handles pigment or DTF-compatible inks with a straight paper path or rear feed to prevent jams.
Make sure to choose one that supports your film width. Also, look for a printer offering high resolution for sharp, vibrant DTF prints.
This way, you’ll get the best quality and avoid frustrating paper jams.
How Does Inkjet Work?
You watch, you wait, you print: inkjet works by shooting tiny, precise ink droplets through microscopic nozzles onto your surface.
You control droplet size and placement to create sharp images with vibrant colors and smooth gradients. It’s pretty cool how such small drops make such a big difference!
What Are the Disadvantages of DTF Printing?
You’ll face risks of smudging ink before curing, messy powder application, longer processing times, and potential heat damage to fabrics.
Plus, you can’t always guarantee long-term wash durability, which might affect your final product’s quality.
Can You Print Directly on Transfer Paper?
You can’t print directly on transfer paper because it won’t hold the ink properly. Instead, you need specialized transfer films or papers designed for your printer.
This ensures the ink adheres correctly and produces a quality transfer. It’s all about using the right materials to get the best results.
Conclusion
Now that you’ve mastered these 7 steps, you’re ready to bring your designs to life with the ease of a seasoned artist. Like a painter wielding their brush, you hold the power to transform blank fabric into vibrant expressions of creativity.
Just remember, every great masterpiece starts with the right tools and a careful touch. Keep practicing your DTF transfers, and you’ll see your skills improve with each project.
By following these steps and using your inkjet printer effectively, you’re well on your way to creating stunning, colorful DTF transfers. Stick with it, and watch your transfers become the next big hit in your creative journey!