How to Find Printer Address in 5 Easy Steps
Turn on your printer and check its network or wireless settings to find the IPv4 address, usually shown as four numbers separated by dots. If you can’t see it on the screen, print a network or test page.
Next, confirm this IP on your computer through printer properties or on your router’s connected devices list. Use the IP to manually add the printer if needed.
Want to make sure your connection stays solid? Keep exploring for helpful tips.
Key Takeaways
- Turn on the printer and navigate to the Wireless or Network menu. This way, you can view the IPv4 address directly on the printer display.
- Another option is to print a Network Configuration or Test Page from the printer’s settings. Look for the IP address labeled as “IPv4” or “IP Address.”
- On your computer, check the printer properties or system settings. You’ll find the printer’s IP address under Ports or network details.
- You can also access your router’s Connected Devices list. There, identify the printer’s IP address associated with its name.
- Finally, use the IPv4 address you found to manually add the printer on your computer. Do this via the TCP/IP port setup, and you’re all set!
Turn On Your Printer and Find Its IP Address in Network Settings
To find your printer’s IP address, first turn it on and navigate to its Wireless, Network, or Setup menu. Once there, look for a network summary or details option where the printer shows its current network status.
You’ll want to spot the IPv4 address, which appears as four numbers separated by dots, like 192.168.1.45. If your HP printer supports it, you can print a Network Configuration or Test Page directly from the settings menu. This makes it easier to identify the IP address.
For printers without a display, check if pressing the wireless or info button prints a network report. Write down the IPv4 address you find—it’s the essential network location your computer uses to send print jobs and troubleshoot connection issues.
Print or View the IPv4 Address Directly on Your Printer
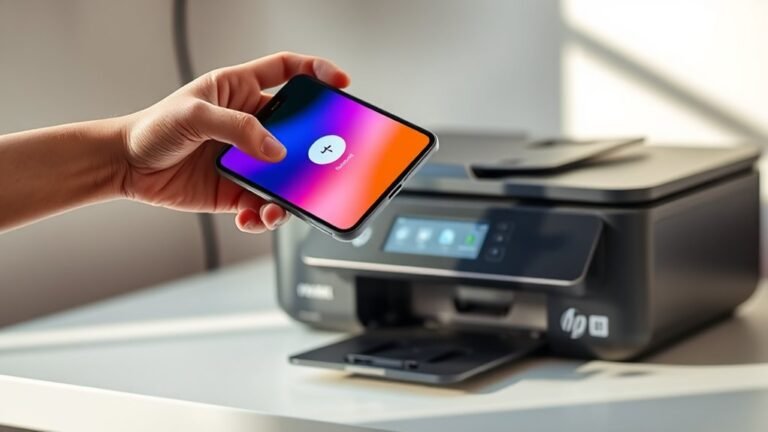
When your HP printer has a touchscreen, you can quickly find its IPv4 address by opening the Wireless or Network Settings menu and locating the number displayed as four groups separated by dots. This is part of the HP Printer’s network settings, which clearly shows the IPv4 address (e.g., 192.168.1.45).
If your printer can’t display the address on the screen, you can print a Network Configuration or Network/Test page from the settings menu. For models without a screen, press the wireless/info button or follow the manual’s button sequence to print a report.
Look for the label “IPv4” or “IP Address” on the printed page to identify the correct number. Make sure to write down the IPv4 address exactly as shown for future use.
Confirm the Printer’s IP Address on Your Computer and Router
Although you can find your printer’s IP address directly on the device, confirming it on your computer and router ensures you’re connecting to the correct printer on your network.
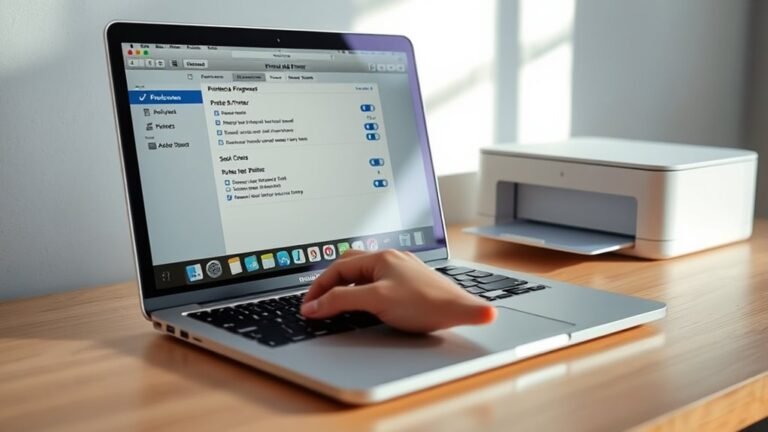
For HP Printers, check your computer’s settings: on Windows, go to Printers & Scanners → your printer → Printer Properties and look under Ports or Web Services. On a Mac, open System Settings → Printers & Scanners and select your printer to view its details.
Then, log into your router and check the Connected Devices list to find the printer name and IP address. Match these IPs with the one from the printer’s own Network Settings to confirm.
| Device | Location to Check |
|---|---|
| Windows PC | Printers & Scanners → Printer Properties |
| Mac | System Settings → Printers & Scanners |
| Router | Connected Devices list |
Use the IP Address to Add Your Printer Manually
Using your printer’s IP address lets you add the device manually, ensuring a direct and stable connection. First, find your printer’s IP from its network settings or by printing a test page.
Then, on your computer, choose to add the printer and select the option to use an IP address, entering the exact IPv4 number.
To properly add the printer, follow these steps:
- Select TCP/IP as the port type and enter the printer’s IP address.
- Choose or create a TCP/IP port with this IP when prompted.
- Finish setup by selecting the correct printer driver or model.
After you add the printer, open its status page via the IP address in a browser to confirm connectivity. This method helps you add the printer manually with precision.
Troubleshoot Printer Connection Issues Using the IP Address
After adding your printer manually with its IP address, you might still encounter connection problems. To troubleshoot, first verify the printer’s IPv4 address on its control panel and ensure it matches the IP shown in your router’s “Connected Devices.”
If the printer still appears offline or duplicated, try opening its IP address in a web browser to confirm it’s reachable on the network. This is a quick way to see if the printer is actually connected.
If the IP changes frequently, causing disconnects, assign a fixed IP or reservation in your router’s settings to keep the address consistent. Manually adding the printer with this fixed IP ensures print jobs reach the right device.
Frequently Asked Questions
How Can I Find the IP Address of My Printer?
You can find your printer’s IP address by checking its display under network settings. Sometimes, the printer will have a screen that shows this info right away.
Another way is to print a network report directly from the printer. This report usually includes the IP address and other useful network details.
You can also look in your computer’s printer properties. This is often found in the control panel or system preferences, depending on your device.
Or, if you’re comfortable with it, try logging into your router. There, you can view all connected devices and their IP addresses, including your printer.
Is 192.168.1.1 an IP Address?
Yes, 192.168.1.1 is an IP address, but it’s usually your router’s address, not your printer’s.
You’ll want to check your printer’s settings or your router’s connected devices to find the printer’s unique IP.
How to Locate Printer Settings?
Oh, locating printer settings is a breeze—if you enjoy treasure hunts! Just tap your printer’s menu or control panel.
Then, explore Wireless or Network Settings, and voilà, you’ll find all the options you need right there.
How to Get 192.168 IP Address?
You can get the 192.168 IP address by checking your printer’s Network Settings, printing a network configuration page, or looking in your router’s connected devices list.
Make sure your printer’s on the same Wi-Fi network as your device. That way, it’ll show up correctly when you check.
Conclusion
Now that you know how to find your printer’s IP address, connecting your device becomes a breeze. Think of the IP address as your printer’s home address—without it, your computer can’t send the mail.
By following these simple steps, you’ll avoid connection headaches and get back to printing smoothly. Keep this guide handy, and you’ll always be just a few clicks away from hassle-free printing.
Finding your printer’s IP address is key to setting up a reliable connection. Once you have it, adding the printer to your network or troubleshooting becomes way easier. So, next time you need to connect or fix your printer, remember these easy steps. It’s all about making your printing experience quick, simple, and stress-free!