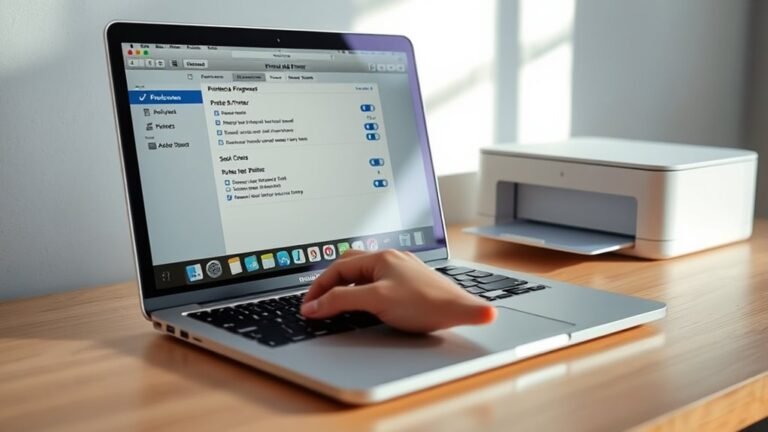
How to Add a Printer on Mac in 10 Easy Steps
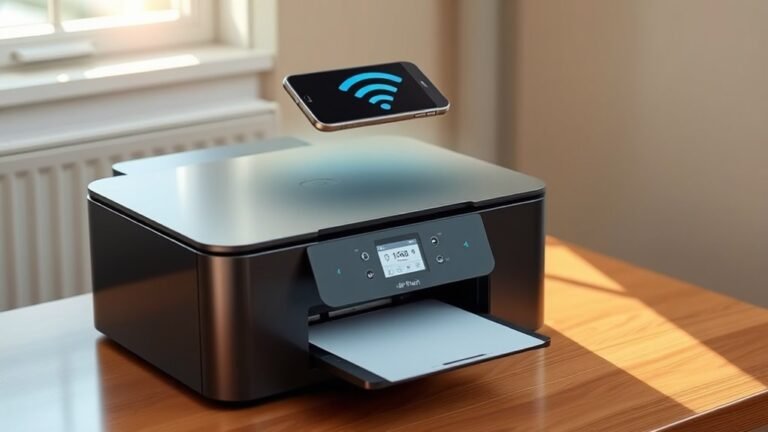
To add a printer on your Mac, first open System Settings and make sure your Mac and printer share the same Wi-Fi network.
Click on Printers & Scanners, then press “Add Printer, Scanner, or Fax.” Search for your printer in the list, select it, and click Add to start setup.
Your Mac will automatically install necessary drivers. Confirm your printer appears as ready, then print a test page.
Keep going to discover tips for managing print jobs and troubleshooting connections.