How Does an AirPrint Printer Work?
When you print with AirPrint, your Apple device automatically finds compatible printers over the same Wi-Fi network. It uses Bonjour and mDNS protocols to do this, making the connection seamless and quick.
You then select your printer from the print dialog and choose your preferred settings. The device creates a print job—usually in PDF format—and sends it directly to the printer via TCP/IP.
The printer processes the data at its native resolution and sends status updates back to your device. If you want to understand setup steps, workflows, and troubleshooting, keep exploring to get the full picture.
Key Takeaways
- AirPrint lets you print without installing drivers from your Apple devices. It works by finding printers on the same local Wi-Fi network using mDNS/Bonjour protocols.
- Your device discovers AirPrint printers through DNS-SD service advertisements. These ads include details like paper size, color options, and whether duplex printing is available.
- When you choose to print, you pick your options right in the app’s print dialog. Then, your device sends the print job—usually as a PDF—over TCP/IP to the printer.
- The printer takes that print data, decodes it, and applies the settings you selected. It prints at its native resolution and keeps you updated on the status.
- Just remember, both your Apple device and the printer need to be on the same Wi-Fi subnet. Plus, the network has to allow mDNS/Bonjour traffic so your device can find the printer easily.
How AirPrint Works: An Overview
When you print from an Apple device, AirPrint kicks in seamlessly, letting you send your document to a nearby AirPrint-enabled printer without installing any drivers or software. AirPrint is built into iOS and macOS, so your device automatically discovers printers on the same local Wi‑Fi network using Bonjour (mDNS).
You simply select the desired printer from the app’s print dialog, where you can choose options like copies, paper size, and color settings. AirPrint enables driverless printing by rendering your document into a compatible format before print job transmission over the network, typically via TCP/IP.
This streamlined process guarantees your print job reaches the printer smoothly, provided both devices stay connected to the same Wi‑Fi network and the printer firmware is up to date. It’s pretty much all automatic, so you don’t have to worry about any complicated setup.
Why Wi‑Fi Networks Matter for AirPrint
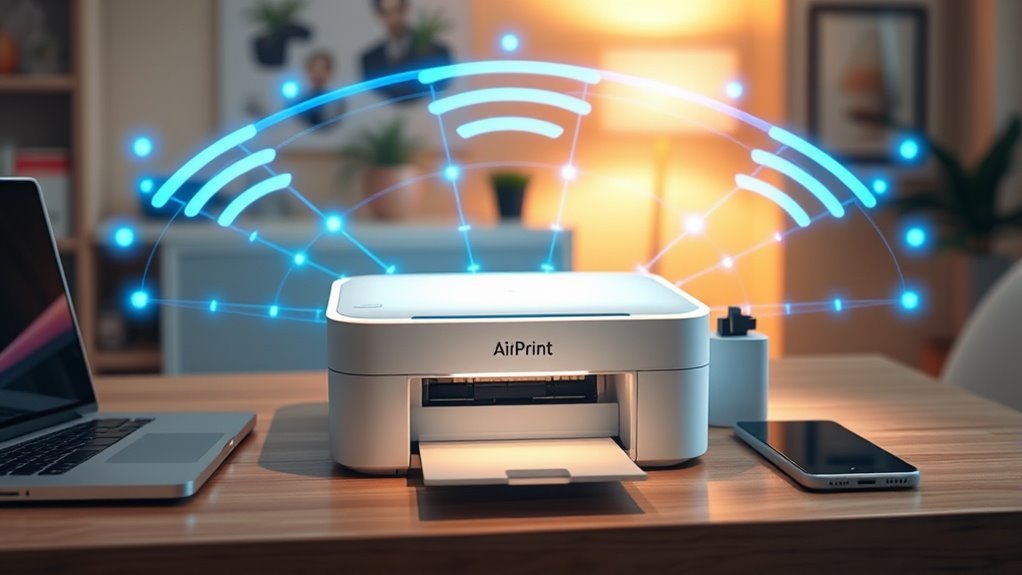
Connected to the same Wi‑Fi network, your Apple device and AirPrint printer communicate seamlessly to send print jobs directly without extra setup. AirPrint relies on Bonjour and mDNS protocols to discover your wireless printer automatically on the local Wi‑Fi subnet.
Both your device and printer must be on the identical SSID since network isolation or different frequency bands can block AirPrint’s discovery and printing functions. A strong Wi‑Fi signal and ample bandwidth are essential because AirPrint transmits full print data, which can be large.
Updating your router firmware and placing your wireless printer near the router or a strong access point helps reduce packet loss and boost reliability. Doing these things ensures AirPrint works smoothly every time.
How AirPrint Finds Your Printer Automatically
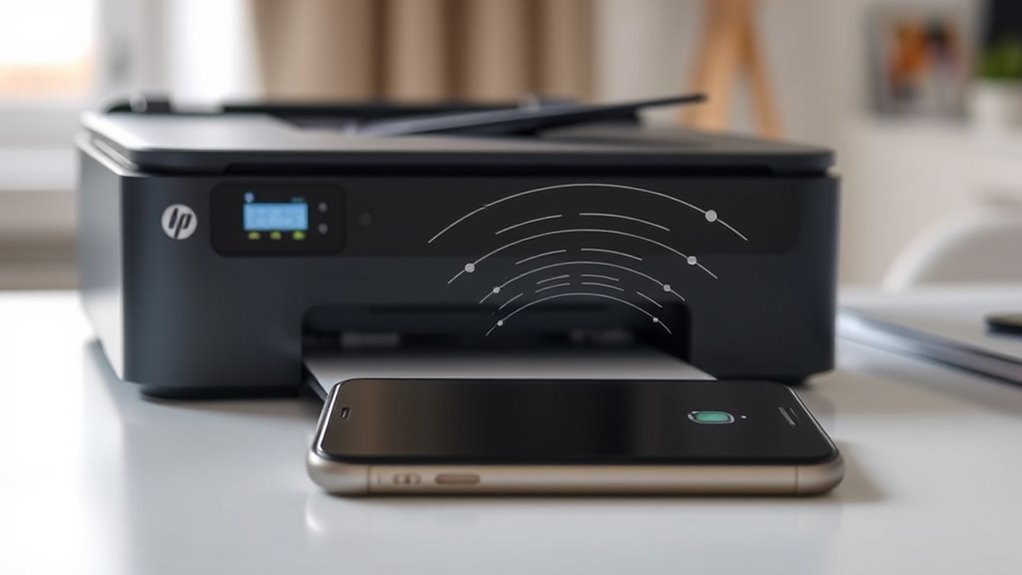
AirPrint kicks off printer discovery by broadcasting service records over the local Wi-Fi network using mDNS and DNS-SD protocols. When your AirPrint printer connects, it sends a service record (_ipp._tcp or _ipps._tcp) advertising its hostname, IP, port, and supported print capabilities.
Your device listens for these announcements and populates the Print dialog with printers on the same Wi-Fi network and subnet. Printer attributes like paper size, color, duplex, and resolution are also shared, so you see relevant options without needing drivers.
| Protocol | Purpose | Details |
|---|---|---|
| mDNS | Local name resolution | Broadcasts printer hostname and IP |
| DNS-SD | Service discovery | Advertises printer services and features |
| Wi-Fi | Network connection | Connects devices for discovery and print |
| Service Record | Info broadcasted | Hostname, IP, port, printer attributes |
| Printer Attributes | Capabilities | Paper sizes, color, duplex, resolution |
Setting Up Your AirPrint Printer
First, make sure your printer supports AirPrint and update its firmware to the latest version. Then, connect your printer and Apple device to the same Wi-Fi network to guarantee they can communicate.
Next, add the printer on your iPhone, iPad, or Mac by selecting it from the print menu. It’s pretty straightforward once everything is connected!
Confirm Printer Compatibility
Before you start printing wirelessly, make sure your printer supports AirPrint by checking the manufacturer’s specifications or Apple’s official list of compatible models. Most modern printers from brands like Canon, HP, Epson, Brother, and Rollo support AirPrint, but it’s essential to confirm your model is a compatible printer.
Also, verify the printer’s firmware is up to date, as manufacturers often release updates that improve AirPrint functionality. Your Apple device and the printer must be on the same shared Wi‑Fi network for AirPrint to work properly.
Avoid using guest or mobile hotspot networks, since AirPrint won’t function across separate networks. By checking the manufacturer’s specs and ensuring your printer supports AirPrint, you’ll avoid connectivity issues and enjoy seamless wireless printing.
Connect To Same Network
To get your AirPrint printer working smoothly, make sure your printer and Apple device connect to the same Wi‑Fi network with the identical SSID. AirPrint won’t discover printers connected to different networks, guest networks, or via Bluetooth.
Make certain your AirPrint‑enabled printer is on a supported 2.4 GHz or 5 GHz Wi‑Fi band and within range of your router for a reliable connection. If your device can’t find the printer, check the printer’s Wi‑Fi status, restart the printer and router, and confirm firmware is updated.
Avoid connecting the printer through USB or Bluetooth tethering, as AirPrint requires the printer to be directly connected to the local Wi‑Fi network. Once both are connected to the same SSID, your device will effortlessly discover your AirPrint printer.
Add Printer On Device
Many AirPrint printers connect seamlessly once you confirm compatibility and link them to your Wi-Fi network through their wireless setup or Ethernet.
To add printer on device, make sure your iPhone or iPad is on the same Wi-Fi network as the AirPrint printer. Open the app with your document or photo, tap Share, then Print.
Tap “Select Printer” and choose your AirPrint-enabled printer from the list—no drivers needed.
On a Mac, open the file, go to File > Print, and pick the AirPrint printer from the dropdown menu. If the printer doesn’t appear, restart both devices, update printer firmware, and check your Wi-Fi settings to make certain no guest or isolation modes block communication.
This quick setup lets you print effortlessly without installing extra drivers.
What Happens When You Print Using AirPrint
When you tap Print on your iPhone, iPad, or Mac, your device quickly finds AirPrint-enabled printers on your Wi-Fi network using mDNS/Bonjour and shows them in the print dialog. After you select a printer and set options, your device creates a print job, often in PDF format, and sends it wirelessly over your Wi-Fi network.
Your device finds AirPrint printers via mDNS/Bonjour and sends a PDF print job wirelessly over Wi-Fi.
Here’s what happens next:
- The print job transmits via standard IP networking without needing drivers.
- The AirPrint printer receives and decodes the PDF or rasterized data.
- It processes the data into internal commands at native resolution.
Then, the printer starts printing your document. Meanwhile, printer status updates like ready, printing, or errors send back to your device.
This seamless wireless printing process makes AirPrint quick and easy to use. It’s designed to just work, so you don’t have to worry about complicated setups or drivers.
How Your AirPrint Printer Prints Documents
Your AirPrint printer takes the digital file your Apple device sends over the local Wi-Fi network and transforms it into a physical document. Using Bonjour (mDNS), AirPrint discovers the printer without drivers.
The print job arrives as PDF or Apple Raster data, which the printer firmware processes at native resolution. It applies your selected printer settings like duplex or color.
The firmware manages queues, handles errors, and converts data into printer-specific commands. Throughout printing, the printer communicates job status back to your device, so you know if the process completes or fails.
| Step | Description | Key Component |
|---|---|---|
| Discover Printer | Finds printer on Wi‑Fi network | Bonjour (mDNS) |
| Send Print Job | Transfers PDF/Apple Raster data | AirPrint Protocol |
| Process Data | Rasterizes and applies settings | Printer Firmware |
| Manage Print | Handles queues and errors | Printer Firmware |
| Report Status | Updates job status to device | Job Status |
Troubleshooting AirPrint Connection Issues
If your AirPrint printer isn’t connecting, first make sure your device and printer are on the same Wi-Fi network. Also, check for any network restrictions that might be blocking the connection.
Next, update your printer’s firmware along with your iOS or macOS to keep everything compatible. These updates can often fix bugs that cause connection issues.
Finally, double-check that your device actually supports AirPrint. This step helps avoid any unexpected problems down the line.
Network Connection Checks
Start by guaranteeing your iPhone, iPad, or Mac and the AirPrint printer share the exact same Wi-Fi network, including the SSID and frequency band. AirPrint depends on local LAN discovery, so different subnets or guest networks won’t work.
Next, check these key points to troubleshoot network connection issues:
- Confirm your router settings allow mDNS/Bonjour traffic for printer discovery.
- Disable VLANs, client isolation, or AP isolation, or place devices on the same VLAN.
Then, restart the printer, your device, and the Wi-Fi access point to refresh cached mDNS entries.
Also, verify both the printer firmware and device OS are current to avoid known bugs.
If Wi-Fi is acting up, try printing via the printer’s IP address or use a wired Ethernet connection instead.
These steps help guarantee a stable AirPrint connection on your Wi-Fi network.
Printer Firmware Updates
After confirming your network settings support AirPrint, focus on updating the printer’s firmware to resolve lingering connection issues. Printer manufacturers often release firmware updates that fix bugs affecting AirPrint discovery, Bonjour, and mDNS protocols critical for device detection.
Check your printer’s web admin page or the manufacturer support site for the latest firmware version. Apply updates through the printer’s built-in menu or via USB/Ethernet following vendor instructions.
Make sure your printer stays connected to a stable power source and the same network connection as your Apple device during the update to avoid bricking. After updating, reboot both devices and verify AirPrint discovery.
Sometimes updates change Bonjour names or require you to rejoin Wi-Fi, so keep an eye out for that. If problems persist, contact manufacturer support with your firmware version and network details for further help.
Device Compatibility Verification
Although AirPrint simplifies wireless printing, verifying device compatibility is essential when connection issues arise. You need to confirm your printer model supports AirPrint by checking Apple’s official list or the printer’s specs.
Make certain both your Apple device and AirPrint printer connect to the same Wi‑Fi network—AirPrint won’t work if they’re on different SSIDs or cellular. For device discovery, mDNS/Bonjour must be enabled on your router.
If the printer doesn’t appear, try restarting devices and disabling VPNs. Also, update your printer’s firmware and your iOS/macOS to avoid compatibility problems.
Watch out for network barriers like client isolation or non-Wi‑Fi printer connections.
- Verify AirPrint printer model compatibility
- Connect both devices to the same Wi‑Fi network
- Enable mDNS/Bonjour for device discovery
- Restart devices and disable VPNs if needed
- Update firmware and OS for best results
How Firmware Updates Improve AirPrint Printing
Firmware updates enhance your AirPrint experience by improving printer discovery, fixing bugs, and boosting performance. They refresh AirPrint protocol components like DNS‑SD and Bonjour service announcements, making your printer easier to find on the same Wi‑Fi network.
Firmware updates fix issues that cause failed or stalled print jobs, improving print-job reliability by resolving memory leaks or print-queue crashes. They also optimize network performance, reducing latency and speeding up print start times.
Security patches protect your AirPrint traffic by closing vulnerabilities in Wi‑Fi, TCP/IP, and Bonjour protocols, keeping your printing secure. Plus, these updates expand feature support, enabling duplex printing, higher DPI modes, and new paper-size options.
On top of that, firmware updates ensure compatibility with the latest iOS and macOS versions, so your printing stays seamless and hassle-free. It’s a simple way to keep your printer working smoothly and securely every time you print.
Frequently Asked Questions
Does Airprint Work Over Wi-Fi or Bluetooth?
AirPrint works over Wi-Fi, not Bluetooth. You’ll need your Apple device and printer connected to the same Wi-Fi network for it to work.
Bluetooth isn’t used for printing, only sometimes for initial printer setup. So, if you’re trying to print, make sure both devices are on Wi-Fi. It’s pretty straightforward!
How Do I Get My Printer to Recognize My iPhone?
You might think your printer automatically recognizes your iPhone, but it doesn’t. You need to connect both to the same Wi-Fi network, power on the printer, then select it on your iPhone’s print menu for recognition.
It’s not as automatic as it sounds, so don’t worry if it doesn’t show up right away. Just make sure everything’s connected properly, and you’ll be good to go!
How Do I Get Rid of Airprint?
You can get rid of AirPrint by disabling it in your printer’s network settings or web panel.
Alternatively, you can block mDNS traffic on your router, which stops the AirPrint service from being discovered.
Another option is to forget the printer on your device.
Or, if you want to keep things simple, switch your printer to USB-only mode. That way, it won’t broadcast AirPrint at all.
How to Tell if a Printer Is Airprint?
You can gently uncover if your printer embraces AirPrint by checking its specs or Apple’s official list.
Also, your device will effortlessly spot it in the print dialog if both share the same Wi-Fi network.
Conclusion
Now that you know how AirPrint works, you can see it’s like a silent conductor orchestrating your printing needs seamlessly over Wi-Fi. By automatically finding your printer and handling the process behind the scenes, it makes printing effortless.
Just make sure your devices are connected and updated, and you’ll avoid most hiccups. With a little care, AirPrint turns what used to be a hassle into a smooth, wireless dance of documents.
In short, AirPrint simplifies wireless printing by removing the need for drivers or complicated setups. It uses your local Wi-Fi network to instantly connect your Apple devices to compatible printers. This means you can print photos, emails, or documents directly from your iPhone, iPad, or Mac without any fuss. So, keeping your devices updated and on the same network ensures AirPrint works flawlessly, making your printing experience quick, easy, and truly wireless.