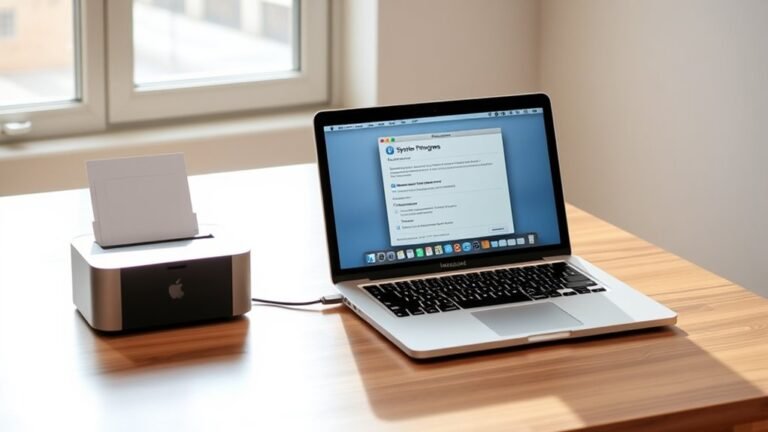
How to Add a Printer to Mac in 3 Simple Steps
To add a printer to your Mac, start by opening System Settings and selecting Printers & Scanners from the sidebar. Click the plus (+) button and choose the IP tab to enter your printer’s network IP address or hostname.
Then, select the appropriate protocol and driver. You can go with the auto-selected option or pick one from the manufacturer software—whichever works best for you.
Finally, confirm your settings and print a test page to make sure everything works. Keep going to explore more ways to fine-tune your printer setup and troubleshoot common issues.