How Does a Tank Printer Work?
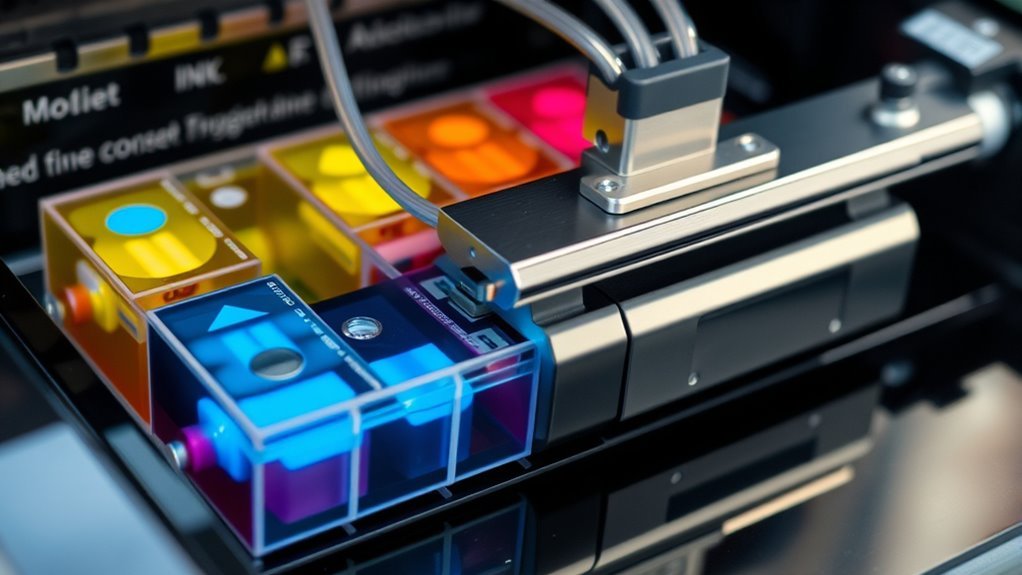
A tank printer works by feeding ink from large, refillable reservoirs directly to the printhead through short, sealed tubes. These printers are designed to be cost-effective and eco-friendly, making them popular for both home and office use. You’ll often see transparent tanks with color coding, so it’s super easy to check ink levels at a glance.
Refilling is a breeze, too—you can top up the tanks before they run dry, which helps prevent clogs and keeps everything running smoothly. The printhead then sprays tiny ink droplets onto paper, producing sharp, vibrant images every time. Plus, using a tank printer can cut your ink costs by up to 90% compared to traditional cartridges.
If you’re curious about how to set one up properly or maintain it for the best performance, there’s definitely more to learn. But once you get the hang of it, tank printers are a fantastic way to save money and reduce waste without sacrificing quality.
Key Takeaways
– Tank printers use large, refillable, transparent reservoirs that feed ink directly to the printhead through color-coded tubes.
The ink flows steadily, either by gravity or low-pressure capillary action. Air-tight seals keep everything sealed up tight to prevent leaks and backflow.
- When you first set up the printer, there’s a priming process that draws ink into the printhead. This clears out any air bubbles and gets the nozzles ready for printing.
- The printhead has tiny nozzles that spray precise ink droplets in layers. This layering helps produce sharp text and vibrant color images.
- To keep things running smoothly, you’ll want to refill before the ink levels get too low.
And don’t forget regular maintenance like nozzle cleaning — it helps keep the ink flowing and prevents clogs.
What Is an Ink Tank Printer and How It Differs From Cartridges
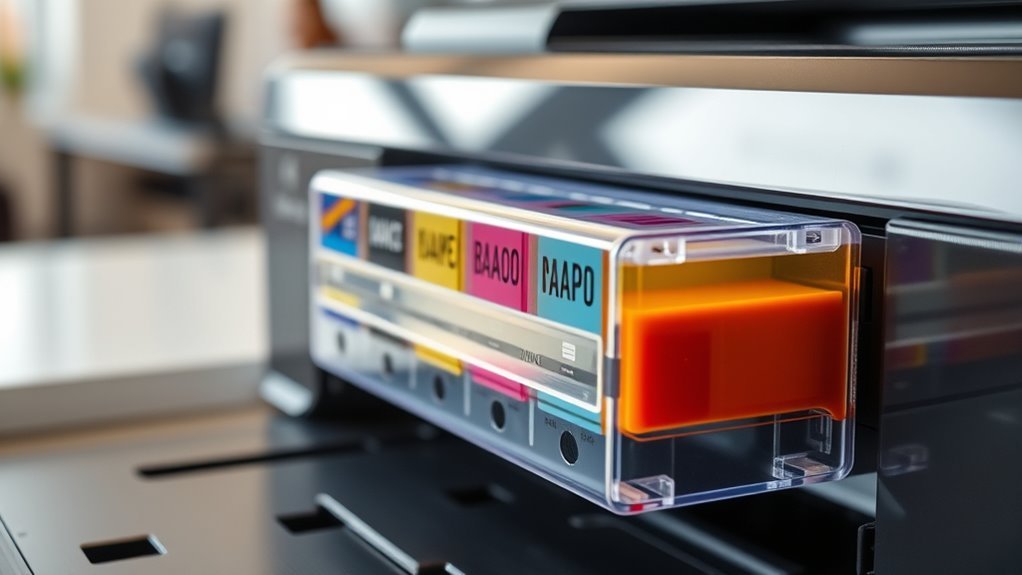
An ink tank printer uses large, refillable reservoirs for each color instead of small disposable cartridges, letting you print thousands of pages before needing a refill. This supertank system, like in Epson EcoTank models, features transparent refillable ink tanks that hold much more ink than traditional cartridges.
Instead of swapping cartridges, you refill the tanks with low-cost ink bottles, dramatically lowering your ink cost per page—sometimes by up to 90%. Though the printheads remain similar to those in cartridge printers, the supply system differs, feeding ink from the tanks rather than cartridges.
You’ll appreciate how this setup reduces plastic waste and extends intervals between refills. While the upfront price is higher, the long-term savings and convenience make ink tank printers ideal for heavy printing needs.
How Ink Flows From Tanks to the Printhead
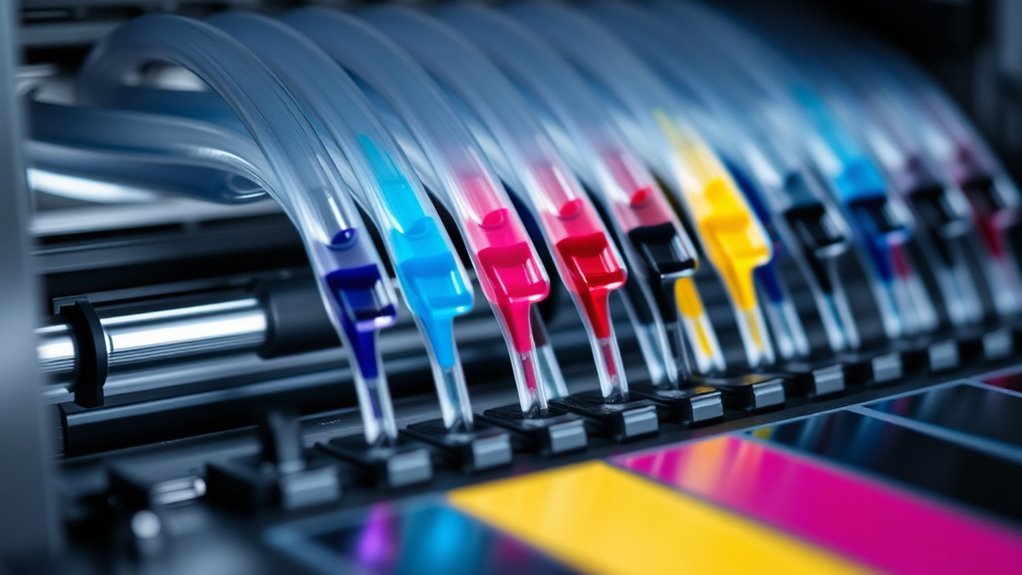
Because ink tank printers store large volumes of ink in transparent, color-coded reservoirs, they rely on a carefully designed feed system to deliver ink smoothly to the printhead. The refillable ink tank uses gravity or low-pressure capillary action to maintain steady ink flow through short feed lines directly into the printhead’s chambers.
Ink tank printers use gravity and capillary action to ensure smooth, steady ink flow to the printhead.
Air-tight seals and one-way valves prevent leaks and backflow, guaranteeing consistent delivery. When you start printing, built-in priming moves ink from the tanks through the feed lines to prepare the nozzles.
This process helps clear air bubbles and dried residue that could disrupt ink flow. Keeping tanks topped up prevents air from entering, which would otherwise cause skipping.
This system guarantees your printhead always receives fresh ink for smooth, reliable printing.
How Printheads Spray Ink Onto Paper
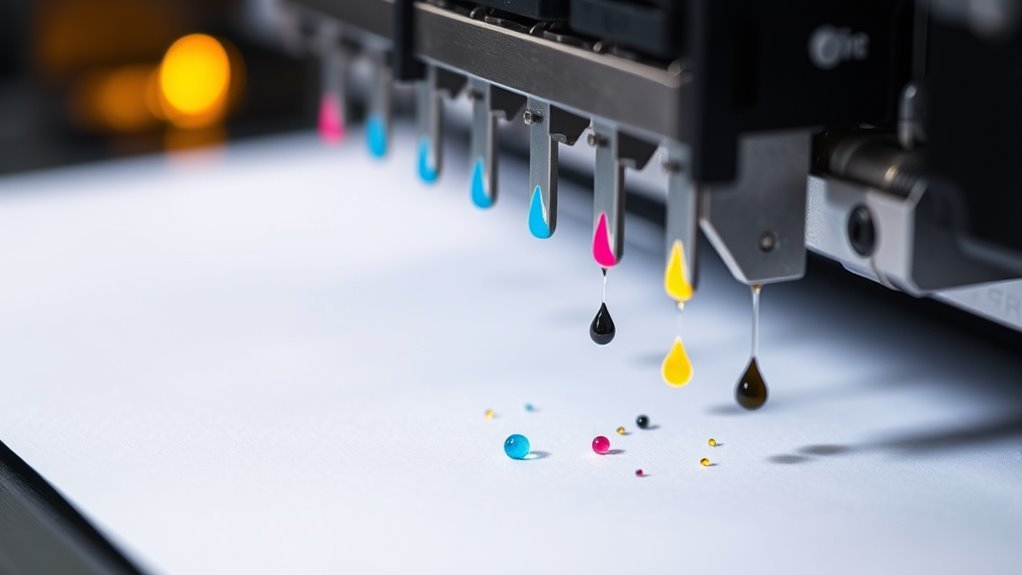
You’ll find thousands of tiny nozzles inside the printhead that spray precise droplets of ink onto the paper. These droplets form through either rapid heating or mechanical flexing, depending on the printer’s technology.
It’s pretty cool how these little nozzles work. Once you understand them, you’ll see how your images and text come to life with sharp detail.
Inkjet Nozzle Mechanism
Microscopic nozzles inside inkjet printheads spray tiny droplets of ink onto paper to create text and images with remarkable detail. These nozzles, often numbering in the hundreds per color, eject picoliters of ink with incredible precision.
Two main technologies power this: thermal printheads heat ink to form vapor bubbles that push droplets out, while piezoelectric printheads use crystals that flex to force ink through. Most tank printers favor piezoelectric for finer control.
Color printing relies on separate CMYK nozzle groups layering droplets to achieve vibrant, sharp images. To keep print quality high, your printer runs nozzle checks and printhead cleaning cycles, flushing dried ink that could block nozzles.
This guarantees each microscopic passage remains clear, letting your printheads deliver crisp, detailed results every time.
Droplet Formation Process
Printheads spray tiny droplets of ink onto paper by rapidly firing through hundreds or thousands of nozzles. Each nozzle ejects droplets as small as 1 to 10 picoliters.
Whether it’s thermal inkjet technology, which vaporizes ink to form bubbles, or piezo print heads that flex crystals to push droplets, precise control is key. You really get to benefit from:
- Optimized droplet size and ejection velocity for sharp images at high dpi.
- Carefully engineered ink formulation balancing viscosity and surface tension.
- Frequent nozzle maintenance to prevent clogging and maintain droplet consistency.
- High-frequency firing producing detailed gradients and smooth color shifts.
Cost and Performance Benefits of Ink Tank Printers
Many users find ink tank printers offer significant cost and performance advantages over traditional cartridge-based models. With large refillable ink tanks, you get a high-capacity ink supply that can print thousands of pages per refill, dramatically reducing your ink cost per page.
Using low-cost bottled ink instead of cartridges means you save up to 80–90% on ink expenses. The refill bottles last as long as dozens of cartridges, making ongoing ink savings substantial, especially for home office printing where volume matters.
Though ink tank printers might have a higher upfront cost, their impressive page yield and less frequent refills ultimately make them more economical and convenient. This efficient design minimizes interruptions and keeps your printing running smoothly without constant cartridge replacements.
Common Causes of Drying and Clogging in Ink Tank Printers
Even if you don’t use your ink tank printer regularly, ink left sitting in the nozzles can dry out or turn sticky. This leads to clogs that block printing. Here are common causes of drying and clogging you should watch for:
Ink in nozzles can dry or clog, blocking printing even if your ink tank printer isn’t used often.
- Letting refillable ink tanks run empty or very low draws air into the lines and printhead. This causes drying and blockage.
- Skipping regular cleaning cycles lets dried ink accumulate. But frequent cycles waste ink quickly.
- Using poor-quality ink or non-recommended refills leads to deposits and thickened residue in nozzles.
- Leaving the printer unused for long periods stops maintenance. That allows ink in the printhead to dry and clog.
To avoid these issues, prioritize quality ink and timely ink tank refills. Even if you don’t print often, this really helps keep things flowing smoothly.
Maintaining Ink Tank Printers for Long-Term Reliability
Regularly using your ink tank printer—at least once every one to two weeks—helps prevent nozzle drying and reduces the need for frequent, ink-consuming cleaning cycles. It’s a simple step that keeps everything flowing smoothly.
To maintain long-term reliability, refill your refillable ink tanks before ink levels drop below 10–20%. This helps avoid air getting in and causing clogs. Always use manufacturer-recommended ink refill bottles, and store them in a cool, dry place to keep particles from building up.
After refilling, run nozzle checks and perform head cleaning if you notice streaks. Just remember, each cleaning uses up some ink, so don’t overdo it. Also, keep your printer powered according to the manufacturer’s guidance—that way, scheduled maintenance runs smoothly without any hiccups.
Finally, keep an eye on your printhead’s lifespan. With heavy use, it’s usually around two years. When it’s time, replace or service it to keep your prints looking great and avoid costly repairs down the road.
Monitoring Ink Levels With Transparent Ink Tanks
You can quickly check ink levels at a glance thanks to transparent or semi-transparent reservoirs with clear fill lines. These refillable ink tanks let you monitor ink levels visually and avoid surprises.
Here’s how they help you stay on top of printing: Visible fill lines show exactly how much ink remains, helping you estimate page yield easily. Optical sensors or clear windows signal when to refill before empty, preventing air from entering the ink lines.
The printer app often converts tank volume into page yield estimates based on manufacturer metrics. Refill before ink runs out to avoid thickened dregs and clogs, ensuring smooth printing.
Unlike cartridge chips, transparent tanks provide real-time, reliable monitoring without electronic locks. This gives you control and peace of mind.
Case Study: Using the Epson EcoTank ET-2760
Monitoring ink levels through transparent tanks sets the stage for understanding how specific models manage ink efficiency and user convenience. Take the Epson EcoTank ET-2760, which features four large refillable ink tanks visible through transparent ink windows. This lets you easily track ink levels.
During initial setup, the priming or charging process draws ink from the included ink bottles into the printhead. This ensures the printer is ready to go, but it does use some starter ink.
This model offers wireless mobile printing and automatic duplex, which really boosts productivity. Epson estimates its cost per page is much lower than cartridge printers, with up to 7,500 black and 6,000 color pages per refill bottle set.
To keep your print quality sharp, you’ll need regular printhead maintenance, especially if the printer sits idle for a while. This helps prevent clogged nozzles and stops ink waste.
Frequently Asked Questions
What Is the Main Difference Between an Inkjet Printer and a Regular Printer?
The main difference is that you use liquid ink sprayed through tiny nozzles in an inkjet printer, while a regular printer, often a laser, uses toner powder fused to paper with heat. This affects print quality and speed.
Basically, inkjet printers are great for detailed color images but can be slower and the ink might smudge. On the other hand, laser printers are faster and better for sharp text, but usually cost more upfront.
What Are the Downsides of Using an Ecotank Printer?
You’ll face higher upfront costs with Ecotank printers, risk clogged nozzles if unused, and spend ink on cleaning cycles.
Plus, some models lack advanced features, and severe clogs might mean costly repairs or replacements.
It’s a bit of a trade-off, but knowing these downsides can help you decide if an Ecotank printer is right for you.
What Is the Difference Between a Laser Printer and a Tank Printer?
You’ll find tank printers use liquid ink from refillable tanks for vibrant colors but slower speeds, while laser printers use powdered toner with fast, sharp monochrome text.
Your choice depends on printing volume, quality, and cost preferences. It really comes down to what you need most—color and detail or speed and efficiency.
How Do Portable Thermal Printers Work?
Think of your portable thermal printer as a tiny artist painting with heat. It selectively heats paper or ribbon dots, creating images and text instantly.
Conclusion
Now that you know how an ink tank printer works, you see it’s a smart choice for saving money and getting consistent quality. These printers use refillable tanks instead of cartridges, which means you spend less on ink over time.
Remember, “a stitch in time saves nine”—regular maintenance keeps your printer running smoothly and helps avoid clogs. By keeping an eye on ink levels and understanding how ink flows through the system, you’ll prevent interruptions.
You’ll enjoy hassle-free printing for longer when you take simple steps to care for your ink tank printer. So go ahead, embrace ink tank technology. It makes your printing chores easier, more efficient, and budget-friendly. Choosing an ink tank printer is definitely a smart move for anyone who prints often and wants quality without breaking the bank.