How Do I Add a Printer in 7 Simple Steps
To add a printer, open Settings and go to Printers & Scanners, then click Add a printer.
Pick your printer if it shows up or choose “The printer that I want isn’t listed” to add it manually using the network address or hostname.
Select your connection type — USB, Wi‑Fi, or Ethernet — then install the right drivers.
Name your printer clearly, set sharing to private, and print a test page to confirm.
There’s more to make sure smooth setup and troubleshooting.
But these simple steps will get your printer ready to use in no time!
Key Takeaways
- Open Windows Settings, navigate to Devices, then select Printers & scanners to start printer setup.
- Click “Add a printer” and select the detected printer or choose “The printer that I want isn’t listed” for manual setup.
- For manual setup, enter the printer’s TCP/IP address or hostname exactly as provided and proceed with the wizard.
- Choose the appropriate connection type: USB for single users, Ethernet for busy offices, or Wi‑Fi for network printing.
- After installation, name the printer clearly, set sharing to “Do not share this printer,” and print a test page to verify.
Open Settings and Go to Printers & Scanners
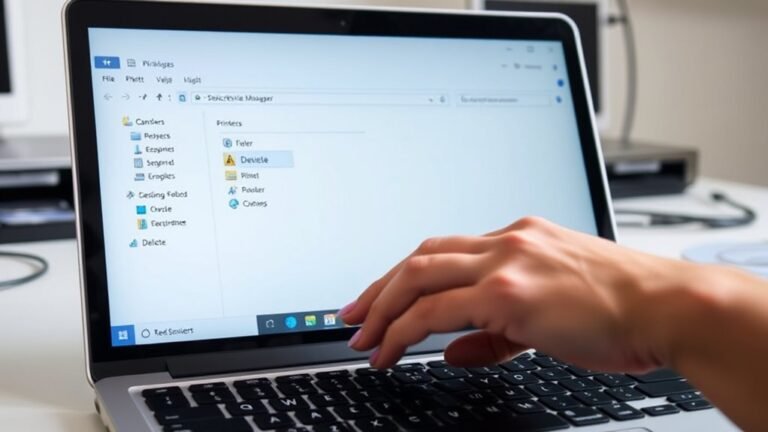
To begin adding a printer, click the Start button and open Settings using the gear icon near the power button. Once Settings is open, select Devices from the available options.
Then, click Printers & scanners in the left sidebar to access your printer settings. In the Printers & scanners window, you’ll see a list of your current devices.
Look for the Add a printer button and click it to start the setup process. If your printer is detected automatically, you can select it and proceed.
Keep the Printers & scanners window open throughout to confirm your printer appears in the list after installation. This straightforward navigation helps you manage your printers efficiently without confusion or delay.
Add a Printer Automatically or Manually
Although Windows often detects your printer automatically when you click Add a printer in Settings, you might need to set it up manually if it doesn’t appear.
Open Settings → Devices → Printers & scanners, click Add a printer, and wait for Windows to search. If your printer isn’t listed, select “The printer that I want isn’t listed” to start manual setup.
Choose Add a printer using a TCP/IP address or hostname, then enter your printer’s hostname or IP. Make sure Device type is set to Autodetect, and follow the on-screen instructions to install the correct driver.
Finish the wizard and print a test page. If it still won’t connect, make sure the printer is powered on and the hostname/IP is accurate before trying again.
Choose Your Printer Connection Type (USB, Wi-Fi, Ethernet)
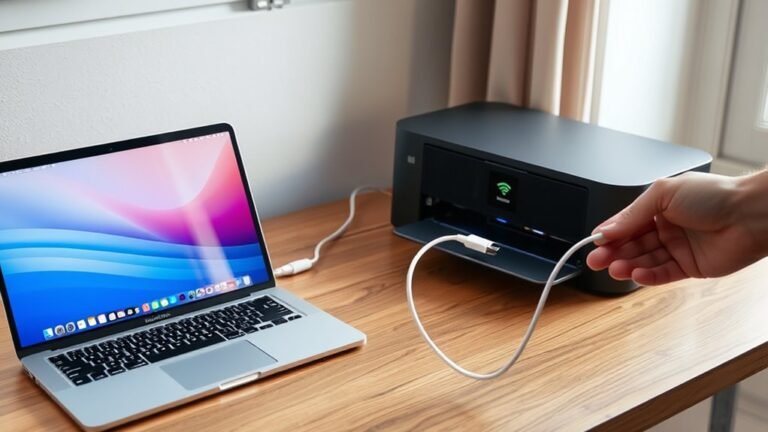
When choosing how to connect your printer, think about whether you want the simplicity of a USB cable, the stability of an Ethernet connection, or the flexibility of Wi‑Fi. Each connection type fits different needs.
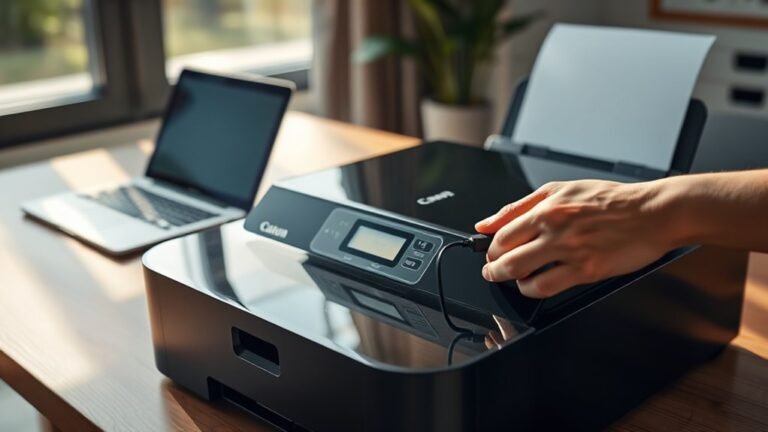
USB is super easy—just plug the cable between your printer and computer. It’s the fastest setup and great if you’re the only one printing.
Ethernet means connecting your printer to the router with a cable. This gives you reliable, steady printing, which is perfect for busy offices.
Wi‑Fi lets you use the printer’s control panel to join your network and enter the password. Just make sure your computer is on the same Wi‑Fi to print wirelessly.
Enter Your Printer’s Network Address or Hostname (If Needed)
If your printer doesn’t show up automatically, you’ll need to enter its network address or hostname. This lets you configure a TCP/IP port so Windows can communicate with your printer.
Make sure to confirm the port is created successfully before moving on. It’s a quick step but important to get right!
Locate Printer Hostname
Before adding your printer, you’ll need to locate its network hostname or address. You can find this on your organization’s Departments computing resource page or by contacting LSP. This hostname is essential for connecting your device properly.
Follow these steps to make sure you have the correct information:
- Visit the computing resource page or please contact LSP to get the exact network hostname or IP address.
- Enter the hostname exactly as provided into the printer setup window. Double-check it to avoid connection errors.
- After entering the hostname, click Next to proceed. Once installed, print a test page to confirm the connection works.
Having the right hostname helps Windows create the correct TCP/IP port automatically. It also keeps the device type set to Autodetect, which makes things easier for you.
Configure TCP/IP Port
Since your printer might not appear automatically, you’ll need to add it manually by entering its network address or hostname. In Windows, go to Settings → Devices → Printers & Scanners → Add a printer.
If it’s not listed, select “The printer that I want isn’t listed.” Then, choose “Add a printer using a TCP/IP address or hostname” and click Next. Enter the printer’s IP address or hostname—like printer-one.school.edu—into the field provided.
If you’re unsure about the correct address, check your organization’s computing resources page or contact your LSP. With years of experience, you’ll find this step straightforward.
Once entered, click Add to proceed while Windows detects and creates the TCP/IP port needed for your printer’s connection.
Confirm Port Creation
How do you know when Windows has successfully created the printer port? After choosing “Add a printer using a TCP/IP address or hostname,” enter your printer’s exact hostname or IP address in the top field. Keep the device type set to Autodetect, then click Next.
Windows will take a moment to create the port. You’ll confirm success if the next configuration screen appears without issues. Also, if Windows doesn’t stop or show a message about an incorrect hostname or IP, that’s a good sign.
Another way to check is if the printer responds correctly during test prints or status checks. If you hit an error, double-check the spelling or address and try again.
Confirming the port creation makes sure your printer is properly connected and ready for the next setup steps. It’s a simple step that saves you headaches later on!
Select Printer Type and Install Drivers
When adding a printer in Windows, you’ll start by going to Settings → Bluetooth & devices → Printers & scanners and selecting Add a printer. If your printer doesn’t appear, click “The printer that I want isn’t listed” to continue manually.
Next, choose Add a printer using a TCP/IP address or hostname to let Windows create the correct connection. Keep Device type set to Autodetect, or pick the printer brand if prompted, so Windows installs the right driver automatically.
If Windows asks for the exact driver, use Have Disk to install it from a manufacturer’s disk or downloaded package. Once the driver installs and your printer shows up in Printers & scanners, you’re ready to move on to the next steps, like printing a test page to make sure everything works.
Name Your Printer and Configure Sharing Settings
Give your printer a clear, descriptive name—like the room or hostname—so you can find it easily later. When prompted, choose not to share the printer to prevent unauthorized use.
This simple step helps keep your printer secure and reduces unnecessary resource use. It’s a quick way to make sure only you have access.
Choose A Printer Name
To make your printer easy to find later, choose a clear name that matches its location or hostname, like DRL-3E10. This helps you quickly identify the printer in your device list.
When naming and configuring sharing settings, follow these steps:
- Enter a name that matches the printer’s hostname or room label to keep things organized.
- Select “Do not share this printer” to prevent unauthorized access and reduce unnecessary usage.
- After naming and sharing choices, click Finish and optionally print a test page to confirm everything works.
Use Descriptive Naming
Choosing a clear and descriptive name for your printer makes it easier to find when printing documents. Pick a name that matches the device or location, like the printer’s hostname (e.g., DRL-3E10) or the room name.
This way, when you select a printer in Windows, you’ll see a familiar name instead of confusing IP details. During setup, Windows will prompt you about sharing. Select “Do not share this printer” to prevent unauthorized access and reduce accidental use.
This keeps your printer secure and limits who can print. Once you’ve named the printer and set sharing preferences, click Finish. If prompted, print a test page to confirm everything’s working properly before you start printing your important documents.
Disable Printer Sharing
- Give your printer a clear, descriptive name—using the hostname or room name like DRL-3E10 makes it easy to identify later.
- Choose “Do not share this printer” to restrict access only to your device and account.
- Click Next to proceed, then finish the installation and optionally print a test page to confirm everything works.
Disabling sharing keeps your printer private. It also helps reduce the risk of unwanted printing.
Print a Test Page and Fix Common Problems
Once you add your printer, open Settings → Bluetooth & devices → Printers & scanners**, select your printer, and click Print a test page** to make sure everything’s set up correctly.
After adding your printer, go to Settings → Bluetooth & devices → Printers & scanners and print a test page to confirm setup.
If the test page doesn’t print, first check the printer is powered on, has paper loaded, and shows no error messages. Then, restart both the printer and your PC.
For network printers, ensure both devices are on the same network and verify the hostname or TCP-IP port settings you used during setup. If it still fails, confirm Windows lists the printer correctly by its name or hostname and consider reinstalling the driver.
Once the test page prints successfully, click Finish, and you’re ready to print normally.
Frequently Asked Questions
How to Add a Printer Step by Step?
You open Settings, go to Devices, then Printers & scanners. Click Add a printer, and wait a moment.
If your printer isn’t listed, don’t worry. Choose to add it using its IP address instead.
Name your printer, finish the setup, and then print a test page to make sure everything works. Easy!
How Can I Get My Computer to Recognize My Printer?
You can’t just wave a magic wand—your computer needs to be on the same network as your printer. Make sure it’s connected properly, then add it through settings.
And voilà, it’ll recognize your printer instantly!
How to Add a Printer Device in Windows 7?
You’ll open Control Panel, go to Devices and Printers, then click Add a Printer.
Follow the prompts to select or manually add your printer using its IP or hostname.
You’ll need to install the drivers next, and then you can finish by printing a test page.
It’s pretty straightforward once you get started!
How Do I Get My Wireless Printer to Connect to My Wi-Fi?
Imagine Sarah’s printer wouldn’t connect until she restarted her router and re-ran setup.
You’ll want to open your printer’s Wi-Fi menu, select your network, and enter the password.
If it fails to connect, just restart your devices and try again.
Conclusion
Now that you’ve navigated the neat steps to name, network, and nail your new printer setup, you’re ready to print with precision and peace.
Remember, whether you’re adding automatically or manually, choosing connection types, or configuring sharing settings, staying steady and smart will save you stress.
So, start smoothly, solve snags swiftly, and savor seamless printing success every single time! By following these simple printer setup steps, you’ll enjoy hassle-free printing that keeps your workflow running without a hitch. Whether it’s a home or office printer, the right setup makes all the difference. Keep these tips handy, and adding a printer will always be a breeze!