What Can I Make With a 3D Printer: 3 Cool Gadgets to Try
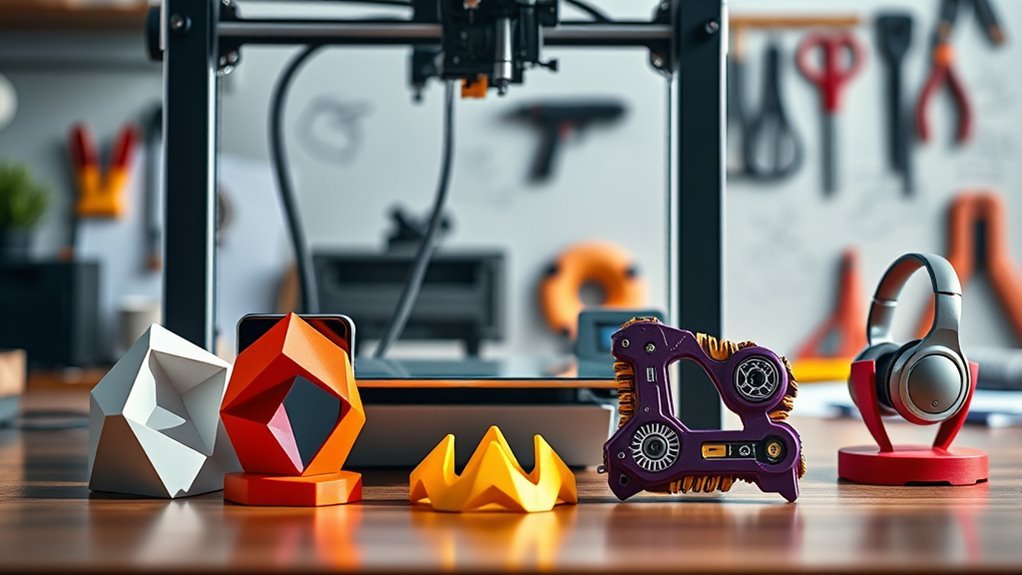
You can easily make cool and practical gadgets with your 3D printer, like personalized keychains or luggage tags featuring raised text and QR codes for quick ID. These small but handy items not only add a personal touch but also help you stay organized and efficient.
Try designing a phone stand and charging dock tailored to your device’s dimensions. This way, you ensure cable fit and durability by using materials like PETG, which are strong and long-lasting.
Organize cables with custom clips that snap on or mount under desks using flexible TPU or sturdy PLA. These clips keep your workspace tidy and cables tangle-free. Keep going if you want tips on perfecting these projects.
Key Takeaways
- Create personalized keychains or luggage tags with raised text and optional QR codes for quick identification. It’s a fun way to add a personal touch to your stuff.
- Design custom phone stands or charging docks with cable grooves and adjustable slots for perfect cable fit. These make your desk look neat and keep your devices ready to go.
- Print flexible TPU cable clips or holders designed with clearance for easy cable insertion and strong mounting options. They’re super handy for keeping cables organized without damage.
- Use PLA for indoor prototypes and PETG for durable, heat-resistant, or outdoor applications of your gadgets. Choosing the right material really makes a difference.
- Test small versions to ensure font legibility, fit, and function before printing final, material-efficient models. It saves time and materials in the long run!
Cool 3D Printed Keychains and Luggage Tags You Can Make Quickly

Getting started with 3D printed keychains and luggage tags is easier than you might think. You can create 3D printed keychains with raised text for names or phone numbers, making quick ID simple.
Luggage tags come with raised contact details and a reinforced slot for straps. You can even add a QR code linking to your info.
Use PLA for indoor projects—it’s cheap and easy. Or switch to PETG if you want something durable for outdoor use.
Design with 1–2 mm raised text and 2–3 mm wall thickness to guarantee legibility and strength. Keep your models under 60 x 30 mm to reduce print time and material usage.
Always print a small test to confirm font size and fit. Dual-color printing or filament swaps add nice contrast without extra painting.
Make a Handy 3D Printed Phone Stand and Charging Dock for Your Desk
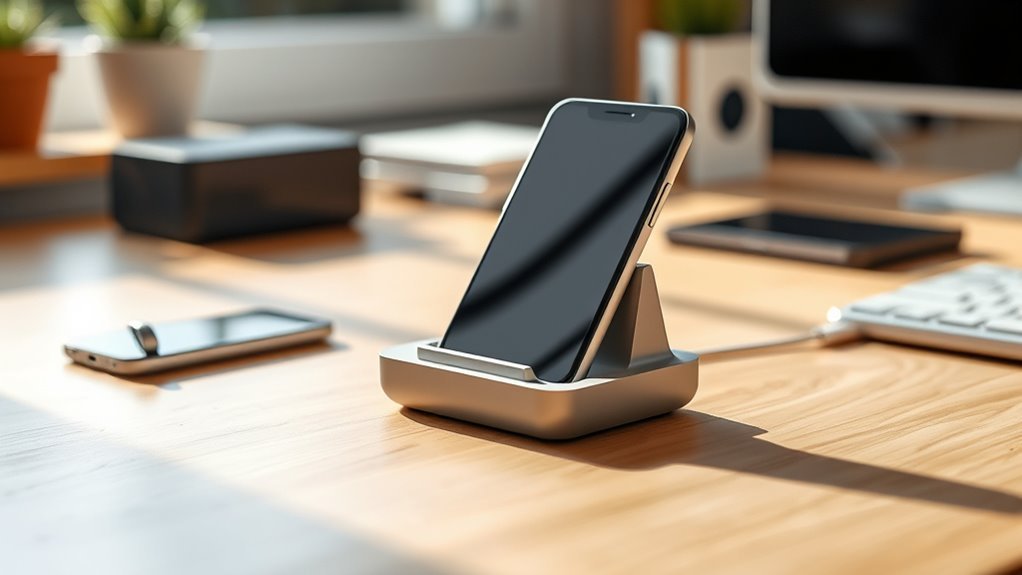
Create a custom 3D printed phone stand and charging dock tailored to your desk setup by first measuring your phone’s width and charging cable diameter. Choose or design a phone stand with a cable cutout and groove that fits these dimensions—typical phone widths range from 67 to 78 mm.
Print in PLA for quick prototypes or PETG for durability and heat resistance. Incorporate a cable channel and rear notch for neat cable management, and always verify-fit your charging cable, adjusting the slot by 0.5–1 mm if needed.
Use 20–40% infill and print the load-bearing backbone flat for strong support. Experiment with different viewing angles and consider printing small test versions before finalizing your design to confirm perfect fit and functionality on your desk.
Organize Your Workspace With Custom 3D Printed Cable Clips and Holders
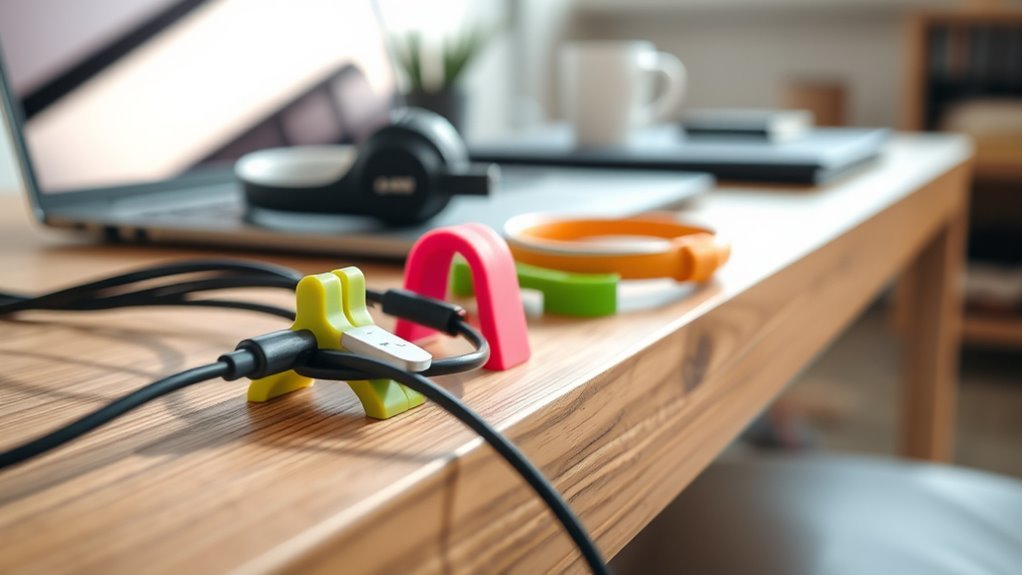
After setting up a custom phone stand and charging dock, you’ll want to keep your cables neat and accessible. Start by measuring your cables and designing small cable clips with about 0.5 mm clearance for easy insertion.
Use TPU for flexible snap-on clips or PETG if your workspace is humid or under a desk. PLA works well for light indoor use.
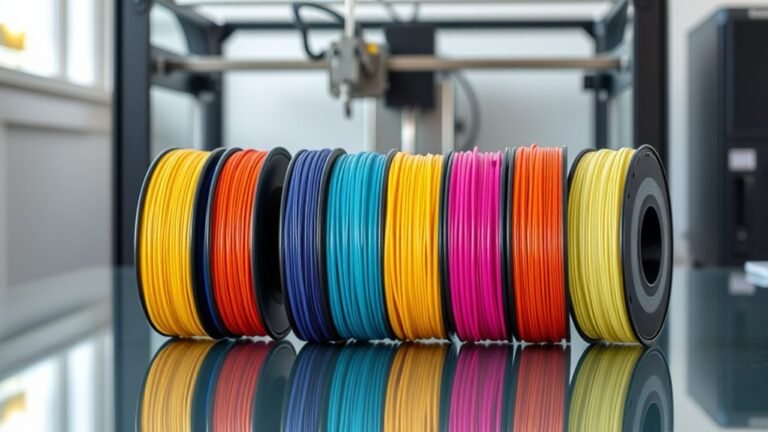
Keep each clip under 2 g Printer Filament to optimize filament use and reduce print speed without sacrificing strength. Add mounting holes or adhesive recesses to fit M3 screws or 3M VHB tape for secure attachment to wood or metal surfaces.
Print a test clip on your build plate first to confirm fit and grip before printing a full set. This way, you can make sure everything fits perfectly, and you can organize multiple cables efficiently, considering your build volume.
Frequently Asked Questions
What 3D Printing Materials Are Best for Durable Gadgets?
You’ll want to use materials like ABS, PETG, or Nylon for durable gadgets. They’re strong, heat-resistant, and flexible.
This combo makes your prints tough enough to handle daily wear and tear without breaking or deforming easily.
How Do I Choose the Right Printer Settings for Complex Designs?
Choosing printer settings for complex designs is like tuning a musical instrument—you’ll want to adjust layer height, print speed, and support structures carefully.
Don’t forget to fine-tune temperature and cooling for the best results. It really makes a difference when you get those just right.
Can I Customize 3D Models Without Advanced Software Skills?
Yes, you can customize 3D models without advanced skills by using user-friendly tools like Tinkercad or online platforms with drag-and-drop features.
These let you tweak designs easily and create personalized gadgets quickly.
It’s pretty straightforward once you get the hang of it, and you don’t need to be a pro to make cool stuff.
What Finishing Techniques Improve the Look and Feel of Prints?
You can improve your prints by sanding, priming, and painting them. Applying acetone vapor smooths ABS prints, while epoxy resin adds shine and strength.
These techniques make your finished pieces look professional and feel durable. Plus, they really help bring out the best in your prints!
How Long Does It Typically Take to Print Small Gadgets?
It typically takes you 30 minutes to a few hours to print small gadgets, depending on complexity, size, and printer settings.
Faster prints might sacrifice detail, so you’ll balance speed and quality for the best results. It’s all about finding that sweet spot that works for your project.
Conclusion
With your 3D printer in hand, you’re not just creating gadgets—you’re crafting keys to unleash your creativity and order in daily life. Each keychain, phone stand, and cable clip symbolizes control and personalization in a world that often feels chaotic.
By making these cool tools, you’re shaping more than objects; you’re shaping your space and mindset. So, go ahead—print your path to a more organized, inspired you. Using a 3D printer to make practical items like these gadgets not only adds convenience but also sparks your creativity. It’s a fun way to bring order and style into your daily routine, all while expressing your unique personality. Dive into the world of 3D printing and discover how simple it is to craft useful, cool gadgets that brighten up your life.