How to Set up Printer on Iphone in 5 Easy Steps
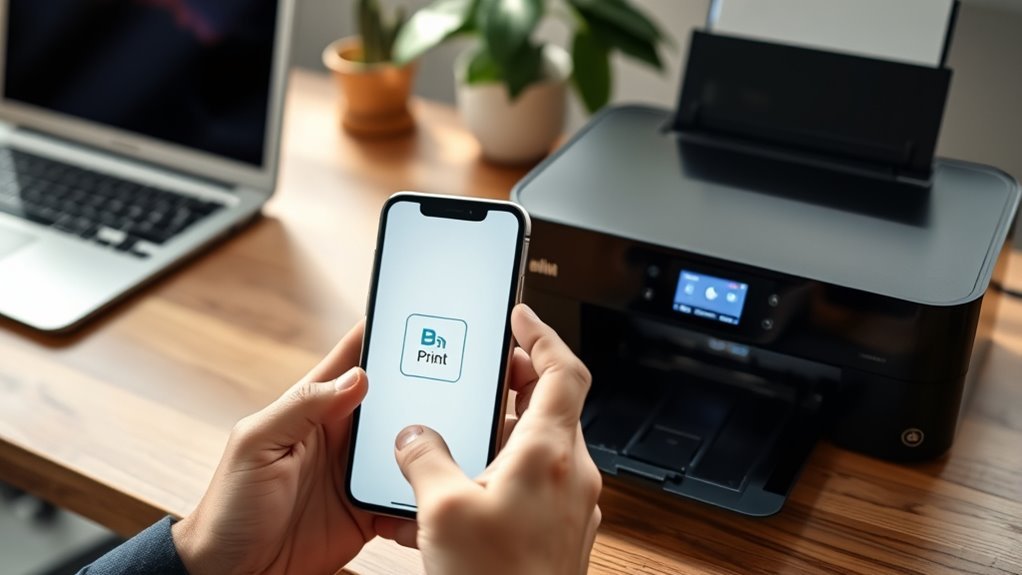
To set up a printer on your iPhone, start by opening the file or photo you want to print. Then, tap the Share icon to bring up your sharing options.
Next, select an AirPrint-enabled printer that’s connected to the same Wi-Fi network as your iPhone. This ensures a smooth connection and easy printing.
After that, adjust the print settings to fit your needs. You can change the number of copies, select page ranges, and choose presets.
Don’t forget to pick your preferred paper size, layout, and color options. These settings help customize your printout exactly how you want it.
Finally, review all your settings one last time, then tap Print to get started. Keep following along for detailed tips to make your printing experience flawless and hassle-free!
Key Takeaways
- Ensure your printer supports AirPrint and is connected to the same Wi-Fi network as your iPhone.
- Open the file or photo on your iPhone and tap the Share icon or app menu.
- Scroll and select the “Print” option from the Share sheet; enable it via “Edit Actions” if missing.
- Choose your AirPrint-enabled printer, then configure print settings like copies, color, and page range.
- Confirm all settings, then tap “Print” to start printing from your iPhone.
Open the File and Access the Share Option
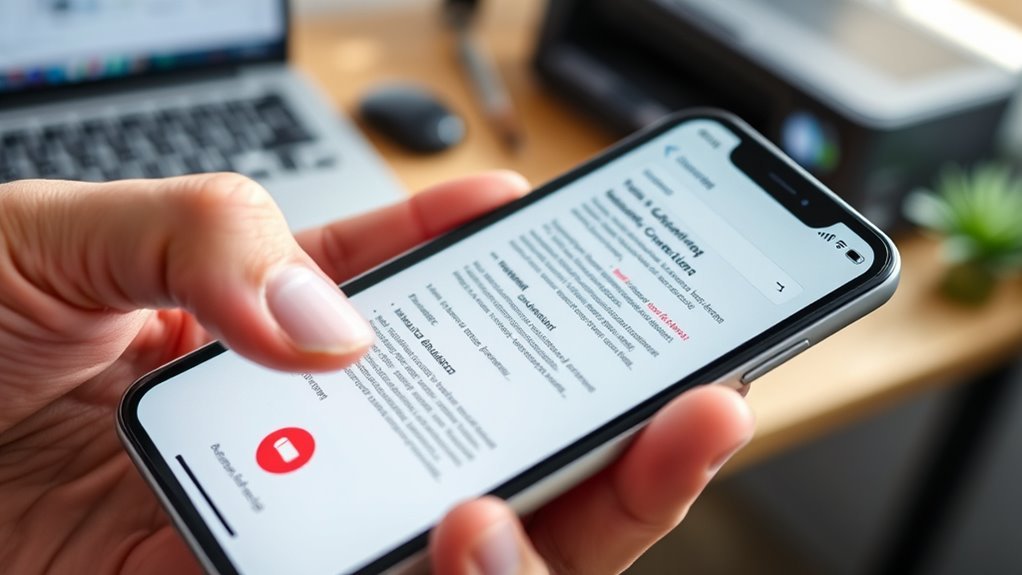
To get started, open the file or photo you want to print on your iPhone. If it’s a photo, you need to open the Photos app; for documents, open the app that created them like Files, Mail, or Safari.
Begin by opening the file or photo you want to print on your iPhone using the appropriate app.
Once the file is open, tap the Share icon—a square with an upward arrow—or the app’s Actions or ellipsis menu. Scroll through the Share sheet until you find the “Print” option.
If you don’t see it, swipe up to reveal more actions or tap “Edit Actions…” to enable Print. Selecting Print will bring up the printing options where you can adjust settings like the number of copies.
If the Print option is missing, check the app’s Help or export the file to a supported app such as Photos or Files. It’s pretty straightforward once you get the hang of it!
Select an AirPrint-Enabled Printer
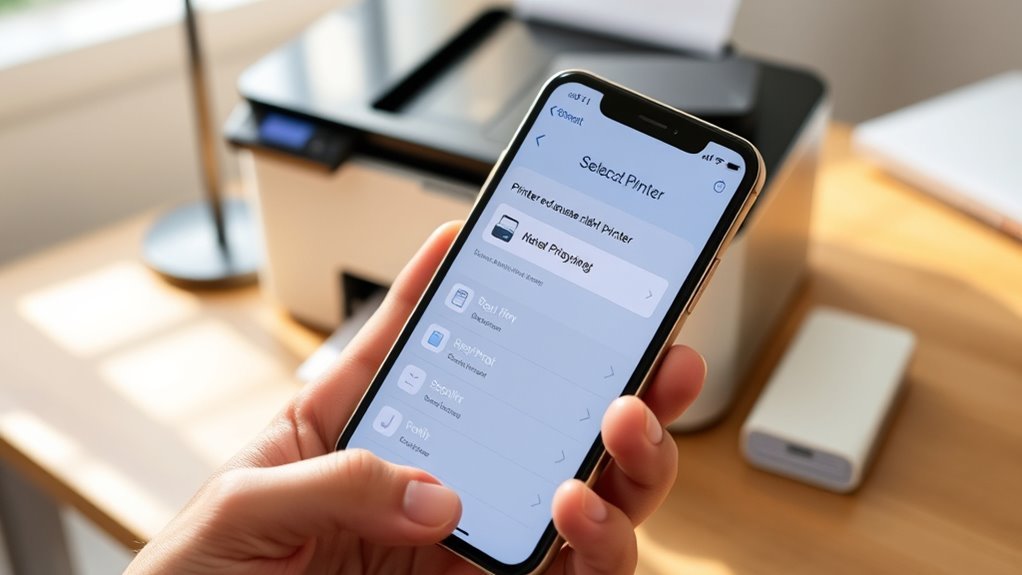
After tapping the Print option, you’ll need to choose a printer that works seamlessly with your iPhone. Start by confirming the printer is AirPrint-enabled—look for the AirPrint logo in its documentation or on the manufacturer’s website.
Make sure both your iPhone and printer are connected to the same Wi-Fi network, as AirPrint won’t function over USB or Bluetooth. If your printer uses Ethernet, verify it’s on the same local network and that network discovery or Bonjour isn’t blocked by your router.
Power on the printer and enable any necessary wireless settings so it can broadcast its availability. Finally, update the printer’s firmware to the latest version to avoid compatibility issues and guarantee smooth printing from your iPhone.
Configure Print Settings and Presets
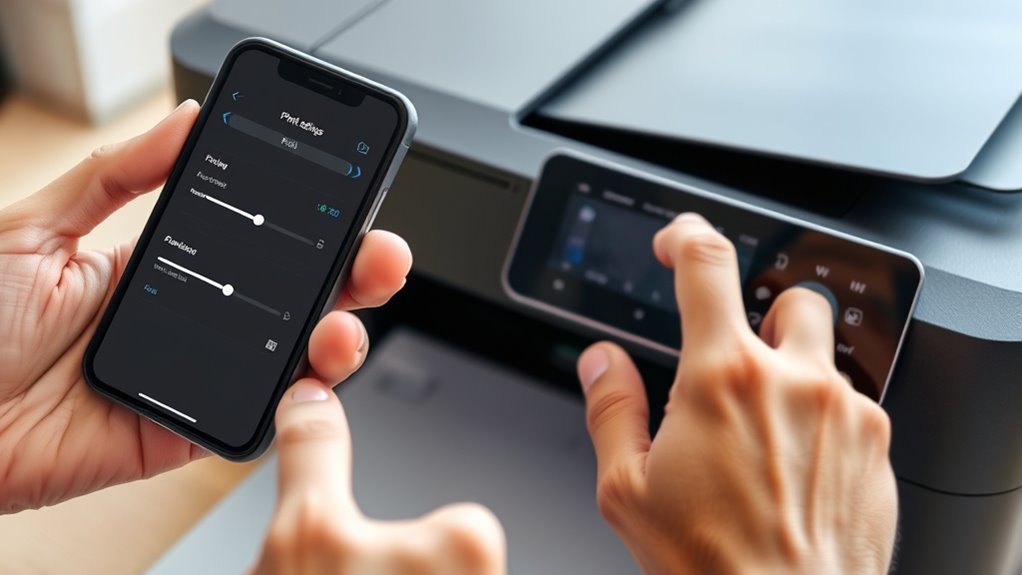
Once you tap Print and select your AirPrint-enabled printer, you’ll see the available presets and settings load automatically. Tap Presets to choose from saved profiles like Draft, Photo, or High Quality, which apply predefined options for paper size, color, and print quality.
After selecting your AirPrint printer, easily choose presets like Draft or High Quality for optimal print settings.
Use the Print in Color toggle to switch between color and black-and-white output. Just keep in mind that color printing may use more ink and take longer.
Next, select the number of copies you want and specify the page range or individual pages to print, such as 1–3 or pages 2 and 4.
Don’t forget to double-check the paper size and layout settings to avoid misalignment or scaling issues. That way, your printout looks exactly as you expect.
Choose Paper Size, Layout, and Color Options
Select the correct paper size in the Print dialog to match what’s loaded in your printer, such as A4, Letter, or 4×6. Tap “Options” or the preview area to access these settings.
Next, choose the layout orientation—Portrait or Landscape—to make sure your content prints correctly without being cropped or rotated. You can also customize other options like duplex printing, margins, and scaling if your printer supports them.
Don’t forget to toggle “Print in Color” on or off depending on whether you want color or black‑and‑white prints. Keep in mind, color printing uses more ink.
- Pick paper size matching your printer’s loaded paper
- Select layout orientation to fit your content properly
- Choose color or black-and-white printing based on preference and ink use
Confirm Settings and Tap Print
Before you tap Print, double-check that your iPhone and AirPrint-enabled printer are connected to the same Wi-Fi network. Open the app with your document or photo, tap the Share button, then scroll down and select “Print.”
Tap “Select Printer” and pick your AirPrint printer. Adjust copies, page range, and color options as needed. When you’re sure everything’s set, tap “Print” in the top-right corner to start printing.
| Step | What to Do |
|---|---|
| Verify Connection | Both devices on the same Wi-Fi |
| Select Printer | Choose your AirPrint printer |
| Finalize & Print | Confirm settings, then tap “Print” |
This makes certain your print job goes smoothly every time.
Frequently Asked Questions
How Do I Pair My Phone to My Printer?
You simply open the app with what you want to print, tap Share, then Print.
Select your AirPrint printer from the list, tap it to pair—no PIN needed—then print your document or photo easily.
It’s super straightforward and quick, so you’ll be all set in no time!
How to Print From Iphone Without Airprint?
Over 70% of iPhone users don’t rely solely on AirPrint. You can print without it by using your printer’s iOS app or third-party apps like Printer Pro.
Another way is by connecting through a shared Windows or Mac computer on the same network. It’s pretty straightforward once you get the hang of it.
Why Is My Printer Connected but Not Printing From My Iphone?
Your printer might be connected but not printing because it’s on a different Wi-Fi network, has a firmware issue, or shows an error like a paper jam.
Try restarting your devices and check the printer’s status lights to fix it.
Sometimes, a quick reboot can do the trick. Also, make sure your iPhone and printer are on the same network.
Where Can I Find Printer Settings on My Phone?
You’ll find printer settings inside the app you’re printing from—tap the Share icon, then Print.
Over 80% of iPhone users rely on AirPrint, so selecting a nearby printer and adjusting options is quick and seamless.
Just pick your printer and tweak the settings to your liking before hitting print. Easy!
Conclusion
Setting up your printer on your iPhone is as simple as following a treasure map—each step brings you closer to the prize. Just like a sailor trusts the stars, trust these easy steps to guide your print job from screen to paper flawlessly.
Once you’ve confirmed your settings and tapped print, you’ll see your documents come to life. It’s like turning your digital world into tangible reality with just a few taps.
Printing from your iPhone doesn’t have to be complicated. With these straightforward instructions, you can quickly connect your device to any compatible printer and start printing important documents, photos, or emails in no time.
So, whether you need to print a boarding pass or a work report, setting up your printer on your iPhone is a breeze. Just follow the simple steps, and enjoy hassle-free printing anytime you need it!