How to Connect a Computer to a Wireless Printer in 7 Easy Steps
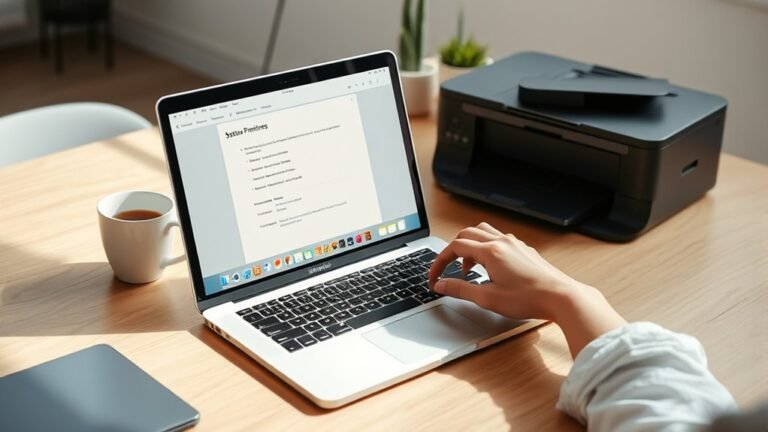
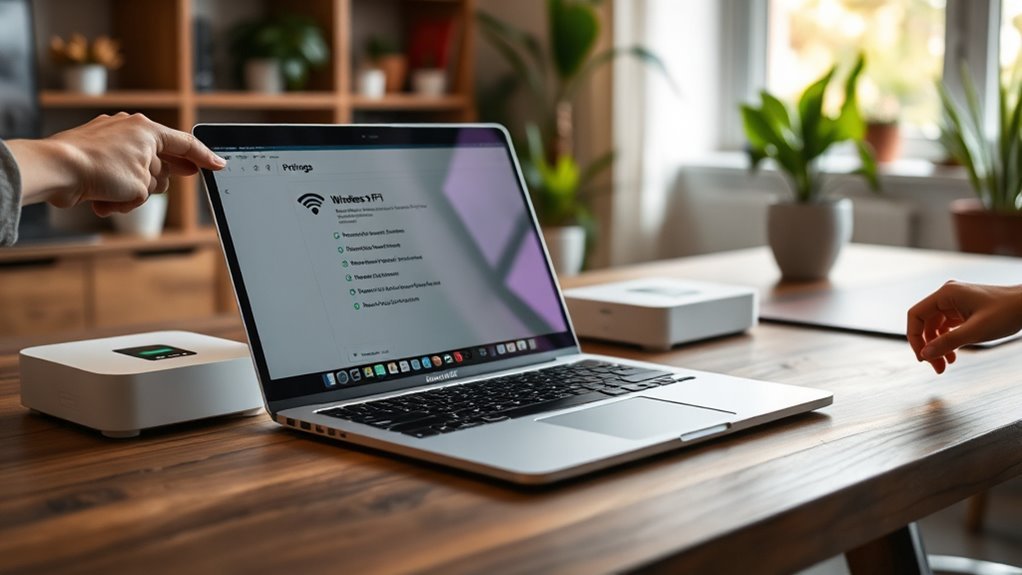
To link your computer to a wireless printer in 7 easy steps, first make sure both devices are powered on and connected to the same Wi-Fi network. This is key for a smooth wireless printer connection.
Use your printer’s control panel or the WPS button to connect it to Wi-Fi. It’s usually straightforward and only takes a moment.
Next, download and install the printer software from the official website. This ensures you have the right drivers and features for your specific printer model.
After that, add the printer on your computer through the settings menu. Once it’s added, set it as your default printer so all your print jobs go to the right place without extra clicks.
Finally, print a test page to confirm everything is working smoothly. If any issues pop up, don’t worry—there are simple fixes ahead to help you troubleshoot and get back on track.
Key Takeaways
- Ensure the printer is powered on and connected to Wi-Fi. Also, make sure your computer is on the same network before you start the setup.
- Use the printer’s control panel or the WPS button to connect it securely to your Wi-Fi network. This step usually only takes a minute or two.
- Download and install the latest printer software and drivers from the official manufacturer’s website. It helps keep everything running smoothly.
- Add the wireless printer to your computer through the Control Panel or Settings. Don’t forget to set it as your default printer if you want it to be your go-to option.
- Finally, print a test page to make sure the wireless connection is working properly. If the page doesn’t print, troubleshoot any issues that come up.
Get Your Printer and Computer Ready
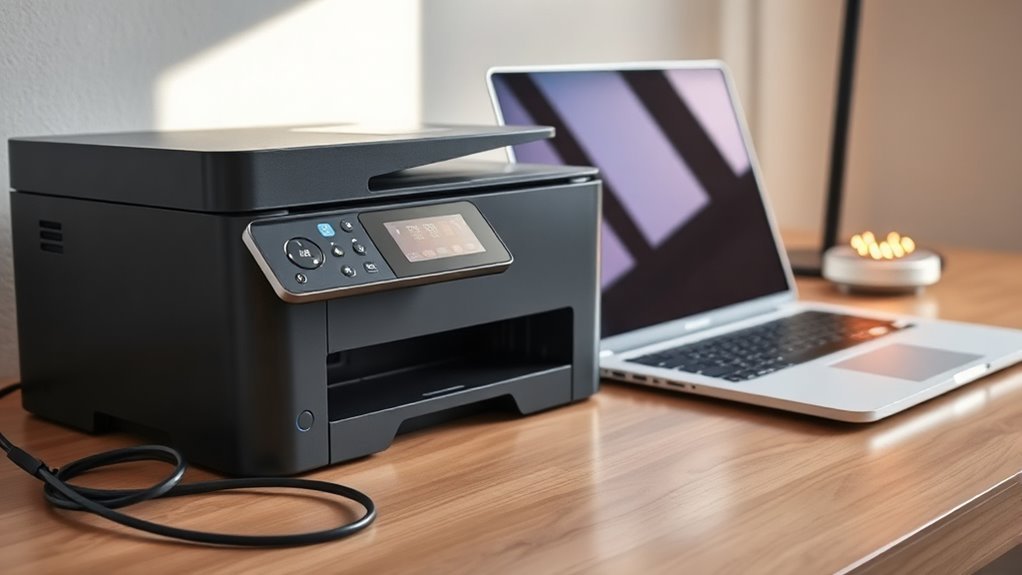
Before you connect your devices, confirm your printer is powered on and within range of your Wi-Fi network. Check that the printer’s display shows it’s ready or in a standby mode.
Next, confirm your computer is connected to the same Wi-Fi network you plan to use for the printer. This ensures smooth communication between both devices.
It’s also a good idea to update your computer’s operating system and drivers to avoid compatibility issues. Gather any cables or installation CDs that came with your printer, in case you need them later.
Finally, have your Wi-Fi network name and password handy. Being prepared with these basics will make the connection process quicker and help prevent common setup errors.
Connect Your Printer to Wi-Fi Using Control Panel or WPS
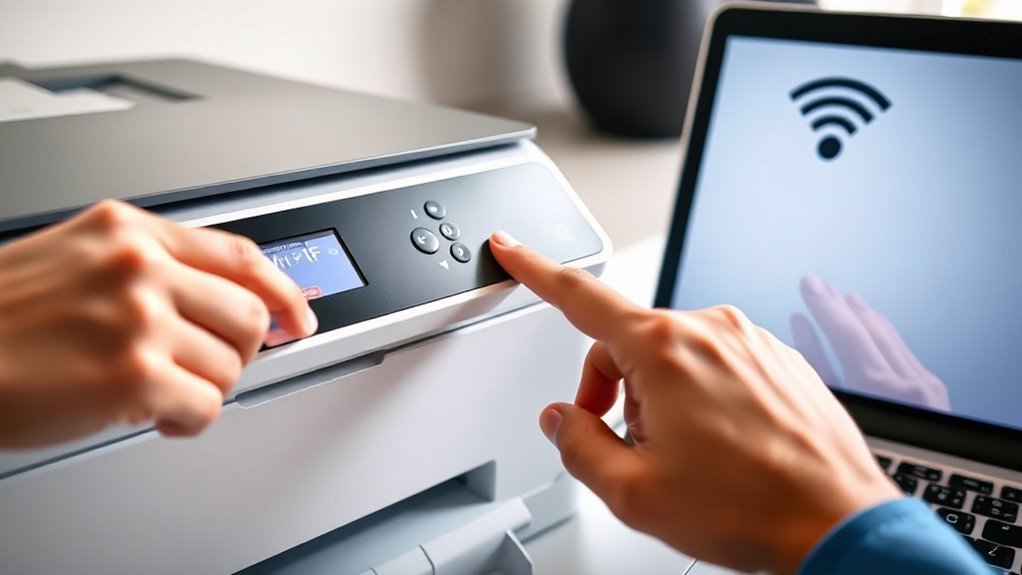
You can connect your printer to Wi-Fi either through its control panel or by using the WPS button on your router. Both methods are straightforward and don’t require extra cables.
Let’s walk through how to set up your printer using these options. It’s pretty simple once you get started!
Using Control Panel
Connecting your printer to Wi-Fi using the Control Panel is a straightforward process that lets you manage settings directly on the device. Start by turning on your printer and accessing the Control Panel screen.
Look for the “Network” or “Wireless” menu and select “Wireless Setup Wizard.” The printer will scan for available Wi-Fi networks.
Choose your network from the list and enter the Wi-Fi password when prompted. Once connected, the printer will display a confirmation message.
Make sure your computer is on the same network to enable communication. Finally, add the printer to your computer’s devices list by going to Settings > Devices > Printers & scanners and selecting “Add a printer.”
This method ensures a secure connection without needing cables. It’s pretty simple and saves you the hassle of extra wires.
Connecting Via WPS
Although the Control Panel offers a manual way to connect your printer to Wi-Fi, using WPS (Wi-Fi Protected Setup) provides an even quicker and hassle-free option.
To start, locate the WPS button on your router—it’s usually labeled and easy to find. Press this button, then within two minutes, press the WPS button on your printer. The printer will automatically connect to your wireless network without needing a password.
If your printer doesn’t have a physical WPS button, check its control panel for a WPS setup option and follow the prompts. Once connected, your printer will confirm the successful connection with a message or indicator light.
This method saves time and avoids the need to enter complicated network details manually. It’s a super convenient way to get your printer online without the usual hassle.
Install Wireless Printer Software on Your Computer
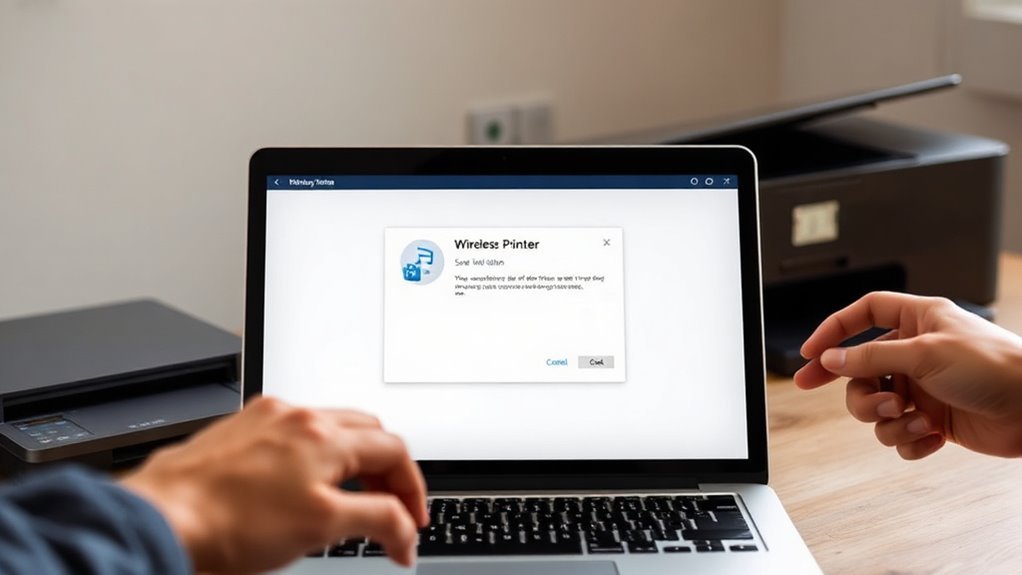
Now that your printer is connected to Wi‑Fi, download the printer software from the manufacturer’s website. Run the installation setup and make sure to follow the onscreen instructions carefully.
This will ensure your computer communicates smoothly with your wireless printer. Easy, right? Just take it step by step, and you’ll be all set in no time!
Download Printer Software
To get your wireless printer working smoothly, you’ll need to download and install the appropriate software on your computer. Start by visiting the printer manufacturer’s official website and locate the support or downloads section.
Enter your printer model to find compatible software and drivers. Avoid third-party sites to reduce security risks. It’s always better to stick with the official source for safety.
Here’s a quick overview of what to look for:
| Software Type | Purpose | Notes |
|---|---|---|
| Printer Driver | Enables communication | Must match OS version |
| Utility Software | Manages printer settings | Optional but helpful |
| Firmware Update | Improves printer performance | Check periodically |
Downloading these ensures your printer connects wirelessly and functions correctly. After that, you’ll be ready to run the installation setup without any hassle.
Run Installation Setup
Launch the installation file you downloaded from the printer manufacturer’s website to begin setting up your wireless printer software. Once you open the file, the setup wizard will start, preparing your computer to communicate with the printer.
Make sure your printer is turned on and connected to the same Wi-Fi network as your computer before proceeding. The installation process will copy necessary drivers and software components to your system, enabling seamless wireless printing.
If prompted, you may need to temporarily disable firewall or antivirus software to avoid installation conflicts. During setup, the wizard will detect your printer on the network, ensuring a proper connection.
Running this installation is essential to make your wireless printer fully functional with your computer. Just follow the prompts, and you’ll be all set in no time!
Follow Onscreen Instructions
Once the installation setup has prepared your system, you’ll see a series of instructions on your screen guiding you through the wireless printer software installation. Just follow each prompt carefully—connect to your Wi‑Fi network, select your printer model, and install necessary drivers.
Don’t rush; these steps ensure a smooth connection and reliable printing experience. If you encounter any errors, the software usually provides helpful troubleshooting tips.
Here’s a quick emotional check-in as you proceed:
| Step Completed | How You Might Feel |
|---|---|
| Software Launch | Excited |
| Wi-Fi Connection | Hopeful |
| Driver Installation | Slightly Anxious |
| Final Setup | Confident |
| Test Print | Proud |
Keep going—you’re almost there!
Add Your Wireless Printer to Your Computer
Although your wireless printer is powered on and connected to the same network, you still need to add it to your computer before printing.
Even if your wireless printer is on and connected, you must add it to your computer to print.
Here’s how to do it quickly:
- Open Settings: Go to your computer’s Control Panel or Settings menu and select “Devices” or “Printers & Scanners.”
- Add Printer: Click on “Add a printer or scanner.” Your computer will start searching for available printers on the network.
- Select Your Printer: Once your printer appears in the list, select it and click “Add device.” Follow any additional prompts to complete the setup.
After these steps, your computer will recognize the wireless printer. That way, you can print documents without needing a physical connection.
Set Your Wireless Printer as Default
To make printing easier, you’ll want to configure your wireless printer as the default device on your computer. This makes sure that when you hit print, your documents automatically go to the right printer without extra clicks.
On Windows, open the Control Panel, go to Devices and Printers, then locate your wireless printer. Right-click it and select “Set as default printer.”
On a Mac, open System Preferences, click Printers & Scanners, choose your wireless printer, and then click “Set as Default.”
Once configured, your computer prioritizes this printer for all print jobs, saving you time and avoiding confusion. If you add more printers later, just repeat these steps to update your default device whenever needed.
Print a Test Page to Confirm Connection
After setting your wireless printer as the default, you should print a test page to make sure the connection works properly. This simple step ensures your printer and computer communicate without issues before you start printing important documents.
Print a test page after setting your wireless printer to confirm a smooth connection before important printing.
Here’s how to do it:
- Open the Control Panel or Settings on your computer and navigate to “Devices and Printers” or “Printers & Scanners.”
- Select your wireless printer, then click on “Manage” or “Printer Properties.”
- Find and click the “Print Test Page” button.
Once the test page prints successfully, you’ll know your wireless connection is solid. If it doesn’t print, check your printer’s display for error messages. Also, make sure it’s powered on and connected to the same Wi-Fi network as your computer.
Troubleshoot Common Wireless Printer Connection Issues
When your wireless printer doesn’t respond or fails to print, it can be frustrating, but most connection issues have simple fixes. First, check if your printer is powered on and connected to the same Wi-Fi network as your computer.
Restart both devices to refresh the connection. Make sure your router is working properly and isn’t blocking the printer.
If you see error messages, consult the printer’s manual or software for specific guidance. Update your printer drivers to avoid compatibility problems.
You might want to disable any firewall or antivirus temporarily to rule out interference. Finally, try removing the printer from your computer’s devices list and reconnecting it.
These steps usually resolve common wireless printer issues quickly, keeping your printing smooth and hassle-free. Easy enough, right?
Frequently Asked Questions
Can I Connect Multiple Computers to One Wireless Printer?
Yes, you can connect multiple computers to one wireless printer. Just make sure the printer is connected to your Wi-Fi network.
Then, install the printer driver on each computer. It’s pretty straightforward.
Once that’s done, you’ll be able to print from any device easily. No hassle at all!
How Do I Update My Printer’s Firmware Wirelessly?
You can update your printer’s firmware wirelessly by accessing its control panel or web interface, then going through the firmware update section. Make sure your printer’s connected to Wi-Fi and follow the on-screen prompts to complete the update.
It’s pretty straightforward once you’re connected. Just take it step-by-step, and you’ll be done in no time!
What Security Measures Protect My Wireless Printer Connection?
You’ll use encryption, require strong passwords, enable firewalls, and update firmware regularly to protect your wireless printer connection. These steps make it much harder for anyone to sneak in and access your printer.
You’ll monitor access, restrict devices, and disable unused features to keep your printing secure and private. Doing this helps you stay in control and keeps your information safe.
Can I Print From My Smartphone to a Wireless Printer?
Yes, you can print from your smartphone to a wireless printer. Just make sure both devices are connected to the same Wi-Fi network.
Then, install the printer’s app or use your phone’s built-in printing feature. It’s super easy to send your documents this way.
How Do I Share My Wireless Printer With Other Users on the Network?
Did you know 75% of households share printers? Sharing your wireless printer is easier than you might think.
First, access your printer’s settings and enable network sharing. This lets other devices on your network find and use the printer.
Next, on each user’s computer, go to “Add Printer” in the control panel or system preferences. Follow the prompts to connect to the shared printer.
And just like that, everyone on your network can print without hassle!
Conclusion
Now that you’ve got your printer and computer ready, connected your printer to Wi-Fi, installed the software, added the printer to your device, and set it as default, you’re all set to print.
Remember to print a test page to confirm everything works smoothly. If you run into issues, troubleshoot with confidence.
Follow these steps, stay patient, and enjoy hassle-free wireless printing every time you need it. Connecting a computer to a wireless printer can seem tricky at first, but with these simple steps, you’ll be up and running in no time.
Just take it one step at a time, and you’ll have reliable wireless printing from your computer without any fuss. Whether it’s for work or home, this setup saves you time and keeps your space clutter-free. So go ahead, print with ease, and enjoy the convenience of wireless printing!