How Does a 3D Printer Work Step by Step
You start by preparing a digital 3D model, making sure it’s error-free and properly oriented for printing. This step is crucial because a clean, well-positioned model sets the foundation for a successful 3D print. Getting your model ready means fewer issues later on.
Next, you slice the model into thin layers and set print parameters like speed and temperature. These settings control how the printer builds each layer, so tweaking them can really affect the final quality.
Then, you set up your printer and materials, leveling the bed and loading filament or resin. A level bed ensures that the first layer sticks well, which is key to the whole print.
The printer builds the object layer by layer, adding supports if needed. These supports help complex shapes print without collapsing.
After printing, you remove supports and finish the surface. Cleaning up your print can involve sanding or painting, depending on what you want.
Keep exploring to master each step and optimize your prints! It’s all about practice and learning as you go.
Key Takeaways
- A 3D printer creates objects by building thin layers based on a digital 3D model sliced into cross-sections.
- The printer deposits or cures material layer-by-layer, using extrusion, laser, or resin curing methods depending on the technology.
- Before printing, the model is oriented and sliced with defined layer height, speed, temperature, and support structures.
- The printer requires precise setup including bed leveling, material loading, and transferring the sliced file for accurate printing.
- During printing, the process is monitored for adhesion, defects, filament feed, and layer consistency to ensure quality output.
3D Printing Basics: How It Works and What You Need to Know
Before you start printing, you need a digital 3D model. This can be designed in CAD software or scanned from an object.
This model gets sliced into thin horizontal layers by specialized software. It also sets key parameters like layer height and print speed.
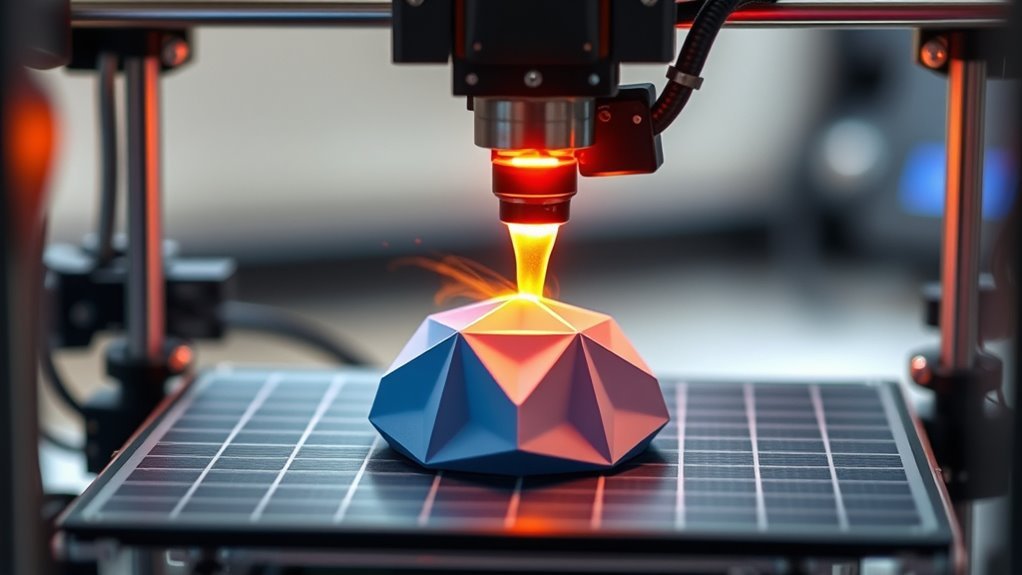
During the printing process, your 3D printer builds the object layer by layer. It deposits or cures materials such as melted thermoplastic, liquid resin, or powder.
Each cycle involves preparing a new layer and solidifying it according to the sliced data. Then, the build platform adjusts to begin the next layer.
Depending on your printer type, layer thickness can range from about 20 microns to several hundred. Sometimes, supports are added for overhangs.
After printing, post-processing might be necessary to perfect the final object’s surface and strength. It really helps to get the best results.
Preparing Your 3D Model for Printing
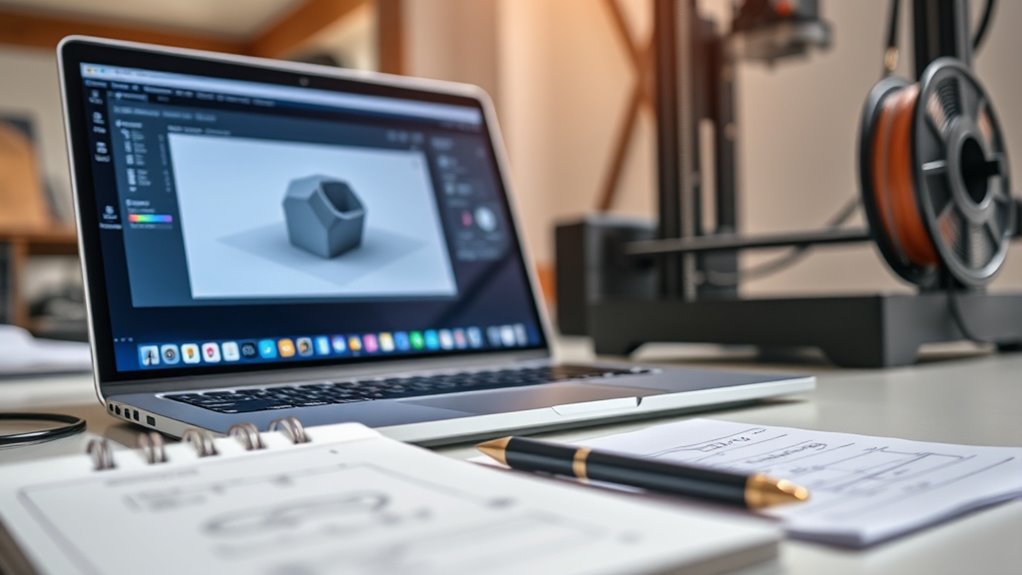
Before you start printing, make sure to check and repair your 3D model file to fix any errors that could cause problems. It’s a good idea to catch these issues early.
Then, configure your print settings like layer height, infill, and temperature to match your material and desired quality. Getting these right can make a big difference in the final print.
Finally, optimize your model’s orientation to balance strength, surface finish, and minimize the need for supports. This step helps you save material and time during printing.
File Checking And Repair
When you prepare your 3D model for printing, you need to carefully inspect it for common issues like non-manifold edges, flipped normals, holes, and intersecting faces using mesh-repair tools such as those in your slicer or programs like Meshmixer and Netfabb.
Make sure your model is watertight with consistent outward-facing normals so the slicer correctly interprets interior and exterior geometry.
Check and adjust part scale and units to match your printer’s requirements, and verify wall thickness meets minimum standards—usually around 0.8 to 1.2 mm for many FDM printers.
You should also orient the model to reduce overhangs and add supports where needed.
Running a slicing preview lets you spot thin features, unsupported areas, and estimate print time before exporting your final file.
Print Settings Configuration
Although preparing your 3D model file is essential, configuring the print settings correctly guarantees your printer brings that model to life with the desired quality and strength. Start by choosing the right layer height for detail versus speed.
Set temperatures based on your filament—PLA prints around 200 °C with a 55 °C bed, while ABS needs higher heat. Adjust support structures and infill to balance strength and material use.
Don’t forget to optimize print speed and extrusion to avoid defects like stringing or under-extrusion.
| Setting | Typical Range | Purpose |
|---|---|---|
| Layer Height | 0.1–0.3 mm (FDM), 25–100 µm (SLA) | Detail vs. print speed |
| Print Temperature | PLA: 190–210 °C, ABS: 230–250 °C | Proper filament melting |
| Bed Temperature | PLA: 50–60 °C, ABS: 90–110 °C | Adhesion and warping control |
| Infill Percentage | 10–25% functional, 100% solid | Part strength and weight |
| Print Speed | 40–60 mm/s | Print time and quality |
Model Orientation Optimization
Optimizing your model’s orientation on the build plate can markedly impact print quality, time, and post-processing effort. Place the largest, flattest face down to maximize contact and reduce support needs.
Tilt long, thin features about 45° to minimize overhangs, improve accuracy, and speed up printing. Keep delicate or detailed surfaces facing upward or away from supports to protect finishes and ease cleanup.
Rotate parts to lower the Z-height, since each extra millimeter adds layers and print time. For metal PBF or DED printing, orient parts to simplify support structures and enhance heat dissipation, which reduces distortion and residual stress.
Setting Up Your 3D Printer and Materials
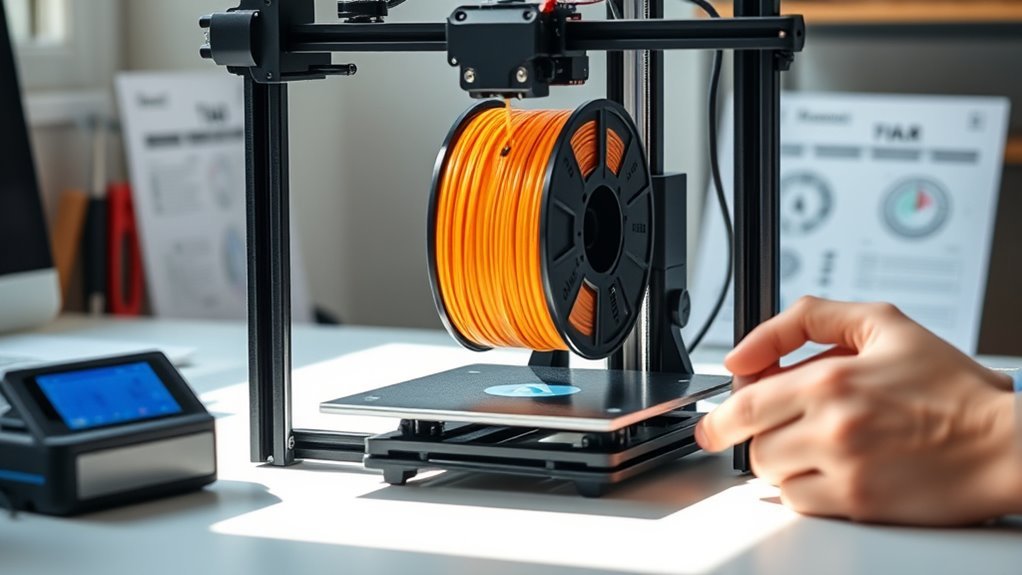
Before you start printing, you’ll need to carefully set up your 3D printer and prepare the materials. Begin by leveling the build plate. You can adjust screws or use auto-bed leveling to set the nozzle-to-bed gap—usually about 0.1–0.3 mm for FDM printers.
Next, load the filament onto the spool holder and preheat the nozzle to the right temperature. Then, feed the filament into the extruder.
For resin printers, pour mixed resin into the vat and remove any debris. Don’t forget to secure the build platform at the correct Z-zero position.
If you use powder-based systems, sieve and load the powder evenly. Also, check the temperature settings to make sure everything is good to go.
Finally, transfer your STL file, set the process parameters, and run a test print. This step helps verify adhesion and accuracy before starting your full print job.
How 3D Printers Build Layers
When you start a 3D print, the printer builds your object layer by layer, carefully depositing or solidifying thin cross-sections that stack to form the full shape.
In material extrusion, a heated nozzle extrudes molten filament in precise paths that fuse as they cool, creating each layer. Powder bed systems spread a thin powder layer, then fuse selected areas with lasers or binding agents before adding the next layer.
Vat photopolymerization cures resin layers using a focused laser or projected image, lifting the platform to form the next layer. To support overhangs and complex features, printers often create temporary support structures, which you’ll remove after printing.
This layer-by-layer process guarantees accuracy and gradually forms your complete 3D object. It’s a pretty neat way to bring digital designs into the real world!
Comparing 3D Printing Technologies
Now that you understand how 3D printers build objects layer by layer, it’s helpful to compare the main printing technologies to see how they differ in materials, methods, and applications.
Understanding how 3D printing technologies vary helps you choose materials and methods for your specific project needs.
Each technology suits specific needs based on precision, speed, and material type.
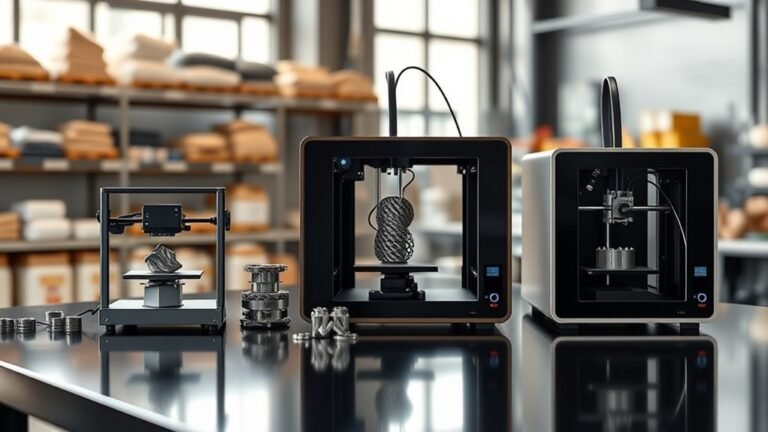
- Fused Deposition Modeling (FDM) melts and extrudes thermoplastic filaments like PLA or ABS. It’s ideal for cost-effective, durable parts with moderate detail.
- Vat Photopolymerization (SLA/DLP) uses light to cure resin layers, producing highly detailed, smooth surfaces. But it also needs post-curing and support removal.
- Powder Bed Fusion (SLS/DMLS) sinters or melts powders—polymers or metals—to create strong, complex parts. This method often requires support structures and some post-processing.
Knowing these differences helps you choose the right technology for your project’s demands. It’s all about matching the tech to what you need.
Using Supports to Stabilize Your 3D Prints
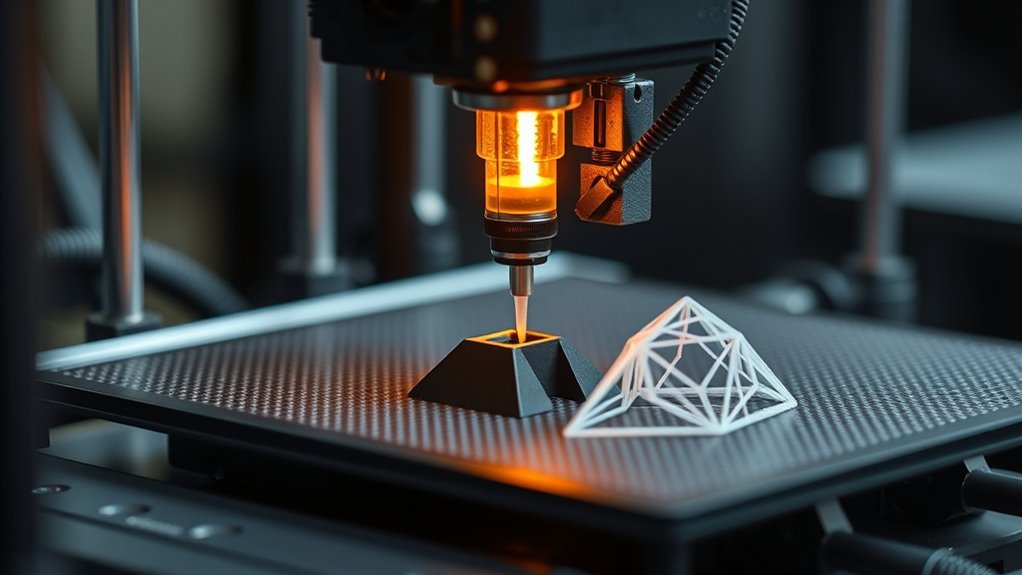
Supports play a crucial role in keeping your 3D prints stable by preventing overhangs, bridges, and cantilevers from sagging or detaching during printing. You can choose support density, pattern, and interface layers in your slicer to balance stability and ease of removal.
For FDM printers, breakaway or water-soluble supports work best, while resin and powder printers use fine removable supports. It’s also a good idea to orient your parts to reduce support needs, which saves time and material.
After printing, carefully remove supports and finish the contact areas for a smooth surface. Taking your time here really pays off in the final look and feel of your print.
| Printer Type | Support Material | Removal Method |
|---|---|---|
| FDM | Breakaway, PVA, HIPS | Pliers, chemical bath |
| Vat Photopolymer | Resin support structures | Post-curing, sanding |
| Powder Bed | Powder supports | Powder removal, sanding |
| Support Patterns | Grid, Tree, Lines | Selected in slicer |
| Density Range | 5–30% | Adjust for stability |
Monitoring and Troubleshooting Your 3D Prints
Regularly monitoring your 3D print’s progress helps you catch problems early and avoid wasted time and material. Start by watching the print percentage and estimated time on your printer’s screen or slicer software to spot stalls quickly.
Pay close attention to the first few layers to guarantee proper bed adhesion and leveling—this is where most failures begin. Listen for unusual noises like grinding or clicking, and watch the filament feed to prevent jams or under-extrusion.
Keep an eye out for warping, layer separation, or stringing during printing, and adjust settings if needed.
- Verify bed adhesion and first-layer quality
- Listen and watch for filament feed consistency
- Inspect layers regularly for defects and tweak settings accordingly
Post-Processing and Finishing Your 3D Printed Object
Once your print finishes without issues, the next step is to carefully remove it from the build plate. Use a spatula, a release agent, or simply wait for the heated bed to cool down to avoid warping.
Next, remove support structures with pliers or use a solvent if you have dissolvable supports. Be gentle to protect any delicate details on your print.
Smooth out the layer lines by sanding progressively, starting from 200 grit and going up to 2000 grit. Just remember to adjust the sanding technique depending on the material you’re working with.
Finally, apply post-treatments like acetone vapor for ABS prints or UV curing if you’re working with resin. Seal and paint your object as needed to give it that perfect finish.
Frequently Asked Questions
What Is a 3D Printer and What Does It Do?
A 3D printer is a machine that creates physical objects from digital designs. You load a model, and it builds the item layer by layer using materials like plastic or resin.
It’s pretty cool because it turns your idea into a real, tangible product. You can literally watch your design come to life right before your eyes!
What Is a Good Bed Temperature for PLA?
You know what they say, “A stitch in time saves nine.” Set your PLA bed temperature between 50–60°C for best adhesion.
You might need to tweak it a bit depending on your part size and the surface you’re printing on. Just make sure it’s easy to remove the print without causing any warping.
How Does a Printer Work?
A 3D printer works by reading a digital model, then deposits material layer by layer to build your object. You control settings like temperature and speed.
After printing, you often finish it with post-processing for strength and detail. It’s pretty cool how you can watch your design come to life step by step!
How Does a 3D Printer Know What to Print?
Your 3D printer knows what to print because you provide it with a digital 3D model file. The printer reads this file, which guides it layer by layer to build the object precisely as designed.
It’s kind of like following a recipe. Each step tells the printer exactly what to do next, making sure the final product looks just right.
Conclusion
Think of 3D printing as painting with layers instead of brushstrokes—you build your creation step by step, bringing digital designs into tangible form.
By preparing your model, setting up your printer, and carefully monitoring each layer, you guarantee a smooth print. Remember, supports act like scaffolding, and post-processing adds the final polish.
With patience and practice, you’ll turn ideas into reality, crafting objects that once existed only in your imagination. Understanding how a 3D printer works step by step helps you master the process from start to finish.
From slicing your digital model to watching each layer fuse seamlessly, every stage is key to a successful 3D print. So, get ready to explore the exciting world of 3D printing and bring your creative visions to life!