How to Print From Phone to Wireless Printer in 5 Easy Steps
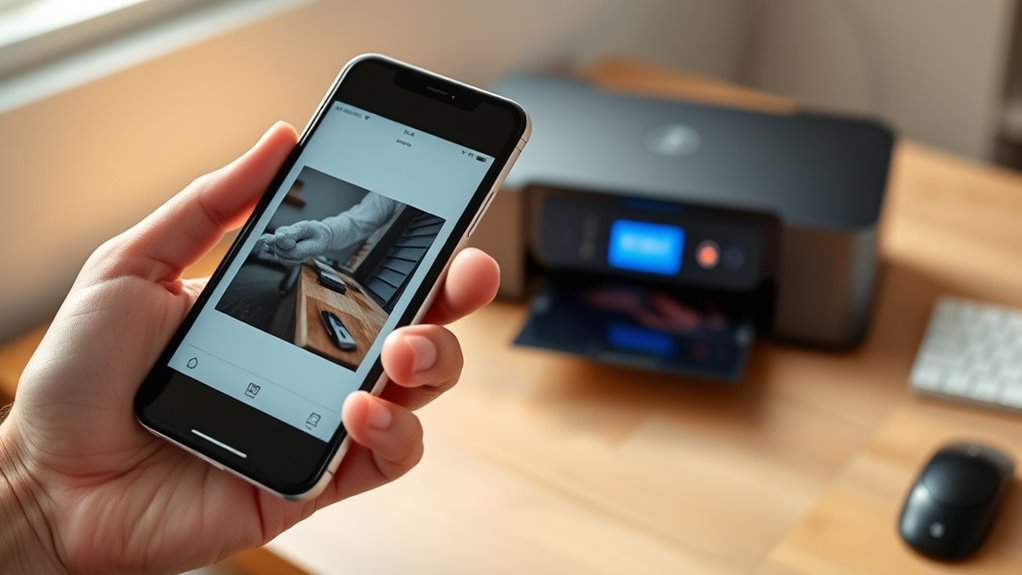
To print from your phone to a wireless printer, first make sure both devices are powered on and connected to the same Wi-Fi network. This step is crucial for establishing a smooth connection between your phone and the printer. Without being on the same network, your phone won’t be able to find the printer.
Next, install a printing app like Epson iPrint or PrinterShare, and be sure to grant any necessary permissions. These apps make it super easy to manage your print jobs right from your phone. Once you have the app ready, open it, find your printer, and connect.
Adjust your print settings, such as paper size and print quality, before sending your job. It’s a good idea to double-check these settings to get the best results. If you run into trouble, try restarting your devices or using a cable connection as a backup.
Keep going to uncover helpful tips and fixes for smooth printing every time!
Key Takeaways
- Ensure both your phone and wireless printer are powered on. Make sure they’re connected to the same Wi-Fi network.
- Install a wireless printing app like “noo print” or the printer manufacturer’s app on your phone. These apps make printing super easy.
- Use the app to detect and add your wireless printer. If you don’t see your printer listed, just select “Use generic.”
- Adjust your print settings like paper size, orientation, color, and quality. It’s good to double-check these before you hit print.
- Try a test print to confirm everything’s working. If something’s off, restarting the devices or switching to a wired connection can help.
Get Your Phone and Wireless Printer Ready
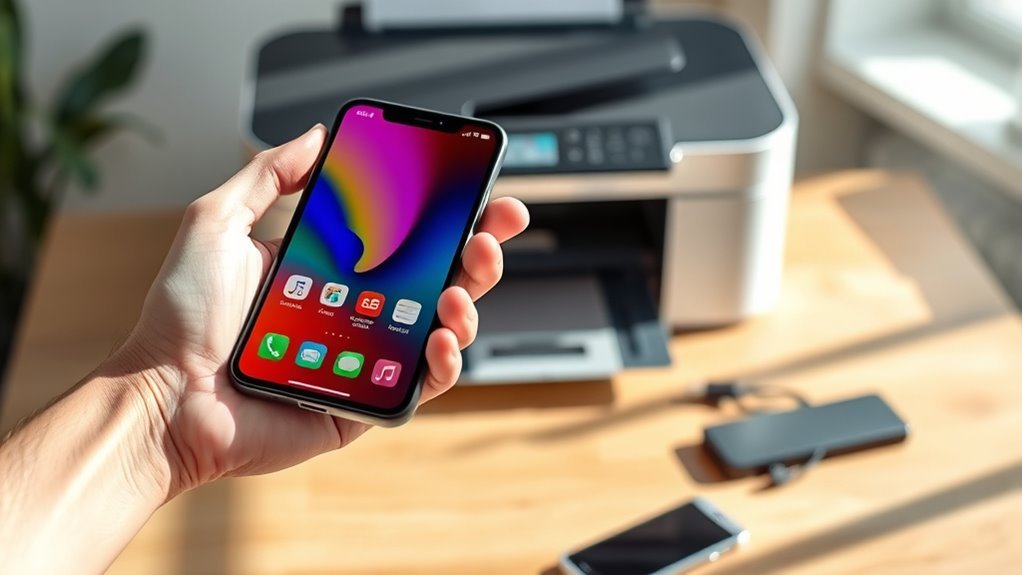
Before you start printing, make sure both your phone and wireless printer are powered on and connected to the same Wi‑Fi network. You can double-check this by looking at the printer’s network settings or its indicator light.
If you’re using an Android phone, just be sure it’s on the same network as your printer to avoid any connection issues. No Wi‑Fi? No problem! You can use a USB-C to USB adapter along with your printer’s original USB cable for a wired connection.
Keep your printer manual nearby for any model-specific info, like power indicators and network setup. It’s a good idea to start with normal bond paper for a test print so you know everything’s working smoothly before moving on to specialty paper.
Install or Enable a Wireless Printing App
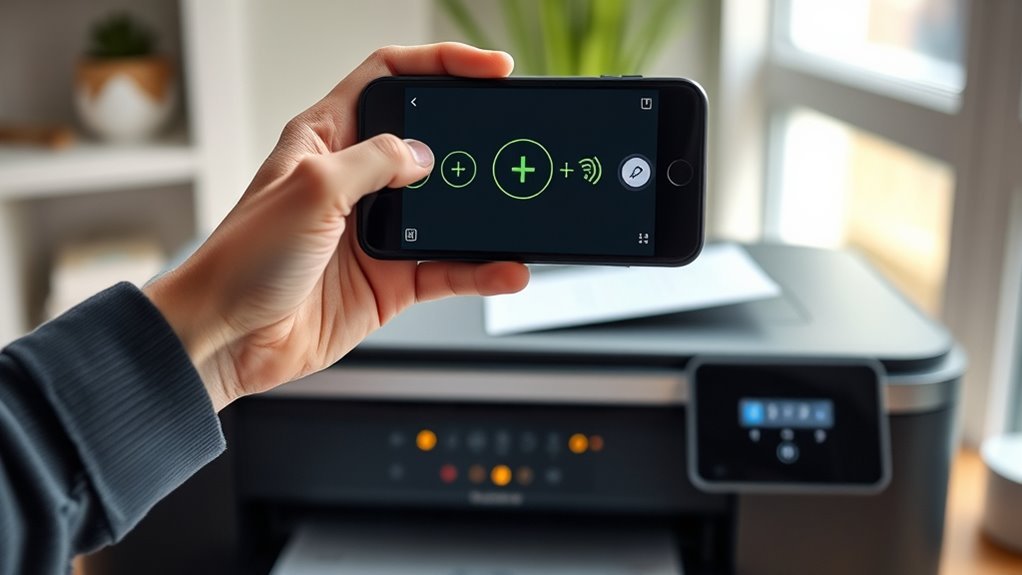
Searching the app store for a wireless printing app is your next step. Head to Google Play or the Apple App Store and look for apps like “noo print,” “PrinterShare,” or your printer maker’s official app, such as Epson iPrint.
Install your chosen app, then open it and grant any permissions it requests, like access to storage or location. Make sure your phone and wireless printer share the same Wi-Fi network or have Bluetooth/Wi-Fi Direct enabled.
Inside the app, tap “Add Printer” or “Detect” to find your printer. If it’s not listed, select “Use generic” to download a compatible driver.
Finally, try a small test print from the app, adjusting settings like paper size and print quality to avoid wasting ink or paper. It’s a good idea to double-check everything before printing more.
Connect to and Select Your Wireless Printer
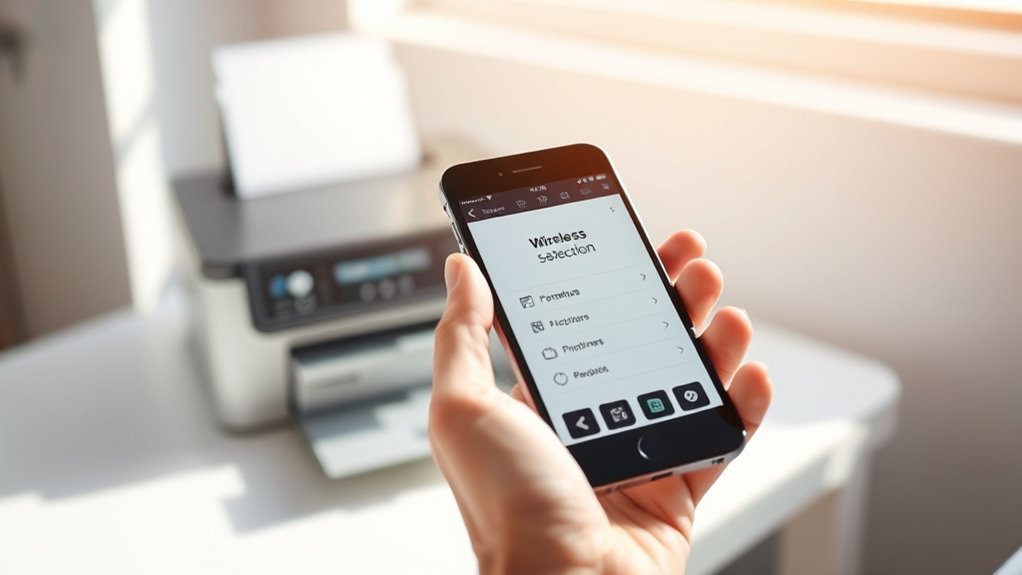
Once you’ve installed a wireless printing app and added your printer, the next step is connecting your phone to the printer’s network and selecting it for printing. First, make sure your phone and printer are on the same Wi-Fi network by checking the router’s SSID on both devices.
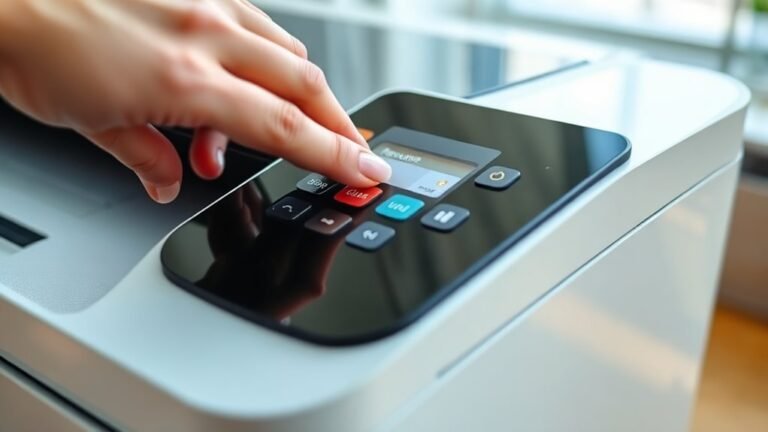
Turn on the printer and confirm the wireless indicator or LCD shows it’s connected; refer to the manual if needed.
On Android, go to Settings → Connected devices → Connection preferences → Printing, or install the manufacturer’s print service plugin.
On iPhone, open Settings → Bluetooth/Wi-Fi and select your printer within the app’s print dialog. Tap “Select Printer” and choose your device from the list.
If it doesn’t appear, enable Wi-Fi Direct on the printer or add it manually by IP address. It usually solves the problem quickly.
Adjust Your Wireless Print Settings
Although your phone and printer may already be connected, you’ll want to fine-tune your print settings to get the best results. Adjusting these settings helps control print quality, paper usage, and ink consumption. This way, you ensure every page looks just right.
First, open the print preview on your phone and select the correct paper size and orientation—portrait or landscape. Then, choose color or grayscale depending on your document. This can help save ink when color isn’t needed.
Next, set the print quality. You can go with draft for quick, low-ink prints or high for sharp, detailed output. Don’t forget to specify the number of copies you want to print before confirming the job.
Fine-tuning these options makes your wireless printing efficient and tailored to your needs. It’s a simple way to get the most out of your printing experience.
Fix Common Wireless Printing Problems
If your wireless printer isn’t responding, start by checking that your phone and printer are connected to the same Wi-Fi network. This mismatch is the most common cause of printing failures.
Next, restart your printer, phone, and router by powering them off for 30 seconds, then turning them back on. This helps clear any network issues that might be causing trouble.
Make sure the printer’s wireless radio is on and shows a network indicator. Also, update or reinstall the printer driver or app on your phone, making sure to grant any necessary permissions.
If problems still persist, try connecting directly using a USB-C to USB adapter and the printer’s original cable. This way, you can get a reliable wired connection and keep printing without hassle.
| Issue | Solution |
|---|---|
| Network mismatch | Connect both devices to same Wi-Fi |
| Device not found | Restart devices and router |
| Wireless disabled | Enable printer’s wireless radio |
| App issues | Update/reinstall printer app |
Frequently Asked Questions
Where Is the Print Button on My Phone?
You’ll find the print button in your app’s Share menu or the three-dot overflow menu.
If it’s not visible, check under Export or Save as PDF. Or, you might need to install a printing app to access printing features easily.
Why Can’t My Android Phone Find My Printer?
Your Android phone can’t find your printer because they’re likely on different networks, the printer lacks wireless capability, or your phone’s drivers are missing.
Check your network settings and make sure both devices are connected to the same Wi-Fi.
Also, don’t forget to install any needed apps that might help your phone communicate with the printer.
How Do I Connect My Canon Printer to My Phone?
Want to connect your Canon printer to your phone? Just make sure both are on the same Wi-Fi. Then, install the Canon PRINT app.
Follow its setup wizard, and you’ll be printing wirelessly in no time! It’s super easy once you get started.
How to Connect HP Printer to Mobile?
To connect your HP printer to your mobile, make sure both are on the same Wi-Fi network. Then, install the HP Smart app on your device.
Once the app is installed, open it and add your printer. You’ll be ready to print wirelessly in minutes. It’s super easy!
Conclusion
Now that you know how to print from your phone to a wireless printer in just five easy steps, you’re all set to make printing hassle-free.
Remember, “practice makes perfect,” so don’t be discouraged if things don’t go smoothly at first. With a little patience and these tips, you’ll be printing like a pro in no time.
Stay connected to your Wi-Fi, adjust your printer settings as needed, and troubleshoot common wireless printing issues to keep your workflow seamless. Printing from your phone to a wireless printer is all about staying connected and being familiar with your device’s options.
So, take your time, explore the settings, and soon, printing wirelessly from your phone will feel like second nature. With these simple steps, you can enjoy the convenience of wireless printing anytime, anywhere!