How Does a 3D Printer Work Step by Step
You start by preparing a clean, error-free 3D model file. This is essential because the quality of your print depends heavily on the accuracy of your design.
Next, you slice the model into thin layers using slicer software that creates G-code instructions for the printer.
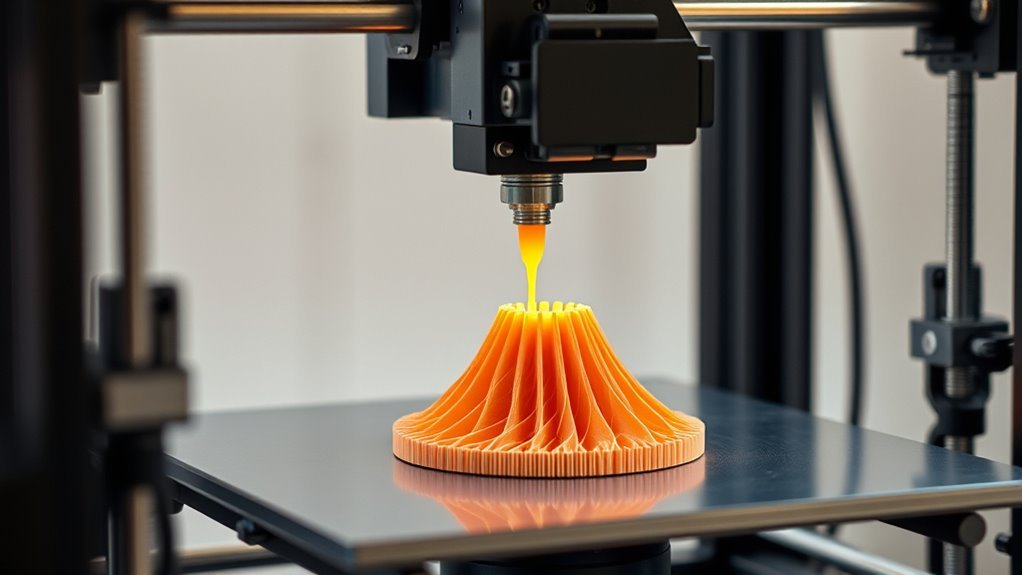
The printer builds the object layer by layer, precisely depositing or curing material based on the chosen technology. It follows the G-code instructions to ensure every detail is accurate.
You’ll need to adjust key settings like speed, temperature, and supports to get the best quality and make removal easier.
Understanding these steps will help you master printing and troubleshooting techniques. With practice, you’ll see better results and fewer errors, making your 3D printing projects more successful and enjoyable.
Key Takeaways
– Prepare a clean, watertight 3D model file (STL/OBJ) and slice it into thin layers using specialized software generating G-code.
This G-code tells the printer exactly how to build your model, layer by layer.
– The 3D printer reads G-code to control print head movements and material deposition layer by layer along X, Y, and Z axes.
It carefully moves the print head around to lay down material exactly where it’s needed.
– Material is deposited or cured sequentially, bonding layers to build the solid object, with support structures added for overhangs if needed.
These supports keep tricky parts stable while printing.
– Key print settings like speed, temperature, and layer height are calibrated for optimal quality based on the material used.
Getting these settings right is super important for a great final print.
– After printing, supports are removed, and post-processing like sanding, filling, or curing is done to finish the part.
This cleanup makes your printed object look smooth and ready to use.
How 3D Printing Turns Digital Files Into Physical Objects
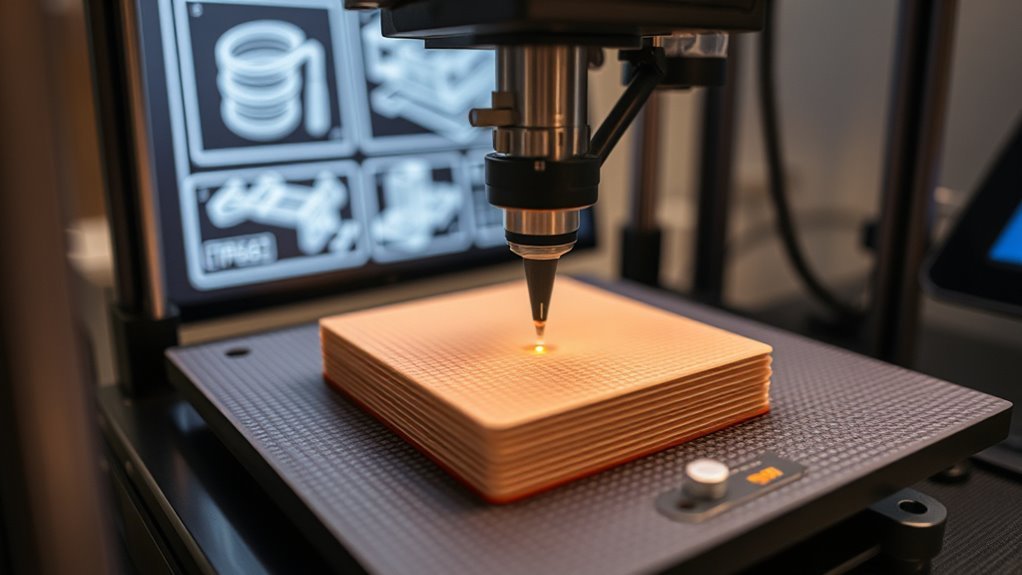
To turn a digital 3D model into a physical object, you start by preparing a clean, error-free file—usually in STL or OBJ format. The file is sliced into thin horizontal layers by specialized software, which converts it into G-code that instructs the printer on movement, temperature, and extrusion.
During the printing process, the printer hardware reads this G-code, positioning the print head and build platform precisely along the X, Y, and Z axes. Depending on the method—like FDM extruding molten plastic or SLA curing resin—the printer builds each layer sequentially, bonding them into a solid printed object.
Support structures form where needed and are removed afterward. Your final part’s quality depends on settings like layer height and temperature, so tuning these optimizes strength, finish, and print speed. It’s a bit of trial and error, but once you get it right, the results can be amazing!
Preparing and Checking Your 3D Model for Printing
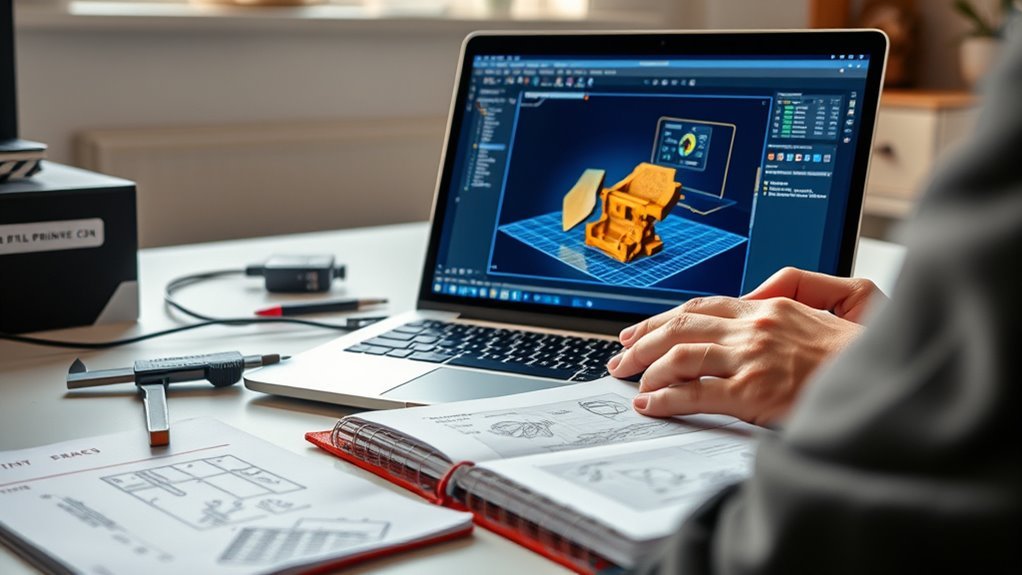
Before you send your 3D model to the printer, it is crucial to prepare and check it thoroughly to avoid common printing issues. Start by inspecting your digital file with mesh-repair tools like Netfabb or Meshmixer to fix non-manifold edges, flipped normals, and holes. This helps ensure the model is watertight.
Next, verify the model’s scale and units in your CAD or slicer software to prevent size mismatches. It’s a simple step, but it can save you from printing something way too big or small.
Then, orient the part to minimize unsupported overhangs. This reduces the need for support material, which can save time and improve the print’s surface finish.
Set your print parameters—layer height, infill, speed, and support type—based on your material and printer. Once you’re happy with these settings, save them as a profile so you can use them again.
Finally, slice the model to generate G-code and preview the layers carefully. Look out for any problems, and don’t forget to check the estimated print time and material use before you start printing.
How Popular 3D Printing Technologies Build Parts Layer by Layer
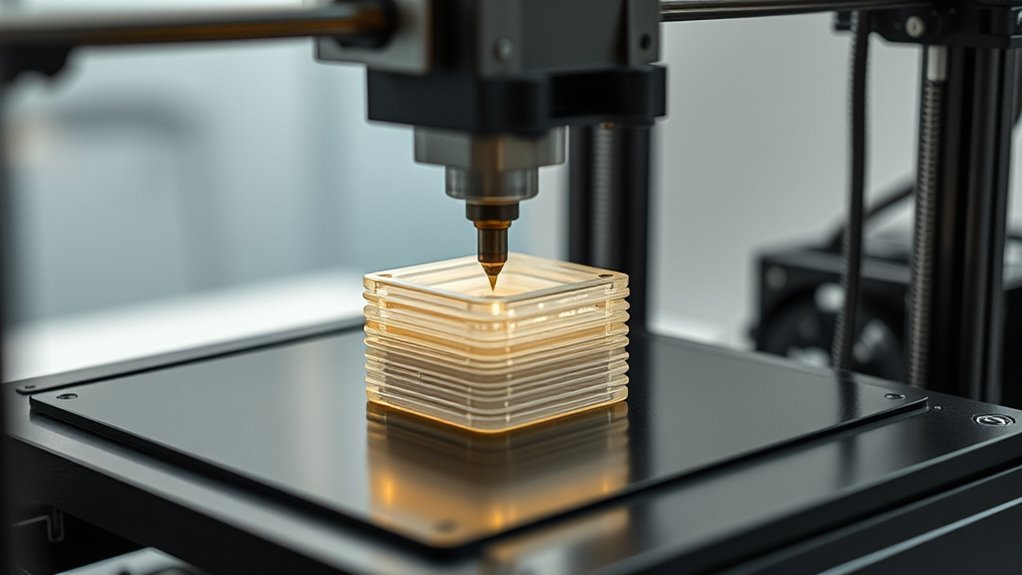
Once your 3D model is ready and sliced, understanding how different printing technologies build parts layer by layer can really help you choose the right method for your project.
Each technology deposits material differently, whether by melting filament, curing resin, sintering powder, or depositing binder.
| Technology | Material Type | Layer-by-Layer Process |
|---|---|---|
| Material Extrusion | Thermoplastic filament | Melts and extrudes filament in continuous beads |
| Vat Photopolymerization | Liquid resin | Cures resin with laser/UV light layer-by-layer |
| Powder Bed Fusion | Powder (polymer/metal) | Spreads and fuses powder with laser/electron beam |
| Binder Jetting | Powder + liquid binder | Jets binder onto powder, requires post-processing |
Knowing these details helps you pick the best fit for strength, detail, and material.
How to Set Print Speed, Temperature, and Layer Height
You’ll want to adjust print speed based on the detail and strength you need, usually between 30 and 150 mm/s. Matching the temperature to your filament type is key to smooth extrusion and good adhesion.
Also, setting the right layer height affects resolution and print time. So, balancing these factors helps you get the best results.
Optimal Print Speed
Mastering ideal print speed means balancing speed, temperature, and layer height to achieve strong, accurate, and visually appealing prints. Start with 40–60 mm/s for detailed prints and 60–100 mm/s for faster, less detailed parts.
Going above 100 mm/s often hurts quality or causes under-extrusion. So, it’s usually best to avoid pushing speeds too high.
Adjust nozzle temperature slightly when increasing speed to maintain proper melt flow. Layer height should be 25%–75% of your nozzle diameter—for example, 0.1–0.2 mm with a 0.4 mm nozzle.
This balance helps with surface finish and print time. If you lower layer height for finer detail, reduce print speed to avoid extrusion problems.
Use manufacturer profiles and calibrate with test prints like speed tests and layer-height cubes. That way, you can find the perfect settings for strength, accuracy, and efficiency.
Temperature Settings Guide
Although setting the right print speed, temperature, and layer height can seem complex, adjusting them together guarantees better print quality and reliability. Start by choosing your nozzle temperature based on the filament: PLA prints best around 190–220°C, ABS at 220–250°C, and Nylon at 240–270°C.
Begin near the midpoint and tweak ±5–10°C to fix extrusion issues. Set your print speed between 30–60 mm/s for detailed prints or 60–120 mm/s for faster results. You might want to slow down for small features or flexible filaments.
Layer height should be 20–75% of your nozzle diameter; for a 0.4 mm nozzle, use 0.08–0.3 mm layers. Adjust bed temperature accordingly—PLA at 50–70°C, ABS 90–110°C, Nylon 60–100°C—to improve adhesion and reduce warping.
Just remember, it’s a good idea to test settings iteratively with calibration prints. That way, you can dial things in for the best results.
Layer Height Effects
When you adjust layer height, you directly influence print quality and speed. Smaller layer heights, like 0.1 mm, enhance detail and reduce stair-stepping but slow down your print, requiring speeds of 30–50 mm/s.
Larger heights, around 0.3 mm, speed up prints at 50–80 mm/s but sacrifice surface smoothness. You’ll need to tweak nozzle temperature too—thicker layers often need 5–10 °C more heat for proper fusion, while thinner layers benefit from slightly cooler temps to avoid blobs.
Also, balance print speed and extrusion carefully; too high a volumetric flow can cause under-extrusion or weak layers. Finally, adjust cooling: use less fan for small layers or ABS to improve adhesion, but more cooling for thin PLA layers to keep fine details sharp.
Managing Supports and Overhangs in 3D Printing
When you print overhangs beyond about 45 degrees, you’ll need support structures to keep your layers from sagging or failing. Your slicer lets you customize support types, density, and placement to balance stability with easy removal.
Knowing how to remove supports cleanly and plan for post-processing will help you achieve smoother surfaces on your final print. It’s a bit of a balancing act, but with some practice, you’ll get the hang of it.
Support Structure Types
Because overhangs and bridges can be tricky during 3D printing, you need support structures to keep things from sagging or failing. Supports might be made from the same material as your print or from something dissolvable. Their design changes depending on the printer type and material you’re using.
You’ll mostly see tree-like supports, linear grids, and lattice pillars. Each type tries to balance stability, material usage, and how easy it is to remove after printing. Dissolvable supports are great when you want a cleaner finish, especially for parts with complex shapes.
By tweaking support density and contact points in your slicer software, you can really dial in print quality and make post-processing easier.
| Support Type | Characteristics | Common Use |
|---|---|---|
| Tree/Branch | Minimal contact, material-saving | FDM, complex overhangs |
| Linear/Grid | Strong, easy to slice | General purpose |
| Lattice/Pillars | Thermal/mechanical stability | Metal PBF, SLM |
Overhang Angle Limits
Although support structures help manage complex shapes, understanding overhang angle limits lets you reduce their need and improve print quality. For most FDM/FFF printers, angles up to about 45 degrees from vertical print well without supports. Steeper angles usually need them.
In resin-based SLA/DLP printing, you can push steeper overhangs since uncured resin supports the part during curing. Powder bed methods, like SLS or MJF, handle near-horizontal overhangs without extra supports thanks to surrounding powder.
To optimize your prints, consider these tips: keep overhangs within manufacturable limits using chamfers or fillets. Also, use smaller layer heights and slower speeds to improve bridging.
Design split parts for complex angles. And remember, adding supports increases material use and post-processing time.
Balancing these factors helps you achieve cleaner, more efficient prints. It’s all about finding the right balance!
Removal Techniques
Guiding support removal is a crucial step in achieving clean, high-quality 3D prints. Supports, printed in the same or dissolvable materials like PVA, anchor overhangs and can be removed by snapping off, cutting, or dissolving in water or solvents.
For metal parts made by Powder Bed Fusion or DED, you’ll often need CNC machining or EDM for removal, followed by heat treatment to fix affected zones. It sounds technical, but these steps really help protect the integrity of your part.
To protect delicate features, reactive methods like chemical baths or ultrasonic cleaning come in handy. They’re gentle yet effective, so you don’t risk damaging fine details.
You can also reduce support needs by designing chamfers, fillets, or splitting parts into assemblies, and orienting prints strategically. It’s a smart way to minimize cleanup later.
Managing overhangs by adding supports or reorienting parts minimizes post-processing and improves surface finish. This approach makes your prints both precise and visually appealing.
Monitoring Your 3D Printer During Printing
You should regularly monitor your 3D printer during a print to catch potential issues early. Keep an eye on the printer’s interface or slicer software to track progress and spot errors.
Watch the first layers carefully to guarantee proper bed adhesion, as poor adhesion often causes print failures. Listen for unusual noises that could signal mechanical problems.
Carefully watch initial layers to ensure bed adhesion and listen for unusual noises indicating mechanical issues.
Focus on these key points:
- Check layer quality for extrusion issues like blobs or stringing.
- Verify nozzle and bed temperatures remain stable to avoid thermal problems.
Use remote monitoring tools, such as webcams, for long prints. And be ready to pause or stop the print if you notice clogs, filament shortages, or layer shifts.
This proactive monitoring helps guarantee a successful print from start to finish. It’s worth staying attentive so you don’t waste time or materials.
What to Know About Removing Supports and Finishing Your Print
When your print finishes, it’s time to tackle removing supports and prepping the part for finishing. Support removal varies by technology: FDM prints use breakaway or dissolvable supports, while SLA requires clipping and sanding resin supports.
For FDM, gently heat or use a deburring tool to snap off supports, then sand progressively with 200–400–800 grit paper. Dissolvable supports need soaking—from a few hours up to 24+—depending on geometry and solution temperature.
Afterward, inspect your model for gaps or seams, fill them with epoxy or automotive filler, cure, then sand and prime. For metal PBF prints, supports require cutting or wire-EDM, followed by heat treatment and surface finishing like polishing or shot peening to meet specs.
Proper finishing guarantees your print looks and performs its best. So, take your time with these steps to get the best results!
Common 3D Printing Challenges and How to Fix Them
Finishing your print well sets the stage for tackling common 3D printing challenges that can affect part quality. You’ll often face issues like warping, poor layer adhesion, stringing, and surface roughness.
Here’s how you can fix them:
- Warping: Use a heated bed (90–110°C for ABS), an enclosure, and adhesive aids like PEI sheets or ABS slurry to keep edges down.
- Poor adhesion: Increase nozzle temperature by 5–10°C, slow your print speed, and calibrate filament flow accurately.
- Stringing: Adjust retraction settings, lower printing temperature slightly, and enable coasting or wipe functions.
- Rough surfaces: Reduce layer height, optimize print orientation, and try post-processing methods like sanding or vapor smoothing.
Addressing these will greatly improve your print’s strength and appearance. It’s worth taking the time to get these settings just right!
Frequently Asked Questions
What Is a 3D Printer and What Does It Do?
A 3D printer is a machine that creates physical objects from digital designs. You load a model, and it builds the item layer by layer using materials like plastic or resin.
It basically turns your ideas into real, tangible parts. Pretty cool, right?
What Is a Good Bed Temperature for PLA?
A good bed temperature for PLA is usually between 50–60°C. You can lower it to 45–50°C for small parts or tape use.
But for larger prints, it’s better to stick with 55–60°C. This helps with better adhesion and reduces warping.
How Does a Printer Work?
Imagine magic unfolding before your eyes. Your printer gently layers melted material or cures resin, building your design step by step.
It dances precisely, creating your vision with care until your object beautifully emerges. Then, it’s ready for finishing touches.
How Does a 3D Printer Know What to Print?
Your 3D printer knows what to print because you provide it with a digital 3D model file. It reads this file, which contains detailed instructions.
These instructions guide the printer to build your object layer by layer, precisely. It’s kind of like following a recipe, step by step.
Conclusion
Now that you know how a 3D printer works step by step, you’re ready to turn your ideas into reality. Remember, “measure twice, cut once” applies here—double-check your model and settings before printing to avoid mistakes.
With patience and practice, you’ll master print speed, supports, and finishing touches. Keep an eye on your printer and troubleshoot common issues as they come up.
Soon, you’ll create flawless, impressive 3D prints every time. By understanding the 3D printing process and adjusting your approach, you can achieve high-quality results. So, stay curious, experiment with different materials and settings, and enjoy the exciting journey of 3D printing!