How Do You Put Paper in a Printer in 5 Easy Steps?
To put paper in your printer in five easy steps, start by removing the bottom paper tray completely. This is usually where the paper goes, so getting it out makes things easier.
Next, adjust the tray guides to match your paper size, like A4 or letter. This helps the sheets sit flat and snug, preventing jams down the line.
Then, load your paper or center-place envelopes evenly in the tray. Make sure the stack is neat and not overfilled.
Slide the tray back into the printer until it locks securely in place.
Finally, check the printer display to confirm the correct paper size is selected.
Follow these simple steps, and you’ll be ready to print smoothly in no time.
There’s a bit more to know for a perfect setup, but this gets you started without any hassle!
Key Takeaways
- Remove the bottom paper tray completely from the printer.
- Adjust the tray guides to fit the paper size snugly without bending.
- Load paper or envelopes evenly, centering them in the tray.
- Slide the tray back into the printer until it is fully secured.
- Confirm the printer display shows the correct paper size before printing.
Remove the Bottom Paper Tray to Start Loading Paper
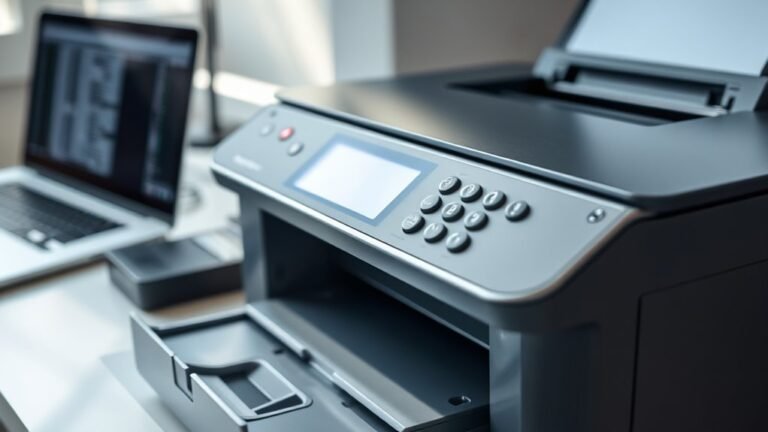
Before you can load paper, locate the bottom paper tray and pull it out completely. This tray is designed to hold A4 or letter-size paper, so make sure you’re using the right size.
Locate and fully remove the bottom paper tray, ensuring you use A4 or letter-size paper for proper loading.
Don’t just pull the tray partially—remove it fully to make loading easier and prevent jams. Once the tray is out, take a moment to prepare it for the paper.
You’ll want to make any necessary adjustments to the paper setup before placing sheets inside. After you’ve set the tray up correctly, you can place the paper neatly in it.
Keep the stack even and not overfilled. Once everything’s in place, you’ll slide the tray back into the printer, ready for the next steps.
Adjust the Tray Guides to Fit Your Paper Size
After removing the bottom paper tray and preparing it for loading, the next step is to adjust the tray guides to fit your paper size. Slide the guides so they match the dimensions of the paper you’re using—whether that’s A4 or letter size.
Make sure the paper sits flat and is properly aligned within the tray, fitting snugly between the guides without bending or folding. Don’t rush to slide the tray back in; confirm the guides are set correctly for the paper format first.
When reinserting the tray, align it properly so the printer can recognize the paper size. This step ensures smooth feeding and accurate printing, setting you up perfectly for loading the paper or envelopes next.
Load Paper and Center-Place Envelopes in the Tray
With the tray guides set to your paper size, place the paper neatly into the tray, keeping the sheets aligned to prevent jams. Begin by removing the bottom paper tray from the printer and adjusting the tray’s settings to match your paper size, like A4 or letter.
Once set, load your paper carefully, stacking the sheets evenly to ensure smooth feeding. If you’re printing on envelopes, place them in the tray’s center section using the printer’s envelope loading option. This keeps the envelopes properly positioned for printing.
Make sure the paper or envelopes sit flat and centered before proceeding. Also, double-check that the size setting matches what you’ve loaded to avoid errors. This preparation helps your printer handle the media properly without causing jams or misfeeds.
Slide the Tray Back In to Secure the Paper
Once you’ve placed your paper or envelopes flat and aligned in the tray, double-check that the printer’s display panel shows the correct paper size. With the size confirmed, slide the tray back into the printer carefully until it fully seats.
This sliding action locks the paper or envelopes in place, ensuring proper printing alignment. Make sure the tray is secure and flush with the printer body.
Here’s a quick visualization of the tray sliding process:
| Step | Action | Result |
|---|---|---|
| 1 | Align paper flat | Paper properly positioned |
| 2 | Confirm size on display | Correct paper detected |
| 3 | Slide tray in | Paper locked in place |
| 4 | Tray fully seated | Ready for printing |
Once secured, the paper is ready for smooth printing.
Check and Confirm Paper Setup on the Display
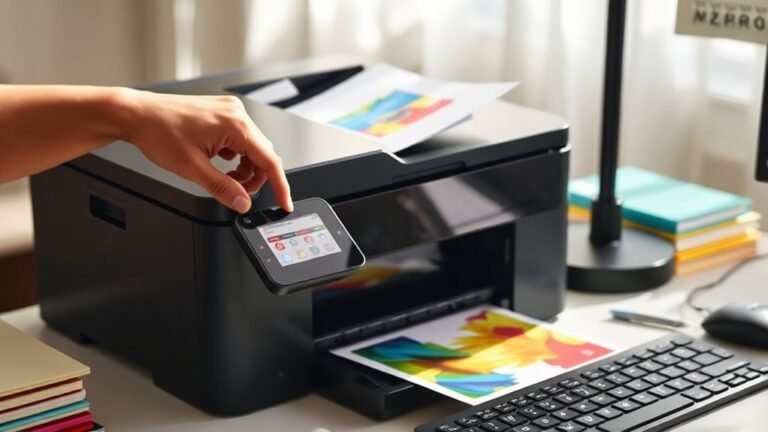
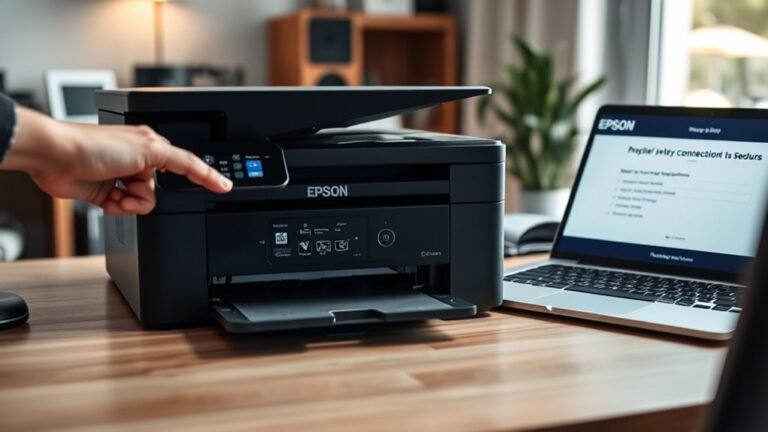
Before you start printing, make sure you check the printer’s display panel to confirm it recognizes the paper setup correctly. Once you slide the tray back in, the display should show the paper size you loaded, like A4 or letter.
If it doesn’t match or shows an error, adjust the paper format directly on the printer until the display confirms the correct setting. This confirmation means the loading process is complete and your printer is ready.
If you’re loading envelopes in the center option, double-check the display reflects that configuration too. Taking this extra step helps avoid paper jams or misprints, ensuring smooth printing every time.
Don’t skip this—accurate paper recognition on the display guarantees your print job starts off right.
Frequently Asked Questions
How Do I Insert Paper Into a Printer?
You remove the paper tray, place your paper neatly, adjust the guides to fit, then slide the tray back in.
Check the display to confirm the paper size. That’s how you insert paper quickly and correctly.
How to Add Paper to Deskjet 2855E?
Of course, adding paper to the Deskjet 2855E is rocket science—just kidding! You remove the tray, adjust guides for A4 or letter size, load sheets or envelopes properly, slide tray back, then confirm paper type on the display.
It’s pretty straightforward once you get the hang of it. Just take your time adjusting those guides so your paper fits perfectly. Then, when you slide the tray back in, the printer knows exactly what kind of paper you’re using. Easy peasy!
Does Photo Paper Go Shiny Side Up?
No, you don’t put photo paper shiny side up.
Load it with the shiny side facing down toward the printer’s ink nozzles. That way, your printer prints on the coated side for the best photo quality and vibrant colors.
How to Load Paper in HP Officejet Pro?
Picture sliding out the paper tray of your HP Officejet Pro. Load your A4 or Letter paper, snugly adjust the guides, then slide it back in.
Make sure the paper is aligned properly so it feeds smoothly. Confirm settings on the display, and you’re ready to print without a hitch!
Conclusion
Now that you know how to load paper in five easy steps, you’ll save time and avoid jams. Imagine Sarah, a busy teacher, who used to fumble with her printer daily.
After following these simple steps, she quickly loads paper and keeps her printing smooth during hectic mornings. With a little practice, you’ll handle your printer like a pro too.
No more frustration, just quick, hassle-free printing every time! Mastering how to put paper in a printer not only saves you time but also prevents annoying paper jams.
So, whether you’re printing important documents or school materials, these easy steps make the process simple and efficient. Give it a try, and enjoy smooth, reliable printing every day!