How to Factory Reset HP Printer Without Screen in 10 Easy Steps
To factory reset your HP printer without a screen, start by powering off and unplugging it to clear the memory. This step helps ensure that any temporary settings are erased.
Next, locate the Wireless, Cancel/Resume, and Power buttons on your printer.
Press the correct button combination—like holding the Wireless and Power buttons together for 5 to 10 seconds—until the LEDs start blinking. This blinking usually confirms that the reset process has begun. Once the lights flash, you can be confident the reset is in progress.
After that, reconnect your printer to Wi-Fi and reinstall the necessary drivers on your computer. This will help your printer communicate properly with your device again.
Finally, print a test page to make sure everything works perfectly.
Keep exploring for detailed steps and troubleshooting tips specific to your printer model to make the process even smoother!
Key Takeaways
- Turn off the printer, unplug the power cord, and remove any Instant Ink or backup batteries before starting the reset process.
- Locate the Wireless, Cancel/Resume, and Power buttons; button sequences vary by model, so check the manual for exact steps.
- A common reset method is to hold the Wireless and Power buttons simultaneously for 5–10 seconds until the LED blinks, indicating the reset has started.
- After the reset, verify success by checking the LED indicators, printing a configuration page, and confirming that default network and account settings are restored.
- Finally, reconnect the printer to Wi-Fi using the HP Smart app or Embedded Web Server. Make sure to enter the correct SSID and password for proper setup.
Get Your HP Printer Ready: Unplug and Power Off
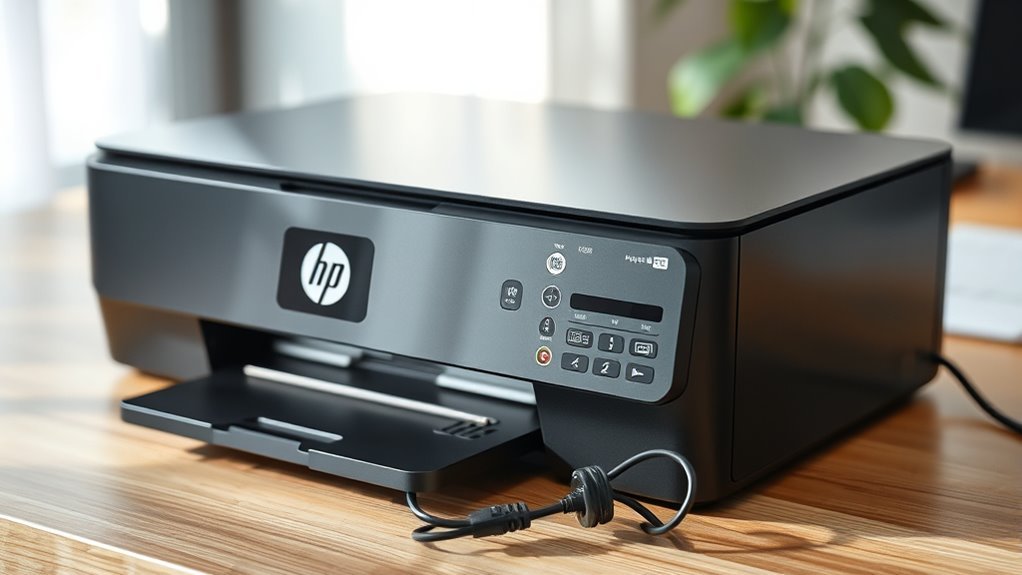
Before you plunge into the factory reset, make sure to power down your HP printer completely. Start by pressing the power button to turn it off, then unplug both the power cord from the wall outlet and the printer itself.
Power down your HP printer fully by turning it off and unplugging from both the outlet and the device.
This step guarantees no residual power remains, which can interfere with the reset. If your printer uses Instant Ink or has a removable battery or backup power source, remove those as well to fully cut power.
Wait at least 60 seconds to let capacitors discharge and clear temporary memory. Ground yourself by touching a metal surface before touching any internal buttons or ports during the reset process.
Finally, place the printer on a stable, flat surface near your router and power outlet for quick reconnection after resetting.
Find the Right Buttons to Reset Your Printer
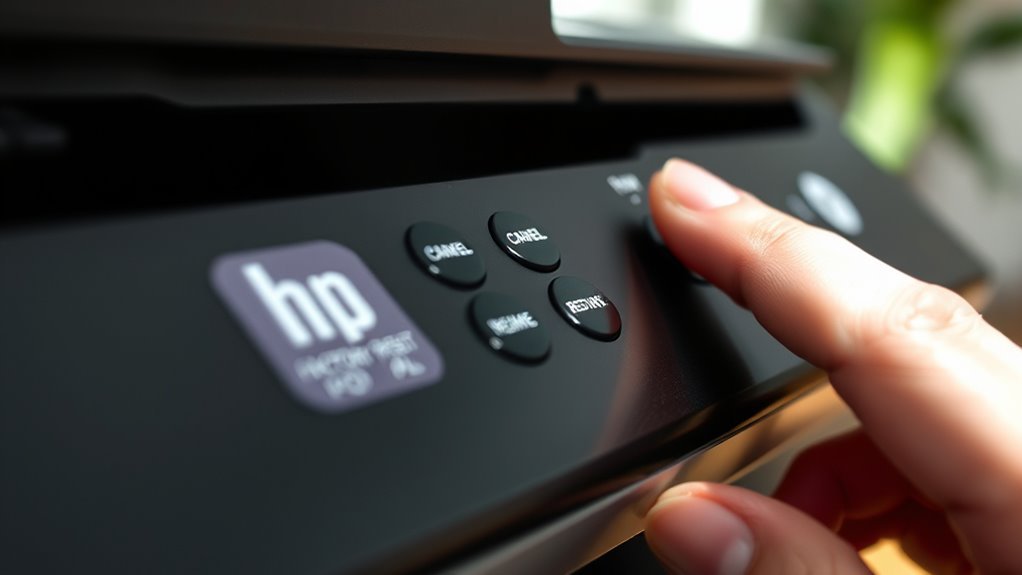
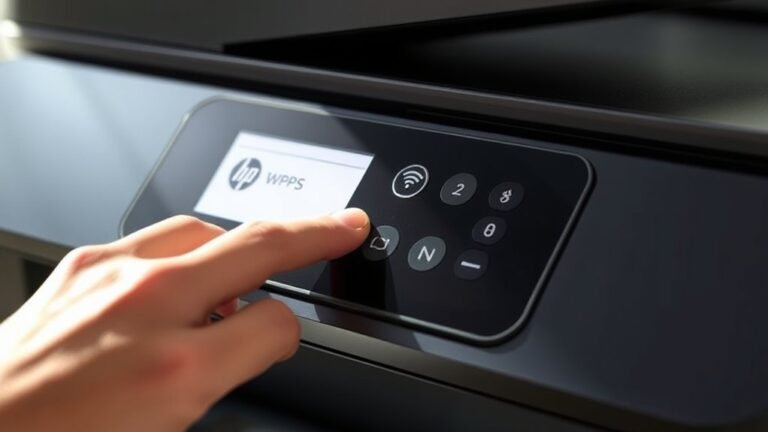
Identify the specific buttons on your HP printer that trigger the factory reset, as these vary by model. On many HP printers without screens, like some 2700-series models, the reset uses a combination of the Power, Cancel/Resume, and Wireless buttons.
Look for the small Wireless icon button (often with an LED), the triangle-in-a-circle Cancel/Resume button, and the Power button. If your printer has a Wireless button, the reset sequence often involves holding Wireless and Cancel together for 5–10 seconds while powered on.
If there’s no Wireless button, try holding Power and Cancel for 10–30 seconds or unplug and replug the power cord after holding buttons. Always check your model’s manual or HP support page for the exact buttons and timing to avoid unintended resets.
Press the Buttons to Start the Factory Reset
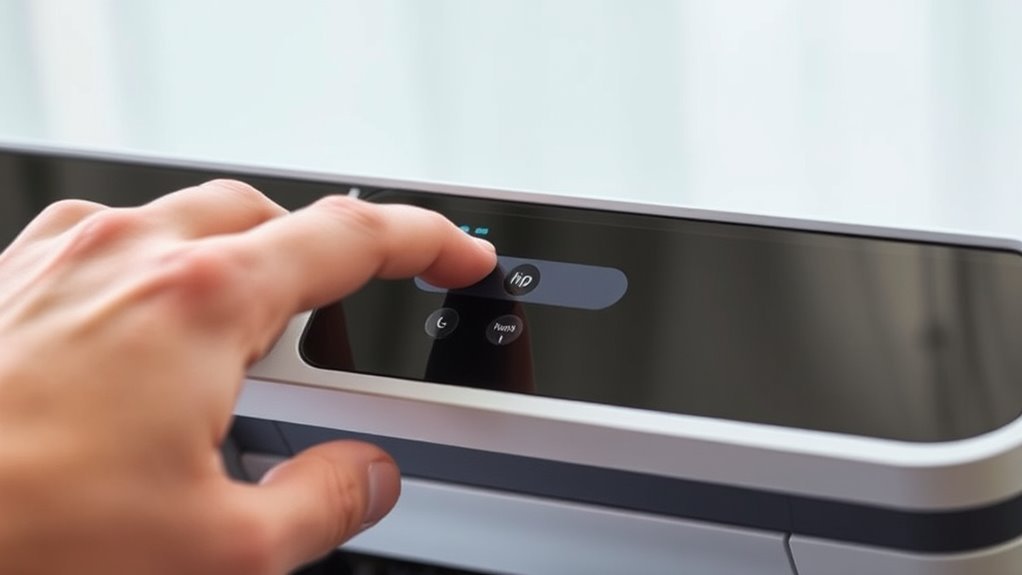
Press and hold the specific button combination on your HP printer to initiate the factory reset process. Since your printer lacks a screen, these button sequences are essential for starting the reset.
Depending on your model, try one of these common methods:
- For many HP Wi-Fi printers, press and hold the Wireless and Power buttons together for 5–10 seconds until the front light blinks.
- On some DeskJet, ENVY, or OfficeJet models, disconnect power, then press and hold the Cancel/Resume button while reconnecting power. Keep holding for 10–20 seconds until the lights change.
- If your printer features Resume and Wireless buttons, hold both for 15–20 seconds until LEDs flash, which resets network and other settings.
If none of these work, check your manual or contact HP Support for model-specific instructions. They’ll help you get it sorted out.
Watch for LED Lights Confirming the Reset
Once you’ve entered the factory reset sequence by holding the right buttons, keep an eye on your printer’s LED lights. The power LED often blinks rapidly or changes color to show the reset has started and completed.
Some models flash the power LED three times or pulse both power and wireless LEDs to confirm success. If the wireless LED blinks continuously, your printer is in setup mode, ready for Wi-Fi connection.
No LED change or a steady error light means the reset failed, and you may need to retry with the correct method. After a successful reset, LEDs usually return to a steady power light with wireless off.
| LED Behavior | Meaning | Action |
|---|---|---|
| Power LED flashes rapidly | Reset in progress/completed | Wait for completion |
| Power LED flashes 3 times | Reset successful | Proceed with setup |
| Wireless LED blinks continuously | Setup mode | Connect to Wi-Fi |
| No LED change | Reset failed | Retry reset |
| Steady error light | Reset error | Use correct reset sequence |
Follow Extra Button Steps If Your Model Needs Them
If your HP printer doesn’t have a screen, you might need to use specific button combinations to reset it. Different models require different sequences, like holding Power with Cancel and Wireless buttons or other variations.
It’s a good idea to check your printer’s manual to find the exact button steps for your model. Just follow them carefully, and you should be good to go!
Button Combinations Guide
Although HP printers without screens lack a display menu, you can still perform resets by using specific button combinations. Most models let you reset by holding the Power button along with the Cancel (X) or Resume button for about 10–15 seconds.
Some require more steps to complete a full reset.
Try these common button combos:
- Hold Power, then press and release Wireless and Cancel (or Resume) three times before releasing Power to trigger a factory reset.
- For 2700-series models, hold Power and press Start Copy Black or Resume five times to finish the reset.
- Successful resets often show blinking Wireless and Power LEDs or the printer entering setup mode.
If these don’t work, check your manual or HP Support for exact sequences.
Model-Specific Button Variations
Navigate your printer’s reset process by following model-specific button variations, since many HP printers without screens require unique combinations and timings. For example, on some DeskJet 2700-series models, hold Power and Cancel for 10–15 seconds, then release Power but keep Cancel pressed to trigger a semi-reset.
Envy and DeskJet units often reset Wi-Fi by holding Wireless and Cancel together for 5–10 seconds. OfficeJet models might need you to power off, then hold Resume/Cancel and Power for 10–20 seconds for a partial or full reset.
If your printer has Resume/Cancel and Wireless Direct buttons, try powering off, holding both, powering on while holding for 15–20 seconds, then releasing to restore defaults. Always check your model’s manual or HP Support for exact button combos and durations to avoid mistakes.
Verify Factory Reset by Printing a Status Page
After completing the factory reset, print a status page to check if the reset was successful. Look for default network settings and cleared user information on the page.
If you still see your old configurations, try the reset again. Or, you can contact HP support for help.
Print Status Page
To check if your factory reset worked on an HP printer without a screen, print a Status or Configuration Page by holding down the Resume/Cancel or Power button in the sequence specific to your model. This page confirms whether the settings reverted to factory defaults.
When you review the printed Status Page, focus on a few key things. First, look at the network details: the SSID should be blank or in setup mode, and the IP address should be 0.0.0.0 or DHCP-assigned.
Next, check supplies and settings like language, country/region, and services such as Web Services or HP Instant Ink. These should all be reset.
Also, take a look at the firmware version and configuration info. This can help you troubleshoot or just confirm that the reset actually worked.
It’s a good idea to keep this page handy. You can scan or take a photo of it, especially if you need to contact HP support later on.
Confirm Reset Success
Printing a Status Page gives you a clear snapshot of your printer’s current settings. This helps confirm whether the factory reset was successful.
Use the printer’s buttons or HP Smart software to print a Network/Configuration or Print Quality report. Check that default network settings appear—SSID should be blank or say “Not connected.” Also, there should be no saved Wi-Fi credentials, and IP addressing should be set to DHCP by default.
Next, verify that firmware and configuration values, like device name, language, and region, match the factory defaults listed in your user manual. If you still see previous account info or Instant Ink details, then the reset didn’t fully succeed.
Make sure the printer no longer appears in paired device lists and that it prompts you for a fresh setup. If that’s not the case, try repeating the reset or get in touch with HP Support for help.
Reconnect Your Printer to Wi-Fi and Network
While your printer lacks a screen, you can still reconnect it to Wi-Fi by temporarily linking it to your router via Ethernet or to your computer through USB. Once connected, use the HP Smart app or Embedded Web Server (EWS) to run the wireless setup wizard and save the Wi-Fi settings. Then, switch the printer back to wireless mode.
Keep these tips in mind:
Match the printer’s Wi-Fi band (2.4 GHz or 5 GHz) to your router’s SSID for a stable connection. Use Wi-Fi setup mode (hold the Wireless button) to enable Wi-Fi Direct or HP Smart setup.
If you have networks with extenders, move the printer close to the main router and assign a static IP in DHCP settings.
Finally, print a network report to confirm your printer’s connection status.
Reinstall Drivers After Factory Reset
Uninstall your old HP printer driver to prevent conflicts after a factory reset. Head to Settings > Apps or Control Panel > Programs and Features on your Windows PC and remove the existing HP driver.
Next, download the latest full feature driver or the “HP Smart” app from the HP Support “Software and Drivers” page. Make sure to select your exact printer model and operating system.
If your model isn’t listed on Windows 11/10, try choosing Windows 10 or the full feature software for the 2700 series, which often works. Temporarily reconnect your printer via USB or follow Wi-Fi setup instructions so the driver can detect and configure it properly.
Once installed, open HP Support Assistant or HP Smart to check firmware and ink subscription status. Then, complete any updates needed to keep everything running smoothly.
Print a Test Page to Check Your Printer
After resetting your HP printer, printing a test page helps you confirm if the hardware and network settings are correct. Since your printer lacks a screen, you can usually print the test page by holding specific buttons like Wake/Power or Cancel and Resume together—check your model’s manual to be sure.
This page will show important details like firmware version and Wi-Fi status, so you know if everything is set up properly. It’s a quick way to make sure your printer is ready to go.
Test Page Importance
Printing a test page helps you quickly verify that your HP printer’s hardware and firmware are working properly following a factory reset. This step guarantees that components like printheads, rollers, and ink delivery systems function as expected before reconnecting to your network.
A standard test page includes alignment patterns, color bars, and nozzle checks, letting you spot issues such as clogged nozzles or missing colors immediately. It’s a simple way to catch problems early on.
To make the most of your test page, use the printer’s maintenance menu or HP software to print a standardized page. If defects appear, don’t worry—just run the automatic alignment and nozzle cleaning tools.
Also, keep a record or photo of the successful test page for future troubleshooting or warranty claims. This little step can save you a lot of time and hassle.
In short, this simple check guarantees smooth printer performance and peace of mind.
How To Print
To check your HP printer’s functionality without a screen, you can print a test or network configuration page using button combinations directly on the device or through your computer. For many models, press and hold the Wireless and Cancel (X) buttons together for 3–5 seconds until the attention light blinks; the printer then prints a status page.
If your printer has a Resume/Cancel and Power button, turn it off, hold Resume, and power it on until printing starts. It’s pretty straightforward once you get the hang of it.
On a Windows PC, right-click the printer in Devices and Printers, select Printer Properties, then Print Test Page. If you’re using a Mac, just go to System Settings > Printers & Scanners, choose the printer, and print a test page.
You can also use apps like HP Smart, which make printing diagnostic reports super easy. They’re handy if you want a quick check without digging through menus.
Troubleshoot Common Issues After Factory Reset
You’ll often need to reinstall the full-function printer driver from HP’s Software and Download page to regain scanning and advanced features that basic drivers don’t include. After a factory reset, make sure to reconnect your printer to the correct Wi-Fi network using the proper SSID and password.
Try to avoid switching mesh bands by temporarily connecting to the router’s 2.4 GHz or 5 GHz band used previously. This helps prevent IP address changes that can cause connection issues.
To troubleshoot common issues:
- Sign in or create an HP account to restore Instant Ink/HP+ subscriptions and check device status.
- Use HP Print and Scan Doctor or HP Smart to detect driver or network problems and apply fixes.
- If the printer remains locked or asks for a password after reset, contact HP Support for help.
Frequently Asked Questions
How Do I Factory Reset My HP Laptop?
You can factory reset your HP laptop by going to Settings > System > Recovery > Reset this PC, then choosing “Remove everything.”
Make sure you back up your files and have your account credentials ready before starting.
It’s pretty straightforward but taking these steps will help avoid any hiccups along the way.
How Do I Factory Reset My HP Officejet 8015E Printer?
You can factory reset your HP OfficeJet 8015e by unplugging the power while it’s on. Then, wait 60 seconds before plugging it back in.
For a network reset, hold the Wireless and Cancel buttons until the light blinks. This will reset your network settings quickly and easily.
How to Factory Reset HP Deskjet 2800 Printer?
To factory reset your HP DeskJet 2800, start by unplugging it for 60 seconds. Then, plug it back in and power it on.
If you want to reset the network settings, just hold down the Wireless and Cancel buttons together until the light starts blinking.
For a full restore, it’s easiest to use the HP Smart app. It guides you through the process step-by-step.
How Do I Take My Printer Back to Factory Settings?
Like hitting a reset button on an old game console, you can restore your printer to factory settings by holding specific buttons together or unplugging it briefly.
Check your model’s manual for exact steps to start fresh effortlessly. It’s usually pretty simple once you know what to do!
Conclusion
Resetting your HP printer without a screen might feel like defusing a bomb blindfolded, but with these 10 easy steps, you’ll breeze through it like a pro ninja. Just follow the button presses, watch those magical LED lights dance, and you’re golden.
Before you know it, your printer will be reborn—ready to roar back to life, print like a champ, and make your workdays smoother than ever! Factory resetting your HP printer without a screen doesn’t have to be complicated.
By mastering these simple steps, you can quickly restore your device to its default settings without the hassle of navigating menus or screens. So go ahead, reset your HP printer without screen confidently and enjoy hassle-free printing again!