How to Fix a Paper Jam in a Printer in 5 Easy Steps
To fix a paper jam in a printer, first turn off and unplug your printer to avoid any electrical issues. Then, open all the panels to access the jammed paper easily.
Gently pull out the stuck paper without tearing it, following the paper’s natural path. Be careful here—ripping the paper can cause more problems down the line.
Next, check thoroughly for any tiny leftover scraps and remove them carefully. Even small bits can cause another jam if left inside.
Reload the paper neatly, making sure not to overfill or misalign the stack. This helps prevent jams from happening again.
Finally, run a test print to see if everything is working smoothly. Keep going for more tips to avoid future jams and get your printer running perfectly!
Key Takeaways
– Power off and unplug the printer, then open all accessible panels to locate the jammed paper.
This helps you avoid any electrical issues while you’re working on it.
– Gently pull the jammed paper out with both hands, following the paper’s natural feed path to avoid tearing.
Take your time here so you don’t rip the paper and make things worse.
– Inspect and remove any remaining paper scraps from all compartments and the paper path carefully.
Make sure nothing small is left behind that could cause another jam.
– Reload the paper tray properly by aligning the paper stack and adjusting guides without overfilling.
Getting this right helps prevent jams in the future.
– Run a test print to ensure the jam is cleared and watch for any errors or unusual sounds.
If everything looks good, you’re all set!
Turn Off Your Printer and Open Panels to Access the Paper Jam
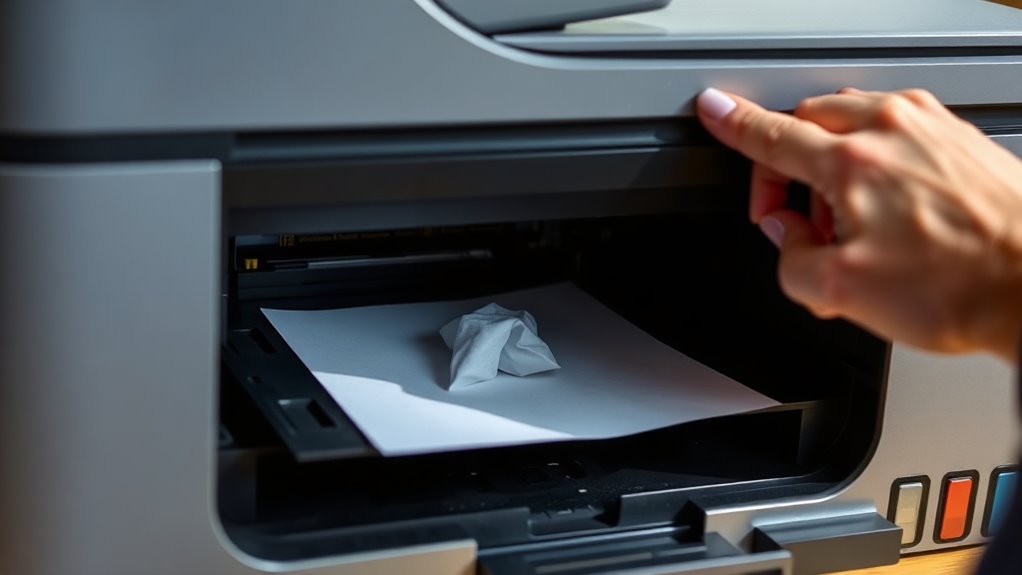
Before you begin clearing the jam, turn off your printer to prevent any electrical issues or accidental damage. Once it’s powered down, unplug it from the wall for extra safety.
Always power down and unplug your printer before attempting to clear a paper jam for safety.
Next, you’ll want to locate and open all the panels that give you access to the jammed paper. Check the front cover, rear door, and any other removable trays or compartments.
Opening these panels carefully will reveal where the paper is stuck. Don’t force anything open—if a panel resists, look for a latch or button that releases it.
This step is essential because it lets you see exactly where the paper jam is without causing harm to the printer’s delicate parts. After opening, you’re ready to proceed with removing the jammed paper safely.
Gently Remove the Paper Jam Without Tearing It
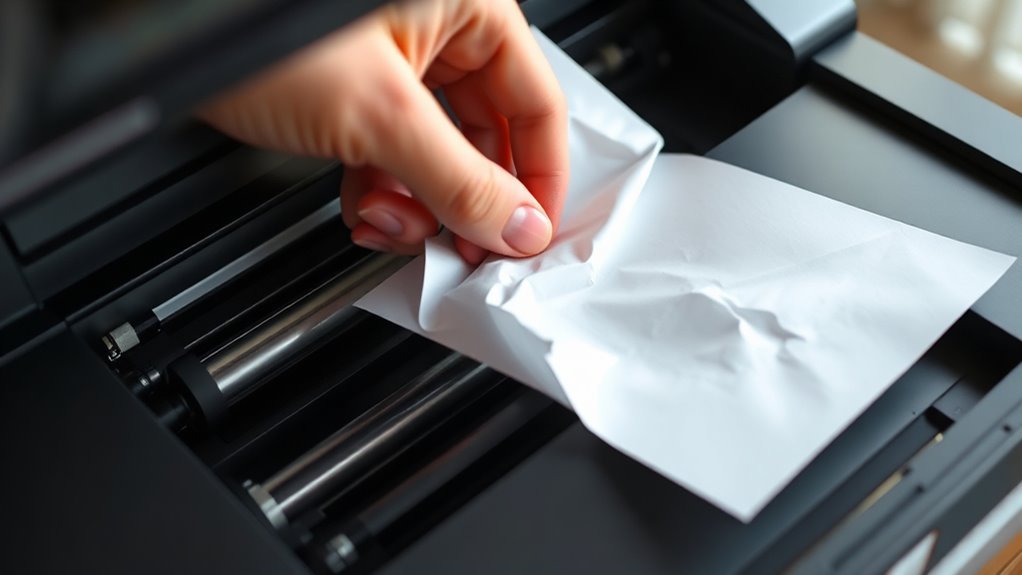
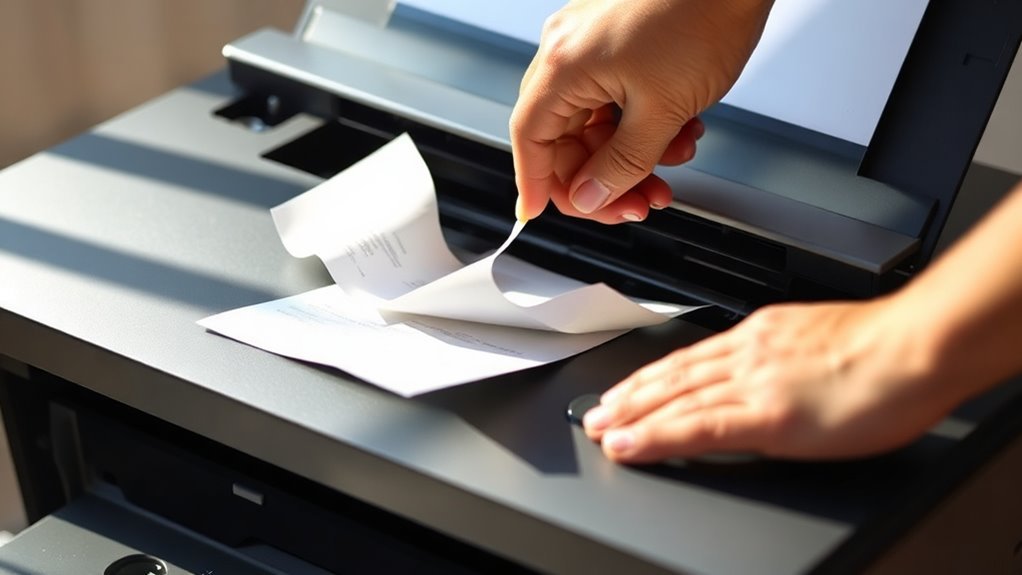
Once you’ve located the jammed paper, carefully grasp it with both hands and pull it out slowly to avoid tearing. If the paper resists, don’t force it; instead, check if any printer parts are blocking its path.
Pulling too hard can rip the paper, leaving fragments behind that cause more jams. Use steady, even pressure and try to follow the paper’s natural path as it would feed through the printer.
If the paper is stuck at an angle, gently straighten it before pulling. Taking your time here prevents damage to both the paper and the printer’s internal components.
Check for and Clear Any Remaining Paper Jam Pieces
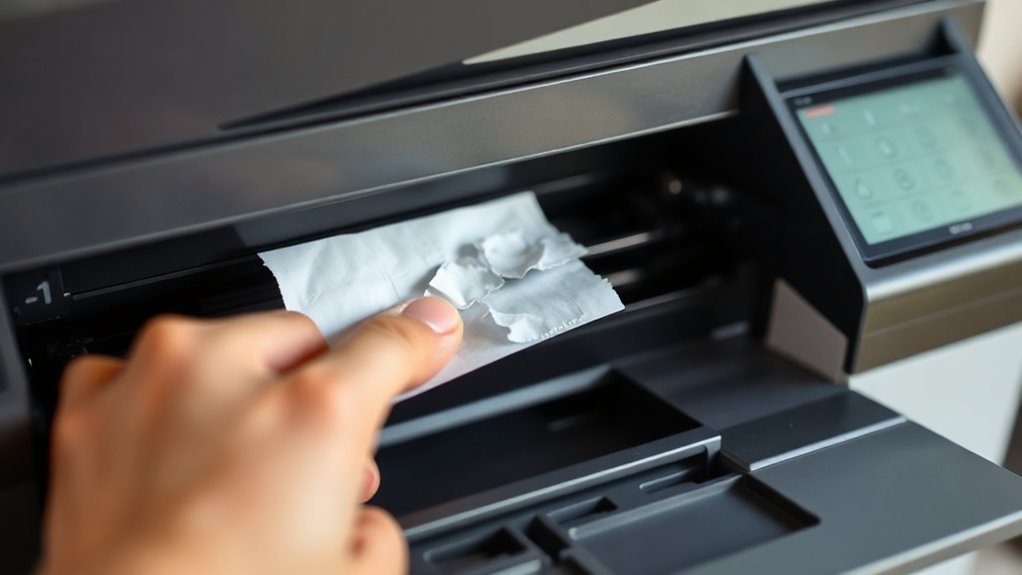
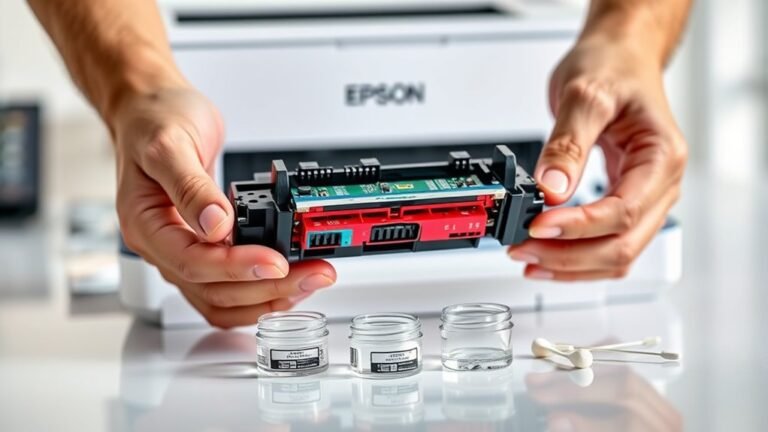
Even after you’ve removed the main jammed paper, small scraps can remain inside the printer and cause additional issues. Open all accessible panels and trays, then carefully inspect the paper path for any leftover bits.
Use a flashlight if necessary to spot tiny fragments stuck in rollers, gears, or corners. Avoid using sharp tools that might damage delicate parts. Instead, gently pull out any scraps you find with your fingers or tweezers.
Make sure to check the rear access panel and the paper feed area thoroughly. Removing these remnants ensures your printer runs smoothly without repeated jams.
Once you’re confident all pieces are cleared, close the panels securely before powering the printer back on to test its function.
Reload Paper Correctly to Prevent Future Jams
After clearing out all leftover paper bits, you’ll want to reload the paper properly to keep jams from happening again. Start by aligning the stack, tapping it on a flat surface to even the edges.
Don’t overfill the tray; leave some space so the paper can feed smoothly. Adjust the paper guides snugly against the edges without bending the sheets.
Use only clean, dry paper and avoid mixing different types or sizes in the same tray. Make sure the paper is loaded with the correct side facing up, based on your printer’s instructions.
Also, regularly check for curled or damaged sheets and remove them before loading. Following these steps helps your printer grab one sheet at a time, reducing the risk of jams and keeping your printing hassle-free.
Run a Test Print to Make Sure the Paper Jam Is Cleared
Before you finish, run a trial print to confirm that the paper jam is fully cleared and your printer works smoothly. This step ensures no hidden scraps of paper are stuck inside and that the printer feeds sheets correctly.
Select a simple document or use the printer’s built-in test page feature. Keep an eye on the printer during this test to catch any unusual noises or alerts.
Choose a simple file or the test page and watch for any unusual sounds or alerts during printing.
If the printer pulls the paper through without issues, you’re good to go. However, if the jam happens again or the printer displays an error, turn it off and check for any remaining debris.
Running a test print saves time by catching problems early and helps you avoid unexpected interruptions in your printing tasks.
Frequently Asked Questions
What Causes Frequent Paper Jams in Printers?
You’re likely causing frequent paper jams by using low-quality or wrinkled paper, overloading the tray, or ignoring misaligned paper guides.
Dust and worn rollers can also jam your printer, so keep it clean and well-maintained.
It’s a good idea to check these things regularly to avoid interruptions. Just a little care goes a long way!
Can Using Different Paper Types Prevent Jams?
Yes, using the right paper type can help prevent jams. You’ll want to choose paper that matches your printer’s specifications.
Also, avoid damaged or excessively thick sheets. Keep your paper dry to ensure smooth feeding and fewer jams.
It’s really about making sure the paper works well with your printer. That way, you can avoid those annoying interruptions.
How Often Should Printer Rollers Be Cleaned?
You should clean your printer rollers at least once a month. Otherwise, dust and grime will build up like a jungle, causing endless paper jams.
Regular cleaning keeps your printer running smoothly. Plus, it saves you tons of frustration.
Are There Printer Settings That Reduce Paper Jams?
Yes, you can adjust printer settings like paper type and print quality to reduce jams. Selecting the correct paper size and weight helps.
Also, enabling features like “skip blank pages” can prevent unnecessary feeding issues. It’s a simple way to keep things running smoothly.
When Is It Time to Replace a Printer Due to Jams?
If you’re dealing with over 50% frequent paper jams, it’s time to make a printer.
Constant jams waste time and money, so upgrading ensures smoother printing and raises your productivity without constant frustration.
Conclusion
Don’t worry if you’re nervous about fixing a paper jam—it’s easier than it seems! By turning off your printer and carefully removing stuck paper, you’ll avoid damage and frustration.
Make sure to check for any leftover bits of paper inside the printer. Reloading the paper properly also helps keep jams from coming back.
Once you run a test print, you’ll feel confident your printer’s back in action. You’ve got this—no more dreaded paper jams slowing you down!
Fixing a paper jam doesn’t have to be stressful. With these simple steps, you can quickly clear the jam and get back to printing smoothly. Remember, regular maintenance and proper paper loading are key to preventing future jams. So next time your printer gets stuck, just follow these easy tips to fix a paper jam and keep your printer running like new!