How to Add a Printer to an Android Phone in 3 Easy Steps
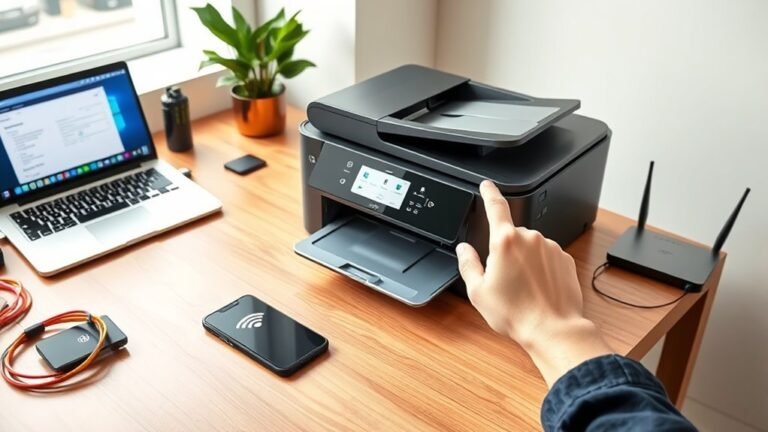
To add a printer to your Android phone, first make sure both your phone and printer are powered on.
They also need to be connected to the same Wi-Fi network for everything to work smoothly.
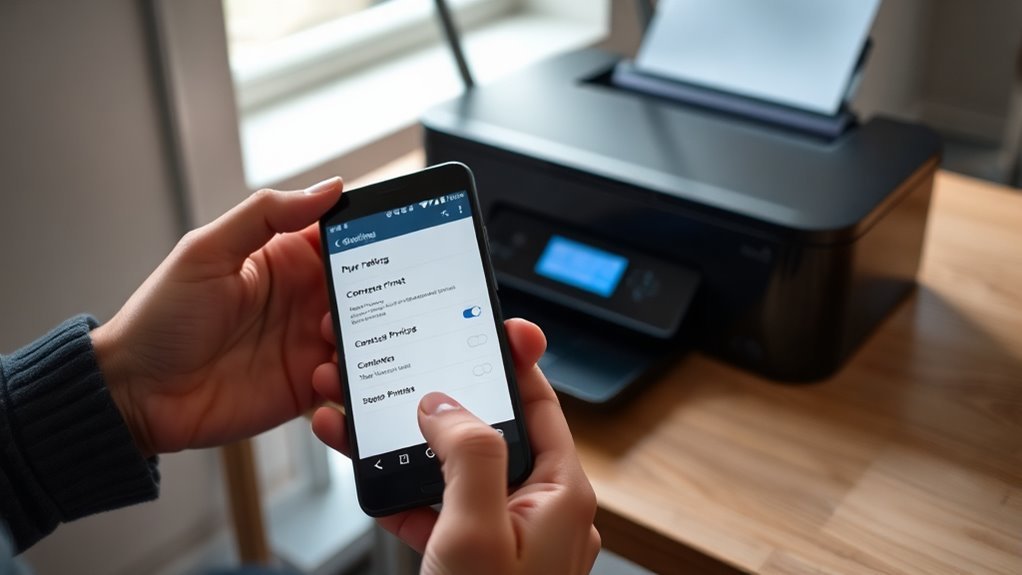
Next, open your phone’s Settings and navigate to “Connected devices” or “Printing.”
Here, you’ll want to add a print service like Mopria, which helps your phone communicate with the printer.
Finally, just select your printer from the available list.
Once connected, you can start printing instantly.
If you run into any issues or want to optimize your setup, don’t worry—there are some simple tips and troubleshooting steps to guide you along the way.
Key Takeaways
- Ensure the printer is powered on and connected to the same Wi-Fi network as your Android phone.
- Open Android Settings and navigate to “Connected devices” or “Bluetooth & device connection.”
- Go to “Printing” under Connection preferences and tap “Add service” to find and install a printer service.
- Enable the installed printing service, such as Mopria Print Service, in the Printing menu.
- Select your printer from the discovered list to connect and start printing directly from your phone.
Connect Your Printer to Your Android Phone in 3 Easy Steps
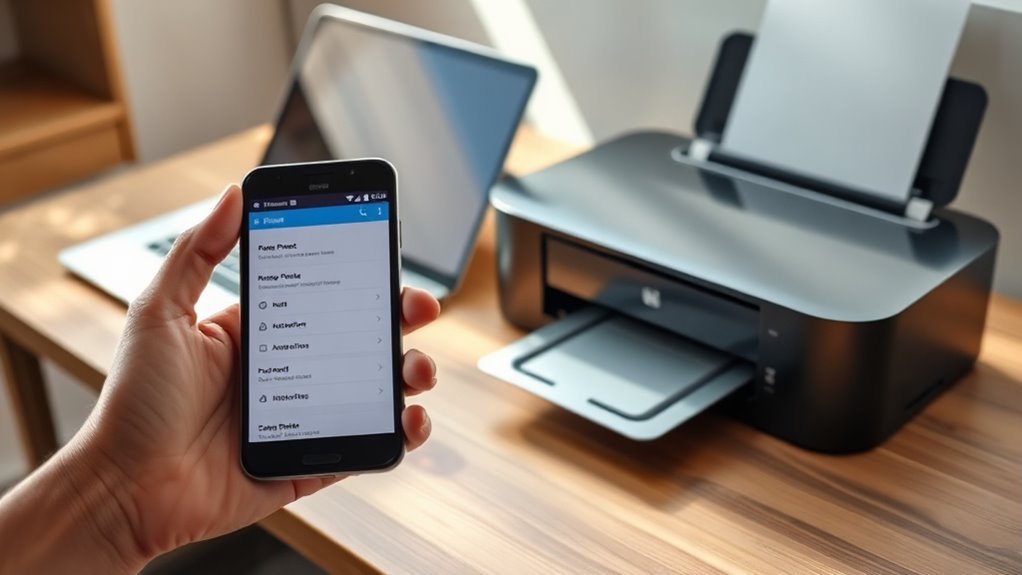
Start by ensuring your printer is powered on and connected to the same Wi-Fi network as your Android phone. First, open your phone’s Settings and tap on “Connected devices” or “Bluetooth & device connection.”
Next, select “Connection preferences” and then “Printing.” Here, tap “Add service” to find available printer services like “Mopria Print Service” or the specific brand app. Install if necessary.
Go to Connection preferences, choose Printing, then Add service to install printer apps like Mopria Print Service.
After installation, return to the Printing menu and enable the new service. Finally, your phone will automatically search for printers on the network.
Select your printer from the list, and it’ll be connected. You’re now ready to print directly from your Android device, simplifying your workflow without needing cables or extra hardware.
Prepare Your Android Phone and Printer for Printing
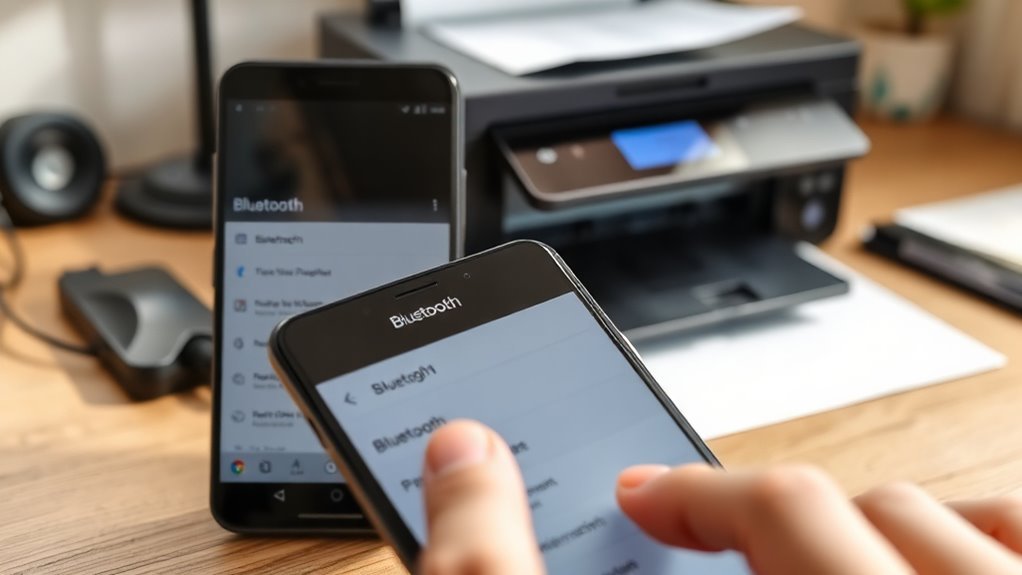
Before you begin printing, make sure both your Android phone and printer are properly prepared to communicate smoothly. Follow these steps to get ready:
- Connect to the Same Network – Make sure your phone and printer are on the same Wi-Fi network. This helps them talk to each other without any hiccups.
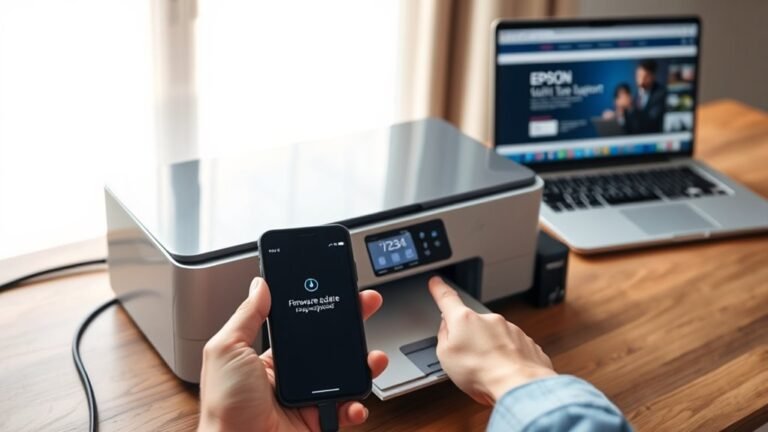
- Update Printer Firmware – It’s a good idea to check for any updates. Keeping your printer’s software up-to-date ensures it works well with your Android device.
- Enable Printer’s Wireless Mode – Turn on Wi-Fi or Bluetooth on your printer, depending on how you plan to connect. This step is key to getting everything linked up.
- Install Necessary Apps – Don’t forget to download any required printer apps or plugins from the Google Play Store. These apps often help your phone communicate better with the printer.
Troubleshoot Common Android Printing Issues
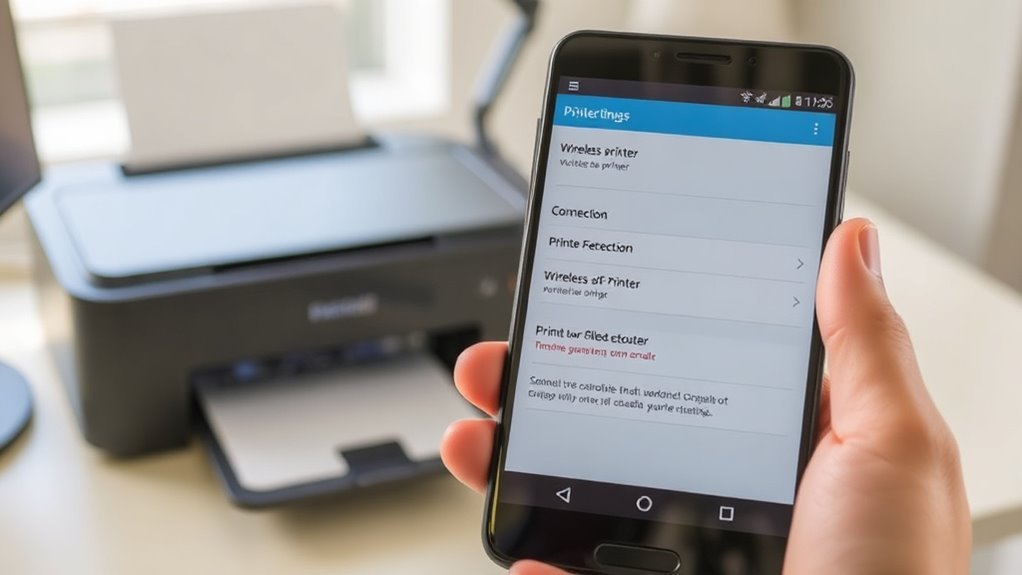
Even after preparing your devices carefully, you might run into some printing problems on your Android phone. First, check that both your phone and printer are connected to the same Wi-Fi network; mismatched networks often cause printing failures.
If your printer isn’t detected, restart both devices and try again. Sometimes, outdated printer drivers or apps can block printing—make sure everything’s updated.
If a print job gets stuck, cancel it and resend the document. Also, confirm your phone’s print service plugin is enabled in Settings to support your printer model.
Finally, if you keep facing issues, try printing from a different app or file type to isolate the problem. These steps should help you troubleshoot common Android printing hiccups quickly and easily.
Frequently Asked Questions
Can I Print From My Android Phone Without Wi-Fi?
Yes, you can print from your Android phone without Wi-Fi by using Bluetooth, USB OTG cables, or a direct Wi-Fi connection like Wi-Fi Direct.
Just make sure your printer supports these options and connect accordingly.
It’s pretty handy when you don’t have access to a Wi-Fi network.
Which Printer Brands Are Best for Android Compatibility?
You’ll find that HP, Epson, Canon, and Brother printers work best with Android devices. They support Google Cloud Print or their own apps, making setup and printing from your phone straightforward and hassle-free.
It’s pretty convenient because you don’t have to deal with complicated configurations. Just a few taps, and you’re good to go!
How Do I Print Double-Sided From My Android Phone?
You’ll need to open your document or photo, tap Print, then select your printer.
Look for a “Two-sided” or “Duplex” option in the print settings, enable it, and then print your double-sided pages.
It’s pretty simple once you find that option! Just make sure your printer supports double-sided printing.
Can I Print Documents Directly From Cloud Storage Apps?
Yes, you can print documents directly from cloud storage apps like Google Drive or Dropbox. Over 60% of Android users rely on cloud printing, making it easy to access and print files without downloading them first.
It’s super convenient because you don’t have to save the document on your device before printing. Just open the app, select your file, and send it to the printer. Easy as that!
Are There Any Apps to Enhance Android Printing Features?
Yes, you can use apps like Mopria Print Service or PrinterShare to enhance your Android printing features. They offer advanced options and support more printers.
Plus, they let you print directly from various apps with ease. It makes printing way more convenient!
Conclusion
Now that you know how to add a printer to your Android phone in just three easy steps, printing on the go is a breeze.
Imagine you’re at work and need to quickly print a document before a meeting—no laptop required. Just connect, prepare, and print!
With these simple tips, you’ll save time and avoid frustration. So go ahead, give it a try and enjoy hassle-free printing anytime, anywhere.
Adding a printer to your Android device makes mobile printing super convenient. Whether it’s for work or personal use, you can print documents, photos, and more without fuss. Just follow the easy steps, and you’re set for quick, efficient printing right from your phone. Say goodbye to complicated setups and hello to seamless Android printer connection!