How to Update Epson Printer Firmware in 5 Simple Steps
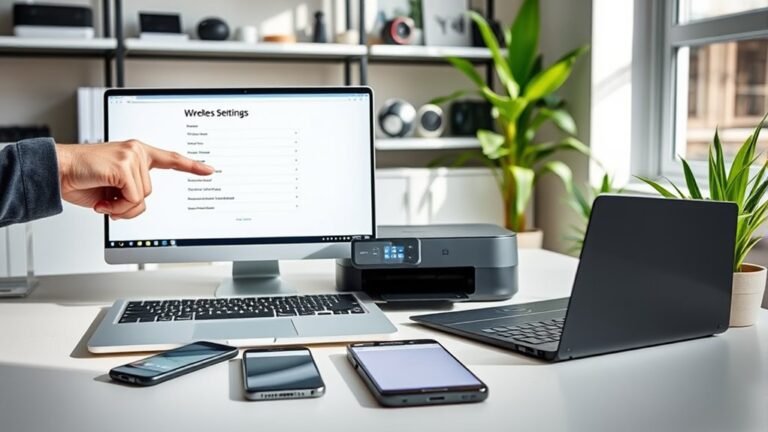
To update your Epson printer firmware in five easy steps, start by getting your printer and computer ready. First, confirm your printer model and make sure both devices are connected to the same network or linked via USB. Also, check that your power supply is stable and your internet connection is reliable.
Next, download and open the Epson Software Updater. This tool makes it simple to find and select the correct firmware update for your specific Epson printer.
Once you’ve located the right update, install it while keeping your printer powered on. This ensures the process runs smoothly without interruptions.
Finally, verify the new firmware version on your printer to confirm the update was successful. Following these straightforward steps will help you keep your Epson printer running at its best with minimal hassle.
Key Takeaways
- Confirm your printer model and current firmware version. Make sure your printer is powered on and connected to your computer or network.
- Download and install the Epson Software Updater from the official Epson support site. Once installed, launch it and select your printer model.
- Find the “Epson Firmware Update” option in the updater. Check the firmware version and read the release notes to ensure it matches your printer.
- Start the firmware installation process. Keep your printer powered on and connected throughout, and don’t interrupt the update until it’s done.
- When the update finishes, verify the new firmware version through your printer settings or the Epson Software Updater. It’s a good idea to print a test page to make sure everything’s working fine.
Get Your Printer and Computer Ready for the Firmware Update

Before you plunge into updating your Epson printer’s firmware, make sure you’ve checked the exact model and current firmware version on your device. You can verify this via the printer’s control panel or Epson Printer Utility to confirm the update applies.
For a smooth Epson Firmware Update, guarantee your printer is powered on and connected to the same stable network as your computer—or directly via USB—with uninterrupted internet access. Also, plug the printer into a wall outlet to avoid power loss during the process.
On your computer, you’ll need to download and install Epson Software Updater, then sign in or grant permissions so it can detect your printer and available Printer Firmware. Finally, close other programs and disable sleep modes before starting the update.
Download and Open Epson Software Updater

To get started, download the Epson Software Updater from Epson’s official support site tailored for your printer model. The software supports Windows XP through 11 and macOS 10.5 through 27.x.
Begin by downloading Epson Software Updater from the official site, compatible with Windows XP to 11 and macOS 10.5 to 27.x.
After downloading, open the Epson Software Updater. On Windows, find it under Start → Epson Software Updater or All Programs. If it’s missing, just run the installer you downloaded.
On macOS, locate it in Applications → Epson Software. If it’s not there, install it using the downloaded file. Once opened, select your exact printer model from the list if prompted.
Then, check the box next to “Firmware Updater” or “Epson Firmware Update” and click Install. Accept the license agreement and any system prompts to proceed.
This sets you up to begin updating your printer’s firmware smoothly. Easy, right?
Find and Choose Firmware Updates for Your Printer

Once you’ve installed the Epson Software Updater and selected your printer model, the next step is to find and choose the right firmware update for your device. First, confirm your exact Epson printer model and current firmware version using the printer control panel, Epson Printer Utility, or Epson Smart Panel app.
Make sure your printer is powered on and connected to the Internet or your computer via USB. In the updater, look for the “Epson Firmware Update” or “Firmware Updater” in the available updates list.
You can also check for updates directly on the printer by browsing to Settings → Maintenance → Firmware Update if supported. Finally, verify the firmware update’s version or release notes to confirm it matches your printer before proceeding.
Install the Firmware and Follow the Steps
Start the firmware installation by launching the Epson Firmware Updater and agreeing to the Software License Agreement. If you’re on OS X, open the Software Updater from Applications > Epson Software. Check the box for “Firmware Updater” or “Epson Firmware Update,” then click Install.
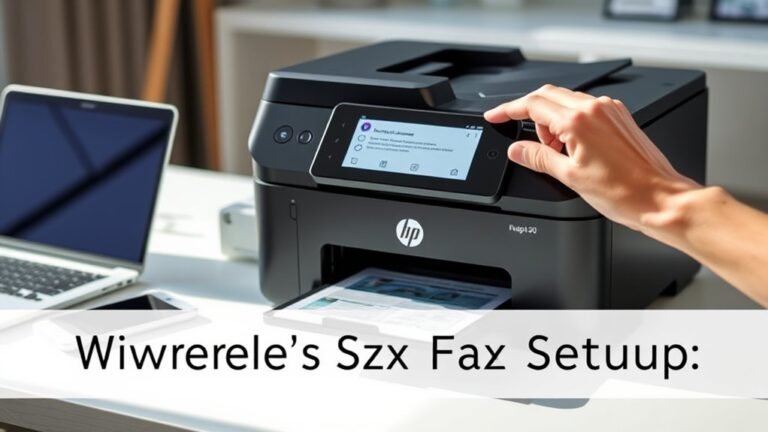
Once the updater starts, click Start (or Next → Start) to begin the Epson Firmware Update. Keep your printer powered on and connected via USB, Wi-Fi, or Ethernet throughout the process. Don’t unplug or turn off the printer—even if its screen goes blue or blank.
When prompted, enter your macOS user name and password or grant permissions to allow the Software Updater to make changes. Just wait patiently for the update to finish and the printer to restart automatically before moving on.
Check Your Firmware Version and Wrap Up
Although the update process usually finishes with an automatic restart, you’ll want to check your printer’s firmware version manually to confirm the installation succeeded. On your Epson Printer, navigate the control panel to Settings → Maintenance → Version Information to see the current firmware version.
Alternatively, use the Epson Software Updater on your computer to verify the update status. After confirming, make certain your device operates normally.
- Check firmware version via control panel or Epson Software Updater
- Compare with the latest Epson release to confirm the update
- Print a test page or run a scan to verify functionality
- If issues arise, reconnect and rerun the firmware update or contact Epson support
Following these steps wraps up your Epson Printer firmware update smoothly and securely.
Frequently Asked Questions
How Do I Update Epson Printer Firmware?
You download and run Epson Software Updater, select your printer, and start the firmware update. Keep your printer powered and connected, follow prompts, and don’t interrupt the process.
Once it’s done, finish up by verifying the update. Then, test your printer afterward to make sure everything’s working smoothly.
How to Manually Update the Firmware?
You can manually update your Epson firmware by downloading the Epson Software Updater. Just select Firmware Updater and follow the on-screen prompts.
It’s pretty straightforward! Remember, about 70% of printer issues get fixed after firmware updates. So, this step is really important for smooth printing.
Do I Need to Update the Firmware on My Epson Printer?
You only need to update your Epson printer’s firmware if you face issues like print errors or network drops.
Or if Epson releases a version that improves performance, security, or compatibility with your system or apps.
It’s not something you have to do regularly unless there’s a specific reason. Just keep an eye out for updates that actually benefit your printer.
Why Isn’t My Epson Firmware Updating?
Your Epson firmware isn’t updating because your printer might be off, disconnected, or losing power. You could have a weak internet connection, wrong model selected, or lack admin rights.
Keep it connected and retry patiently. Sometimes, just giving it a little time and making sure everything’s set up right does the trick!
Conclusion
Updating your Epson printer’s firmware is as easy as following a clear recipe. Once you’ve prepared your devices and downloaded the Epson Software Updater, you’re halfway there.
Next, select the right firmware and install it. Your printer will then run smoother and more efficiently. It’s just like tuning an instrument before a concert—everything works in harmony.
Keep your firmware current to avoid glitches and improve performance. Regular Epson printer firmware updates help maintain optimal functionality and extend your printer’s lifespan. So, take a few minutes to update your Epson printer firmware today, and you’ll enjoy better printing quality and reliability for years to come.