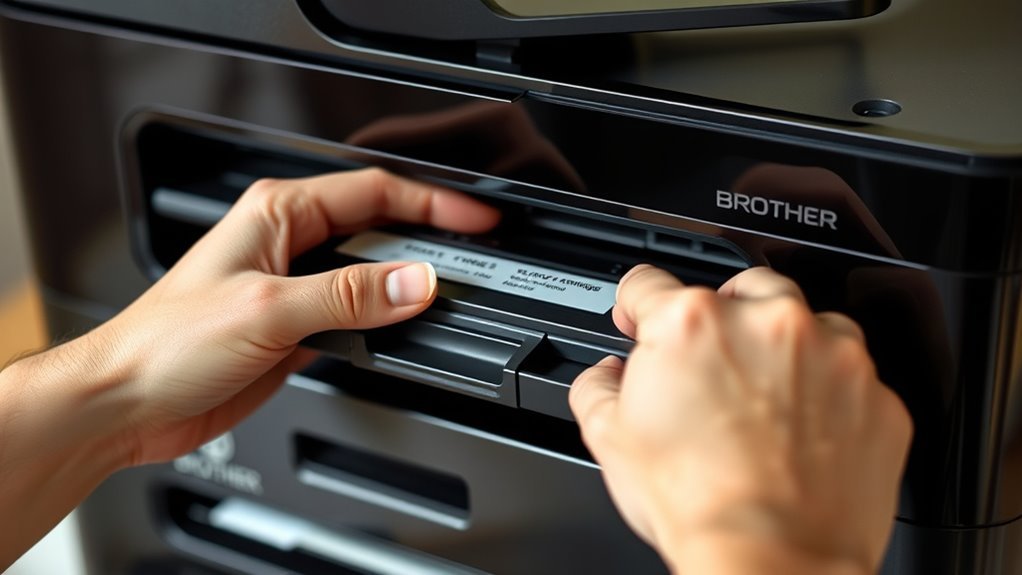
How to Reset Brother Printer Toner in 7 Easy Steps
To reset your Brother printer toner in 7 easy steps, start by powering on the printer and opening the front cover.
Carefully remove the toner cartridge, then gently rock it to redistribute the toner inside. Once done, firmly reseat the cartridge back in place.
Next, access the reset menu by holding specific buttons on your printer. You’ll need to select the correct toner code for your cartridge and then confirm the reset to clear the toner counter.
After that, reinstall the drum unit and close the front cover securely.
Finally, print a test page to make sure everything is working smoothly. Follow these steps closely, and you’ll quickly solve any toner-related issues with your Brother printer.
It’s a simple process that saves you time and keeps your prints looking sharp!
Key Takeaways
- Open the printer’s front cover to access the toner compartment and trigger the reset menu.
- Hold Back (or Clear) and Cancel buttons together, release, then press Back to display reset codes.
- Scroll with ▲/▼ buttons to find the correct toner reset code matching your cartridge model.
- Select the toner code and press Yes/OK. Wait for the “Accepted” message to confirm the reset.
- Close the cover, power-cycle the printer if needed, and print a test page to verify the reset.
Why You See Cartridge Error and Replace Toner Messages
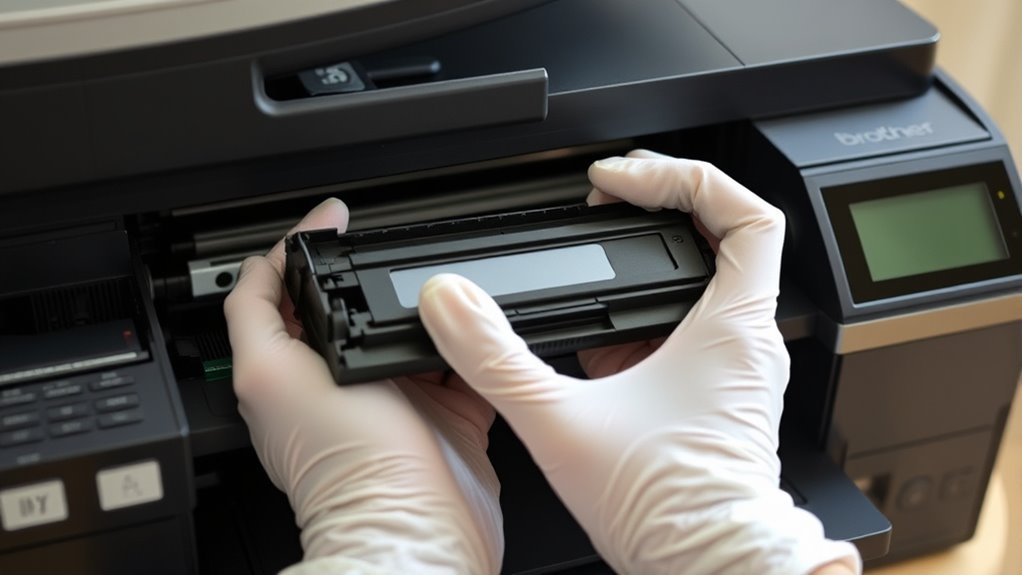
Although it’s frustrating, you’ll often see “Cartridge Error” or “Replace Toner” messages when your Brother printer’s internal counter detects the toner cartridge has reached its page-yield limit or the chip signals it’s empty. These alerts usually appear with TN-series cartridges like TN243 or TN247.
You might also get a cartridge error if the drum or toner assembly isn’t seated correctly. Removing and reseating them often clears the issue.
Dust or toner buildup on sensors inside the front cover can cause false replace toner prompts, so cleaning these sensors helps. If you use refilled or third-party cartridges, your printer might still show replace toner messages because the chip codes don’t match.
Sometimes, electrical glitches or stuck buttons can trigger cartridge error messages. These usually require model-specific resets to fix.
Power On Your Brother Printer and Open the Front Cover
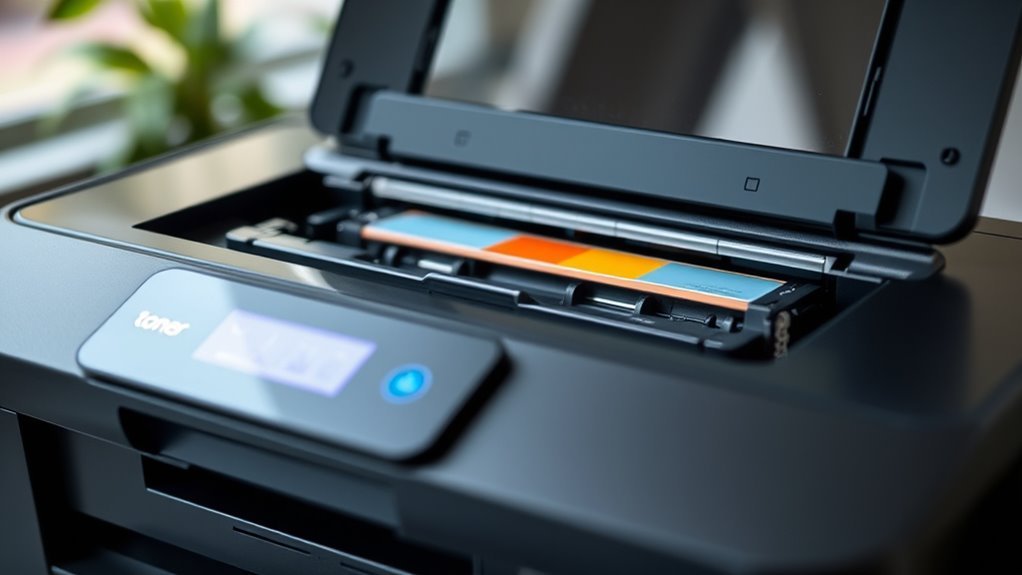
First, make sure your Brother printer is powered on and fully ready, with no “Please Wait” message showing. Then, open the front cover where the toner and drum cartridges are located.
The display should confirm the cover is open. Keeping the cover open is essential for the reset process to work properly.
Verify Printer Power
Before you begin resetting your Brother printer’s toner, make sure the printer is plugged into a working outlet and powered on so the display is active. This guarantees the device is ready to register your actions as you proceed.
Next, open the front cover fully; the control panel should indicate “Cover is open” or a similar message. If the display remains blank, double-check the power cord connection, then power the printer off and back on after a brief wait.
For specific models, you may need to follow model-specific button sequences while the cover is open.
- Confirm the printer is plugged into a live power outlet
- Guarantee the power switch is turned on
- Open the front cover completely
- Watch for the “Cover is open” message on the display
- Restart the printer if the display stays blank
Access Toner Compartment
With your Brother printer powered on and the front cover fully open, you’re ready to access the toner compartment. First, gently open the front cover until it latches or the display shows “Front cover is open.” This guarantees the printer updates its status and prepares for toner reset procedures.
Inside, you’ll find the toner cartridge or, on some models, a combined drum and toner assembly. Carefully remove the toner cartridge or drum unit according to your model’s instructions to avoid light damage.
Keep the front cover open throughout the reset process, as many Brother printers require this to display reset prompts or accept button sequences. Once you finish resetting and reinstall the toner cartridge, close the front cover to let the printer complete its warm-up and return to normal operation.
Remove and Reseat the Toner Cartridge Carefully
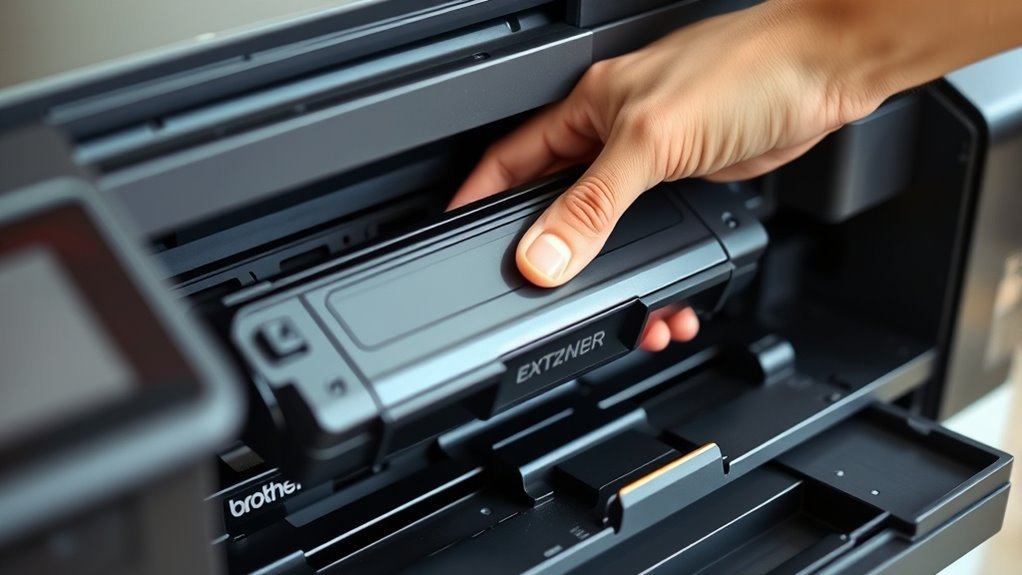
Before you remove the toner cartridge, make sure the printer is powered off and the front cover is open. Handle the cartridge gently to avoid touching the drum or spilling toner.
Also, check for any protective tape that needs removing. It’s a simple step but important to get right.
When reseating, align the cartridge properly and push until it clicks. This helps guarantee a secure fit and smooth printing.
Toner Cartridge Handling Tips
Turn off your Brother printer and open the front cover. Then, carefully lift out the drum-and-toner assembly by its handle to prevent any toner powder spills.
When handling Brother toner cartridges, follow these essential tips to avoid damage and keep your print quality sharp.
Hold toner cartridges horizontally over a protected surface when removing them from the drum unit. Also, try not to touch the roller or expose it to direct light for more than a minute—this helps prevent image defects.
Store toner cartridges upright at room temperature, away from sunlight. And if toner powder gets on your skin, wash your hands right away.
Finally, be sure to recycle empty toner cartridges according to the manufacturer’s guidelines.
Following these steps will help you manage your Brother toner cartridges safely and efficiently.
Proper Toner Reinstallation
Start by powering off your Brother printer and opening the front cover to access the drum and toner cartridge assembly. Carefully lift out the drum and toner unit by the handle, avoiding contact with the drum surface.
Hold the toner cartridge by its ends and gently rock it side-to-side 5 to 10 times to redistribute the toner evenly. Align the toner cartridge with the drum unit rails and slide it in until you hear a click. This confirms the cartridge part number matches your printer model.
Reinsert the combined unit fully, close the cover, and power the printer back on. If errors persist, reseat the toner, check for protective tape, and verify you’re using the correct Brother toner cartridge.
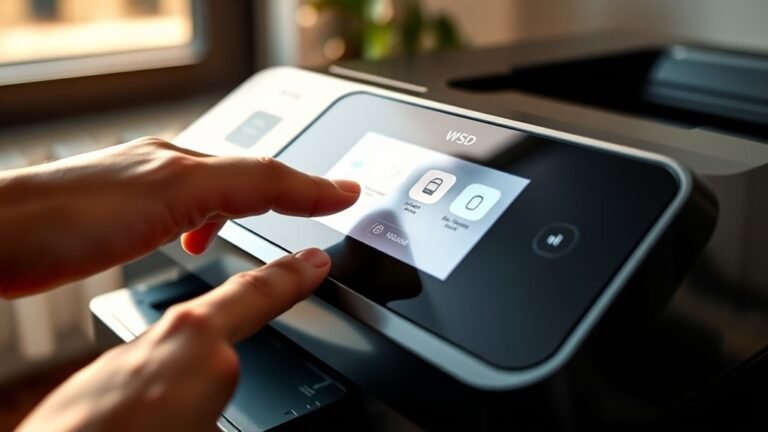
Navigate to the Reset Menu on Your Printer’s Control Panel
Open your printer’s front cover to trigger the “Cover is open” message on the control panel. This message lets you access the reset menu.
With the cover open, you’re all set to reset the toner. Follow these simple steps to navigate the reset menu:
Hold the Back (or Clear) and Cancel buttons at the same time for a few seconds. Then, release them and immediately press the Back button to display the reset codes.
Use the ▲/▼ buttons to scroll through the reset codes until you find the one that matches your cartridge model. When you see it, confirm your selection by pressing Yes or OK.
Just wait for the “Accepted” message to appear before you move on. Easy, right?
Select the Correct Toner Cartridge Reset Code and Confirm
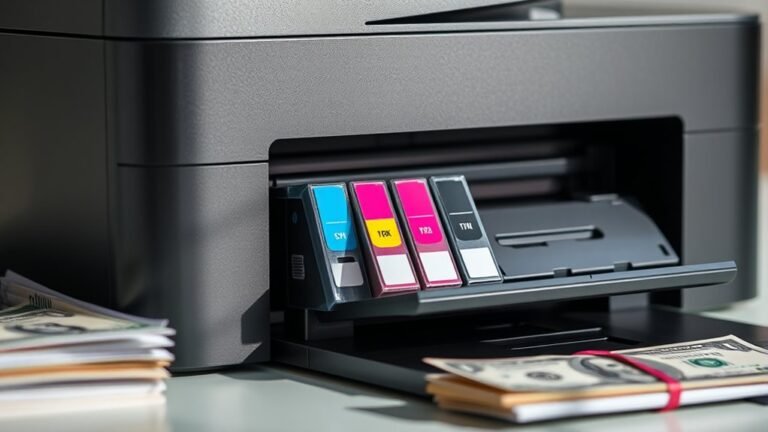
Once you’re in the reset menu, carefully select the toner cartridge reset code that exactly matches your installed cartridge’s part number and capacity to guarantee the printer accepts the change. Use the ▲/▼ buttons to navigate through the list until you find the code that corresponds to your cartridge color and size—like K.TNR-HC for TN247BK or C.TNR-STD for TN243C.
It’s essential to select the correct toner cartridge reset code and confirm to make certain the printer recognizes the reset and displays “Accepted.” If you have multiple toners to reset, just repeat this process for each one individually.
If the correct code doesn’t show up, try power-cycling your printer and enter the reset menu again. Or, you can check your model’s cartridge-code table for some guidance.
Reinstall the Drum and Close the Printer Cover
After you finish the toner reset sequence, carefully slide the drum unit and toner cartridge back into their correct slots. Make sure the toner clicks securely into place and the green drum-lock lever, if your model has one, is returned to the locked position.
Next, close the front cover firmly. The printer won’t recognize the reset or start warming up unless you close the front properly.
To reset a Brother TN successfully, follow these tips:
- Make sure the drum and toner are seated without gaps.
- Confirm no protective tabs remain attached.
- Lock the drum lever if available.
- Close the front cover until it latches securely.
- Wait for the printer display to show “Ready” before proceeding.
If errors persist, just reseat the components and repeat the reset steps. It usually does the trick!
Print a Test Page to Confirm the Toner Reset Worked
You should always print a test page right after resetting your Brother printer’s toner to confirm the process worked correctly. First, navigate to Menu > Print Reports > Printer Settings to print a status page.
Make sure the toner levels appear normal with no “Replace Toner” or cover-open warnings. Next, print a black or color test page via Menu > Print Test Page and check for streaks or toner-low messages.
Verify toner levels show no warnings, then print a test page to check for streaks or low toner alerts.
Compare the toner codes on the report with your cartridge model, ensuring the reset was accepted. If any errors persist, power-cycle the printer, repeat the reset, and close the cover properly before printing another test page.
Finally, print a multi-page or 10–20% coverage document to confirm sustained print quality and toner reset success. It’s a good way to be sure everything’s working smoothly!
Frequently Asked Questions
How Do I Reset the Settings on My Brother Printer?
You reset your Brother printer’s settings by accessing the menu, selecting “Initial Setup,” then “Reset,” and choosing the type of reset you want.
Just confirm your choice, and the printer will restore the default settings quickly and easily.
It’s pretty straightforward and doesn’t take long at all!
How to Reset Toner on Brother TN 730?
You open the front cover, press Clear until “Replace Drum?” shows, then enter *00 on the keypad.
Wait for “Accepted,” then close the cover.
If needed, power cycle or repeat quickly for the reset to work.
My Brother Printer Says the Ink Is Empty, but It’s Not. What Could Be Causing This?
Your Brother printer shows empty ink because it tracks toner electronically. You might need to reset the toner chip, clean sensors, or reseat the cartridge.
Sometimes, using incompatible cartridges can cause those false empty messages. So, it’s a good idea to double-check what you’re using.
How Do I Reset the Toner on My Brother DCP-L2640DW Printer?
You reset your Brother DCP-L2640DW toner by opening the front cover. Then, press Clear, followed by Start/OK until the display prompts a reset.
Next, enter the appropriate code and confirm it. After that, reinstall the drum, close the cover, and wait for the printer to be ready. Easy, right?
Conclusion
Resetting your Brother printer toner is like tuning a finely crafted instrument—you adjust the strings just right to bring back harmony. By following these simple steps, you clear the error messages and restore your printer’s rhythm, ensuring smooth, uninterrupted printing.
Just as a musician trusts their skill to revive a silent melody, you can confidently reset your toner and get back to creating without missing a beat. Your printer’s perfect performance awaits!
With these easy steps, resetting your Brother printer toner becomes a breeze. It not only clears error messages but also helps maintain the quality and efficiency of your prints. So next time your printer toner needs a reset, just follow this guide and enjoy seamless printing again!