How Do You Map a Printer in 7 Easy Steps
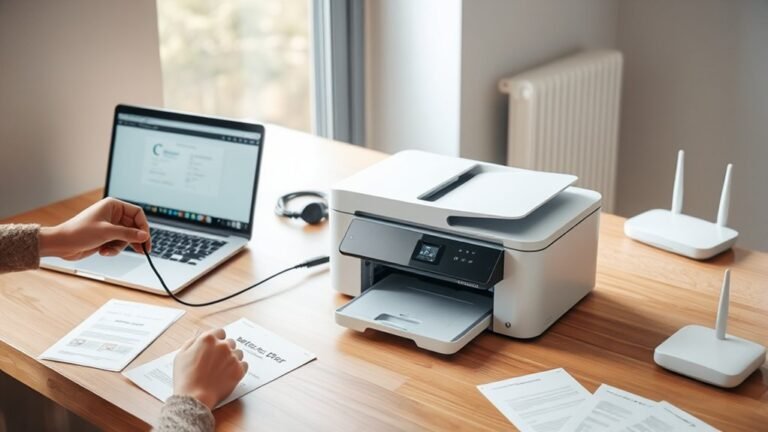
To map a printer in seven easy steps, start by turning it on and connecting it via USB, Wi-Fi, or Ethernet. This initial setup is crucial for your computer to recognize the device.
Next, open your computer’s Printers & Scanners settings. Then, select “Add a printer” or “Add device” to begin the process of linking your printer to your system.
Choose your printer from the list that appears, or if it’s not there, enter its IP address manually. This helps when your printer isn’t automatically detected.
After that, install the correct drivers for your printer. Setting your preferences comes next, so your prints come out just the way you want.
Finally, print a test page to confirm everything is working properly. Following these basics will get your printer ready, and there’s more to explore for fine-tuning your setup.
Key Takeaways
- Connect and power on the printer, making sure the USB, Wi-Fi, Ethernet, or Bluetooth setup is done properly.
- Then, open your computer settings and head over to “Printers & Scanners” to manage your device connections.
- Next, select “Add a printer” or “Add device” and follow the prompts to find or manually add your printer.
- You can pick the printer from the network list or enter its IP address if you want to set it up manually using TCP/IP.
- Finally, download and install the correct printer drivers. Adjust your preferences, and don’t forget to print a test page to make sure everything’s working right.
Turn On and Connect Your Printer
Before you install any drivers, make sure you turn on your printer and connect it to your computer using USB, Wi-Fi, Ethernet, or Bluetooth. First, plug the printer’s power cord securely into both the printer and a nearby electrical outlet, then press the Power button.
For Wi-Fi, navigate the printer’s control panel to Settings → Wi-Fi Setup and follow the prompts to join your network. It’s pretty straightforward, just follow the on-screen instructions.
If you choose Ethernet, connect an Ethernet cable from the printer to your router or switch; the printer will configure the network automatically. No extra steps needed there.
For Bluetooth, enable Bluetooth on your computer, then pair it through the printer’s control panel by selecting Bluetooth and following the instructions. Once you’re connected, you’re good to go.
Once connected, you’re ready to install the latest printer drivers for best performance. That way, everything runs smoothly!
Open Printers & Scanners Settings on Your Computer
Navigate to your computer’s Settings and select Bluetooth & devices, then choose Printers & scanners to start managing your printers. You can quickly access this by pressing Windows + I and typing “Printers & scanners” in the search bar.
Once you’re on the Printers & scanners page, you’ll see a list of all installed printers. Here, you can select any printer to view its properties or manage its settings.
On the Printers & scanners page, select any printer to check its properties or adjust settings easily.
Make sure your printer is powered on and connected to the same network or plugged in via USB before proceeding. If your printer doesn’t appear automatically, you can add it manually by selecting the appropriate connection type.
This settings area is your hub for managing all printer-related options on your computer. It’s pretty straightforward once you get the hang of it!
Choose “Add a Printer” or “Add Device” to Start Adding Your Printer
Once you’re in the device settings, look for the printer options under Printers & Scanners.
Click on “Add a printer” or “Add device” to begin searching for available printers.
This will start the process of connecting your printer to your computer or network.
It’s pretty straightforward, so just follow the prompts and you’ll be set in no time.
Access Device Settings
| Step | Action |
|---|---|
| 1 | Open Settings |
| 2 | Go to Bluetooth & devices or Printers & scanners |
| 3 | Click Add a printer/device |
| 4 | Select your printer |
| 5 | Follow prompts to install drivers |
Locate Printer Options
After accessing your device settings and initiating the process to add a printer, the next step is to locate printer options. On a Windows PC, navigate to Settings → Bluetooth & devices → Printers & scanners, then choose either “Add device” or “Add printer” to start.
If you don’t see your printer immediately, click “Add manually” or “The printer that I want isn’t listed” to explore other connection types.
For macOS, open System Settings → Printers & Scanners, then click “Add Printer” to find available devices. Remember, for Wi‑Fi printers, make sure your printer and computer share the same network before refreshing the search.
For USB printers, connect the cable first, then return to locate printer options so Windows detects and installs the device properly.
Initiate Printer Addition
To begin adding your printer, open Settings and navigate to Printers & scanners (or Devices & printers). Then select Add a printer or Add a device.
If your printer doesn’t appear, click “The printer that I want isn’t listed.” This lets you choose it by connection type—USB, Wi-Fi, or Bluetooth.
For Wi-Fi printers, make sure it’s connected to the same network before it shows up in the list. With USB printers, connect the cable first, then select the printer when it appears.
Follow the prompts to install the latest printer drivers automatically. Once that’s done, confirm the setup by printing a test page.
This process ensures your printer is mapped correctly and ready to use with the updated drivers. It helps minimize connection issues and keeps performance running smoothly.
Pick Your Printer From the List or Type Its IP Address
If your printer is on the same network, you’ll usually see it listed automatically when adding a printer. If it doesn’t show up, you can type in its IP address exactly as it appears on the printer’s network settings.
Just pick your printer from the list or enter the IP, then click Add to complete the setup. It’s pretty straightforward!
Selecting Printer From List
When selecting your printer from the list, remember to check the printer’s network status and name. Make sure your computer is connected to the same network.
Also, verify the printer model matches to avoid driver conflicts.
This method simplifies mapping your printer without manual IP entry. It makes the whole process quicker and easier.
Entering Printer IP Address
You’ll often find that adding a printer by its IP address gives you more control over the connection. Start by opening your add-printer screen and selecting “Add by IP address” or “TCP/IP.”
To get the printer’s IP, check its control panel network menu or print a network report. If the printer shows up in the device list, pick it to avoid typing mistakes.
If it doesn’t, enter the IP address exactly in the required fields, like 192.168.1.50, and confirm the connection type is TCP/IP. After entering printer IP address details, click “Next” or “OK.”
Finally, install or select the correct driver for your printer model to complete the setup.
Install Printer Drivers and Set Default Preferences
– Download and install the exact drivers for your printer model.
Make sure you get the version that matches your system to avoid any issues.
– Choose the correct connection type during setup.
This step is important so your printer communicates properly with your device.
– Adjust default preferences in printer settings for the best use.
You can customize things like paper size, print quality, and more to suit your needs.
Set Your Printer as Default and Customize Settings
| Emotion | Benefit |
|---|---|
| Relief | No more print errors |
Isn’t it great when things just work? Setting your printer as default means you avoid those annoying print mistakes.
| Confidence | Prints look perfect |
|---|---|
| Efficiency | Saves time with presets |
Why waste time tweaking settings every time? Presets speed things up so you can get on with your day.
| Control | Tailor settings easily |
You’re in charge here. Adjust settings to fit exactly what you need, no hassle.
Print a Test Page to Confirm Setup
A test page acts as a quick check to make sure your printer is properly connected and configured. Once you’ve mapped your printer, it’s essential to print a test page to confirm everything is working correctly.
On Windows, go to Settings → Bluetooth & devices → Printers & scanners, select your printer, and click Print a test page. On macOS, navigate to System Settings → Printers & Scanners, pick your printer, and choose Print Test Page.
When you print a test page, check for correct paper size and print alignment. Also, make sure the colors or black ink come out accurately.
You’ll want to watch out for any paper-feed errors or strange error codes too. If the test page doesn’t print properly, try rechecking your connections or reinstalling the drivers before giving it another shot.
Frequently Asked Questions
How Do I Manually Add a Printer to My Computer?
You manually add a printer by opening Settings and going to Printers & scanners. Then, click Add device.
If you don’t see your printer listed, select “The printer that I want isn’t listed.” From there, choose the option that fits your situation.
Next, enter the required details and install drivers if needed. It’s pretty straightforward once you follow these steps!
Why Isn’t My Local Printer Showing up in Remote Desktop?
Your local printer might not show up because printer redirection isn’t enabled, the remote PC lacks the right drivers, or the printer isn’t properly connected or shared.
Double-check these settings and reconnect the session to fix it. It’s usually a quick fix once you know what’s causing the issue.
How Do I Print With My HP Printer?
Want to print with your HP printer right now? Just connect it, install the driver if needed, and select your printer in the print menu.
Adjust settings like paper size, then hit print. Your document’s ready in moments! Easy, right?
Why Is My Network Not Finding My Printer?
Your network’s not finding your printer because they’re likely on different networks, or your printer’s IP isn’t reachable. Sometimes, drivers may be outdated, or network discovery might be turned off.
Try restarting your devices and double-checking the connections. That usually fixes the issue pretty quickly. If it doesn’t, there might be something else going on.
Conclusion
Now that you’ve mapped your printer in just seven easy steps, you’re ready to print anything from a simple memo to a grand proclamation worthy of a town crier.
By turning it on, connecting it, adding it through settings, installing drivers, and testing a page, you’ve brought your device into the digital age.
With these steps, printing is no longer a mystery but a seamless part of your daily routine. Long live efficient technology! Mapping a printer has never been easier, and now you can enjoy hassle-free printing whenever you need it.
From home offices to busy workplaces, these simple instructions make printer setup quick and straightforward. So go ahead, print with confidence, and embrace the convenience of modern technology at your fingertips!