How Do You Set up a 3D Printer in 5 Easy Steps?
To set up your 3D printer in five easy steps, start by unboxing and verifying all parts to make sure nothing is missing or damaged.
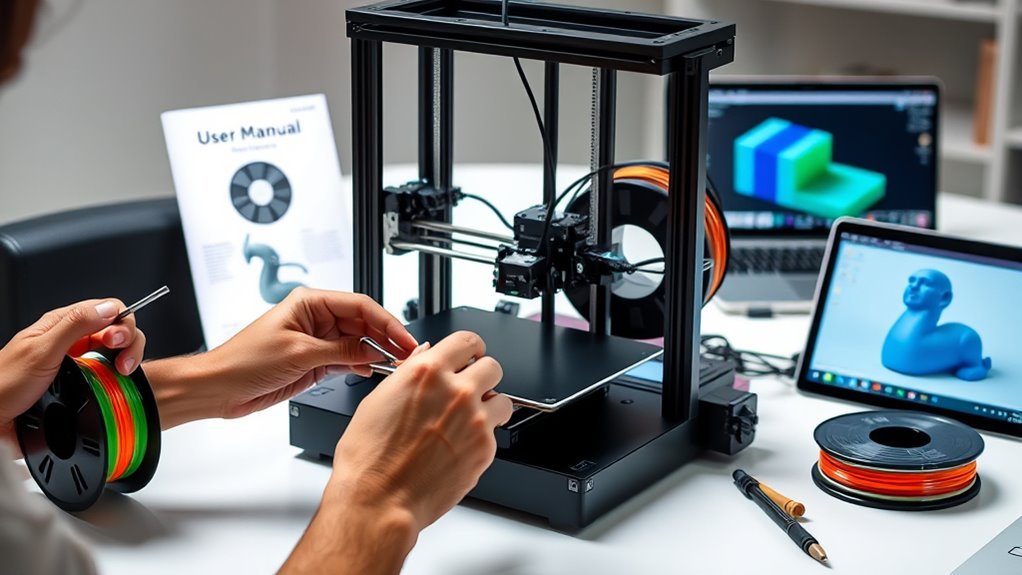
Then, carefully assemble the frame and mechanical components, following the instructions closely for a solid build.
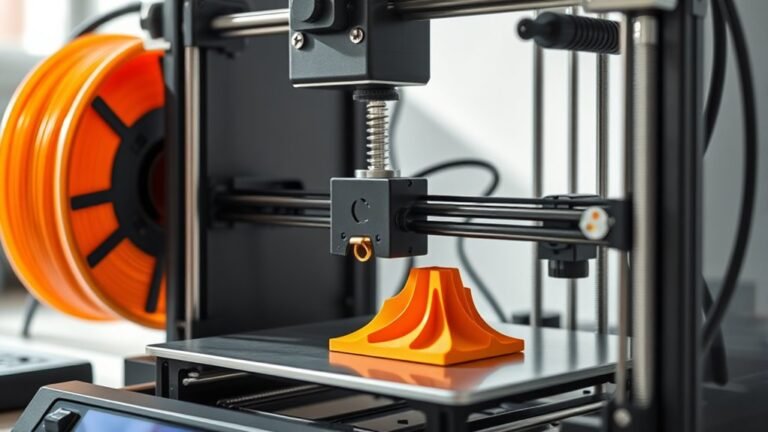
Next, load the filament into the extruder and prime it to ensure a smooth flow during printing. This step is super important because it affects the quality of your prints.
After that, level the build plate to make certain your first layer sticks well. A properly leveled bed can save you from print failures and frustration.
Finally, preheat your printer to the right temperature, transfer your print file, and monitor the process closely for the best results. Keep going to uncover helpful tips for each step.
Key Takeaways
- Unbox all parts and verify against the inventory list before discarding packaging. This way, you make sure nothing’s missing right from the start.
- Assemble the frame and mechanical components. Take your time here to ensure everything moves smoothly and without any wobble.
- Load filament by heating the nozzle and feeding the filament through the extruder. It might take a moment to get it right, but keep at it!
- Level the build plate with the nozzle heated. Use paper or mesh leveling tools to get the most accurate results possible.
- Preheat the printer, transfer the G-code file, and monitor the first layer closely. This is key to making sure your print sticks well and looks great from the get-go.
Unbox and Assemble Your 3D Printer
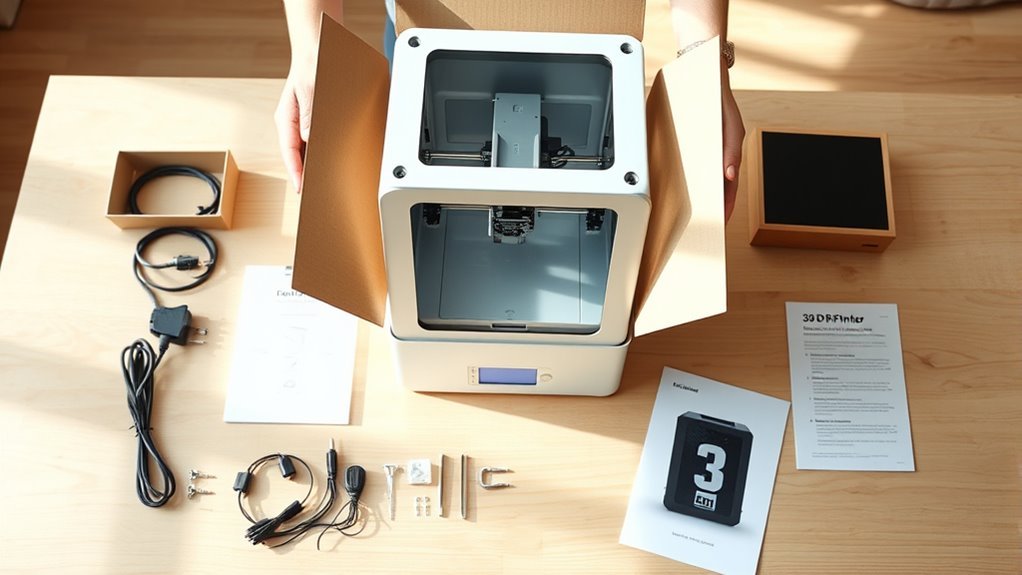
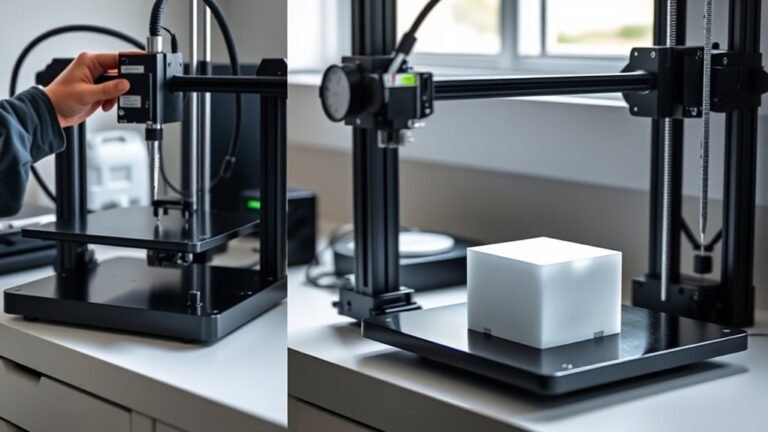
When you unpack your 3D printer, make sure to carefully check every part against the manufacturer’s inventory list before tossing the packing materials. As you unbox, verify the frame, power supply, build plate, extruder, cables, screws, tools, and any spare nozzles or filament.
Always cross-check every 3D printer part with the inventory list before discarding packaging materials.
Next, assemble the frame and mechanical parts step-by-step, tightening bolts just enough to secure while ensuring smooth, wobble-free motion in the X, Y, and Z axes. Take your time here—it really makes a difference.
Install the build plate and any heated bed components, then mount the extruder carefully. Don’t forget to connect the cables to their labeled controller board ports and route wires to avoid pinch points.
Once everything’s assembled, power on the printer and perform initial homing and bed leveling calibration. This will get your printer ready for the next steps.
Load Filament Into Your 3D Printer Extruder
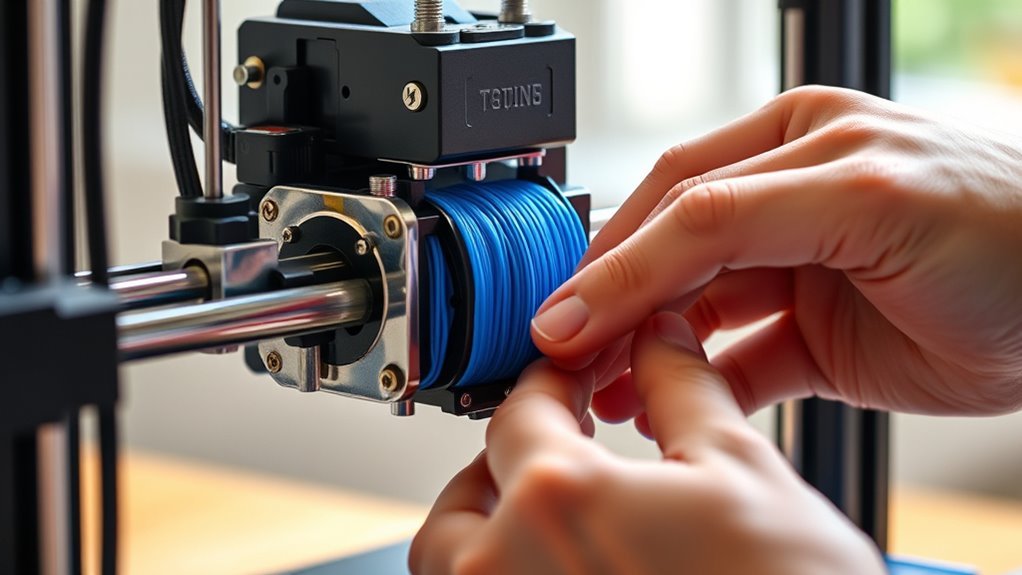
Start by heating your printer’s nozzle to the filament’s recommended temperature—around 200°C for PLA or 230°C for ABS. This helps prevent jams and guarantees smooth extrusion.
Next, cut the filament tip at a 45° angle to help it feed easily. If your printer uses a Bowden setup, press the idler and push the filament into the extruder gear, guiding it through the PTFE tube.
For direct-drive systems, feed the filament straight into the drive gear path. Use the printer’s load filament function or jog the extruder slowly (5–10 mm/s) to advance the filament until you see clean extrusion.
Finally, purge a small line on scrap material to clear old filament and secure smooth flow before starting your print. This step is essential for a reliable extrusion process.
Level the Build Plate to Ensure a Strong First Layer
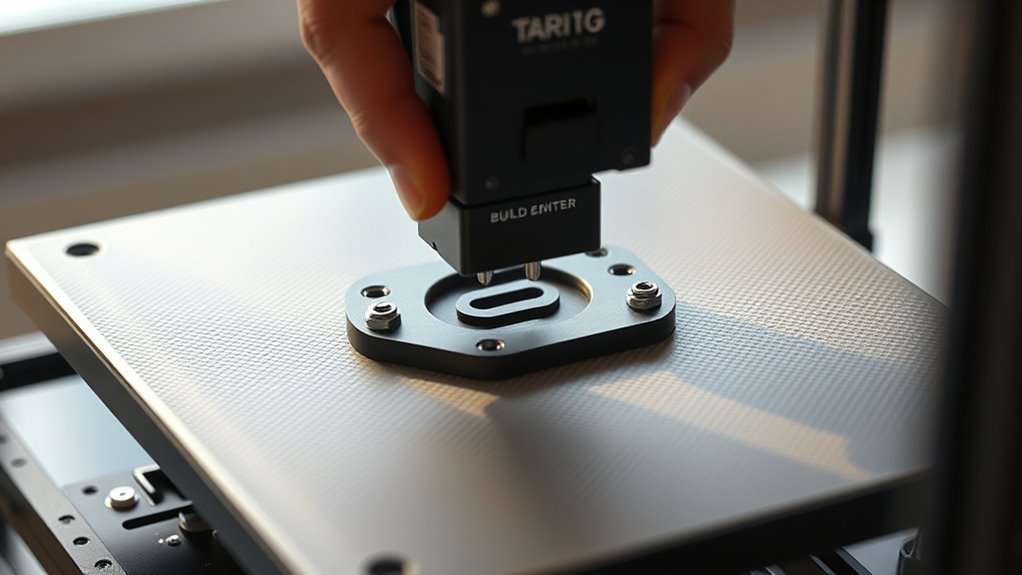
You should always clean the build plate with isopropyl alcohol before leveling to remove oils and debris that can weaken adhesion. Next, heat the printer bed and nozzle to your printing temperatures since materials expand when hot, affecting the gap between nozzle and print bed.
Clean the build plate with isopropyl alcohol and heat the bed and nozzle to printing temperatures before leveling.
For bed leveling, use the paper method: move the nozzle to each corner and center, sliding a piece of paper between the nozzle and build plate. Adjust until you feel slight friction.
If your printer supports mesh leveling, follow its prompts to probe multiple points and save the mesh to compensate for uneven surfaces.
After leveling, print a first layer test to check uniform, slightly squished lines. Fine-tune the bed leveling for a strong first layer and reliable prints.
Preheat Your 3D Printer for Optimal Material Settings
After leveling the build plate to guarantee a strong first layer, the next step is to preheat your 3D printer to match your material’s peak settings. Select the correct preheat profile for your material—like PLA with a nozzle temperature of 200–210°C and bed at 50–60°C, or ABS with nozzle at 230–250°C and bed at 90–110°C.
Allow both the nozzle and bed to reach and stabilize at these temperatures, using the printer’s display to confirm steady readings. With filament loaded, perform a short extrusion of 5–10 mm to purge old material and make certain of smooth flow.
Saving custom preheat presets in your slicer speeds future setups and guarantees consistent first-layer adhesion by maintaining ideal filament temperature throughout printing. It’s a small step that really pays off in print quality!
Import Your Print File and Start Printing With Monitoring
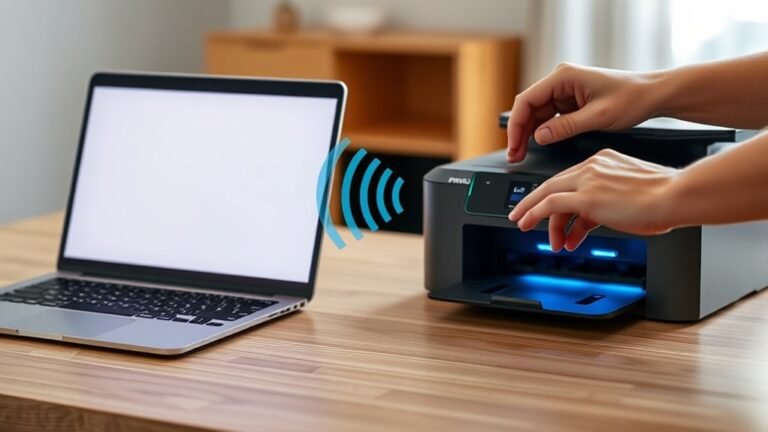
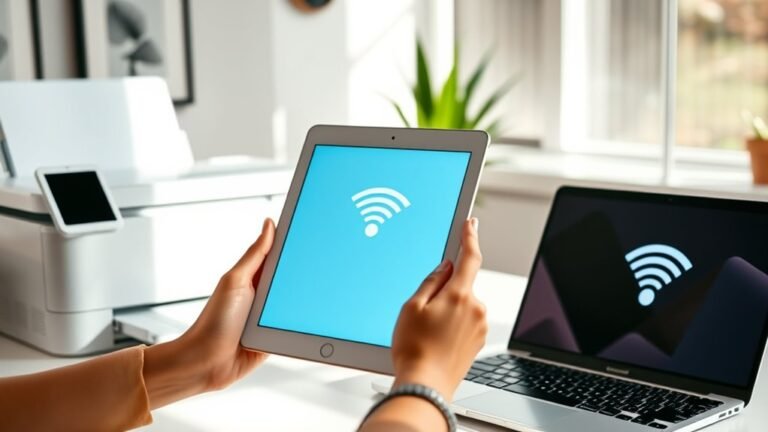
Typically, you’ll transfer your sliced G-code file to the printer via MicroSD, USB, or Wi-Fi and confirm it appears correctly in the file list before ejecting the device.
Transfer your sliced G-code to the printer via MicroSD, USB, or Wi-Fi and verify it appears before ejecting.
Next, follow these steps to start printing with monitoring:
- Preheat nozzle and bed to the recommended temperatures for your filament. Load filament and extrude a small amount to ensure smooth flow.
- Start print and watch the first layer closely for good adhesion; adjust if needed.
- Monitor prints periodically to catch issues like clogs or layer shifts.
Remember to maintain proper ventilation and safety while monitoring your print.
Regularly checking your printer helps avoid filament waste and potential damage, guaranteeing successful prints every time.
Frequently Asked Questions
What Types of Filament Are Compatible With My 3D Printer?
You can use PLA, ABS, PETG, TPU, and sometimes specialty filaments like nylon or wood-filled, depending on your printer’s specifications.
Just make sure to check your printer’s manual to verify compatibility with those filament types before buying. It’s always good to be sure!
How Do I Maintain and Clean My 3D Printer Regularly?
Think of your 3D printer as a garden; you’ll want to regularly clean the nozzle, lubricate moving parts, and remove filament residue.
Don’t forget to check belts and tighten screws to keep everything running smoothly and vibrant.
Keeping up with these small tasks makes a big difference in how well your printer performs over time.
It’s all about staying consistent and catching issues before they become problems.
What Software Is Best for Designing 3D Models?
You’ll find Tinkercad great for beginners, while Fusion 360 offers advanced features. Blender’s perfect for creative designs, and Cura helps with slicing.
Choose software that matches your skill level and design needs. That way, you’ll get the best results without feeling overwhelmed.
How Can I Troubleshoot Common 3D Printing Errors?
Like fixing a Model T, start by checking your printer’s bed leveling and nozzle cleanliness. You’ll want to adjust temperature settings, verify your filament quality, and make certain your slicer software’s configurations match your design perfectly.
It might seem like a lot, but taking it step by step makes troubleshooting way easier. Just think of it as tuning up your 3D printer to get the best results.
What Safety Precautions Should I Follow While Printing?
You should wear gloves when handling hot parts, keep the area ventilated to avoid fumes, and never leave the printer unattended. Also, avoid touching moving parts to stay safe.
Make sure your workspace is clean and free from flammable materials. It’s just a good habit to keep things neat and reduce any risks.
Conclusion
Setting up your 3D printer might seem tricky, but once you unbox and assemble it, load the filament, level the bed, preheat, and start printing, you’ll realize it’s easier than you thought—kind of like assembling IKEA furniture but with cooler results.
Coincidentally, just as you’re getting comfortable, your printer might surprise you with its first perfect print. Stick with these steps, and you’ll be creating amazing 3D projects before you know it!
By following these five easy steps, you’ll have your 3D printer up and running in no time. From unboxing to the first print, the process is straightforward and rewarding. Setting up your 3D printer properly ensures better print quality and fewer headaches down the road. So, whether you’re a beginner or just need a refresher, these simple steps will guide you through the setup smoothly. Get ready to bring your creative ideas to life with your new 3D printer!