How to Connect Pixma Printer to Phone in 7 Easy Steps
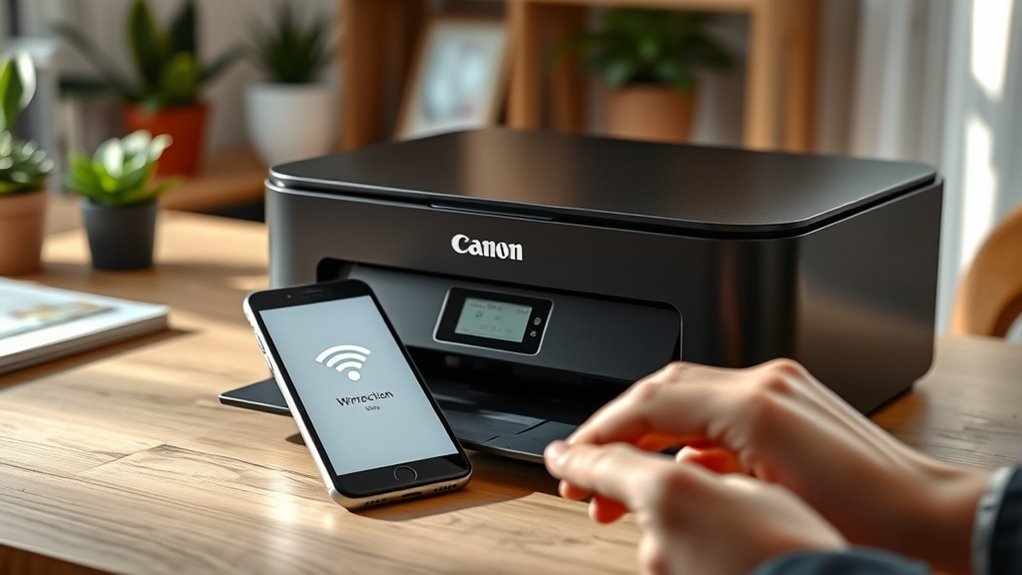
To connect your Pixma printer to your phone in seven easy steps, start by powering on both devices and making sure your printer shows a ready or Wi-Fi symbol. This is important because it means your printer is ready to connect.
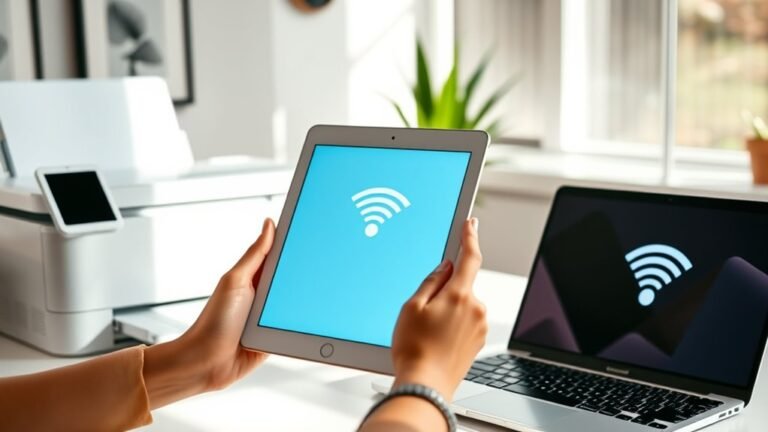
Next, connect both your phone and printer to the same Wi-Fi network. This allows them to communicate smoothly.
After that, download and install the Canon PRINT app on your phone. It’s a handy app designed to help you print directly from your device.
Once installed, open the app and add your Pixma printer to the list. You can then print a test page to make sure everything is working correctly.
Finally, adjust settings like paper size and print quality to your liking. Don’t forget to save the printer in the app for quick and easy access next time. Keep reading for some helpful tips and extra details to make the process even smoother!
Key Takeaways
- Power on the PIXMA printer and wait for the display to show “Ready” or the Wi‑Fi symbol before you move on.
- Make sure both your phone and PIXMA printer are connected to the same Wi‑Fi network. It can be either the 2.4 GHz or 5 GHz band.
- Next, download and install the Canon PRINT app from the App Store or Google Play onto your phone.
- Once the app is open, tap on Add Printer. Follow the prompts to detect and register your PIXMA printer easily.
- Finally, print a test page through the app to confirm everything is connected properly. You can also tweak the print settings if you want.
Power On Your Pixma Printer and Mobile Device
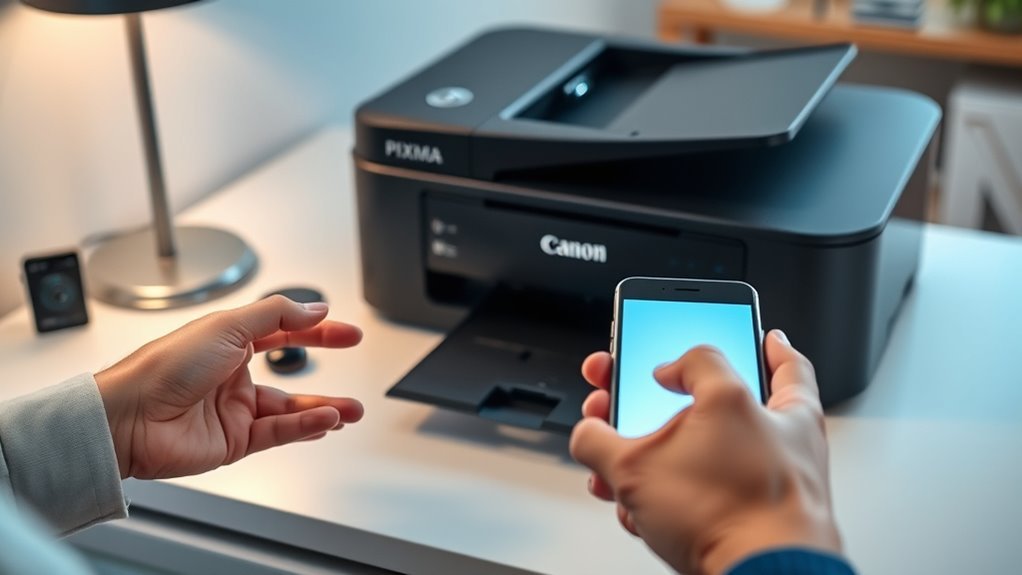
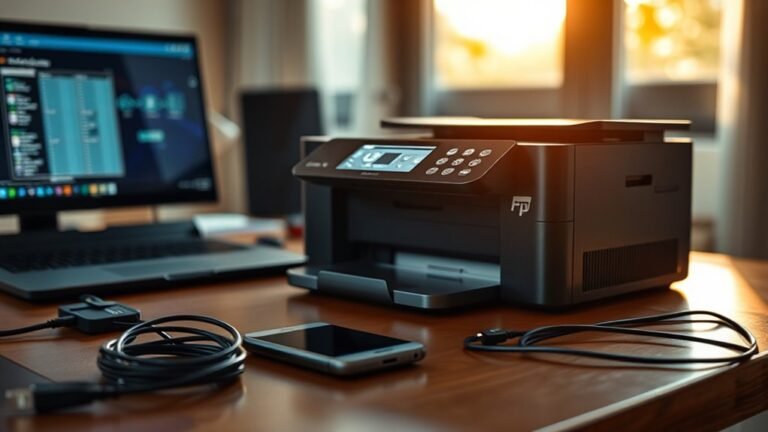
Start by plugging in your PIXMA printer and pressing its power button until the display or LED lights up, usually showing a steady green or blue. This means your printer is powered on and ready for the next steps.
Next, turn on your mobile device, whether it’s a smartphone or tablet. Make sure it has enough battery or is connected to a charger to avoid interruptions.
Wait for your PIXMA printer’s screen to finish initializing and display “Ready” or the Wi-Fi symbol before moving forward. Being patient here guarantees your printer is fully prepared to connect.
Once both devices are powered on and ready, you’ll be all set to proceed with connecting them seamlessly.
Connect Your Phone and Pixma Printer to the Same Wi-Fi Network
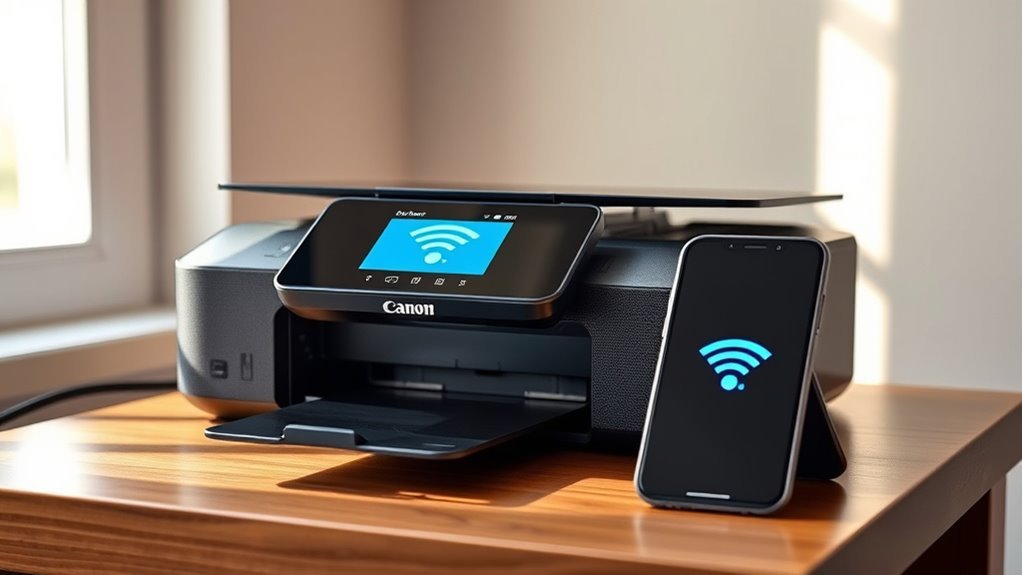
With both your PIXMA printer and phone powered on and ready, the next step is to connect them to the same Wi-Fi network. Check your phone’s Wi-Fi settings to make sure it’s linked to your wireless network (802.11 b/g/n/ac/ad). Then, do the same on your printer via its touchscreen or network menu.
If your printer isn’t connected yet, use the WPS button on your router and printer within two minutes to join the network easily. Make sure both devices share the same 2.4 GHz or 5 GHz band supported by your printer model. This connection is really important for printing without interruptions or delays.
Once connected, your phone and printer will communicate smoothly. This lets you print directly without needing cables or complicated setups.
Download and Install the Canon PRINT App
Download the free Canon PRINT app from the App Store or Google Play to enable seamless printing and scanning capabilities with your PIXMA printer. To get started, make sure your phone runs iOS 16.0+ or Android 7.0+ and is connected to the same wireless network as your printer.
Once you download the free Canon PRINT app (formerly Canon PRINT Inkjet/SELPHY), install and open it. Follow the on-screen prompts to access features like mobile printing, scanning, and cloud or social media printing where available.
The app also lets you check printer status and consumable levels, so be ready to grant permissions or sign in if asked. Keep in mind, some PIXMA models or regions might not support every app feature.
Add Your Pixma Printer in the Canon PRINT App
To add your PIXMA printer in the Canon PRINT app, open the app and tap the + or Add Printer option to let it search for your device automatically.
If your printer isn’t found, switch it to Wi-Fi setup mode and enter the SSID or WPS PIN manually in the app.
Once the app detects your printer, confirm the connection. The app will then register the printer and check its consumable levels and available functions.
| Step | Action | Notes |
|---|---|---|
| 1 | Open Canon PRINT app | Tap + or Add Printer |
| 2 | Automatic search | Select your PIXMA model |
| 3 | Manual setup if needed | Use SSID or WPS PIN |
This process lets you add your PIXMA printer in the Canon PRINT app quickly and easily.
Print a Test Photo or Page From Your Pixma Printer
After adding your PIXMA printer to the Canon PRINT app, you can quickly verify its setup by printing a test photo or page. Open the app on your phone, making sure it’s connected to the same Wi-Fi as your printer. Then, select your PIXMA device.
Next, navigate to “Print Photos” or “Print Test Page” under Settings or Maintenance. The app will guide you to either a saved photo or the built-in test page option. Before you hit print, double-check your print settings like paper size and media type so everything matches your needs.
Once you’re ready, tap Print and wait for the job to finish. If the print quality looks off, don’t worry! Use the app’s Maintenance tools to run a nozzle check or print head alignment. This will help you quickly spot and fix any issues.
Adjust Print Settings Like Paper Size and Quality
You can easily adjust your print settings through the Canon PRINT app by selecting the correct paper size to match your loaded paper and choosing the print quality that fits your needs.
Don’t forget to pick the right paper type for accurate color and ink drying, especially when printing photos. These settings help guarantee your printouts look exactly how you want every time.
Selecting Paper Size
Adjusting your Pixma printer’s paper size settings guarantees your prints come out exactly as expected. When managing print from your phone using the Canon PRINT app, tap your printer, select “Print” or “Photo Print,” then open “Settings” to choose the correct paper size, like 4×6, A4, or Letter.
On iPhone or iPad with AirPrint, tap “Options” in the print dialog to pick the paper size and orientation. Always match the app’s paper size choice with the physical paper tray or cassette loaded in your printer to avoid feed errors or incorrect scaling.
For photo prints, select the precise paper type and size to prevent cropping. Keeping these settings accurate makes managing print smooth and makes certain your documents or photos look just right every time.
Choosing Print Quality
Matching your print quality settings with the selected paper size guarantees your Pixma printer delivers the best results. Adjusting print quality affects both ink use and output sharpness.
Here’s how to choose the right settings:
- For photos, pick “High” or “Best Photo” quality and select the correct photo paper type (Glossy, Semi-gloss, Matte). This assures vibrant colors and fine details but uses more ink and increases print time.
- When printing documents, choose “Standard” or “Draft” mode to save ink and toner. “Draft” offers faster prints but lower quality.
- Use borderless printing for edge-to-edge photos if your printer supports it. Just make sure to match the paper size for perfect margins.
Always check ink levels in the Canon PRINT app before high-quality jobs to avoid interruptions. It’s a simple step that can save you a lot of hassle!
Adjusting Color Settings
Fine-tune your Pixma printer’s output by setting the correct paper size and print quality through the Canon PRINT app. Tap the printer icon and select “Print Settings.” Then, choose the paper size that matches your loaded paper—like 4×6, A4, or Letter—to prevent scaling problems.
Next, pick the right media type and quality, such as Glossy Photo Paper with High quality for sharp prints. To adjust color settings, open your photo in the app’s editor before printing. Use Color/Enhance options or manual sliders to tweak saturation and balance.
You can also enable or disable “Auto Photo Fix” for automatic brightness and contrast adjustments. If needed, access Printer Properties for advanced color modes and profiles. And hey, if you want print settings sent via email, just include the address for easy reference.
Save Your Pixma Printer for Easy Future Access
To save your PIXMA printer for easy future access, start by adding it to the Canon PRINT app once you’ve connected it to Wi‑Fi and confirmed it prints. This guarantees the best possible convenience when printing later.
Follow these steps:
- Select your PIXMA as the default or “favorite” printer in the Canon PRINT app or your phone’s print settings to speed up future print jobs.
- Keep your phone and PIXMA on the same wireless network and enable “Auto Connect” or Bonjour/MDNS discovery for automatic printer detection.
- Register your printer with your Canon account in the app to save settings and simplify re-setup across devices.
Doing this makes printing way easier next time you need to get something done. Plus, it saves you from having to set everything up all over again. Just a few quick steps, and you’re all set!
Frequently Asked Questions
How Do I Get My Canon Pixma Printer to Connect to My Phone?
You connect your Canon Pixma to your phone by installing the Canon PRINT app. Make sure both your phone and printer are connected to the same Wi-Fi network.
Then, open the app and add your printer through the setup wizard. Just follow the prompts, and you’ll have everything connected in no time. It’s pretty straightforward!
Why Won’t My Phone Recognize My Canon Printer?
Your phone won’t recognize your Canon printer because they’re likely on different networks. It could also be that mobile data or a VPN is active, which can interfere with the connection.
Another common issue is that the Wi-Fi on the printer might be off. Plus, sometimes router settings block device discovery without you realizing it.
Why Is My Canon Pixma Printer Not Connecting?
Your Canon PIXMA isn’t connecting because your phone and printer might be on different networks. The Canon PRINT app might also lack the necessary permissions to work properly.
Sometimes, the printer could be set to the wrong wireless mode. Or there might be an error, like a paper jam, that’s blocking the connection.
How Do I Connect My Phone Directly to My Printer?
Imagine Sarah printing recipes instantly. To connect your phone directly, enable your PIXMA’s Wi-Fi Direct mode.
Next, find its SSID in your phone’s Wi-Fi settings and join it. Then, use the Canon PRINT app to print effortlessly.
It’s super easy once you get the hang of it! Just a few taps and you’re good to go.
Conclusion
Now that you’ve connected your Pixma printer to your phone, printing is as easy as pie. With just a few taps in the Canon PRINT app, you can breeze through your printing tasks anytime, anywhere.
Remember to keep your devices on the same Wi-Fi network and save your printer settings. This simple step makes future prints quick and hassle-free.
So go ahead and enjoy the convenience of wireless printing right at your fingertips! Connecting your Pixma printer to your phone lets you print documents and photos without the fuss of cables. It’s all about making your life easier with seamless mobile printing.