How to Print From iPhone to Printer in 7 Easy Steps
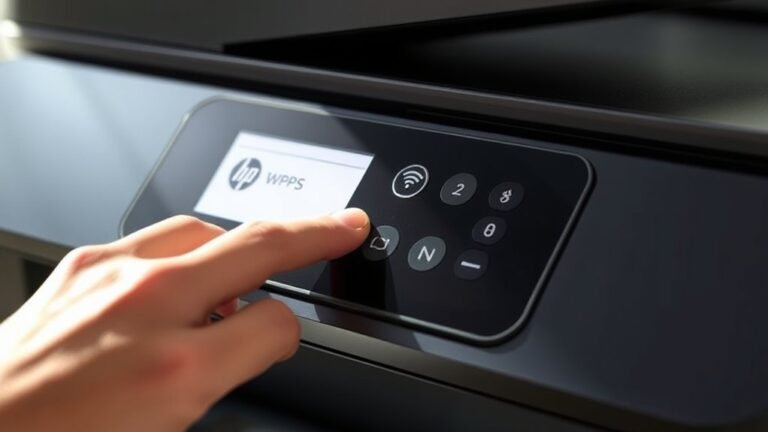
To print from your iPhone, first choose a wireless AirPrint printer or connect via USB with the right cable. Make sure your iPhone and printer share the exact same Wi-Fi network. This connection is crucial for a smooth printing experience without any hiccups.
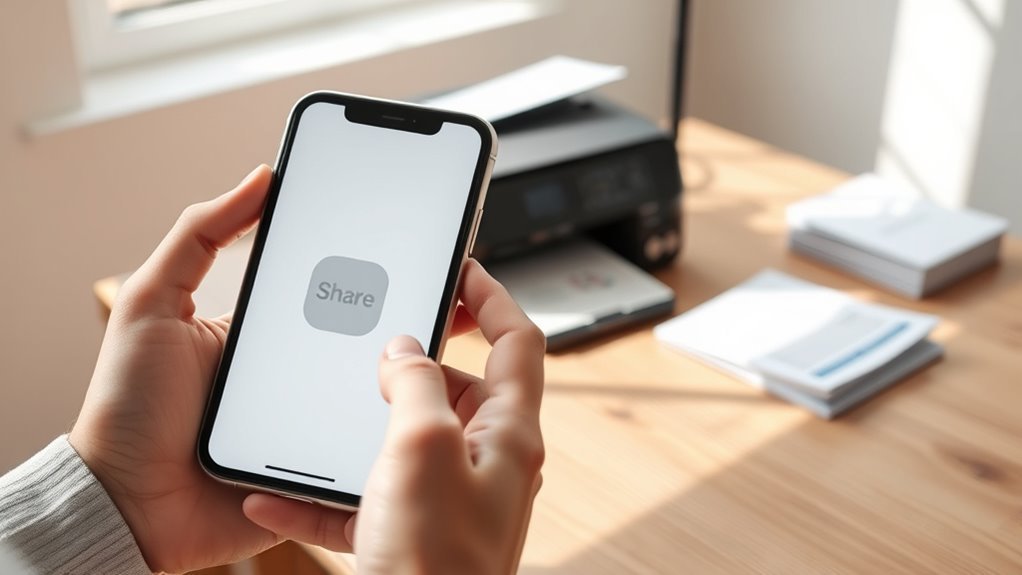
Open your photo or document, tap the Share icon, then select Print. Pick your printer, adjust settings like copies or pages, and tap Print. It’s super easy once you get the hang of it!
You can check or cancel jobs through the Print Center if needed. Keep going to uncover helpful tips for smooth printing and troubleshooting. Ready to get started? Let’s make printing from your iPhone hassle-free!
Key Takeaways
- Connect your iPhone and printer to the same Wi-Fi network to enable printer discovery via AirPrint. This makes it super easy to find your printer right from your iPhone.
- Open the document or photo you want to print, tap the Share icon, then select Print from the Share menu. It’s pretty straightforward once you know where to look.
- Choose your AirPrint-supported printer. If your printer doesn’t support AirPrint, no worries — you can use the manufacturer’s app for wireless printing instead.
- Adjust your print settings like the number of copies, page range, and color options. When everything looks good, just tap the Print button to start printing.
- If you want to print via USB, connect your iPhone using a Lightning-to-USB or USB-C adapter. Then, tap OK on the prompt that appears on your iPhone and select your printer. Easy as that!
Choose Your Printing Method: Wireless or USB
Whether you have a wireless or USB printer, choosing the right printing method for your iPhone is essential. To print wirelessly, if your printer supports AirPrint, you can easily select it from the Print menu after opening your document or photo. Just tap the Share icon, choose Print, then tap Printer to find your AirPrint-enabled device.
If your wireless printer isn’t AirPrint-compatible, don’t worry. Just download the manufacturer’s app like HP Smart or Canon PRINT InkJet, and print directly through the app or the iOS Share menu.
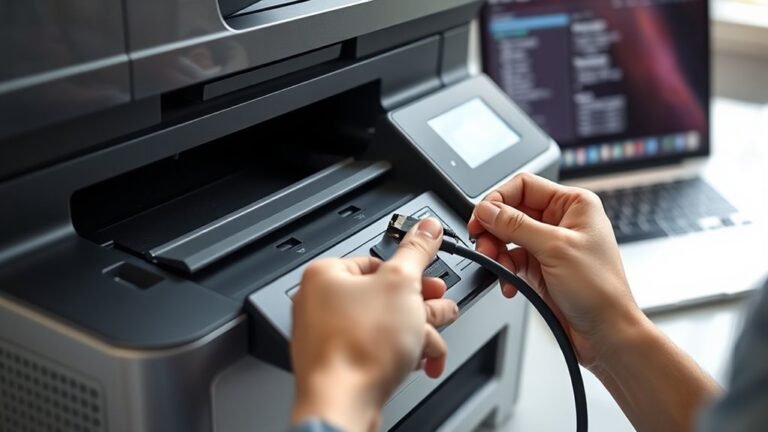
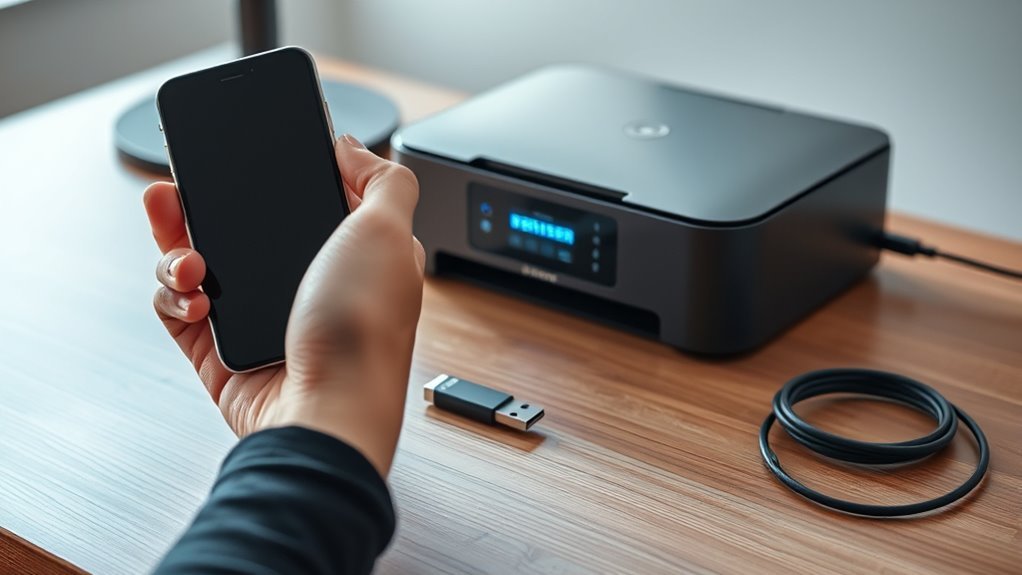
For USB printing, connect your iPhone using the printer’s USB cable along with a Lightning-to-USB or USB-C-to-USB adapter. Once connected, tap OK on your iPhone.
Then, select Print from the Share menu and choose your connected printer. It’s that simple!
Connect Your iPhone to the Same Wi-Fi Network as the Printer
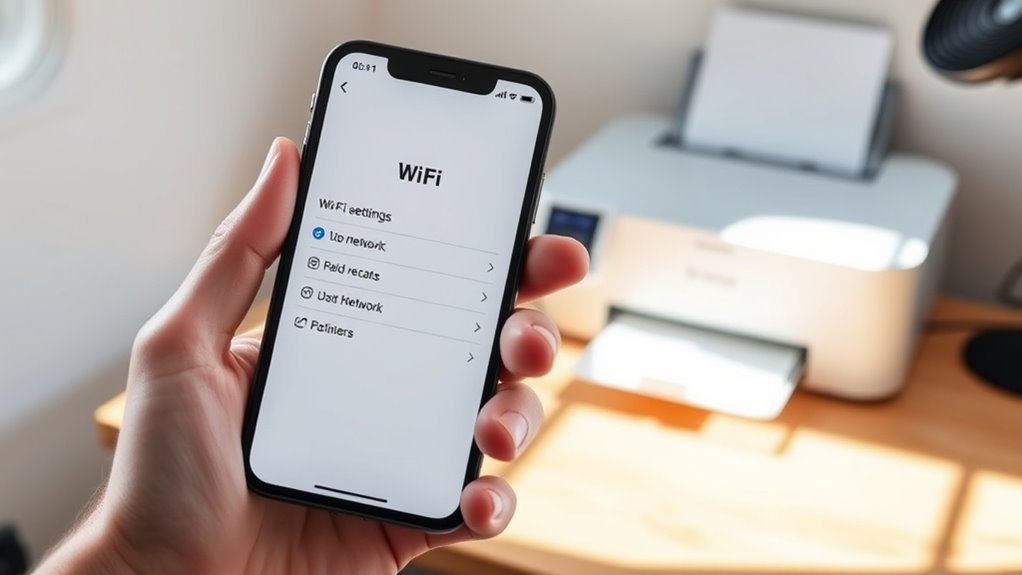
Make sure your iPhone is connected to the exact same Wi-Fi network as your printer to guarantee seamless communication between the two devices. On your iPhone, open Settings and tap Wi‑Fi. Toggle it on, then select the same network name (SSID) your printer uses.
If the network is secured, enter the correct password carefully—it’s case-sensitive. For printers operating on separate 2.4 GHz or 5 GHz bands, confirm your iPhone is on the same band to avoid connection issues.
If your printer uses a static IP or was recently relocated, restart both devices and reconnect to refresh the network settings. On managed or corporate networks, make sure your iPhone is authorized to access the network so it can perform proper printer discovery and connect smoothly.
Open the Document or Photo You Want to Print

To print from your iPhone, first open the app that holds your document or photo, like Photos for images or Files for PDFs. Make sure the file you want is fully loaded and displays correctly before proceeding.
Using the right app guarantees your iPhone handles different file types smoothly for printing. It’s a simple step, but it makes a big difference!
Document Types Supported
You can easily print photos, PDFs, emails, web pages, and documents stored in Files, Mail, Safari, Photos, and many third-party apps directly from your iPhone. Whether it’s a photo from your gallery, a PDF saved in Files, or an email attachment, your iPhone supports a wide range of document types for printing.
Just open the item you want to print—tap it to view full screen or in its app viewer. If you’re handling multi-page PDFs or documents, select specific pages in the Print Options to avoid printing unnecessary ones.
For files in apps without a Share menu, export them to Files or Photos first. Always check orientation and scale in the print preview to make certain your document prints correctly.
Opening Files Easily
Wondering how to open a file or photo for printing on your iPhone? To print from an iPhone, start by locating the document or image in the right app. Whether you’re managing print jobs for a new account or personal use, opening the file correctly guarantees a smooth process.
Here’s how to easily open files or photos:
- Open the app holding your file (Mail, Safari, Photos, or Files).
- Tap the specific document, image, or webpage you want to print.
- For multi-page PDFs, swipe through pages to select the right ones.
- In Safari, tap the Share icon on the desired webpage.
- Assure your file is fully loaded before accessing the Print option.
Following these steps will get your print jobs off to a good start.
Compatible Apps Usage
Opening the file or photo in a compatible app sets the stage for a seamless printing experience. You’ll want to use native apps like Mail, Safari, Photos, or Files, which support printing directly.
Simply open your document or image, tap the Share icon or the app’s menu, then select Print from the Share sheet.
In the real world, many users rely on third-party printer apps like HP Smart or Epson iPrint. Just open your file within those apps or import it before printing.
For PDFs in Files, you can preview and print without switching apps. Make sure your iPhone and printer share the same Wi-Fi or that the printer app has detected the printer.
This guarantees a smooth connection before you hit print.
Tap the Share Icon on Your iPhone to Print
To get your iPhone ready to print, start by tapping the Share icon—a square with an upward-pointing arrow—or the app’s share/menu button if that icon isn’t visible. This action opens the Share sheet, where you’ll find various options to share or interact with your content.
Scroll through the icons until you see Print, then tap it to proceed. If Print isn’t immediately visible, tap the three-dot More button or swipe the action row to reveal additional options.
Here’s what to do next:
- Open the item you want to print (document, photo, webpage)
- Tap the Share icon or menu button
- Scroll through the Share sheet actions
- Tap Print or find it under More actions
- Prepare to select your printer and settings next
This step sets you up perfectly for printing. Easy, right? Just follow these simple taps, and you’ll be ready to go in no time.
Select Your Printer, Adjust Settings, and Confirm the Print Job
After tapping Print in the Share sheet, you’ll see the Printer Options screen where you can pick your printer and customize settings. Tap Printer to select your AirPrint-compatible printer from the list—make sure your iPhone and printer are on the same Wi-Fi network.
Next, adjust settings like the number of copies, page range, color or black and white, and double-sided printing if your printer supports it. If you’re using a non-AirPrint printer, open its manufacturer’s app, select your document and printer there, then configure the print settings within that app.
When everything looks right, tap the blue Print button in the upper-right corner to start printing. You can monitor or cancel your print job anytime via the Print Center in the App Switcher.
Print From Your iPhone Using a USB Cable
Connect your iPhone directly to a non-wireless printer using a Lightning-to-USB or USB-C cable. You might also need a USB OTG adapter, depending on your setup.
Plug your iPhone into a non-wireless printer with a Lightning-to-USB or USB-C cable, plus a USB OTG adapter if needed.
Once connected, tap OK on the iPhone pop-up to allow the connection. Then, open the document, photo, or webpage you want to print. Tap the Share icon, and select Print.
In Printer Options, choose the connected USB printer. You can adjust the number of copies or the page range. When you’re ready, tap Print.
- Use the correct cable and USB OTG adapter if needed.
- Make sure the printer is powered on and supports USB printing from iOS.
- Don’t forget to allow the connection when your iPhone prompts you.
- Pick your printer from Printer Options in the share sheet.
- Adjust your print settings, like the number of copies, before confirming the print job.
How to Check and Cancel Print Jobs on Your iPhone
Once you’ve sent a document or photo to print from your iPhone using a USB cable or any other method, you might want to check the status of the print job or cancel it if needed.
To do this, open the App Switcher by swiping up from the bottom and holding (iPhone X or later) or double-clicking the Home button (iPhone 8 or earlier). Look for the Print Center card, tap the print job, then tap “Cancel Printing” to stop it immediately.
Print jobs only show while actively processing. If you can’t find Print Center, just reopen the app you printed from, tap Share → Print to check the status or cancel.
For AirPrint printers, canceling on your iPhone stops it there, but if printing continues, you might need to cancel right at the printer itself.
Frequently Asked Questions
Why Won’t My iPhone Print to My Wireless Printer?
Your iPhone won’t print if it’s not on the same Wi-Fi as your printer, the printer isn’t AirPrint-compatible, or network settings block communication.
Try restarting your devices first. It often does the trick.
Also, make sure your software is up to date. Outdated software can cause issues.
If you’re using a VPN or firewall, try disabling them temporarily. They might be blocking the connection.
Give these steps a shot, and you should be back to printing in no time!
How to Print From iPhone to a Wired Printer?
Imagine rushing to print a boarding pass; you connect your iPhone to your wired printer using a Lightning-to-USB adapter.
Access your phone, tap OK, then print directly from the Share menu—quick and hassle-free.
How Do I Print off of My iPhone?
You just open what you want to print, tap the Share icon, select Print, and choose your printer.
If it’s not AirPrint-ready, use the manufacturer’s app or connect via USB with the proper adapter to print easily.
It’s pretty straightforward once you get the hang of it!
How to Print 5×7 From iPhone to Printer?
They say, “Measure twice, cut once.” To print 5×7 from your iPhone, start by selecting your image. Then, tap Share and choose Print.
Next, pick a 5×7 paper size or adjust the scale settings to fit your needs. After that, confirm your choices and print using high-quality paper. Easy, right?
Conclusion
Printing from your iPhone is simpler than you might think, even if you’re worried about complicated setups. Whether you choose wireless or USB, just follow the easy steps to connect and print quickly.
Don’t stress about tech issues—once you’re connected to the same Wi-Fi or plugged in, printing is smooth and hassle-free. Plus, you can easily check or cancel jobs if needed.
You’ll be printing like a pro in no time! With these straightforward steps, printing from your iPhone to a printer is quick and convenient. Just make sure your device and printer are on the same network or properly connected via USB. This way, you can enjoy seamless, hassle-free printing anytime you need it. Say goodbye to confusion and hello to easy, efficient printing from your iPhone!