How Do I Connect a Canon Pixma Printer to Wi-Fi in 7 Easy Steps?
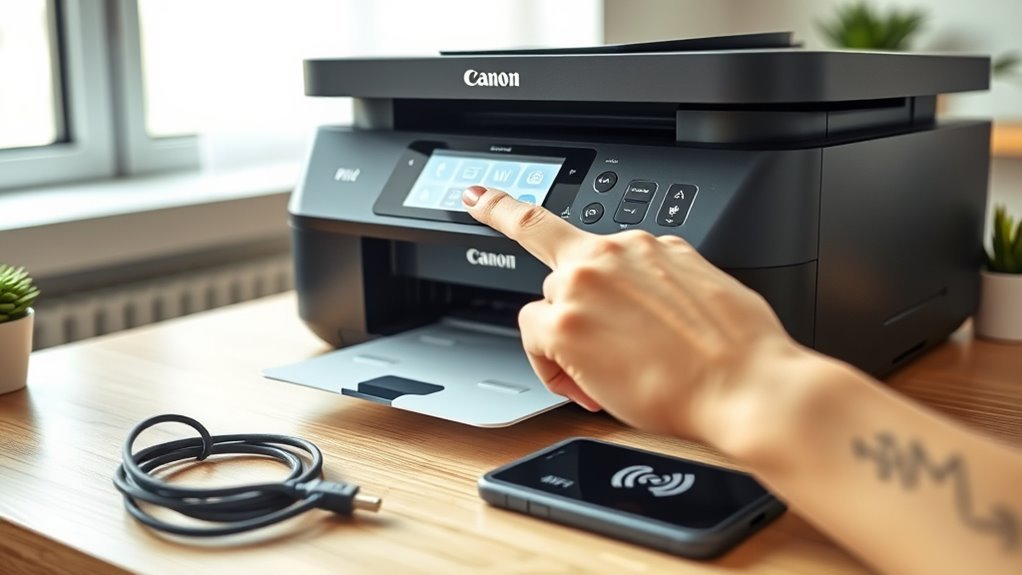
To connect your Canon Pixma printer to Wi-Fi, first power it on and enter wireless setup mode by holding the Wi-Fi button until the power lamp flashes twice. This step gets your printer ready to find your network. Make sure your computer or device is connected to the same Wi-Fi network you want your printer to join.
Next, download and run Canon’s setup software on your device. When prompted, choose the wireless and cableless setup option to make things easier. Then, add your printer to your device following the on-screen instructions.
Finally, print a test page to confirm your connection is successful. This quick check ensures everything is working smoothly. Keep following for a full step-by-step guide to guarantee seamless setup and hassle-free printing!
Key Takeaways
- Turn on the Canon Pixma printer and make sure it’s powered on with a steady power lamp.
- Press and hold the Wi-Fi button until the Power lamp flashes twice. This puts the printer into wireless setup mode.
- Make sure your computer or mobile device is connected to the same Wi-Fi network you want the printer to join.
- Download and run the Canon setup software. Select “Wireless Connection,” then just follow the on-screen instructions to complete the setup.
- Once you’re done, print a test page to check that the printer is properly connected and communicating with the Wi-Fi network.
Power On Your Canon Pixma Printer
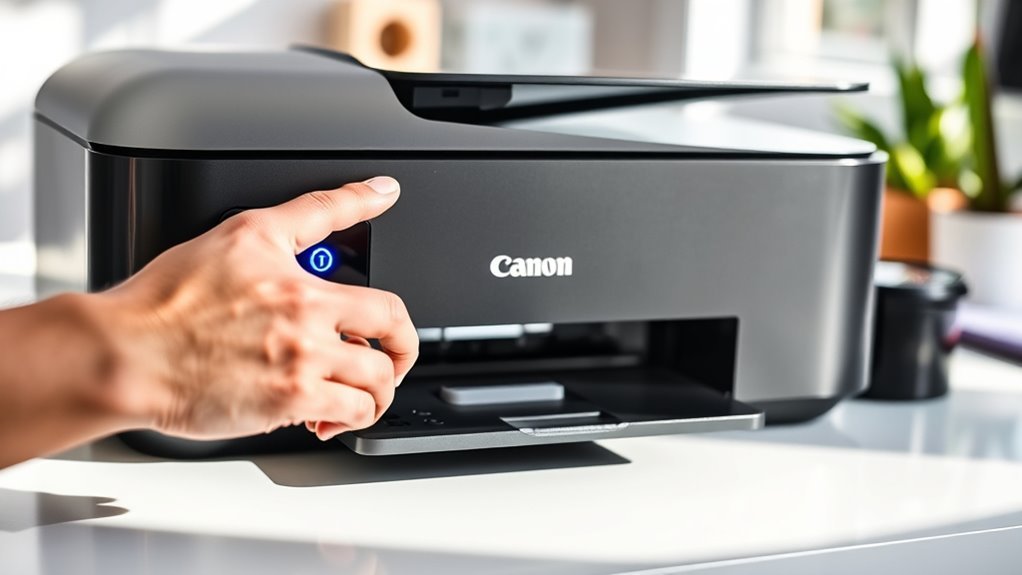
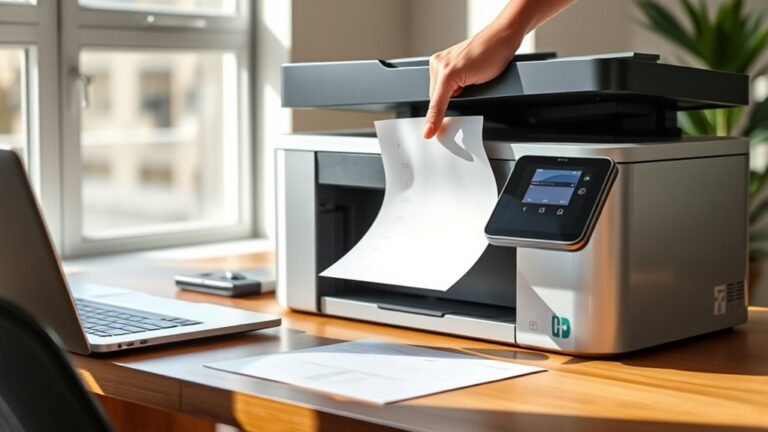
Start by plugging your Canon Pixma printer into a power outlet and pressing the Power button once to light the power lamp steadily. If the printer seems off, press and hold the Power button until the display or power lamp turns on, then release it.
Make sure the Power lamp isn’t blinking rapidly, as that could signal an error or ongoing process that needs resolving before you proceed. Once the power lamp is steady, you’re ready to confirm your printer is functioning properly by printing a test page.
This step guarantees your device is fully operational before moving on to any wireless setup. Getting the power on and stable is essential for a smooth connection process.
Enter Wireless Setup Mode on the Printer
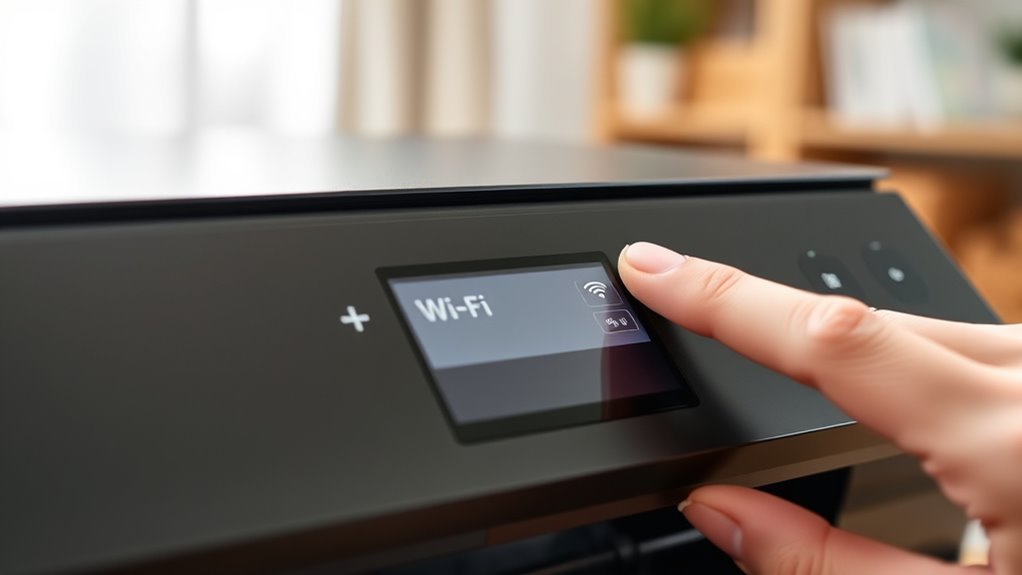
Once your Canon Pixma printer is powered on, press and hold the Wi-Fi button until the Power lamp flashes twice to activate cableless wireless setup mode.
You’ll know the printer is ready when the Wi-Fi lamp starts flashing rapidly.
Make sure your computer or mobile device is already connected to the same Wi-Fi network before proceeding.
This way, everything will connect smoothly without any hiccups.
Power On Printer
Make sure your Canon Pixma printer is plugged in and fully powered on by pressing the Power button, avoiding sleep mode.
Next, press and hold the Wi-Fi button on the printer until the Power lamp flashes twice. This signals that the printer has entered cableless wireless setup mode.
Check that the Wi-Fi lamp is flashing rapidly, confirming the printer is ready to connect to your network. If it doesn’t flash, turn the printer off and on, then try holding the Wi-Fi button again until the setup mode activates.
Keep your computer or mobile device connected to the same Wi-Fi network you want your printer on before moving forward with the setup.
Following these steps guarantees your printer is properly powered and prepared for a smooth wireless connection.
Activate Cableless Setup
To enter wireless setup mode, press and hold the Wi-Fi button on your powered-on Canon Pixma printer until the Power lamp flashes twice. On some models, you’ll need to hold both the Wi-Fi button and the Stop/Reset button together.
Once the Power lamp flashes twice, look for the Wi-Fi lamp; if it flashes rapidly, your printer is in wireless setup mode and ready to connect.
Make sure your printer and computer or mobile device are on the same Wi-Fi network and close enough to each other for a stable connection. If the Wi-Fi lamp doesn’t flash or the printer exits setup, just turn it off and on again, then repeat the button press.
After you see the fast-flashing Wi-Fi light, launch Canon’s setup software or app and select “Cableless Setup” to finish the process. It’s pretty straightforward from there!
Check Your Device Is Connected to the Right Wi-Fi Network
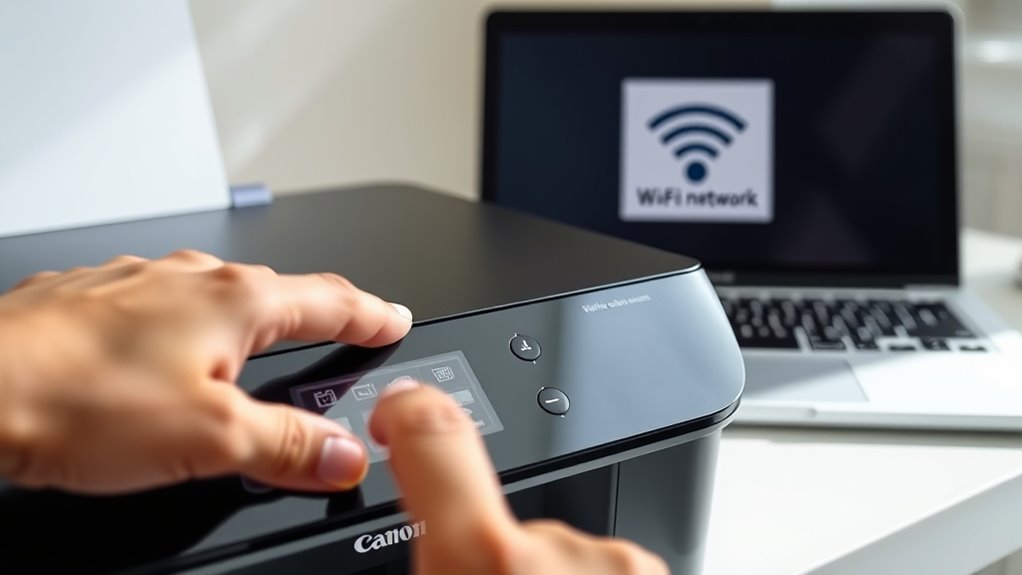
Before connecting your Canon PIXMA, make sure your computer or smartphone is linked to the exact same 2.4 GHz Wi-Fi network the printer will use. Double-check the network name matches your router’s label.
And watch out for guest or VPN networks—they can block communication. Also, make certain the Wi-Fi signal is strong where the printer sits to prevent connection issues.
Verify Network Name
When connecting your Canon PIXMA printer, make sure your computer or smartphone is linked to the exact Wi-Fi network you want the printer to join. This guarantees a smooth setup without connection errors.
Here’s how to verify the network name: Open your device’s Wi-Fi settings and confirm the SSID matches the network intended for the printer, avoiding guest or similar names. Choose the 2.4 GHz network if your router has both 2.4 GHz and 5 GHz bands, unless your printer supports 5 GHz.
Double-check for any hidden characters or capitalization differences if you recently renamed the network. If multiple identical SSIDs appear, verify the router’s BSSID or MAC address to guarantee you’re connected to the correct access point.
Following these tips helps prevent setup issues with your Canon PIXMA printer. It’s a simple step that can save you time and frustration!
Match Printer And Computer
Make sure your computer is connected to the exact same Wi-Fi network as your Canon PIXMA printer to avoid setup hiccups. Check your computer’s network name in the system tray (Windows) or Wi-Fi menu (macOS) and confirm it matches the printer’s intended SSID.
If your router offers both 2.4 GHz and 5 GHz bands, choose the 2.4 GHz network unless your printer supports 5 GHz. Make certain your computer’s Wi-Fi shows an active internet connection—avoid “No Internet” or “Limited” status.
Also, disable VPNs or any network-isolating settings temporarily, and verify your computer is on the same subnet as the router. Finally, connect to your main home or business network, not a guest network, to make setup smooth and straightforward.
Confirm Network Stability
Since your Canon PIXMA printer relies on connecting to the correct Wi-Fi network, you need to make sure your device is linked to the exact same SSID intended for the printer. Mismatched network names, like “HomeNetwork” versus “HomeNetwork_Guest,” will prevent your printer from being discovered.
Also, confirm your device shows a strong Wi-Fi signal and can access the internet. If your network has both 2.4 GHz and 5 GHz bands, make certain your device and printer are on the same band, especially if the printer only supports 2.4 GHz.
Finally, disable VPNs or mobile hotspots during setup to avoid connectivity issues. For best results:
- Verify your device’s SSID matches the printer’s target network
- Check Wi-Fi signal strength and internet access
- Match the Wi-Fi band between device and printer
- Reboot router and device if needed before setup
Download and Run Canon’s Wireless Setup Software
To get your Canon PIXMA printer connected to Wi-Fi, start by heading over to the Canon Support website and entering your printer model, like the iX6820. Download the latest full driver and software package compatible with your operating system.
Begin by visiting Canon Support and downloading the latest driver for your PIXMA printer model.
Once downloaded, run the setup program. When prompted, choose “Wireless Connection” and then “Connect to the Network” to begin the Wi-Fi configuration process.
The installer guides you through putting your printer into setup mode by pressing and holding the Wi-Fi button until the Power lamp flashes twice. Just follow the on-screen instructions to select your home Wi-Fi network and enter its password.
The software will automatically transfer these settings to your printer. After everything’s done, confirm your printer is connected and then continue with any remaining driver installation.
Select Wireless and Cableless Setup in the Software
When you reach the connection method screen in Canon’s setup software, pick “Cableless Setup” to let your printer create a temporary wireless network for your computer to find. This option, sometimes called WPS/Direct setup, allows a smooth wireless connection without cables.
To get started, press and hold the Wi‑Fi button on your printer until the Power/Wi‑Fi lamp flashes rapidly. Then, follow the on-screen instructions to connect your computer to the printer’s temporary network.
Next, select your home Wi-Fi SSID when prompted and enter the password. Just wait for the software to confirm “Setup Complete” or “Connected to the network.”
This process guarantees your printer is ready for wireless use before you add it to your computer. Easy, right?
Add Your Canon Pixma Printer to Your Computer
Start by making sure your computer is connected to the same Wi-Fi network as your Canon PIXMA printer.
Ensure your computer and Canon PIXMA printer are connected to the same Wi-Fi network before setup.
Next, download and install the latest drivers and software for your specific PIXMA model from Canon’s Support website. This will help ensure proper wireless functionality.
If you’re on Windows, open Control Panel, go to Devices and Printers, and click Add a Printer. Then, select your Canon PIXMA from the list of available devices and follow the on-screen prompts to finish the installation.
If your printer doesn’t show up, don’t worry. Just run the Canon setup utility, choose Wireless Connection, and then select Cableless Setup to connect your printer to the network.
Once your printer is connected, go back and repeat the Add a Printer process on your computer. This way, you’ll be sure your Canon PIXMA is properly added and ready to use wirelessly.
Print a Test Page to Confirm Connection
You’ll often want to print a test page right after connecting your Canon PIXMA printer to Wi-Fi to make sure everything’s working correctly.
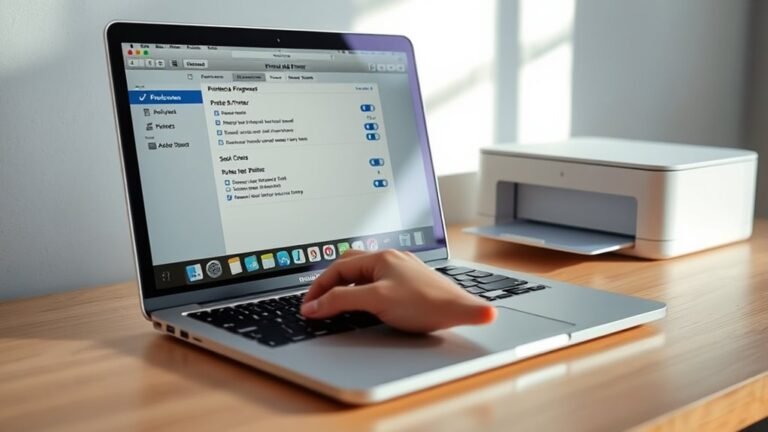
On Windows, open Control Panel, find Devices and Printers, right-click your Canon PIXMA, select Printer Properties, and click “Print Test Page.”
On macOS, go to System Preferences → Printers & Scanners, select your PIXMA, then click “Options & Supplies” and choose “Print Test Page.”
A successful test page should print quickly with clear text and proper alignment. It should also show a steady Wi-Fi lamp on the printer (not flashing).
This confirms your computer and printer are on the same network. If printing fails, it’ll prompt you to reinstall drivers and retry setup.
This way, you can be sure your printer sends jobs wirelessly without USB cables.
Frequently Asked Questions
How Do I Connect My Canon TS7700 Printer to Wi-Fi?
You’ll press and hold your Canon TS7700’s Wi-Fi button until the power lamp flashes. Then, run the setup software on your computer.
Just follow the on-screen steps to connect your printer wirelessly. After that, add it through Windows devices and you’re good to go!
How to Connect a Canon Printer to Wi-Fi Without a Screen?
They say, “Where there’s a will, there’s a way.” You’ll hold the Wi-Fi button till lamps flash.
Then, run Canon’s setup software on your PC, and follow the prompts. This will help you connect your Canon printer to Wi-Fi without a screen.
How to Connect Printer to Computer?
You connect your printer to your computer by using a USB cable or setting up a wireless connection.
First, install the printer driver. Then, add the printer via your computer’s settings.
This way, you can start printing documents effortlessly. It’s pretty straightforward!
How Do I Connect My Canon MX492 Printer to a Wi-Fi Network?
Think of your Canon MX492 as a ship setting sail—hold the Wi-Fi button until the lights flash. Then, run the setup software on your computer.
Next, pick your network and watch the printer smoothly anchor itself to Wi-Fi. That way, you’re all set for wireless printing. Easy, right?
Conclusion
Connecting your Canon Pixma printer to Wi-Fi is easier than you think. Did you know that 85% of home printers now support wireless setup? This makes cluttered cables a thing of the past.
By following these seven simple steps, you’ll enjoy seamless printing from any device in your home. Once you’ve printed a test page, you’re all set to experience the convenience of wireless printing without the hassle.
Setting up your Canon Pixma printer on Wi-Fi means no more being tied down by cords. Whether you’re printing from your laptop, smartphone, or tablet, wireless printing makes everything smoother. So, get ready to cut the cables and enjoy easy, hassle-free printing with your Canon Pixma printer connected to your Wi-Fi network.