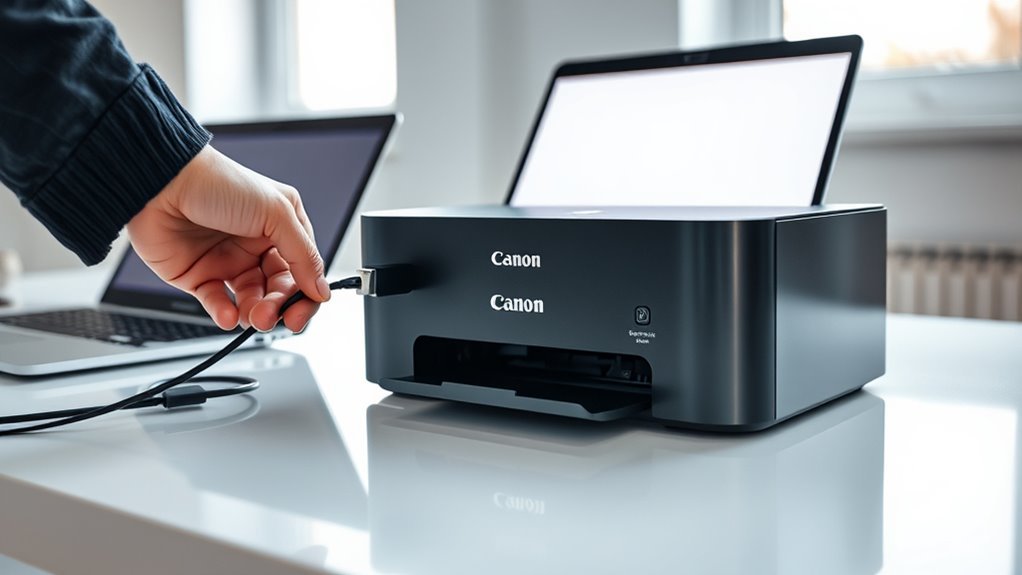
Connect Your Canon Printer to Computer in 3 Easy Steps
To connect your Canon printer to your computer, start by powering it on.
Then, link it either via USB or connect it to your Wi-Fi network. Don’t forget to confirm the printer’s IP address to ensure it’s properly connected.
Next, download and install the exact Canon driver that matches your printer model and Windows version. Make sure to use an admin account for this step to avoid any permission issues.
Finally, add the printer on your computer by selecting the correct port. Once done, print a test page to check that everything is working smoothly. If you want a seamless setup, there’s a bit more you can do to guarantee flawless printing across all your devices.
Key Takeaways
- Connect the printer to your computer using USB, Ethernet cable, or Wi-Fi by following the printer’s connection method.
- Install the exact Canon driver matching your printer model and Windows version from Canon’s official website.
- Use an administrator account to run the driver installation and restart your PC if prompted.
- Add the printer on your computer via the Add Printer wizard, selecting the correct port or shared printer name.
- Print a test page to verify the printer is online, properly configured, and ready for use.
Turn On and Connect Your Canon Printer Via Network or USB
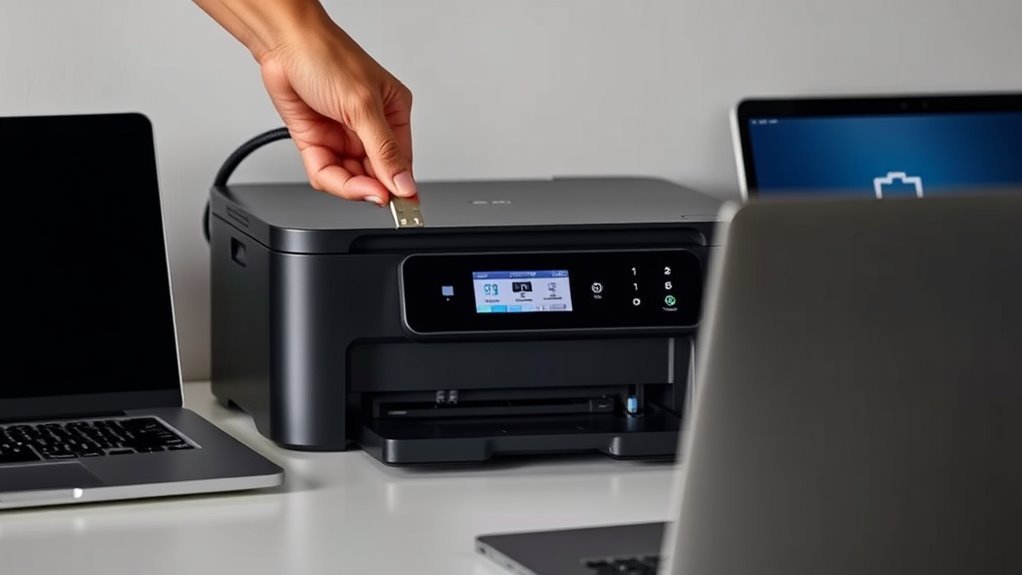
To get your Canon printer up and running, start by connecting it to your network or computer. For a network printer, plug an Ethernet cable into the printer’s LAN port and power it on. Make sure the link/activity LED lights up, indicating the printer has obtained an IP address via DHCP or a static IP assigned in your router.
If your printer supports Wi-Fi, enable wireless setup, connect to your SSID with the correct passphrase, and confirm it got an IP from your router. It’s pretty straightforward once you follow those steps.
For a USB connection, plug the supplied USB A-to-B cable into your printer and computer, then power on the printer. If you want to share the printer across multiple devices, set it up on a Windows print server and share the printer with a clear name for easy access. That way, everyone on your network can find it without any hassle.
Install the Correct Canon Printer Driver on Your PC
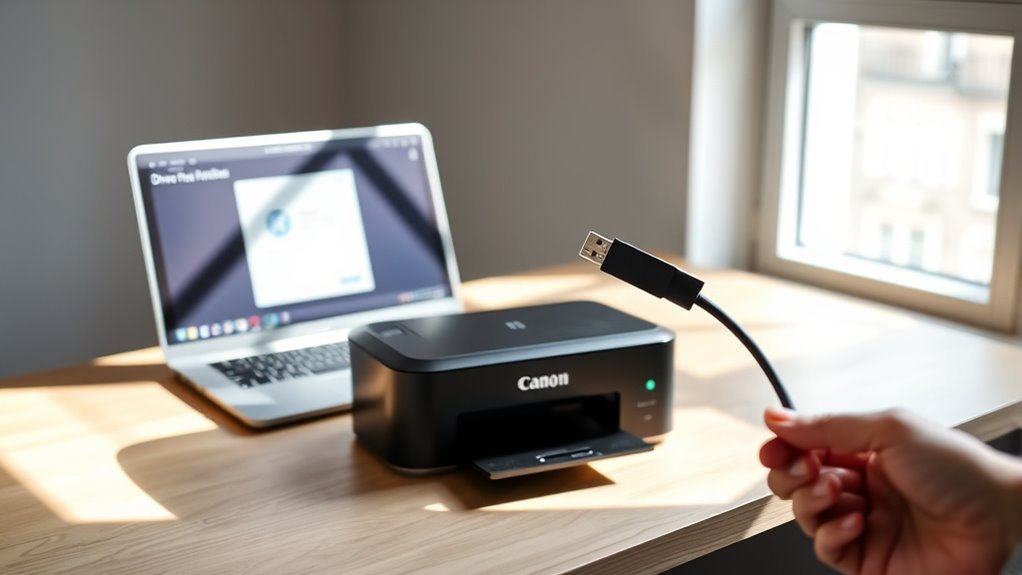
Make sure you download and install the exact Canon driver that matches your printer model and Windows version to guarantee full functionality. For instance, if you have a Canon MG3620 on Windows 10 64-bit, get that specific driver.
Download and install the exact Canon driver matching your printer model and Windows version for optimal performance.
When setting up a network printer, first install the driver on the print server. Then, use the Custom Install option to add the same driver on each client PC.
During setup, select the correct port—either the TCP/IP Standard Port or the shared printer name—to match how you share this printer. It’s important to use an administrator account for installation and restart your PC if prompted.
After installation, verify the driver by using Add Printer to print a test page. Also, make sure bidirectional support is enabled so you get accurate status updates.
Add Your Canon Printer and Print a Test Page
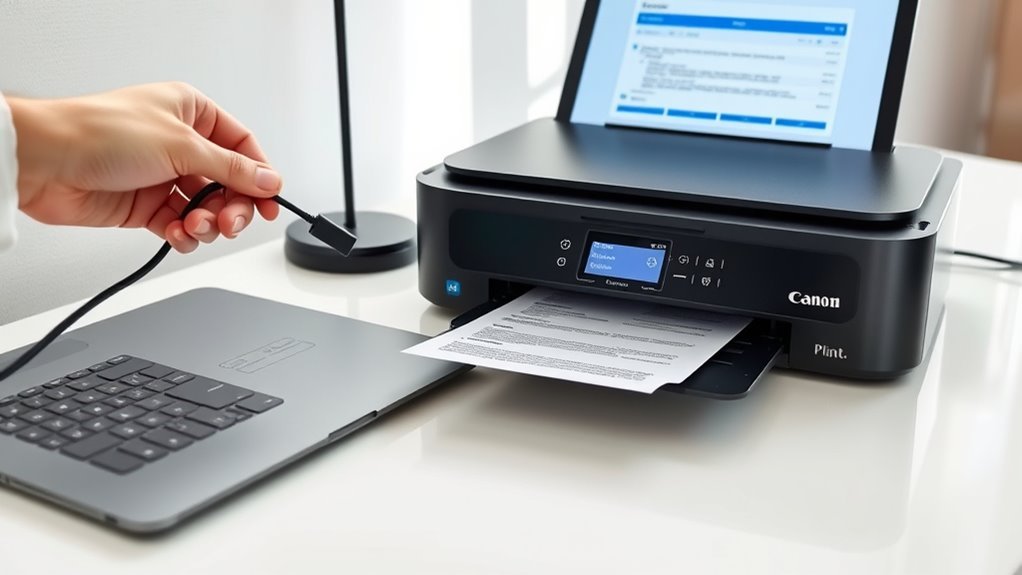
Once you’ve installed the correct Canon driver on both the print server and client PCs, the next step is to add your Canon printer to each client system and print a test page.
First, on the print server, make sure to share the printer by assigning a shared name. Then, on each client PC:
- Open the Add Printer wizard and select “Add a network, wireless or Bluetooth printer.”
- Locate the shared Canon printer from the print server.
- Install the printer, making sure you select the correct port (TCP/IP Standard if needed).
- Print a test page to confirm the printer is online and reachable.
It’s pretty straightforward once you’ve got the driver installed. Just follow these steps, and you’ll be printing in no time!
Frequently Asked Questions
How Do You Connect Your Computer to a Canon Printer?
You connect your computer to a Canon printer by installing the correct driver first. This ensures your computer knows how to communicate with the printer properly.
Next, you share the printer on the network so other devices can find it easily. After that, run the Add Printer wizard on your PC—it’ll guide you through the setup.
Then, select the shared printer from the list. Finally, confirm the connection by printing a test page to make sure everything’s working smoothly. Easy, right?
How Do I Connect My Canon MG3650 Printer to Wi-Fi?
Like catching lightning in a bottle, press and hold your MG3650’s Wi-Fi button until the power lamp flashes, then hit Color or Black.
Next, press your router’s WPS button within two minutes to connect easily.
It’s pretty straightforward once you get the hang of it! Just make sure to act quickly after pressing the Wi-Fi button.
My Canon Printer Is Offline. How Can I Get It Back Online?
You can get your Canon printer back online by checking its network connection and verifying its IP address. Make sure your printer is properly connected to the Wi-Fi or Ethernet network.
Next, ensure the printer port settings are correct. Sometimes, the wrong port can cause communication issues.
It also helps to update your printer drivers. Outdated drivers might be the reason your printer is offline.
Finally, double-check that your firewall or sharing settings aren’t blocking the printer. These settings can sometimes stop your device from communicating with your computer.
How Do I Hook up My Canon Pixma Printer to My Computer?
You connect your Canon Pixma by linking it to Wi-Fi or Ethernet, setting its network settings, installing the correct driver on your computer, adding the printer via network, and finally testing to verify it’s online and ready to print.
It might sound like a lot, but once you get the hang of it, it’s pretty straightforward. Just take it step by step, and you’ll have your printer up and running in no time!
Conclusion
Connecting your Canon printer to your computer is like bridging two worlds—one of silent machines and one of vibrant creativity. With just a flick of power, a quick driver install, and a simple printer add, you transform stillness into action.
You’ll go from staring at a blank screen to holding a fresh, crisp page in your hands. It’s easy, fast, and rewarding—proof that technology can bring ideas to life in just three simple steps.
By following these simple steps, you can connect your Canon printer to your computer effortlessly. Whether you’re printing documents, photos, or creative projects, this process ensures a smooth setup. So, power on your printer, install the necessary drivers, and add the printer to your computer. Before you know it, your Canon printer will be ready to bring your ideas to life with sharp, vibrant prints. Connecting your Canon printer to your computer has never been easier!