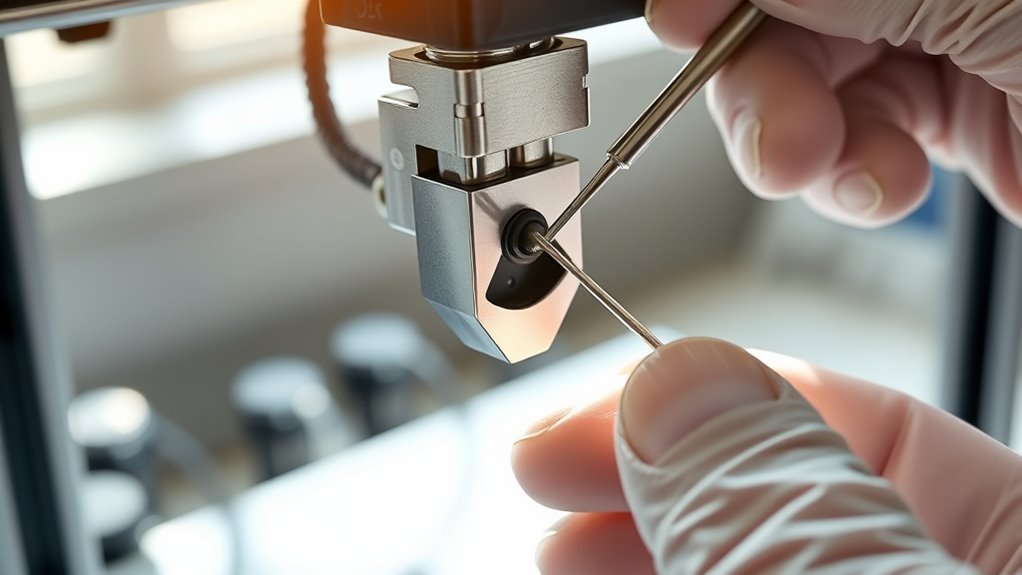
How to Clean a 3D Printer Nozzle in 5 Easy Steps
You should clean your 3D printer nozzle every 100 hours or sooner if print quality drops. Keeping your 3D printer nozzle clean is key to getting smooth, high-quality prints.
Over time, residue and clogs can build up, causing problems like uneven extrusion or failed prints. So, regular cleaning helps keep everything running smoothly and extends the life of your printer.
First, heat the nozzle to your filament’s printing temperature to soften residue. Next, carefully wipe off external buildup using a brass wire brush or cloth.
Then perform a cold pull by heating, extruding, cooling, and pulling filament to clear clogs inside.
Finally, maintain the nozzle regularly to prevent future blockages. Follow these steps, and you’ll keep your printer extruding smoothly with ease.
Key Takeaways
- Heat the nozzle to the filament’s printing temperature to soften any hardened plastic. This makes cleaning much easier.
- Use a brass wire brush or a lint-free cloth to gently wipe away the softened residue on the nozzle’s exterior.
- Next, insert a cleaning needle through the nozzle orifice. This helps to carefully remove any internal clogs and debris.
- Now, perform a cold pull. Heat the nozzle, extrude some filament, then cool it down to around 90–120°C. After that, sharply pull the filament out to clear blockages.
- Finally, wipe the heated nozzle with isopropyl alcohol. This removes oils and leftover residue. Let it cool before you handle it again.
When and Why to Clean Your Nozzle
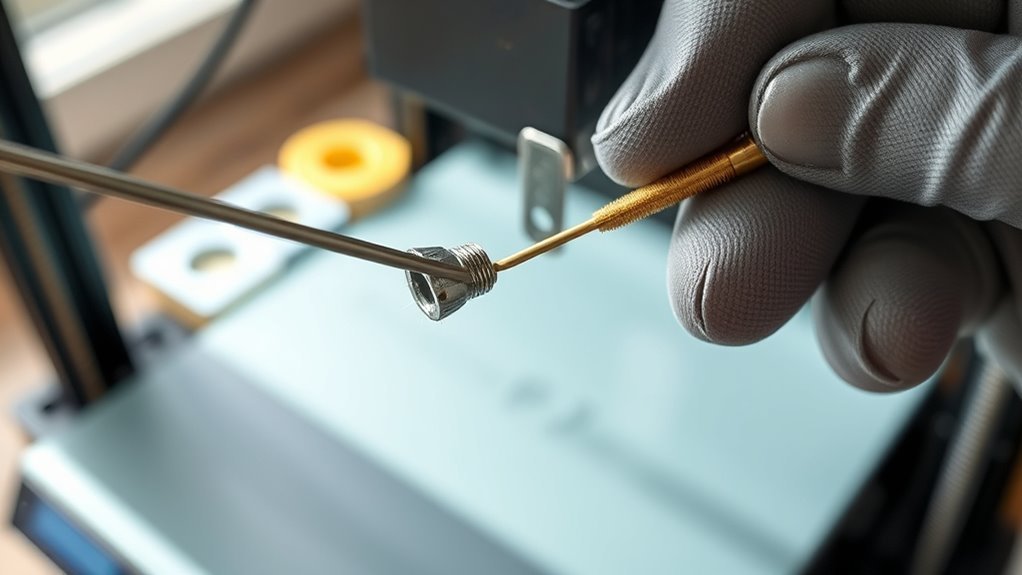
You should clean your 3D printer nozzle regularly to avoid print issues like under-extrusion, missing layers, or filament not flowing properly. These problems often signal a partial or full blockage inside the nozzle.
You’ll want to clean it every 100 printing hours or sooner if print quality drops. Also, clean the nozzle after every 10–15 prints if you’re a hobbyist to prevent buildup.
Always heat the nozzle before cleaning or removing it to soften filament and avoid damaging the heater block—never work on a cold nozzle. A popular cleaning method is the cold pull, which removes debris by pulling softened filament through the nozzle.
Heat Nozzle to Soften Filament Before Cleaning
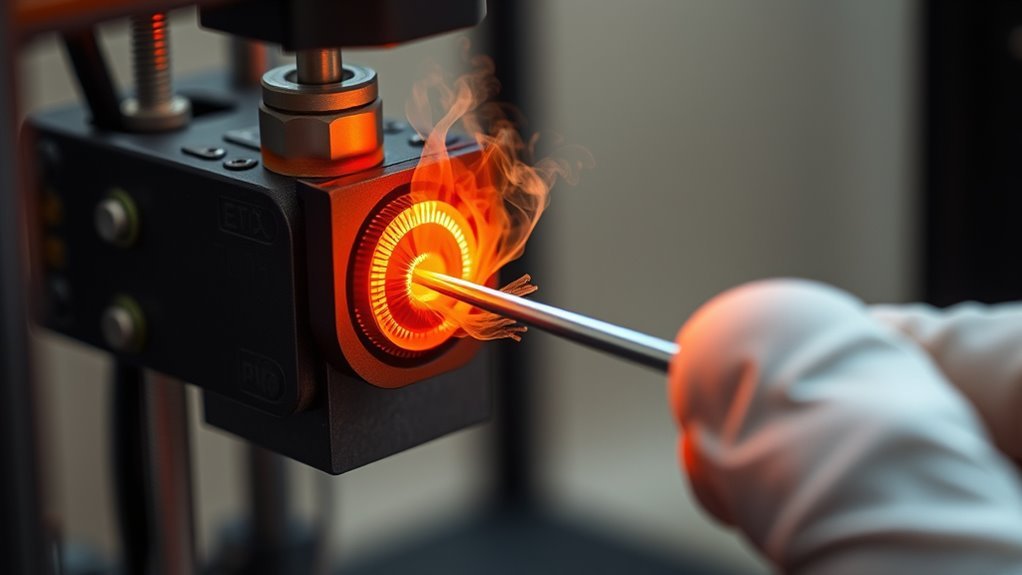
Start by heating the nozzle to the filament’s printing temperature—around 200°C for PLA, 240°C for PETG, or 230°C for ABS. This helps soften any hardened plastic so it becomes easier to remove.
Begin by heating the nozzle to the filament’s printing temperature to soften hardened plastic for easier removal.
Once heated, you can use a brass wire brush or a lint-free cloth to gently wipe away softened residue from the nozzle’s exterior.
Next, insert a cleaning needle through the nozzle’s orifice to carefully clear any internal clogs.
You can also perform a cold-pull. Heat the nozzle to the print temperature, extrude some filament, then cool it down to about 90–120°C. After that, pull the filament out to remove stubborn blockages.
Always wear heat-resistant gloves or use pliers when handling the hot nozzle. This method works especially well with PLA filament and gets your nozzle ready for thorough cleaning.
Remove External Filament Buildup Safely
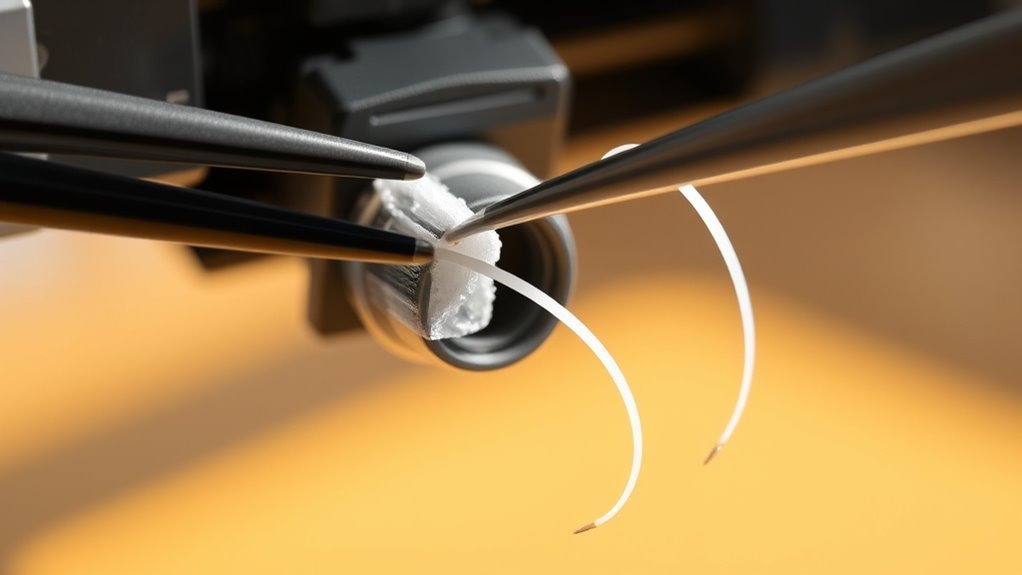
After softening and clearing internal clogs, focus on safely removing filament buildup from the nozzle’s exterior. First, remove any silicone sock to expose the hot end fully.
Heat the nozzle to your filament’s printing temperature—around 200°C for PLA or 240°C for PETG. Wearing heat-resistant gloves, gently wipe softened filament off the nozzle with a lint-free cloth.
Use a brass wire brush carefully to dislodge baked-on residue from the nozzle and heater block without scratching. For tight spots, employ a needle or brass wire cleaner around the orifice, but be careful not to deform the nozzle or push debris deeper.
Once brushed, wipe the heated nozzle with isopropyl alcohol to clear oils and fine residue. Let the nozzle cool before touching bare metal.
Installing a silicone sock afterward helps reduce future buildup. It’s a simple step but makes a big difference!
Perform Cold Pull and Soak Nozzle to Clear Clogs
When filament residue stubbornly clogs your nozzle, performing a cold pull offers an effective way to extract debris without disassembling your printer. First, heat the nozzle to your filament’s printing temperature (e.g., PLA ~200°C), push filament through, then cool to about 90°C.
Cold pulling at printing temperature then cooling to 90°C effectively clears nozzle clogs without printer disassembly.
Next, sharply pull the filament; this cold pull removes stubborn clogs. If the nozzle is clogged despite this, soak the nozzle in acetone for 30 minutes to dissolve ABS or soften PLA.
Finally, while warm, use a cleaning needle or brass wire through the nozzle’s orifice to clear remaining debris carefully. Remember to dry the nozzle thoroughly before reattaching and check the PTFE tube for any filament buildup.
This method keeps your nozzle clear without damage or full disassembly. It’s a pretty handy trick to save you time and hassle!
Maintain Your Nozzle to Prevent Future Clogging
Regularly maintaining your nozzle can save you from frustrating clogs and inconsistent prints. After every print, wipe the nozzle exterior while it’s warm using a lint-free cloth or alcohol wipe to remove filament residue.
Perform an atomic pull every 100 printing hours or if you notice under-extrusion; this cold pull clears debris from the melt zone effectively. When changing spools, run a short purge with cleaning filament or the next filament type to flush out mixed-material residue.
Don’t forget to inspect the PTFE tube and check your Z-offset and bed leveling to prevent molten filament buildup. Finally, keep spare nozzles on hand and replace brass nozzles when cleaning no longer restores consistent extrusion or after heavy use with abrasive filament.
Frequently Asked Questions
How to Unclog a 3D Nozzle?
You heat the nozzle to the filament’s printing temperature, push cleaning filament through, then perform a cold pull to remove debris.
If clogged, gently clean with a needle or remove the nozzle for deeper soaking and brushing.
This way, you can clear out stubborn blockages without damaging your printer. Just take it step by step and be patient!
How Do You Clean a Spray Nozzle?
Like tuning a guitar string for perfect sound, you clean a spray nozzle by heating it, wiping residue with a cloth or brush, and using a fine needle to clear blockages—keeping your spray crisp and consistent every time.
It’s pretty simple once you get the hang of it. Just take your time, and your nozzle will work like new in no time!
How Do I Clean the Nozzle on My Bambu Lab A1 Printer?
Heat your Bambu Lab A1 nozzle to printing temp. Then, gently wipe it with a brass brush or an alcohol cloth.
Next, do a cold pull using cleaning filament to remove any debris. If the clogging doesn’t clear up, you might need to replace the nozzle.
How to Remove a 3D Nozzle?
You heat the nozzle to the filament’s printing temperature, power off, then use a wrench on the hex flats while holding the heater block steady.
Remove any silicone sock first, and be careful to avoid burns.
It’s all about being cautious here—nozzles get super hot, so take your time and don’t rush.
Conclusion
Cleaning your 3D printer nozzle might seem like a hassle, but it’s actually quick and straightforward. By following these simple steps, you’ll avoid frustrating clogs that ruin prints and waste filament.
Even if you think your nozzle isn’t that dirty, regular maintenance keeps your printer running smoothly and extends its life. Once you get the hang of it, nozzle cleaning becomes a quick part of your routine, letting you enjoy flawless prints every time.
Staying on top of nozzle cleaning not only prevents clogs but also improves print quality and saves you filament in the long run. Making this small effort regularly ensures your 3D printer performs at its best, giving you consistent, high-quality results. So, don’t skip this easy maintenance step—your printer and prints will thank you!