5 Easy Steps to Automatically Clean Your HP Printer Cartridge
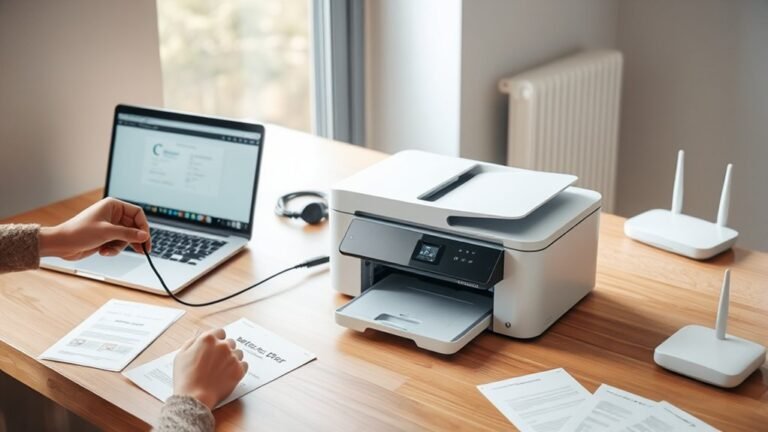
To automatically clean your HP printer cartridge, start by opening the HP Smart app or the printer panel. This will give you access to the “Clean Printhead” tool, which is essential for keeping your printer in top shape.
Next, set up a weekly cleaning schedule using Windows Task Scheduler. Just create a task that runs the HP Smart cleaning executable with the highest privileges. This way, your printer cartridge gets cleaned regularly without you having to remember it.
After running the cleaning cycle, print a test page to check the quality. If needed, repeat this process weekly to prevent clogs and keep your prints sharp and clear.
Keep going to discover more troubleshooting tips and manual maintenance tricks that can help you get the best performance from your HP printer!
Key Takeaways
- Open the HP Smart app or the printer control panel to access the “Clean Printhead” cleaning cycle.
- Run the automatic cleaning cycle, which usually takes about 1–3 minutes. This helps remove clogs and improve your print quality.
- After cleaning, print a Print Quality Report to check if the nozzle clogs have been cleared.
- You can use Windows Task Scheduler to set up a weekly task that launches HP Smart for automatic printhead cleaning.
- Just remember to limit cleaning cycles to once a week and avoid running more than three consecutive cycles in one session to prevent wasting ink.
Why and How to Clean Your Printer Cartridges
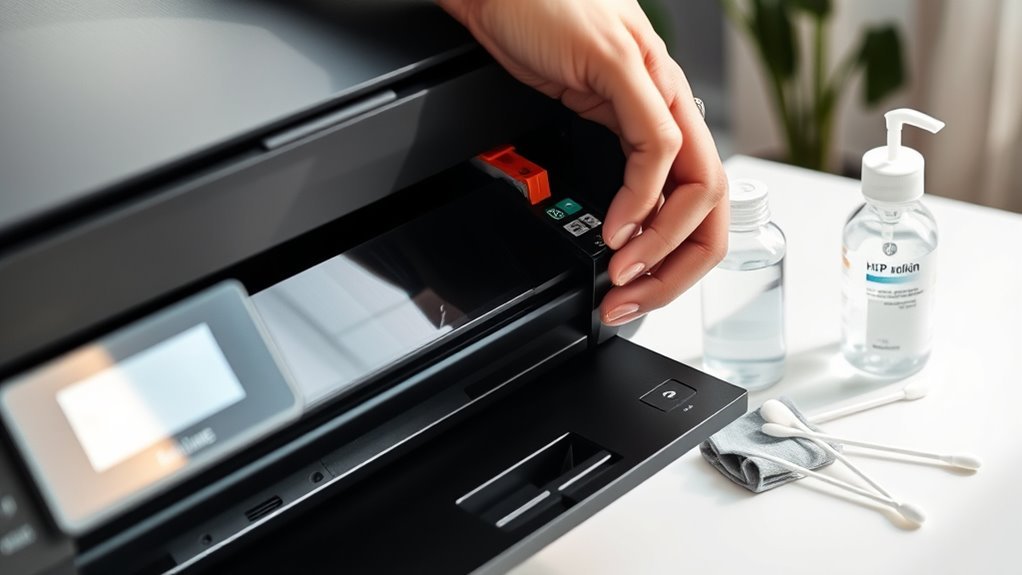
If you want your HP printer to deliver sharp, clear prints, you need to clean its cartridges regularly. Cleaning the printhead prevents clogs and nozzle dry-out, especially if you don’t print often.
Your HP printer includes a built-in Clean Printhead cycle that typically lasts 1–3 minutes. You can start this cycle directly from the printer control panel or use the HP Smart app. Running this automatic cleaning weekly helps maintain print quality.
After each cycle, always print a test page to check results. Limit yourself to three consecutive automatic cleanings; if print issues persist, deeper maintenance might be needed.
Using the HP Smart app, you can easily access these cleaning tools and keep your printer running smoothly without wasting ink. It’s a simple way to save time and avoid frustration!
Access Printhead Cleaning Tools in HP Smart
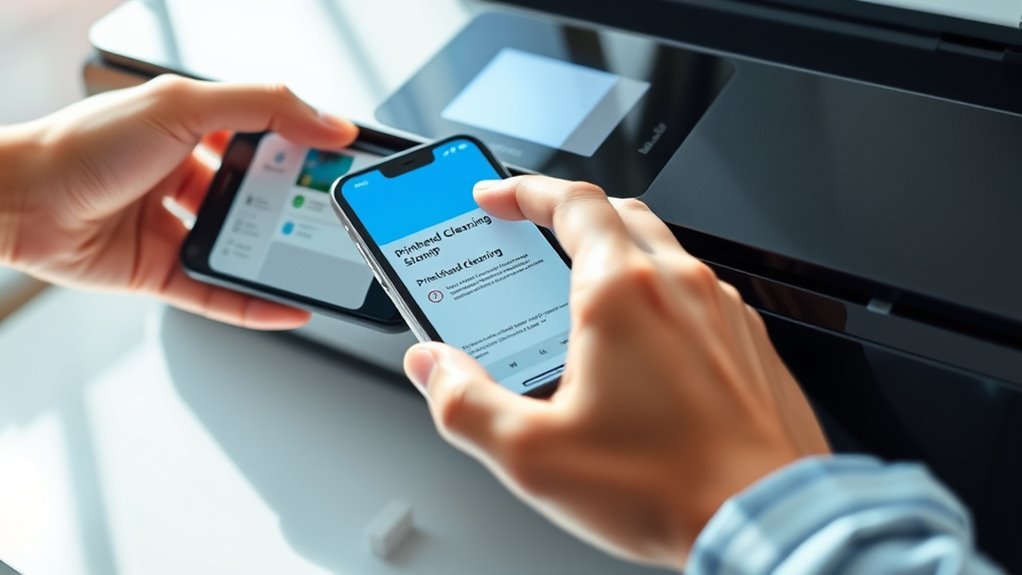
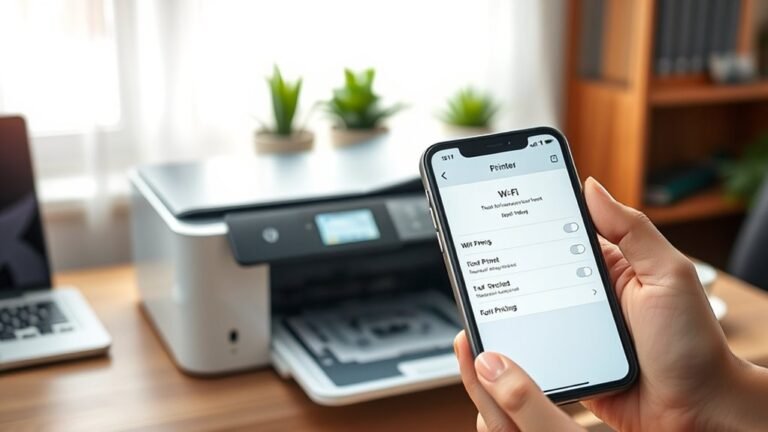
To get started cleaning your HP printer’s printhead, open the HP Smart app on your PC or laptop and select your printer from the main screen. In the printer settings, find and click “Print Quality Tools,” usually listed on the left side.
There, you’ll see the option to Clean Print Heads. Selecting this runs an automatic cleaning cycle that forces fresh ink through the nozzles to clear any dried ink causing print defects. The basic clean takes about 1 to 3 minutes.
If issues persist, you can run a deeper clean, though it uses more ink. After cleaning, print a Print Quality Report from the same section to check if the cleaning improved your print quality or if further action is needed.
Set Up Automatic Cleaning With Windows Scheduler
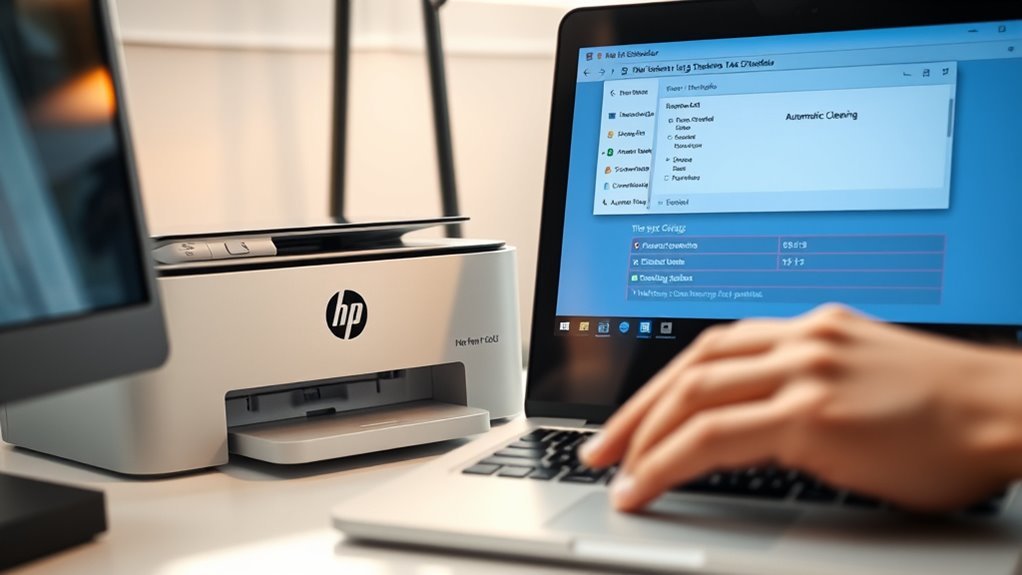
By using Windows Task Scheduler, you can automate the HP Smart app’s printhead cleaning process to keep your printer maintained without manual effort. Start by creating a new basic task that launches the HP Smart executable—locate its path via the HP Smart shortcut properties, usually in “C:Program FilesHPHP SmartHPSmart.exe.”
Automate HP Smart’s printhead cleaning via Task Scheduler to maintain your printer effortlessly.
Set a weekly trigger to run the task regularly. Configure it to run with the highest privileges and whether you’re logged on or not, ensuring it can access the printer to clean effectively.
Add conditions like running only when your PC is on AC power to avoid missed clean cycles. Test the task immediately and check your printer’s print quality.
Remember to limit automatic runs to once a week to prevent excess ink use and protect your HP printer. This way, you keep things efficient without wasting resources.
Run Cleaning Cycles and Print Test Pages Regularly
Regularly running your printer’s automatic “Clean Printhead” cycle helps prevent nozzle clogs and keeps your prints sharp. You can start this cycle from the HP Smart app or the printer’s control panel under Maintenance or Tools about once a week.
Each cleaning takes 1–3 minutes, and printing a Print Quality Report right after lets you check if the cleaning worked. Just remember to limit yourself to three consecutive clean cycles per session; if the print quality doesn’t improve, you might need manual or deep cleaning.
Many HP Envy models offer a second-level deep clean that uses more ink but tackles tougher clogs. To stay consistent, schedule regular prints weekly and consider using Windows Task Scheduler to remind you to run the Clean Printhead cycle for peak print quality.
Troubleshoot Print Quality Problems and Maintain Your Printer
When your printouts show stripes, missing colors, or faded text, you’ll want to troubleshoot print quality issues promptly to keep your printer running smoothly. Start by running the printer’s automatic “Clean Printhead” cycle via the HP Smart app or Maintenance menu.
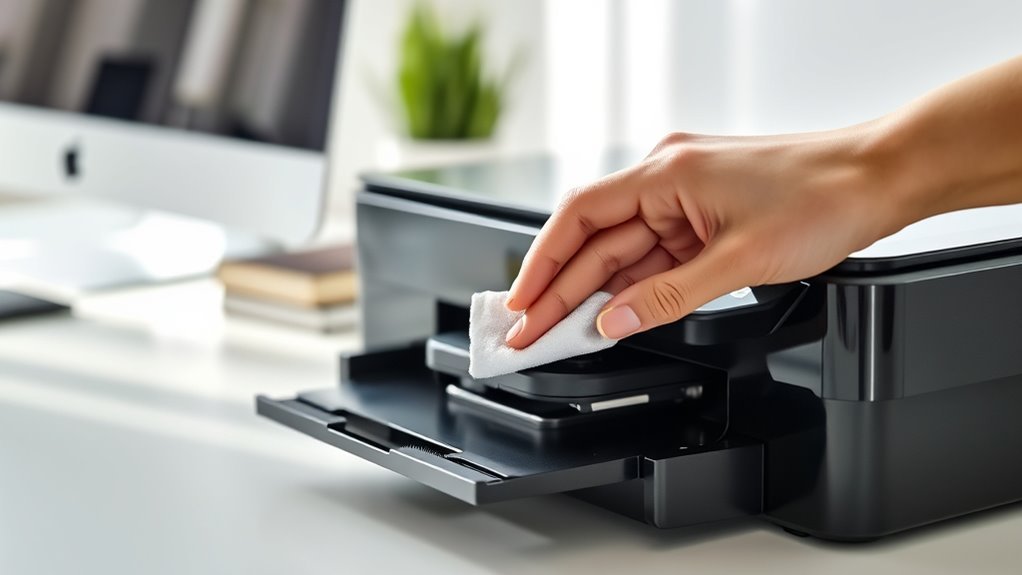
Print a quality report afterward to check results. If problems persist after three cycles, manually clean the ink cartridges by wiping the nozzle plate with a lint-free cloth dampened with distilled water—avoid the gold contacts. Let the parts dry completely before reinserting.
To maintain a clean print and prevent clogs, remember to print at least once a week. Also, use genuine HP ink cartridges and avoid running cartridges dry.
It’s a good idea to store spare cartridges sealed in a cool, dry place. Replace cartridges if issues or recognition errors continue.
Frequently Asked Questions
How to Manually Clean an HP Print Cartridge?
You power off the printer, remove cartridges, and gently wipe the nozzle plate with a damp cloth. For clogs, soak nozzles on a damp towel, dry, then reinstall.
Run cleaning cycles to guarantee proper ink flow. This helps make sure everything is working smoothly.
Can I Use WD-40 to Clean Printer Heads?
No, you shouldn’t use WD-40 to clean printer heads. It leaves oily residue that clogs nozzles, damages contacts, and voids warranties.
It’s best to stick to distilled water or approved cleaning solutions. These are safe and give you effective results without any risk.
How Do I Clean the Head of My HP Ink Tank 319 Printer?
Think of your printer head as a garden hose—flush it using the HP Smart app’s cleaning cycle to clear clogs.
If it’s being stubborn, try soaking the ink tank’s nozzle in warm water. Then, make sure you dry it completely before reinserting for a smooth flow.
How to Bypass Ink Cartridge Failure on HP?
You can bypass ink cartridge failure by making sure your cartridges are genuine and properly recognized by your printer. Running automatic cleaning cycles can help fix minor issues.
If needed, try manually cleaning the nozzles to get rid of any clogs. Also, scheduling regular maintenance with the HP Smart app is a great way to prevent ink from drying out and avoid detection errors.
Keeping up with these steps can save you a lot of headaches! Just a little care goes a long way.
Conclusion
By consistently cleaning your cartridge, you’ll keep your prints pristine and prevent pesky print problems. Using HP Smart and Windows Scheduler simplifies the setup, saving you stress and time.
Regularly running cleaning cycles and printing test pages guarantees smooth, streak-free results. Stay sharp by troubleshooting promptly and maintaining your machine meticulously.
With these easy steps, you’ll enjoy flawless, fresh prints and extend your printer’s performance without the fuss or frustration. Keeping your HP printer cartridge clean not only ensures high-quality prints but also helps avoid costly repairs. So, automate your cleaning routine and experience hassle-free printing every time!