How to Scan a Document on a Printer in 7 Easy Steps
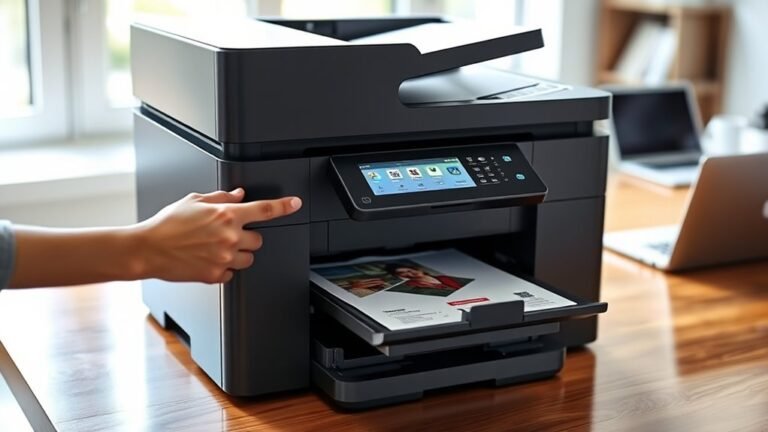
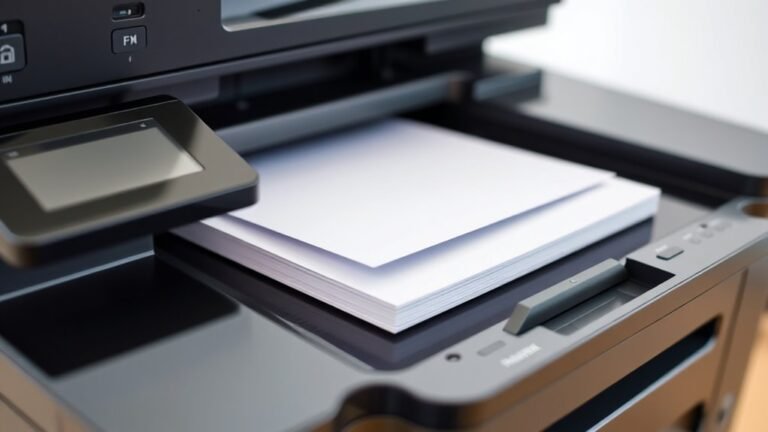
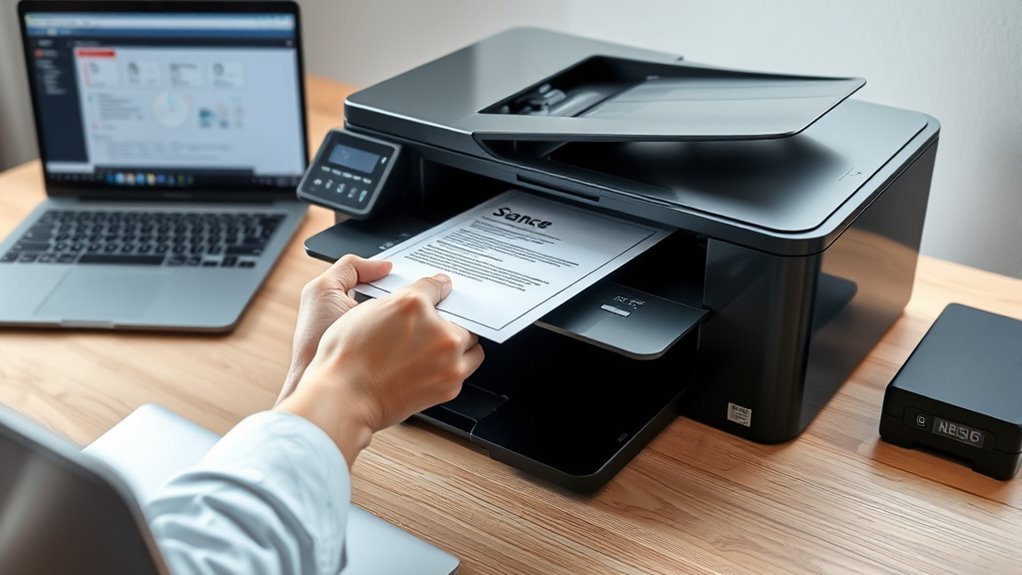
To scan a document on your printer in 7 easy steps, start by placing your document face-down on the scanner glass or face-up in the ADF, making sure it’s aligned properly. This simple setup helps ensure your scanned images come out clear and accurate.
Next, access the scanner menu on your printer, computer, or device. Then, choose where you want to save your file—whether that’s a USB drive or directly to your computer. It’s all about convenience and what works best for you.
After that, select your preferred file format, resolution, and color settings. Don’t worry if you’re not sure—most printers have helpful default options. Preview the scan to check alignment and make any necessary adjustments before starting the scan.
Once you’re happy, start scanning and confirm each page as needed. Finally, save your file and finish up. Following these steps will help you get the best results from every scan without any hassle.
Key Takeaways
- Place the document face-down on the scanner glass or face-up in the ADF. Make sure to align the edges properly so everything scans correctly.
- Access the scanner menu. You can do this on the printer touchscreen, through your computer’s scanning app, or even a mobile printer app.
- Choose where you want the scan to go. This could be a USB drive, your computer, an email, or a network folder.
- Pick the file format, resolution (300 DPI is usually best), and color settings. These choices depend on what kind of document you’re scanning.
- Preview your scan first. If it looks good, confirm and save the file to your chosen location. If not, tweak the settings and try again.
Load Your Document on the Scanner or Feeder
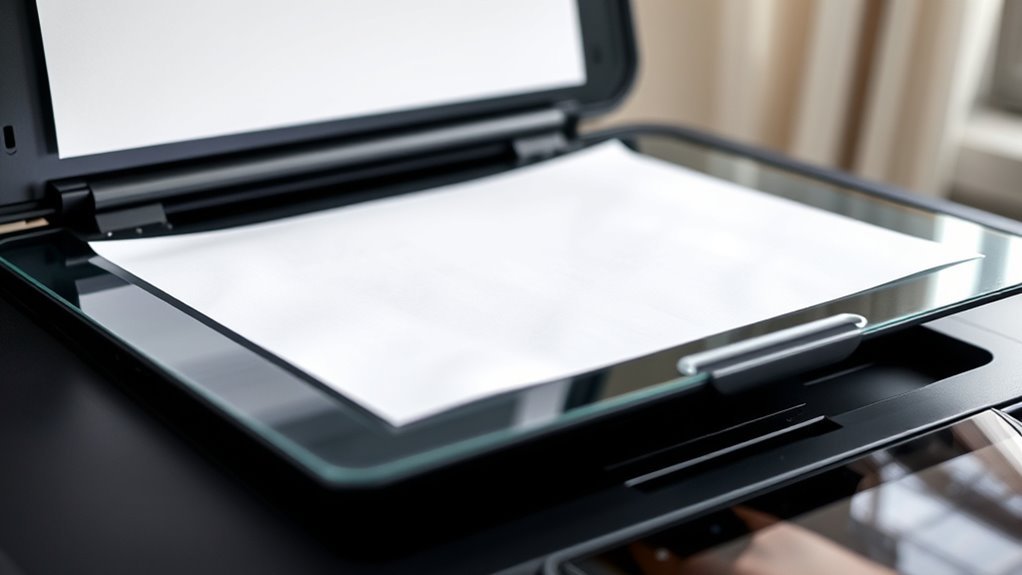
To get started, place your document face-down on the scanner glass, aligning the top edge with the corner or marks to make certain it scans correctly. This careful positioning helps maintain excellent print quality by ensuring proper orientation and avoiding cropping.
If you’re using the automatic document feeder (ADF), load pages face-up as indicated, and align the stack against the paper guides to prevent skewing. Don’t forget to fan multi-page originals before loading them and remove staples, paper clips, or folds to avoid jams and misfeeds.
After placing your document, close the scanner lid or lower the ADF cover gently. This keeps even pressure on the paper, prevents light leaks, and preserves the print quality of your scanned image.
Access the Scanner Menu on Your Printer or Computer
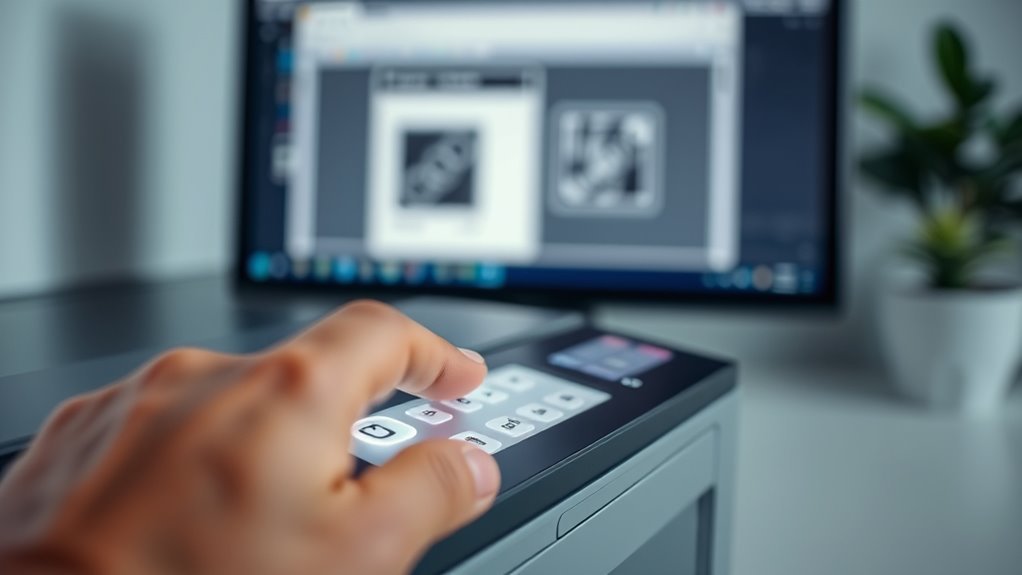
Exploring into the scanner menu on your printer or computer lets you set up how and where your scanned document will be saved. On your printer’s touchscreen, press the Scan or PaperLogic button, or navigate to the Scanner/Scan menu to open scanner functions.
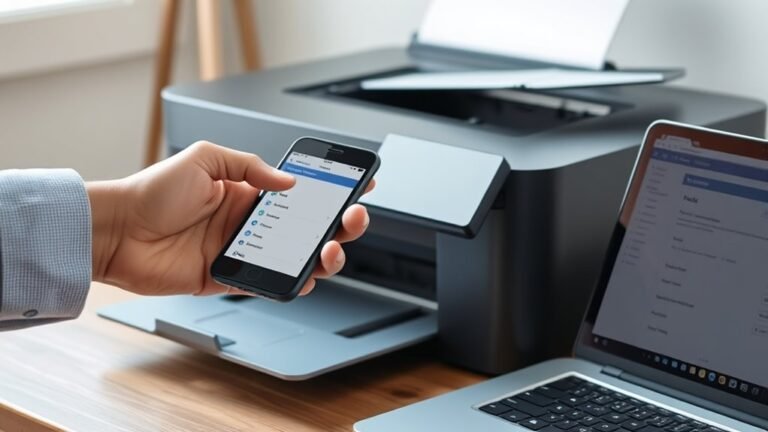
From a Windows PC, launch the Windows Scan app; on macOS, use Image Capture and select your printer from the Source list. With a mobile device, open the printer’s app or AirPrint and tap Scan to Device or Scan to Email.
Make sure your printer is powered on and connected via USB, network, or Wi-Fi so it appears in the scanner menu. Here, you’ll find options for file formats, resolution, and can preview or adjust advanced settings like color mode before scanning.
Choose Your Scan Destination
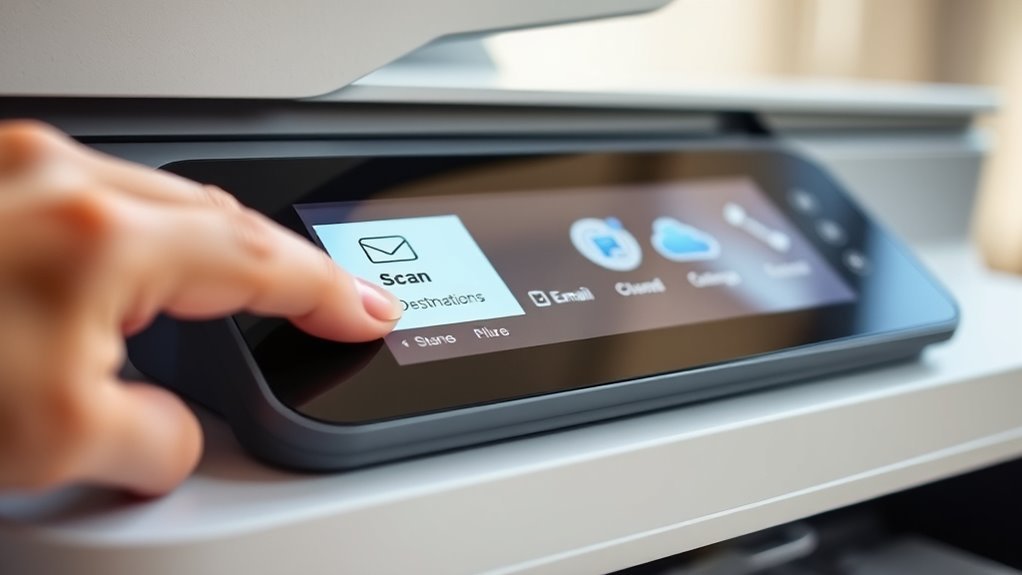
Once you’ve accessed the scanner menu and adjusted your settings, the next step is to choose where your scanned document will go. You can save it to a USB thumb drive or send it directly to your computer using built-in tools like Windows Scan or macOS Image Capture.
If your printer supports network options, you can use those too. Mobile devices can receive scans via AirPrint, IPP, or the printer’s app over Wi-Fi. Just make sure the destination has enough free space and that you have write permission before you start scanning.
Here are your main scan destination options:
- USB thumb drive plugged into the printer
- Direct transfer to your computer via OS scanning tools
- Scan to Email or Network Folder (SMB/FTP) on networked printers
- Mobile devices via AirPrint, IPP, or printer apps
- Confirm storage space and permissions before scanning
Select File Format, Resolution, and Color Settings
Although choosing the right file format might seem straightforward, it plays a crucial role in how you’ll use and store your scanned documents. Pick PDF for multipage files or when you need editable text, as it keeps all pages in one document.
For single-page images, JPEG or TIFF works well; JPEG files are smaller but less suited for editing. Set the resolution to 300 DPI for clear text scans, or 600 DPI and above for detailed images or better OCR accuracy.
Choose Color for photos and important colored documents, Grayscale to save space on less critical color pages, and Black & White for pure text to minimize file size. If your printer supports it, enable searchable PDF or text recognition for easier digital archiving.
Adjust compression settings based on your file size and quality needs. It’s all about finding the right balance between quality and file size that works best for you.
Preview and Adjust Scan Pages Before Starting
Before you start scanning, take a moment to preview your document using the printer’s Scan Preview option. This lets you check alignment, page order, and content before the final scan.
Use the preview to adjust cropping handles or set the original size to remove unwanted margins and center your content perfectly. You can also change resolution and color mode here to make certain your scan meets your needs.
Here’s what to do during preview:
- Check alignment and page order with the low-res preview
- Adjust cropping handles or set paper size (A4, Letter)
- Select resolution (300 DPI for text, 600 DPI for images)
- Choose color mode (Color, Grayscale, Black & White)
- Use rotate, delete, or re-scan options to fix any issues
This step saves you time and improves scan quality. It really helps to avoid mistakes and get everything just right before you hit scan.
Start Scanning and Confirm Each Page
Now that you’ve set up your scan, use the Scan Preview to check each page’s alignment, color, and cropping before finalizing.
Confirm each page by choosing to keep or discard it. This way, you make sure every scan looks just right.
Repeat this process for all pages, then save the completed file when you’re done. Easy and done!
Scan Preview Usage
Turn on the “Scan Preview” feature in your printer’s scan menu or scanning software to generate a quick, low-resolution version of your document before finalizing. This preview lets you check the document’s alignment, cropping, and orientation so you can adjust it if needed before the final scan.
Use the preview to select the right resolution and color mode to match your quality needs.
- Enable preview in your printer’s scan menu or scanning app
- Check and adjust document position to avoid cut edges or skewing
- Choose resolution (e.g., 300 or 600 DPI) and color mode in preview
- Review each page, deciding which to keep or discard before finishing
- After confirming, select file format and filename, then save the final scan
Page Confirmation Steps
Once you place the first sheet on the scanner glass or feeder, use the Scan Preview option to check alignment and cropping before scanning each page. For multipage jobs, after previewing each scan, press Accept and Continue to save correctly scanned pages or Discard to rescan any misfeeds or skewed pages.
Make sure to verify the resolution—300 DPI for text or higher for images—and color settings on the preview screen. This helps guarantee each page meets your quality needs before adding the next sheet.
After scanning, check the thumbnail or page count on the printer display or your computer to confirm all pages are captured in order. Finally, finish the job by selecting Finish or Save to store all accepted pages to your chosen destination and log out securely.
Save Your Scan and Wrap Up the Process
After completing your scan, go ahead and select the file format that fits your needs—PDF is great for multi-page documents, while JPEG or TIFF works well for single images. Don’t forget to confirm the filename before saving it to your chosen spot, whether that’s a USB drive, a network folder, or your computer.
Make sure you double-check the save location to avoid any mix-ups, then press Finish or Save to wrap things up. It’s a good idea to look at the file size and resolution to ensure your scan is clear but not too large.
Using the preview options can really help here, especially if you’re working with a multi-page PDF—make sure all the pages are included before you finalize it. When you’re done, remember to log out of the printer interface and safely eject any USB drives to keep everything secure.
- Confirm file format and filename
- Verify save location (USB, folder, or network)
- Check file size and resolution (300 DPI recommended)
- Use preview to confirm all pages
- Log out and safely eject drives
Frequently Asked Questions
How to Scan Documents via Printer?
You place your document on the scanner, then choose the scan option on your printer or computer. Next, select the file type and resolution you want.
You can preview the scan if needed, just to make sure everything looks right. After that, save the scan to your computer, USB, or network location. It’s an easy and quick process!
How to Scan Documents in Canon E3370 Printer?
You don’t have to be a tech wizard to scan on the Canon E3370. Just place your document, hit Scan, pick settings on your computer, and voilà—
your scan’s ready faster than you can say “Where’s the manual?”
How to Scan Step by Step?
You place your document on the scanner, open your computer’s scanning app, choose settings, then hit Scan.
Preview if needed, confirm, and save your file to your computer or USB drive.
It’s quick and simple!
How to Print a Document Step by Step?
You’ll conquer printing like a pro! Just power up your printer and open your document.
Next, hit Ctrl+P. Pick your printer, set copies and quality, then click Print.
Watch the magic happen and grab your flawless pages! Easy, right?
Conclusion
Now that you’ve danced through these seven simple steps, scanning your document feels like a breeze on a sunny day. With your files neatly captured and saved, you’re ready to share or store them with ease.
Just like a painter finishing a masterpiece, you’ve turned a stack of paper into a digital gem. Keep this rhythm, and scanning will become second nature—smooth, swift, and satisfying every time.
By following these easy steps to scan a document on a printer, you’ve made your workflow more efficient and organized. Whether for work, school, or personal use, having digital copies of your documents is a game changer. So next time you need to scan, you’ll know exactly how to get it done quickly and effortlessly. Scanning documents doesn’t have to be complicated—it’s all about knowing the right steps and tools to make it simple and effective.