Connect Your Canon Printer to Computer in 3 Easy Steps
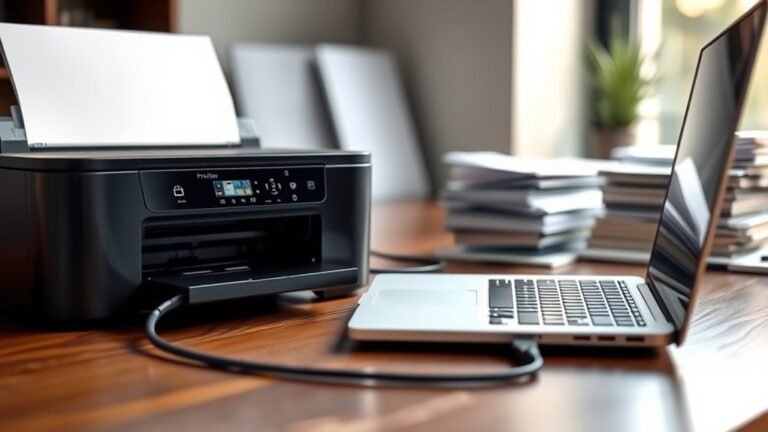
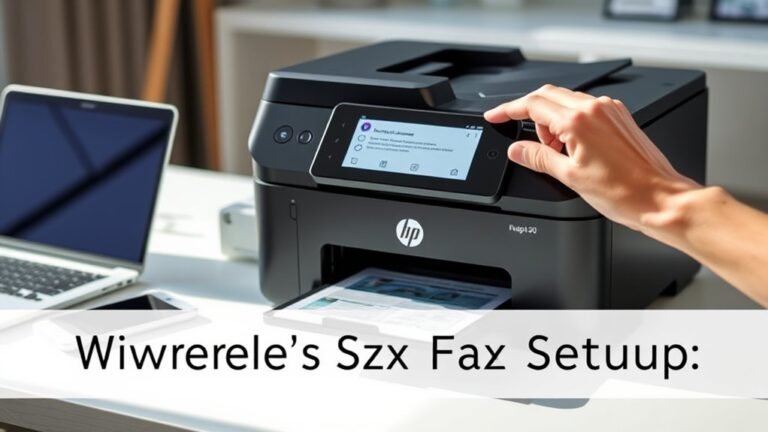
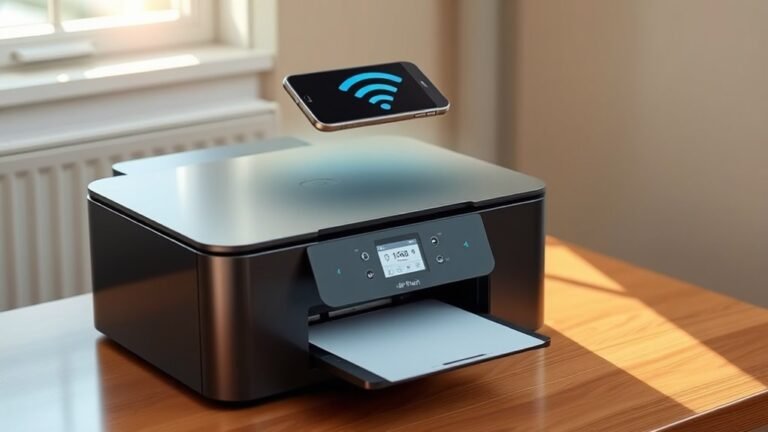
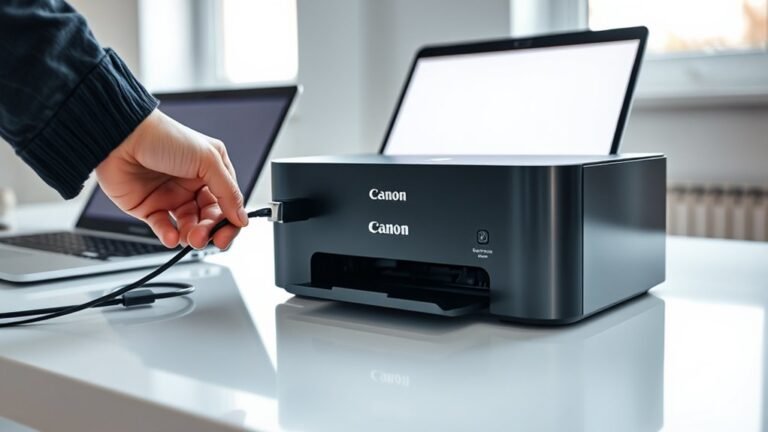
To connect your Canon printer, first power it on and link it via USB or join your Wi-Fi network. Make sure to confirm the IP address so everything is set correctly.
Next, download and install the exact Canon driver for your model and Windows version. Be sure to use an admin account to avoid any permission issues.
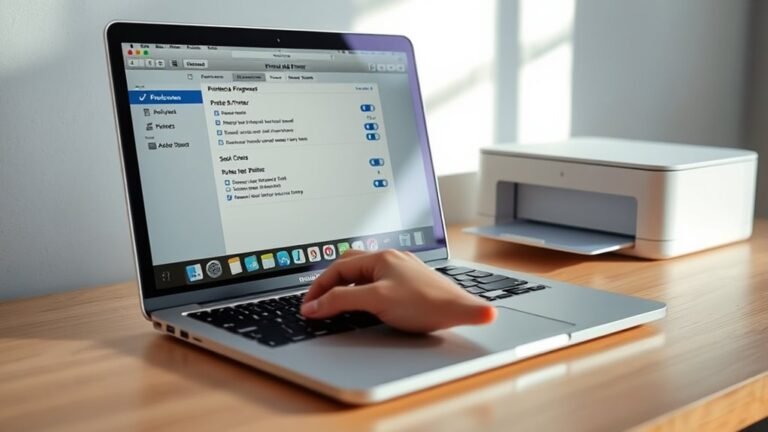
Finally, add the printer on your computer by selecting the right port. Print a test page to check the connection and make sure it’s working properly.
If you want a seamless setup, there’s actually a bit more you can do to guarantee flawless printing across all your devices.