What Is a Printer Printhead and How Do You Clean It?
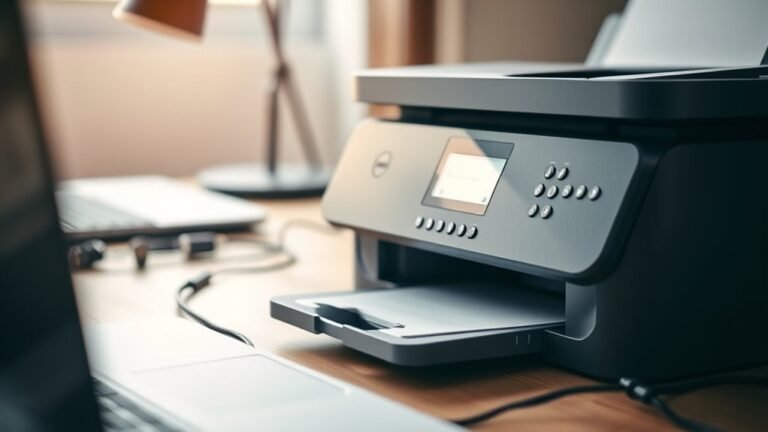
A printer printhead sprays tiny ink droplets through nozzles to create sharp, colorful images and text. It’s a crucial part of your printer that directly affects print quality.
When the printhead gets clogged or dirty, you might notice streaks, faded sections, or missing colors in your prints.
You’ll know it needs cleaning if these issues pop up. Start by using your printer’s built-in cleaning tool found in the settings menu. After that, print a test page to see if the problem improves.
If the streaks or missing colors stick around, you might need to clean the printhead manually. Just be careful when handling it, and make sure to dry and reinstall it properly. Keep reading to discover the full process and get your printer back to top shape!
Key Takeaways
- A printer printhead fires tiny ink droplets through nozzles to create sharp, colorful images and text on paper.
- Printhead cleaning is needed when streaks, faded sections, or missing colors appear due to clogged nozzles.
- Use the printer’s built-in cleaning cycle via settings, then print a test page to verify improved print quality.
- If issues persist, manually clean the printhead gently with a lint-free cloth and distilled water, avoiding bare hands.
- Ensure the printhead dries completely before reinstalling, then test print again to confirm proper ink flow and alignment.
What Is a Printer Printhead and How Does It Work
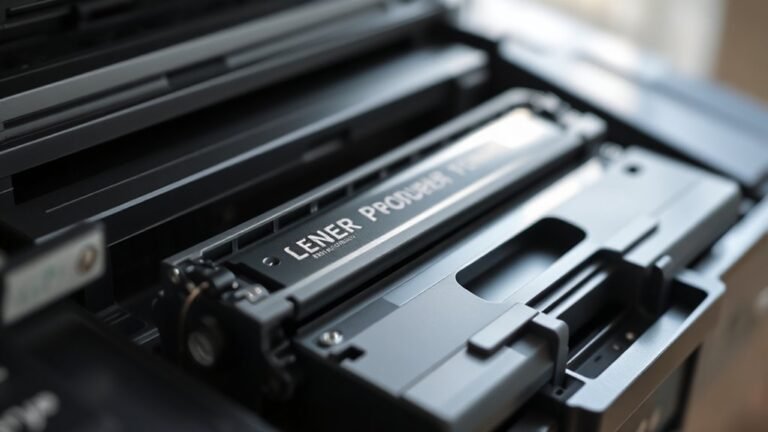
Although you might not see it, the printer printhead plays a crucial role by firing tiny droplets of ink through nozzles onto the page. It uses heating or vibrating mechanisms inside the cartridge to eject ink precisely, often for each color channel like CMYK.
Whether it sits on a removable cartridge or is fixed inside the printer, the printhead ensures your documents and photos come out sharp and colorful. If you ever notice print quality issues, you can print a test page to verify if the printhead is working correctly.
This test helps identify problems like missing colors or streaks caused by clogged nozzles. Understanding how your printhead works gives you a better grasp of why keeping it in good condition matters for great prints.
How to Tell When Your Printhead Needs Cleaning
How can you tell when your printhead needs cleaning? Look for streaks, faded areas, missing colors, or repeated banding on a test print. These signs usually mean there’s some clogging or debris messing with your print quality.
Once you notice these issues, go ahead and run your printer’s built-in cleaning function from the settings menu. After that, print a test page to see if things have improved.
| Printhead Issue Signs | Action to Take |
|---|---|
| Streaks or faded sections | Run built-in cleaning, print test |
| Missing colors or banding | Repeat cleaning or manual cleaning |
| Persistent defects | Consider further troubleshooting |
Always double-check with a test page before running another cleaning cycle. You don’t want to overdo it.
If the problems keep showing up, try other troubleshooting steps instead of just cleaning over and over. It usually helps!
How to Use Your Printer’s Built-In Printhead Cleaning Tool
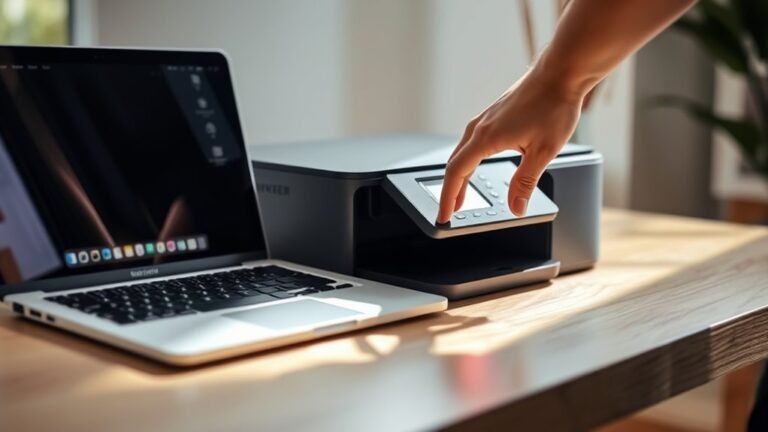
To start, access your printer’s settings menu or manual to find the built-in printhead cleaning option. Run the cleaning cycle, and then print a test page to check if the quality has improved.
If the test page still shows issues, you can repeat the process or try other troubleshooting steps. It’s a simple way to keep your prints looking sharp!
Accessing Cleaning Options
Navigate to your printer’s settings or menu and locate the “Printhead Cleaning” or “Head Cleaning” option to start the built-in cleaning tool. This option is usually found under maintenance or tools.
Once you select it, the printer will perform its cleaning routine designed to clear clogged nozzles. After the cleaning finishes, print a test page to check if the print quality has improved.
If the test page looks better, you’re all set. If not, consult your printer’s manual before running the cleaning cycle again, as excessive cleaning can waste ink or harm the printhead.
The manual may also suggest additional steps or when to try manual cleaning if the built-in tool doesn’t fully fix the problem. Always verify results with a test page after each cleaning attempt.
Running The Cleaning Cycle
You’ll typically find the printhead cleaning option in your printer’s settings or maintenance menu. Once located, select the Print Head Cleaning or Cleaning feature and run the cycle. This process uses the printer’s built-in tool to clear clogged nozzles and improve print quality.
After the cycle completes, print a test page to check if the lines or missing colors are fixed. If the test page looks good, you’re done. If not, follow your printer’s instructions for the next recommended step.
Be careful not to run the cleaning cycle excessively, as it can waste ink or cleaning fluid. And if the built-in cleaning tool doesn’t resolve the issue, check your manual to see if manual cleaning is an option for your model.
Verifying Cleaning Effectiveness
How can you tell if your printer’s built-in printhead cleaning tool worked? Start by printing a test page after running the cleaning cycle from your printer’s menu or manual.
Carefully check the test page for missing streaks or faded sections. If the print looks good, stop—no further cleaning is needed since the tool restored proper ink flow.
If problems persist, follow your printer’s instructions for the next steps, like running an additional cleaning or trying manual cleaning. Avoid repeating the cleaning cycle unnecessarily, as too many cycles can degrade performance.
It’s helpful to save or compare test pages before and after cleaning so you can clearly see improvements and confirm each cleaning attempt’s effectiveness. This method helps you maintain your printhead’s superior condition efficiently.
How to Print a Test Page to Check Printhead Performance
After completing a printhead cleaning, print a test page from your printer’s menu to evaluate the nozzle performance. Check the page carefully for missing lines, streaks, faded areas, or color gaps.
If the printout looks clear and consistent, you’re done troubleshooting. But if defects persist, run the next cleaning cycle recommended by your printer and print another test page.
Use these results to decide if further manual cleaning or additional built-in cleaning cycles are necessary. Repeat this clean-and-test process until the test page shows clean text and graphics throughout.
Printing test pages regularly helps ensure your printhead functions properly and prevents wasted ink or paper due to poor print quality. This simple step is key to maintaining your printer’s performance.
Manual Printhead Cleaning: When and How to Do It
If the printer’s built-in cleaning cycle doesn’t restore clear print quality, it’s time to evaluate manual printhead cleaning. You should only proceed if the test page still shows issues.
Here’s when and how to do it:
- Consult your printer’s manual before removing the printhead to avoid damage.
- Handle the printhead carefully, avoiding bare hands to prevent contamination.
- Use a lint-free cloth to gently wipe away dry ink; avoid scrubbing harshly.
- If necessary, moisten the cloth with distilled water for a light clean, then let the printhead dry completely.
After cleaning, reinstall the printhead and print another test page to confirm the issue is fixed. Manual cleaning requires patience but can noticeably improve print quality when automatic cycles fall short.
How to Remove and Clean Your Printhead Safely
Begin by checking your printer’s manual to make sure you remove the printhead properly and prevent damage. Only handle the printhead by its edges, avoiding contact with the electronic parts.
Use a lint-free cloth for cleaning; gently wipe off dry ink without scrubbing or soaking the sensitive areas. For light cleaning, dampen the cloth slightly with distilled water to avoid mineral buildup that can block ink flow.
After cleaning, let the printhead dry thoroughly before reinstalling. It’s important to be patient here so everything works smoothly once you put it back.
| Step | Action | Tip |
|---|---|---|
| 1 | Remove printhead carefully | Follow manual instructions |
| 2 | Wipe with lint-free cloth | Avoid contacts and electronics |
| 3 | Use distilled water lightly | Prevent mineral deposits |
How to Dry and Reinstall Your Printhead Properly
When drying your printhead, make sure it air-dries completely. This helps prevent smearing, nozzle blockage, or any damage.
Once it’s dry, follow these steps to reinstall it properly:
After drying, carefully reinstall the printhead to ensure proper function and avoid damage.
First, ensure no moisture remains on the nozzle or contacts, especially if you wiped it with distilled water. Use a lint-free cloth to handle the printhead, so you avoid contamination or harm.
Next, carefully place the printhead back into its slot without forcing it. This will help prevent misalignment or breakage.
After reinstalling, print a test page to check ink flow and alignment before you get back to regular use.
Taking these precautions will help keep your printer performing well and stop any further print quality issues.
Tips to Keep Your Printhead Clean and Your Printer Running Smoothly
Properly drying and reinstalling your printhead lays a solid foundation for maintaining your printer’s performance. To keep it clean and prevent clogs, regularly run your printer’s built-in cleaning cycle from the settings menu.
Afterward, print a test page to check if streaks or gaps are gone. If problems persist, gently clean the printhead manually with a lint-free cloth and distilled water, avoiding rough handling.
Always hold the printhead by the unit, never with bare hands. Carefully remove dry ink residue to protect those tiny nozzles.
And don’t skip the drying step—make sure the printhead dries completely before reinstalling it. Following these tips helps you maintain smooth ink flow and keeps your printer running efficiently without frequent interruptions.
Frequently Asked Questions
How to Clean a Printer Head Manually?
To clean a printer head manually, power off the printer first. Then, carefully wipe any dry ink with a lint-free cloth.
If needed, you can use a bit of distilled water to help loosen stubborn ink. Just be sure to avoid touching the nozzles directly.
After cleaning, let the printer head dry fully before you power the printer back on. Once it’s dry, run a test print to see how it looks.
How Do I Clean the Printhead on My HP Deskjet 2630 Printer?
Start by selecting the printhead cleaning option via your HP Deskjet 2630’s control menu. If print problems persist, perform a second cleaning or manual wipe with a lint-free cloth and distilled water.
Then, test again to see if the issue is resolved. Sometimes it takes a couple of tries to get the printhead nice and clean.
How to Clean HP Deskjet 3755?
You should run the HP Deskjet 3755’s built-in cleaning cycle from its menu, then print a test page.
If issues persist, gently wipe the printhead nozzles with a lint-free cloth and dry before reinstalling cartridges. Give it a try and see if that helps!
What Is the Best Solution for Cleaning Printer Heads?
The best solution is to run your printer’s built-in print-head cleaning from its settings menu. If that doesn’t work, carefully clean manually with a lint-free cloth and distilled water.
Then, print a test page to check the results. It’s a simple way to make sure everything is working fine.
Conclusion
Did you know that clogged printheads cause up to 30% of all printer issues? Keeping your printhead clean ensures sharp, vibrant prints and saves you from costly repairs.
By regularly using your printer’s built-in cleaning tools and knowing when to manually clean, you’ll make sure your printer runs smoothly for longer.
With these simple steps, you can avoid frustrating print problems and enjoy hassle-free printing every time. Remember, maintaining a clean printhead is key to getting the best quality from your printer and extending its lifespan. So, don’t overlook this small but essential part of your printer — a little care goes a long way in preventing printhead clogs and ensuring consistent, high-quality prints.