What Is a Screen Printer?
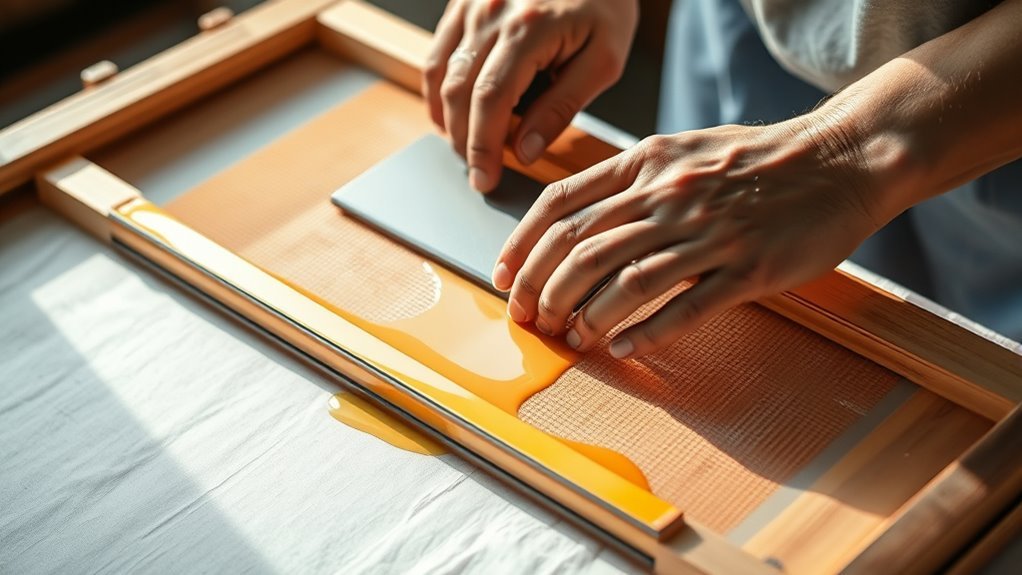
A screen printer helps you create vibrant, lasting designs by pushing ink through a mesh stencil onto fabric or other surfaces. This method is popular for making custom t-shirts, posters, and more because it produces bold colors that really pop.
You prepare screens with light-sensitive emulsion, expose them to UV light, and then use squeegees to transfer each color layer precisely.
You’ll select mesh counts and inks based on your project, often pre-treating fabrics for better ink adhesion. Multi-color prints require careful alignment and curing to guarantee durability.
It might sound a bit complex, but once you get the hang of the process, it’s pretty rewarding. Keep exploring to uncover how every step makes your prints stand out.
Key Takeaways
- A screen printer prepares mesh screens coated with light-sensitive emulsion to create stencils for ink transfer. They expose screens using acetate film positives to define each color’s stencil for multi-color designs.
- The printer floods the screen with ink and uses a squeegee to push ink through the stencil onto the substrate. It’s a pretty hands-on process that requires a good eye for detail.
- Screen printers select mesh count and squeegee hardness based on ink type and desired print detail. These choices really affect how the final print looks.
- They reclaim screens by removing or repairing emulsion between jobs to reuse the mesh frames. This helps save materials and keeps things efficient.
What Exactly Does a Screen Printer Do?
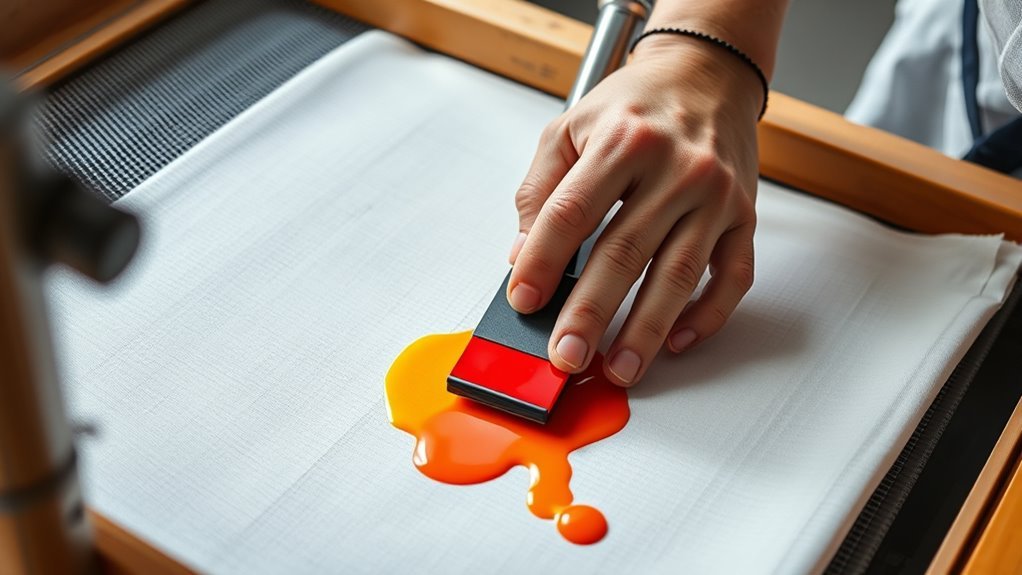
A screen printer prepares mesh screens coated with light-sensitive emulsion, then exposes them with acetate film positives so each color in a design gets its own stencil. You stretch and tension the mesh screen on frames, selecting the right mesh count—lower for air-dry inks and higher for UV ink—to guarantee sharp prints.
Using screen printing machines, you flood the screen with ink, then pull a polyurethane squeegee across it to push ink through the open stencil areas onto the substrate. Between jobs, you repair or remove emulsion to reclaim screens.
You also mix inks and additives, choosing water-based, solvent, or UV inks, and manage drying or curing processes. Finally, you inspect prints for quality and clean the screens for the next run.
How Does Screen Printing Work?
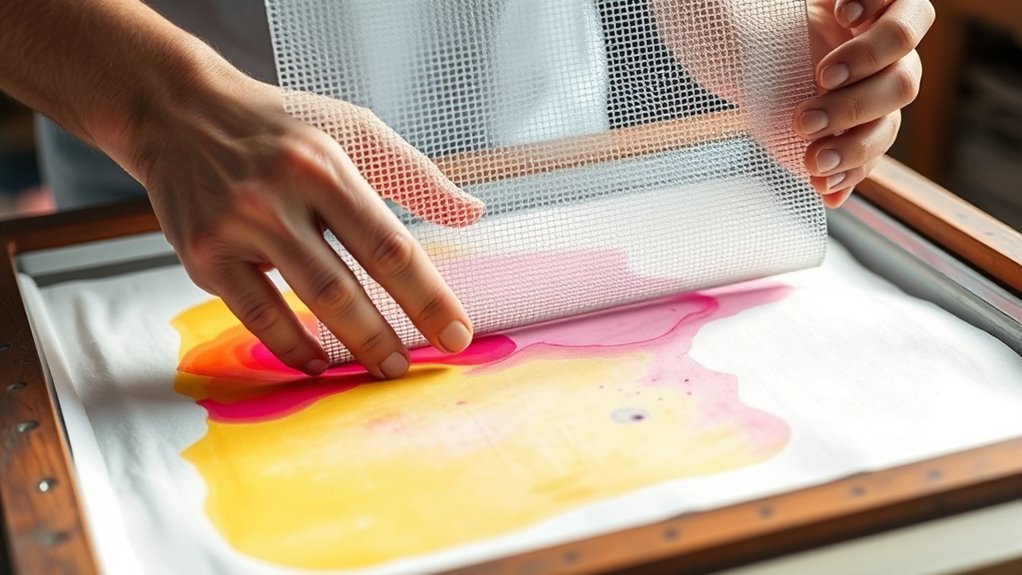
Understanding how screen printing works starts with the mesh screen coated in light-sensitive emulsion. You expose this screen with emulsion to UV light through a transparent film positive, hardening the emulsion where light passes.
The unhardened emulsion washes away, creating a stencil on the mesh screen. When printing, you flood the screen with ink and use a polyurethane squeegee to drag ink across it. This forces ink through the open stencil areas onto your substrate.
After the squeegee pass, the mesh screen springs back, pulling ink away and leaving a clean print. For multi-color designs, you’ll need a separate, precisely aligned screen for each color.
This process guarantees detailed, vibrant prints with excellent adhesion and sharp lines. It’s a pretty neat way to get those cool designs looking just right!
What Tools and Materials Are Essential for Screen Printing?
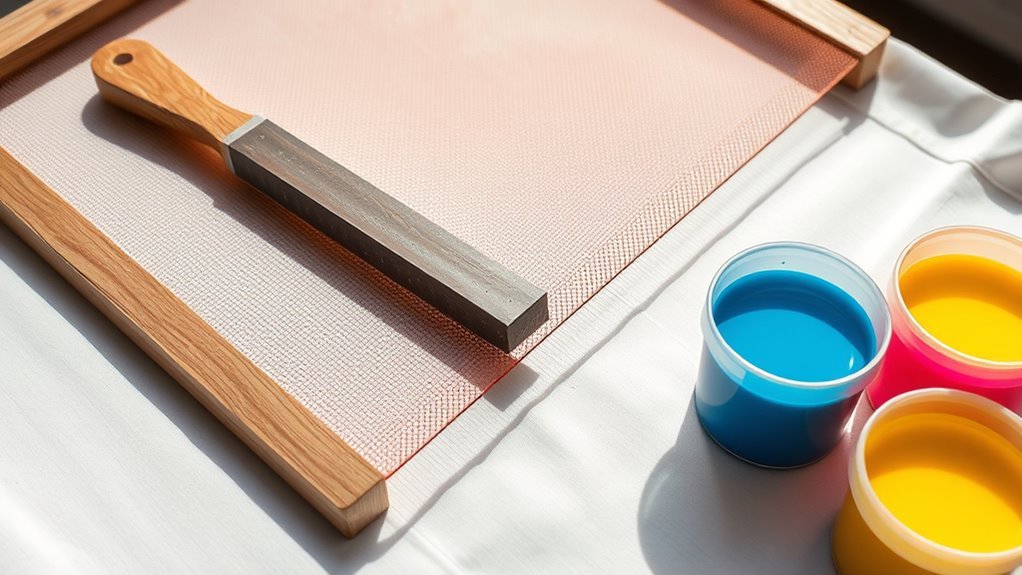
To get started with screen printing, you’ll need a few essential tools like a stretched mesh screen, squeegees, and the right inks for your project. You’ll also use materials such as transparent film positives and a light source to create your stencils.
Having the proper equipment and supplies guarantees your prints come out sharp and vibrant every time. It might seem like a lot at first, but once you have these basics, you’re all set to start creating!
Essential Screen Printing Tools
Gathering the right tools is crucial when you start screen printing. You’ll need a tensioned screen frame with mesh stretched tightly over it, coated with light-sensitive emulsion to create your stencil.
Squeegees are essential—usually polyurethane with a durometer between 60 and 90—to evenly flood the screen and push ink through open mesh areas. Choosing the right mesh count depends on your ink and detail: air-dry inks work well with 150–280 TPI, while UV inks and fine details require 305–420 TPI mesh.
If you use UV-curable inks, a UV or LED curing unit is necessary for proper drying. Additional gear includes acetate film positives, a light source or vacuum exposure unit for screen exposure, and washout stations to remove emulsion and reclaim screens for reuse.
Key Printing Materials
Once you have the right tools, you’ll need to select the proper materials to bring your screen printing designs to life. Start with a tensioned screen frame fitted with a polyester mesh; the mesh count controls ink deposit and detail in your screen prints.
Apply a thin, even coat of emulsion over the mesh, then expose it to UV light with an acetate positive to create your stencil. Use squeegees with polyurethane blades to flood and push ink through the stencil evenly, ensuring consistent pressure and angle.
Choose the right ink type—water-based, plastisol, or UV-curable—based on your substrate, and adjust with additives for flow and adhesion. Proper curing and preparation will guarantee sharp, durable screen prints every time.
How Do Screen Printers Prepare Screens for Printing?
You start by coating the screen with a thin, even layer of light-sensitive emulsion in a dark room and let it dry. Then, you place your artwork on the screen and expose it to UV light. This hardens the emulsion except where the design blocks it.
After that, you pressure-wash the screen to remove the uncured emulsion. This reveals the stencil, which is now ready for printing. It’s a pretty straightforward process once you get the hang of it!
Emulsion Coating Process
Screen printers begin preparing screens by stretching a polyester mesh tightly onto a frame, leaving about a 3 cm clear margin beyond the image area. After degreasing and drying, the screen is coated with a thin, even layer of light-sensitive emulsion.
This coating is applied on both sides to guarantee durability.
Here’s how the process goes:
- You tip the emulsion from a tray and draw it evenly across the mesh.
- The coated screen dries in a dark, warm cabinet for about 20 minutes.
- Once dried, the screen is aligned and exposed to UV light to harden the emulsion in the design areas.
After exposure, a pressure washer removes the uncured emulsion, revealing the stencil for printing.
Pretty straightforward, right? This method ensures your screen is ready for crisp, clean prints every time.
Exposure And Development
During exposure and development, you’ll prepare the coated screen by placing a high-contrast acetate film positive directly onto the emulsion side. Make sure it’s in perfect contact to get sharp detail transfer.
As a screen printer, you expose the screen to UV light, which hardens the emulsion where the film blocks light. Exposure times can vary but usually last around 30-45 seconds.
Next, you pressure-wash the screen to remove the unexposed emulsion. This reveals the photographic images that become your stencil.
After that, check for any pinholes or defects. Patch them if needed, then cure the screen before you start printing.
| Step | Description |
|---|---|
| Film Placement | Place acetate film positive emulsion-side down |
| Exposure | UV light hardens exposed emulsion areas |
| Washing | Remove unexposed emulsion to reveal stencil |
| Final Touches | Patch defects, dry, and cure screen |
Why Is Pretreatment Crucial in Screen Printing?
Although it might seem like an extra step, pretreatment plays a vital role in guaranteeing your prints stick well and look vibrant, especially when working with white ink or dark fabrics. Pretreatment creates a flat surface that enhances ink adhesion and color brightness, preventing ink washout and dullness.
Silica-based pretreatment is popular for producing opaque, durable prints cost-effectively. Here’s why you shouldn’t skip it:
- It improves ink penetration and detail, allowing finer mesh screens to reproduce crisp designs.
- It activates the fabric surface for better compatibility with white ink, which is super important on dark substrates.
- It guarantees consistent results across production with industrial systems like 360-degree flame units.
Skipping pretreatment risks poor adhesion, fading, and reduced durability, even if you cure the prints properly. So, it’s definitely worth the extra step!
What Types of Inks Do Screen Printers Use and Why?
How do printers decide which ink to use for a project? Screen printers choose based on the material, durability needs, and environmental impact.
Printers select inks by considering the material, required durability, and environmental factors for each project.
You’ll find they use water‑based inks for textiles because they’re eco‑friendly and create a soft feel. Though these may need heat baking and can be less opaque.
For non‑porous surfaces like glass or metal, solvent‑based inks provide strong opacity and adhesion. But they can dry out in the screen if exposed to air.
UV‑curable inks stay liquid in the screen, curing instantly under UV light. This makes them perfect for fast production and printing on rigid or 3D items.
Adjusting mesh count and additives helps tailor each ink type for the best possible adhesion, detail, and finish. It’s all about getting the right look and feel for each project.
How Do Screen Printers Manage Multi-Color Screen Printing?
Choosing the right ink is just the start when creating vibrant, multi-color prints. In multi-color screen printing, each color needs its own screen, carefully aligned to make certain perfect registration.
You’ll manage ink deposit by selecting the right mesh count for each color—lower mesh for heavy, opaque inks and higher mesh for fine details.
To keep your colors sharp and aligned, follow these steps:
- Use registration guides, pins, or hinged templates to align each screen precisely over the previous print.
- Print light or base colors first, then layer darker colors on top to mask minor misregistration.
- Adjust mesh count per color and ink type to control ink deposit and achieve the desired detail and opacity.
How Do Screen Printers Cure and Finish Their Prints?
Curing your prints properly guarantees they stick well and last through wear and washing. Depending on the ink type, you might use air‑drying or heat transfer methods.
Water- and solvent-based inks typically require air‑drying or heat-baking in tunnels at 300°F–450°F to secure durability. For UV‑curable inks, you’ll pass the print under a UV lamp, instantly curing it for immediate handling and avoiding drying issues.
Flash curing is essential between multi-color passes, preventing smudging and securing each layer sets correctly. After curing, you can add finishes like clear UV varnish or textured ECO-UV for gloss or matte effects.
Make certain to match curing to your substrate and ink, as undercuring causes weak adhesion, while overcuring can damage heat-sensitive materials.
Frequently Asked Questions
What Is Screen Printing in Art?
Screen printing in art lets you create bold, vibrant images by pushing ink through a stencil-coated mesh screen. You control color and texture, making multiple detailed prints on paper or fabric with consistent, eye-catching results.
It’s a fun way to bring your designs to life, whether you’re working on t-shirts, posters, or other art projects. Plus, once you set up your screen, you can easily repeat your design as many times as you want without losing quality.
What Is a Multicolor Screen Printing Machine?
A multicolor screen printing machine lets you print multiple colors in precise layers using separate screens.
You’ll benefit from accurate alignment, faster production, and options like UV curing. It’s perfect for complex, high-quality, multicolor prints.
What Materials Are Needed for Screen Printing?
You’ll need a tensioned screen with mesh extending 3 cm beyond your design, and a squeegee with about 70 durometer hardness.
Also, make sure you have ink that’s suited to your substrate, transparent acetate positives, and a UV exposure unit to start printing.
These materials will get you set up for a smooth screen printing process.
How Much Does a Screen Printing Setup Cost?
You’ll spend $150 to $500 for a basic DIY setup, $500 to $3,000 for multi-color manual presses, and $3,000 to $20,000+ for semi-automatic or industrial machines.
Don’t forget extra costs for inks, screens, and equipment. Those can add up quicker than you might expect!
Conclusion
Now that you know what a screen printer does, remember: practice makes perfect. Screen printing might seem tricky at first, but with the right tools, preparation, and patience, you’ll create vibrant, lasting designs.
Whether you’re tackling single or multi-color prints, each step—from pretreatment to curing—is key to success. So jump in, keep experimenting, and soon you’ll master the art of screen printing like a pro!
Screen printing is an amazing craft that combines creativity and technique. By focusing on each part of the process, you’ll produce high-quality prints that stand out. Stick with it, and your skills as a screen printer will grow stronger every time you print.