How to Set Up Printer Wi-Fi in 7 Easy Steps
To set up your printer Wi-Fi in 7 easy steps, start by placing your printer near the router where the signal is strong. This helps ensure a stable connection.
Next, begin the wireless setup using the printer’s control panel.
Select your 2.4 GHz Wi-Fi network and enter the password exactly as it is. Double-check to avoid any typos.
Once done, confirm the connection status and print a test page to make sure everything is working.
After that, install the printer driver on your computer. This step is crucial for your device to communicate properly with the printer.
Finally, verify that the printer is connected and ready to use.
If you run into any issues, don’t worry. You can retry the setup process or use WPS if your printer supports it.
Keep following along for more detailed tips and troubleshooting advice to get the best from your wireless printer setup.
Key Takeaways
- Place the printer near the router and make sure both are powered on. Also, check that you have a strong Wi-Fi signal before you start the setup.
- Use the printer control panel to kick off the wireless setup. Then, select your Wi-Fi network—2.4 GHz is usually the better choice here.
- Enter the exact Wi-Fi password. Be careful with case sensitivity and characters. Avoid extra spaces or using guest network passwords.
- Confirm the printer is connected by checking the Wi-Fi status. You can also print a network configuration or a test page to be sure.
- Finally, download and install the correct printer driver. Use the software setup wizard to finish the wireless configuration.
Get Your Printer and Router Ready for Wi-Fi
Before you begin setting up your printer’s Wi-Fi, make sure it’s close to your router and both devices are powered on with a strong signal.
Next, identify your Wi-Fi network’s name (SSID) and check if it uses 2.4 GHz or 5 GHz, since most printers need 2.4 GHz for setup.
Have your Wi-Fi password or WPS info ready, and note the router’s security type, usually WPA2.
If your printer supports WPS, press your router’s WPS button within the time frame shown on the printer screen, then wait for the connection.
If not, use the printer’s setup menu, often called “Wireless Setup Wizard,” to select your SSID and enter the exact Wi-Fi password, including uppercase and lowercase letters.
Install Printer Software on Your Computer
Once your printer is connected to your Wi-Fi network, the next step is to install the correct software on your computer. Start by downloading the exact driver for your printer model from the manufacturer’s website.
Run the installer, and when prompted, select “Wireless” or “Network setup” so the software can detect your printer on the network. Follow the setup wizard to choose your Wi-Fi network name (SSID) and enter the password to confirm the connection.
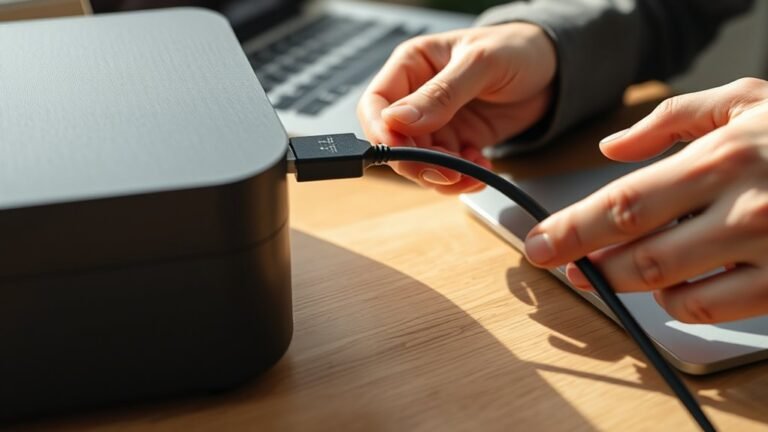
If the installer can’t find your printer, don’t worry. Just temporarily connect it via USB, install the driver, then switch to Wi-Fi through the software’s network settings.
Finally, verify the connection by printing a network test page or checking the printer’s IP address in your computer’s Printers & Scanners settings. Easy, right?
Start Wireless Setup From Your Printer’s Control Panel
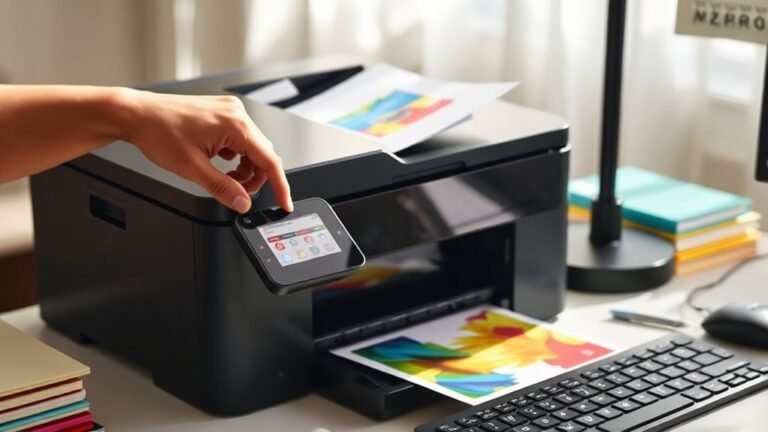
Typically, you’ll start the wireless setup directly from your printer’s control panel by moving through the Settings or Network/Wireless Setup menu and selecting the Wi-Fi Setup Wizard. This initiates the connection process.
If your printer supports WPS, you can opt for that method by pressing the WPS button on your router and then choosing WPS on the printer. This way, you bypass the need to enter a password.
Otherwise, you’ll select your Wi-Fi network name from the list and get ready to enter your password in the next step. After the printer connects, watch for a confirmation message like Connected or Wi-Fi Ready.
If possible, print a network report to find the printer’s IP address. This confirms your printer is ready for installation on your devices.
Choose Your Wi-Fi Network and Enter the Password
On your printer’s control panel, select your home Wi-Fi network from the available list. Enter the password exactly as it appears, making sure to watch out for uppercase letters and special characters.
Once you’re connected, keep an eye out for a confirmation message. You can also print a status report to double-check that your printer successfully joined the network.
Selecting Your Network
Start by turning on your printer and going through its wireless setup menu, usually found under Settings → Network → Wireless Setup Wizard.
Once there, you’ll see a list of available Wi-Fi networks. Look for your home Wi-Fi name (SSID) and select it carefully, making sure it matches your router’s exact network name.
If your Wi-Fi offers both 2.4 GHz and 5 GHz bands, choose the 2.4 GHz network, as it generally provides better compatibility with printers. Avoid selecting the wrong network to prevent connection issues.
After selecting your network, your printer will prompt you to enter the password, but we’ll cover that next. For now, just focus on locating and choosing the correct Wi-Fi network to move forward with your setup.
Entering Wi-Fi Password
After you’ve selected your home Wi-Fi network from the printer’s wireless setup menu, the next step is to enter your Wi-Fi password. Make sure you type it exactly as it appears on your router. Pay close attention to case sensitivity and avoid any extra spaces before or after the password.
Use the printer’s character input method carefully, confirming each character. Or, if available, use copy/paste from the setup app to avoid mistakes. When prompted, connect using WPA2 or WPA3 security to match your router’s current mode.
Avoid WEP unless your printer specifically supports it. Once you submit the password, wait patiently for your printer to indicate it’s connected. Only then should you move on to print your test page. This way, you’ll ensure a smooth setup without connection errors.
Confirming Network Connection
How do you verify your printer’s connection to your Wi-Fi network? Start by powering on your printer and opening its Wi-Fi or Network Setup menu. Select your home Wi-Fi network name (SSID) from the list, making sure to choose the correct band—most printers connect via 2.4 GHz, not 5 GHz.
Enter your Wi-Fi password carefully, paying attention to case sensitivity, then press OK or Submit to initiate the connection. Wait for a “Connected” message or Wi-Fi symbol to appear on the printer’s display.
If it doesn’t connect, double-check the SSID, password, and ensure your router is within range. Finally, print a network status or configuration page if available to verify the printer has obtained an IP address and is connected to the correct Wi-Fi network.
Check Your Printer’s Wi-Fi Connection Status
Before proceeding with any setup, you’ll want to confirm whether your printer is already connected to your Wi-Fi network. Start by checking the printer’s control panel for a Wi-Fi or Network Settings menu to see connection status.
You can also print a Network Configuration report from the Settings menu, which shows the SSID, signal strength, and IP address. If it says “not connected” or shows no IP, your printer isn’t linked to your network yet.
Some printers support WPS, so if your router has a WPS button, check if the printer’s waiting for a WPS handshake. Finally, verify the printer’s SSID and frequency band, as many printers only connect reliably to 2.4 GHz.
- Look for Wi-Fi or Wireless Setup on the printer’s screen
- Print a Network Configuration or Wireless Status report
- Check if the IP address field is blank or filled
- Confirm WPS mode if your router supports it
- Match SSID and frequency band (2.4 GHz vs 5 GHz)
Print a Test Page to Confirm Wireless Printing
Once you confirm your printer is connected to the correct Wi-Fi network, the next step is to print a test page to verify the wireless setup. Use your printer’s control panel to find the option—usually under Setup, Network, or Wi-Fi menus—to print a Wireless Network Test Page or Network Configuration Page.
Check that the test page lists your SSID, a valid Wi-Fi IP address, and a connection status like “Connected.” This confirms your printer is online and communicating with your router.
Then, from your computer or phone, send a test document to print using the same printer name shown on the test page. If the page shows no IP or a disconnected status, double-check your Wi-Fi band and password.
After that, try printing the test page again.
Fix Common Wi-Fi Printing Problems
Having trouble with your Wi-Fi printer? No need to fret—you can resolve typical problems with a few straightforward steps. First, put your printer within a strong Wi-Fi signal range and confirm your device connects to the same network.
Troubleshoot your Wi-Fi printer easily by ensuring it’s close to your router and connected to the same network.
If setup doesn’t work, reboot your printer, router, and device, then try again. Recheck your Wi-Fi password for correctness and turn off conflicting security settings.
For cases where the printer connects but won’t produce prints, set it as the default and verify it’s “Ready.” If your printer supports WPS, use it carefully in line with your router’s security guidelines.
- Place printer within 1–3 rooms of the router for strong signal
- Restart devices and retry Wi-Fi setup from the printer’s control panel
- Type the Wi-Fi password exactly, avoiding WEP/WPA3 or guest network conflicts
- Set printer as default and check its status before printing
- Use WPS only if your devices support it securely
Frequently Asked Questions
How Do I Set up My HP Printer on Wi-Fi?
You open your HP printer’s control panel and select the Wireless Setup Wizard. Then, pick your Wi-Fi network from the list.
Next, enter the password carefully to make sure it’s correct. After that, use the HP Smart app on your device to complete the connection.
Finally, verify it’s working by printing a test page or checking the connection status in the app. It’s pretty straightforward!
How Do I Manually Connect to Wi-Fi?
You manually connect by entering your Wi-Fi’s SSID and password on the printer’s network setup menu.
If your network isn’t listed, choose “Add Wi-Fi Manually.” Just enter the details exactly as they are, then confirm to connect.
How to Use a Printer With No Wi-Fi?
You connect via USB, you share through a computer, or you set up a print server.
You won’t get direct Wi-Fi, but by linking through these methods, you’ll still print wirelessly from your devices. It’s a handy workaround that keeps things simple.
What Is the Easiest Wireless Printer to Set Up?
The easiest wireless printer to set up is one with built-in Wi-Fi and a WPS button. You just press WPS on both the router and the printer, then follow quick prompts on the touchscreen or app for a fast connection.
It’s really that simple! No complicated steps or long manuals to read through. Just a couple of clicks, and you’re good to go.
Conclusion
Setting up your printer’s Wi-Fi is easier than you think. Get your devices ready, install the software, and start the wireless setup.
Choose your network, enter the password, and check the connection. Print a test page to confirm everything works.
If issues pop up, troubleshoot common problems quickly. By following these simple, clear steps, you’ll enjoy seamless wireless printing.
This setup will save you time and boost your productivity effortlessly. With a reliable Wi-Fi printer connection, you can print from anywhere in your home or office. You’ve got this! Just follow these easy steps to get your printer’s Wi-Fi up and running smoothly.