How to Connect Printer to Computer With USB Cable in 3 Easy Steps
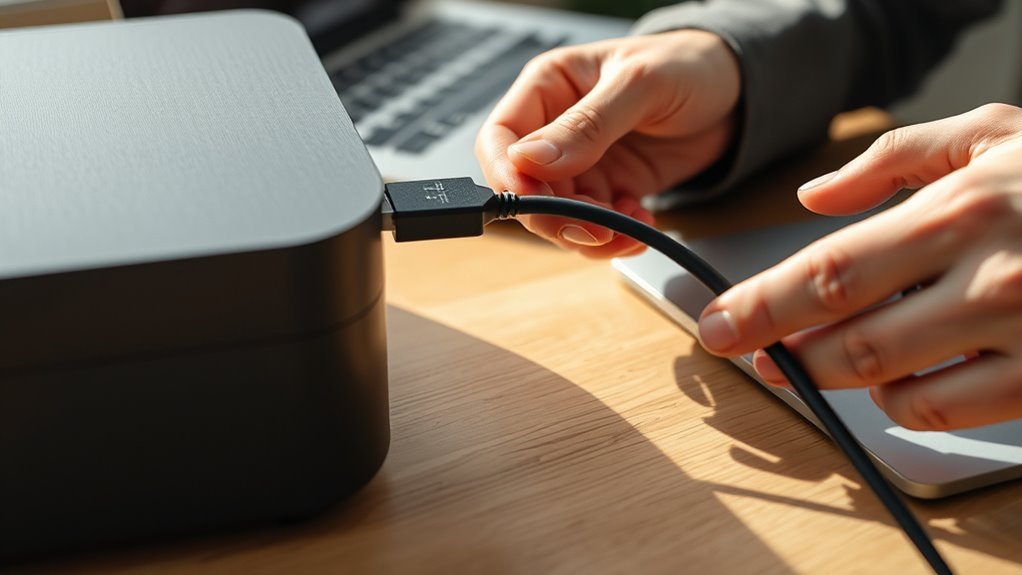
First, power on both your printer and computer. Then, connect them using a quality USB A-to-B cable—ideally 3 to 5 meters or shorter. Using the right USB cable ensures a stable connection for smooth printing.
Next, download the correct driver from your printer manufacturer’s website and install it. Just follow the prompts carefully, and you’ll have everything set up in no time.
Finally, add your printer through your computer’s settings. Print a test page to make sure everything is working, and set it as default if needed. Keep going to uncover tips for troubleshooting and ensuring smooth printing every time.
Key Takeaways
- Power on both the printer and computer before connecting the USB cable.
- Use a good-quality, short USB A-to-B cable plugged into a rear or USB 3.0/2.0 port.
- Wait 30–60 seconds after connecting for the operating system to detect the printer.
- Download and run the printer manufacturer’s driver installer matching your OS version.
- Confirm the printer appears in system settings and print a test page to verify connection.
That’s it! Your printer should now be ready to use.
Get Your Printer and Computer Ready for USB Connection
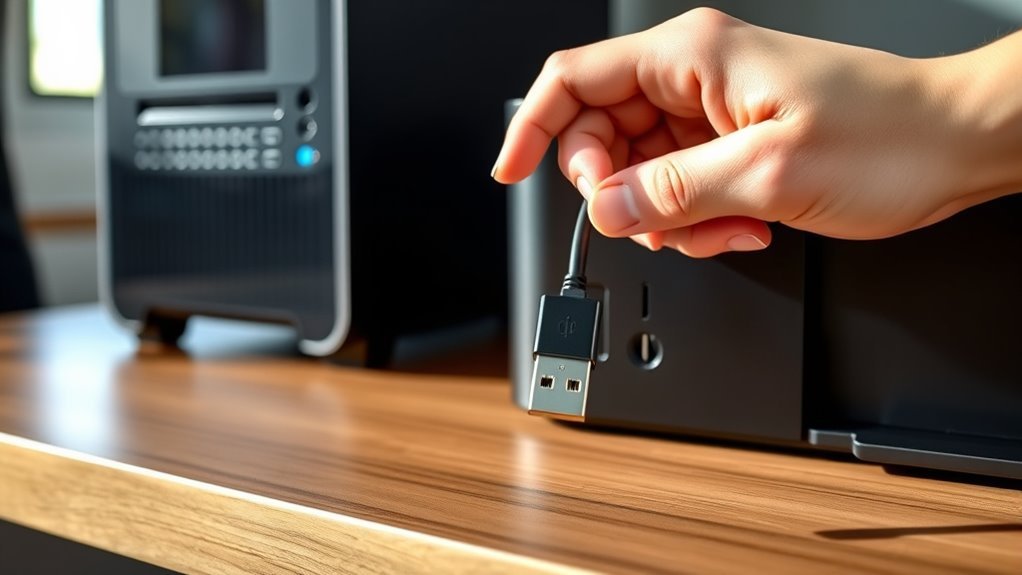
Before you connect your printer to your computer, make sure both devices are powered on and ready. Grab a good-quality USB cable, ideally under 3 to 5 meters, with a USB A-to-B connector—square shape for the printer end.
Use an available USB port on your computer, preferably a rear port on desktops or a USB 3.0/2.0 port. Avoid unpowered hubs; if you must use one, make certain it’s powered to prevent signal issues.
When you connect a printer using the USB cable, wait 30 to 60 seconds for your operating system to detect the device and attempt to install the printer driver automatically. This preparation helps guarantee a smooth connection and reduces troubleshooting later on.
Download and Install Your Printer Drivers
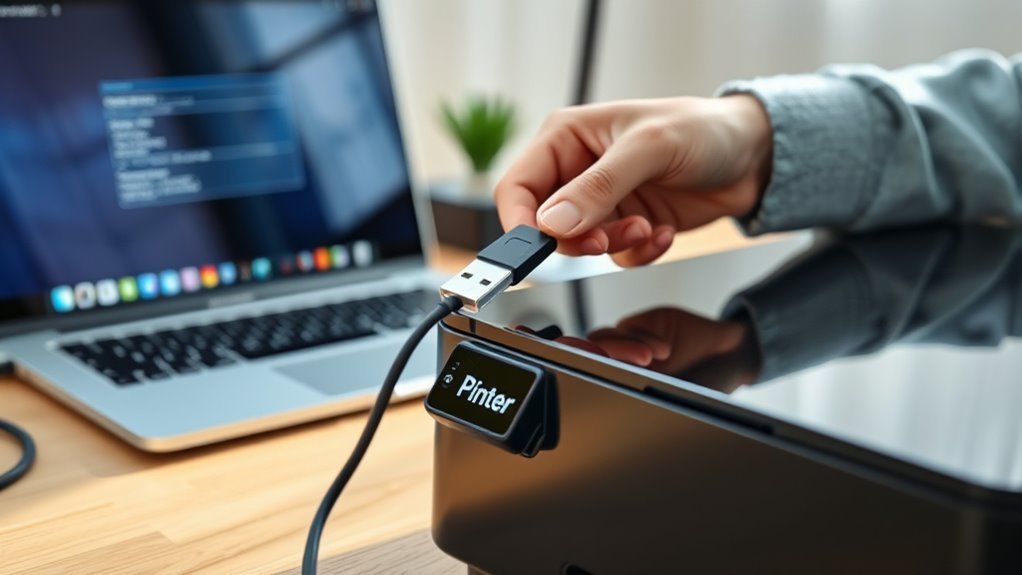
Once your printer is connected and recognized by your computer, the next step is to download and install the correct drivers. Head to your USB printer’s manufacturer website (like Epson, Canon, or HP) for an accurate driver download tailored to your printer model and Windows or Mac compatibility.
After connecting your printer, download drivers from the manufacturer’s site for the best compatibility and performance.
Check the driver’s release date and version to confirm it matches your OS (Windows 10/11 or macOS 12/13). Avoid relying on generic drivers from the OS, as they often lack full functionality.
If Windows shows “driver unavailable,” uninstall any failed printer entries in Settings before rebooting. Then run the manufacturer installer, plugging in your USB printer only when prompted.
Keep a copy of the installer for easy updates after major system changes. It’ll save you time and hassle later on.
Add Your USB Printer, Print a Test Page, and Troubleshoot Issues
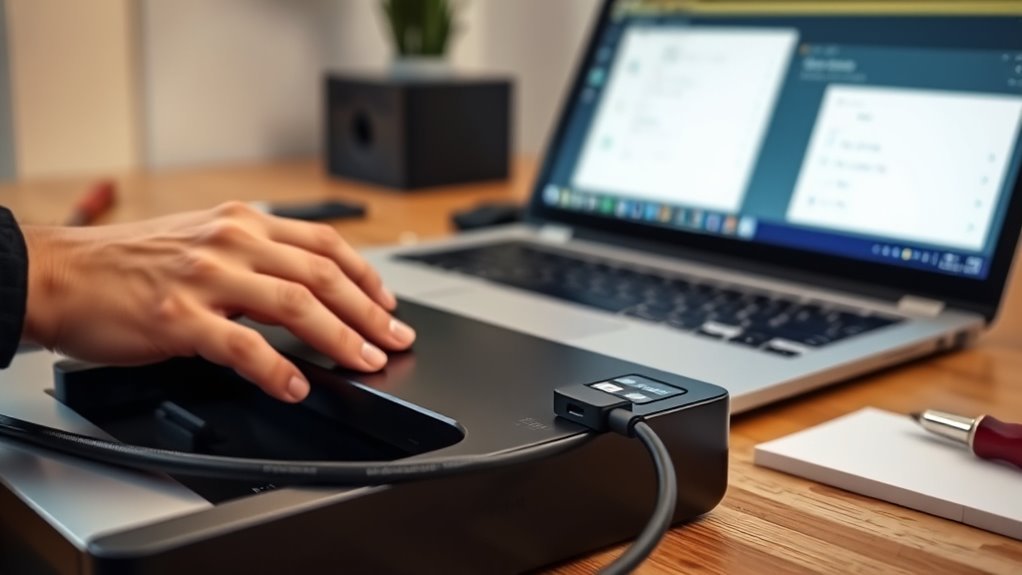
Plug in your USB printer using a compatible cable, then power on both devices and give your computer about 30 to 60 seconds to detect it automatically.
Next, go to your printer settings—Windows users head to Settings > Bluetooth & devices > Printers & scanners; macOS users open System Settings > Printers & Scanners. Confirm your printer appears, then select it and choose “Print test page” to make sure it’s working.
If your computer doesn’t recognize the USB device, try a different port or cable. Avoid long or cheap cables, and restart both devices.
To prevent duplicates, remove any failed or wireless versions of the same model in printer settings. Set the correct USB device as default, and reinstall the manufacturer’s driver if features are missing.
Frequently Asked Questions
How to Print From Laptop to Printer HP?
You just select your HP printer from your laptop’s print menu, choose your document, then click print. Make sure the printer’s on and connected.
If needed, check printer settings or reinstall drivers for smooth printing. It helps to keep everything running without a hitch.
How to Connect Printer to Computer With USB Cable?
Connecting your printer is as simple as a handshake: plug the USB cable into your printer and computer. Then, power both on and let Windows detect it.
If needed, just install the drivers. After that, print a test page to confirm everything’s working. Easy, right?
How Do I Know Which USB Port My Printer Is Connected To?
You can check which USB port your printer uses by unplugging it and watching which port disappears in Device Manager or the Printers list.
Then, just plug it back in. The new port that appears is the one connected to your printer.
It’s an easy way to figure out exactly where your printer is plugged in without any hassle.
Is It Better to Connect a Printer by Wi-Fi or USB?
It depends on your needs. You’ll want USB for faster, reliable printing on a single device.
But choose Wi-Fi if you need multiple devices connected or want to print wirelessly from smartphones and tablets easily. It’s super convenient when you don’t want to be tied down by cables.
Conclusion
Connecting your printer with a USB cable is so tricky, right? Just kidding—it’s actually super simple! You’ve got your devices ready, drivers installed, and your printer added.
If it doesn’t work immediately, don’t panic; technology loves to keep us on our toes. But once you print that test page, you’ll wonder why you ever thought it was complicated.
So go ahead—embrace the “challenge” and enjoy hassle-free printing! Connecting your printer to your computer with a USB cable is an easy and reliable way to get started. With just a few simple steps, you can have your printer set up and ready to go in no time. Once connected, you’ll enjoy smooth, straightforward printing without the fuss.