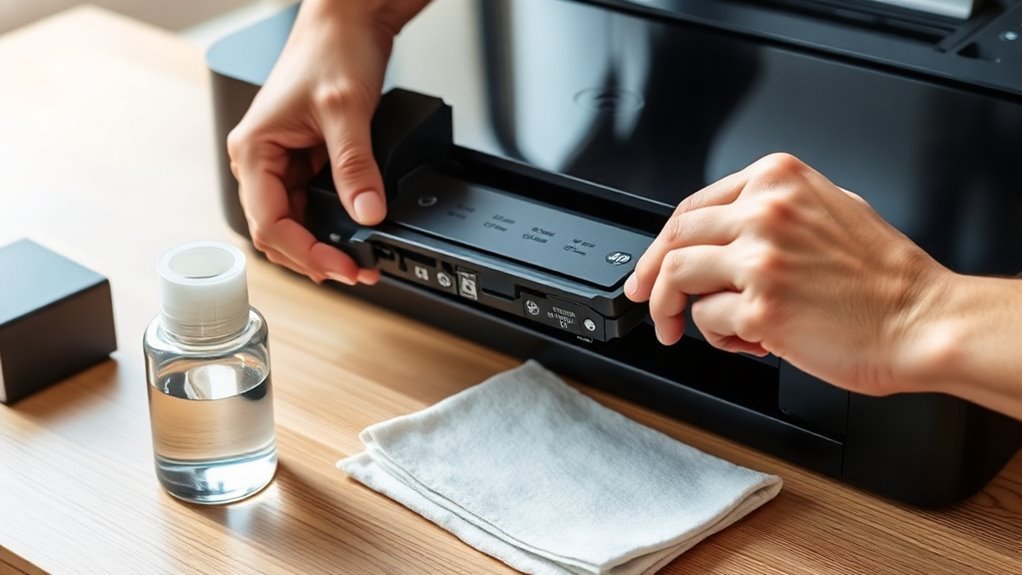
How to Clean HP Printer Heads in 7 Easy Steps
You’ll know your HP printer heads need cleaning if your prints show streaks, missing colors, or blurry text. These common print quality issues often mean the nozzles are clogged or dirty. Keeping your printer heads clean is key to maintaining sharp, vibrant prints every time.
Start by gathering lint-free cloths, distilled water, and gloves, then power off and unplug your printer. It’s important to be gentle and careful during the cleaning process to avoid damage.
Use the built-in cleaning tool through your printer’s software first. This automated step can often clear up minor clogs without any hassle.
If needed, manually clean the nozzles gently with a damp cloth, let them dry fully, and reinstall cartridges carefully. Take your time here to avoid misalignment or damage.
Finish by running a test print to check quality. If streaks or missing colors persist, repeat the cleaning or consult your printer’s manual.
Keep going to find more detailed tips for a flawless clean. Your printer will thank you!
Key Takeaways
- Power off and unplug the HP printer, then remove ink cartridges carefully to access the print heads.
- Use the printer’s built-in cleaning tool via the control panel or HP software to start an automated printhead cleaning cycle.
- For manual cleaning, dampen a lint-free cloth or cotton swab with distilled water or isopropyl alcohol and gently wipe the print head nozzles.
- Let the print heads air dry completely on a lint-free towel for 2-3 hours before reinstalling the cartridges.
- Reinstall cartridges securely, close the printer cover, power on, and run a test print to verify improved print quality.
Signs Your HP Printer Heads Need Cleaning
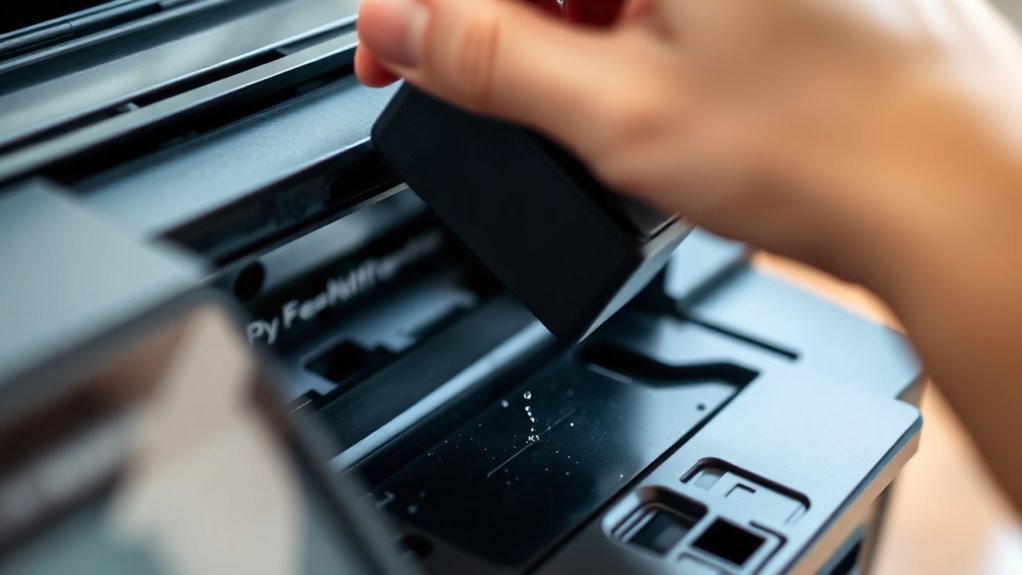
Although your HP printer might seem fine at first glance, certain signs can indicate it’s time to ensure it’s time to clean the printer heads. If you notice streaks, smudges, or missing colors in your prints, that’s a clear warning.
Blurry or faded text also suggests clogged nozzles. When printouts show uneven color distribution or horizontal lines, your printer heads likely need attention.
Blurry text or uneven colors signal clogged nozzles and that your printer heads need cleaning.
You might also experience frequent ink cartridge errors or reduced print quality even after replacing ink. If your printer has been idle for a while, dried ink can block the nozzles.
Ignoring these signs can worsen print quality and waste ink. Paying attention early helps you maintain sharp, vibrant prints without frustrating interruptions.
Recognizing these indicators saves you time and ensures consistent, professional results. So, keep an eye out and give your printer heads a clean when needed!
What You’ll Need to Clean HP Printer Heads
What materials do you need to clean your HP printer heads effectively? Start with lint-free cloths or paper towels to avoid leaving fibers behind.
You’ll also need distilled water or isopropyl alcohol (at least 90%) as a cleaning solution—never use tap water, which can cause damage. Have cotton swabs on hand for precise cleaning around the printer head nozzles.
If you prefer, pick up a specialized printer head cleaning kit for convenience. Additionally, keep gloves to protect your hands from ink and cleaning fluids.
Finally, have some old newspapers or disposable sheets ready to catch drips and prevent messes. Gathering these items before you start ensures a smooth, efficient cleaning process without interruptions.
Get Your HP Printer Ready for Cleaning
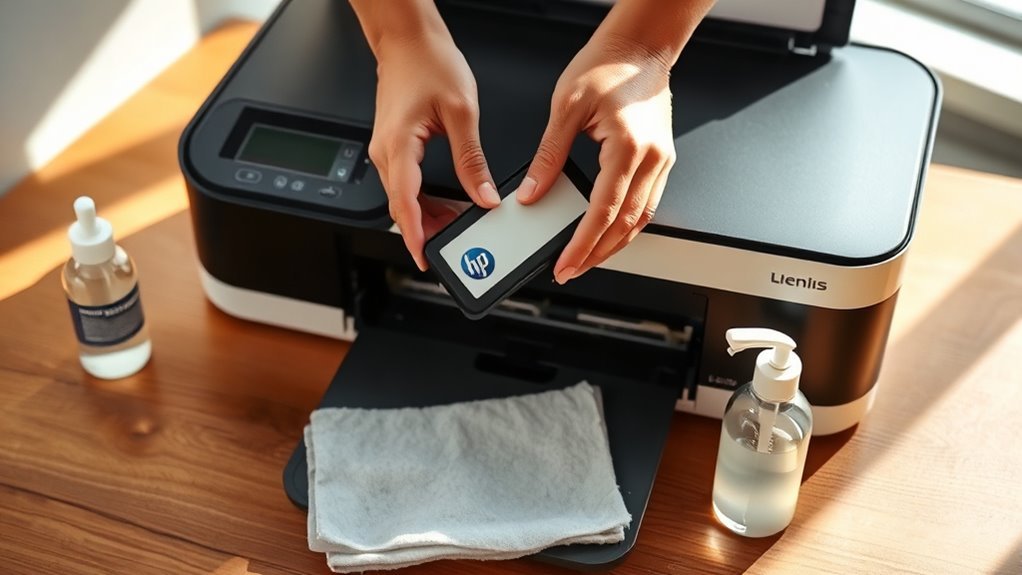
Before you start cleaning, make sure you’ve gathered all the necessary supplies. It’s good to have everything ready so the process goes smoothly.
Power off your HP printer and unplug it to stay safe. Safety first, right?
Then, carefully open your printer to access the print head components. Take your time with this step to avoid any damage.
Gather Necessary Cleaning Supplies
Start by gathering all the necessary supplies to clean your HP printer heads effectively. You’ll need lint-free cloths or paper towels to avoid leaving fibers behind.
Have distilled water or a specialized printer head cleaning solution on hand, as tap water can contain minerals that may clog the nozzles. Prepare a small bowl to hold the cleaning liquid for soaking the cloth.
Also, get cotton swabs for precise cleaning in tight spots. Avoid using harsh chemicals or abrasive materials, which can damage the delicate printer heads.
Finally, keep gloves handy to protect your hands from ink stains and cleaning agents. Having these supplies ready before you start will make the process smoother and help restore your printer’s performance quickly.
Power Off And Unplug
Since printer heads are delicate electronic components, you should power down your HP printer and disconnect it from the electrical outlet before cleaning. This step ensures your safety and prevents any electrical damage to the printer’s sensitive parts.
Here’s what you need to do:
- Press the power button to turn off your printer completely.
- Wait for the printer to stop all operations and the power light to go out.
- Unplug the power cord from the electrical outlet to disconnect the printer from any power source.
It’s pretty straightforward, and taking these precautions will help keep your printer in good shape!
Access Printer Head Components
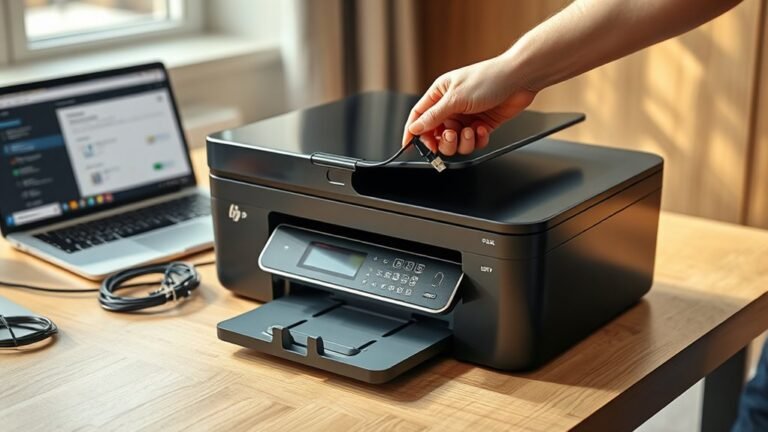
Opening your printer carefully, you’ll gain access to the printer head components needed for cleaning. Start by lifting the scanner lid or top cover, depending on your HP model.
The printer carriage, which holds the ink cartridges and printer heads, will move to the center for easy access. Wait until it stops completely before proceeding. If it doesn’t move automatically, gently slide it to the center by hand.
Next, remove the ink cartridges by pressing the release tabs and lifting them out. Set them on a clean surface. Now, you can see the printer head assembly clearly.
Be cautious not to touch any electrical contacts or nozzles to avoid damage. With the printer head components exposed, you’re ready to begin the cleaning process.
Use HP Printer’s Built-In Cleaning Tool
Accessing and running the HP printer’s built-in cleaning tool can quickly resolve clogged print heads without requiring manual cleaning.
To use this feature, follow these simple steps:
- Open the printer’s control panel or HP software on your computer. Navigate to the maintenance or tools section, where the cleaning option is typically located.
- Select the “Clean Printheads” or similar option. The printer will start the cleaning cycle, flushing ink through the nozzles to clear blockages.
- Print a test page after the cleaning completes. This helps you check if the print quality has improved or if you need to run the cleaning cycle again.
Using this tool regularly keeps your HP printer running smoothly and ensures sharp, clear prints without hassle.
Manually Clean HP Printer Heads When Needed
If the built-in cleaning tool doesn’t fully clear the clogged print heads, you might need to clean them manually. First, turn off your HP printer and unplug it.
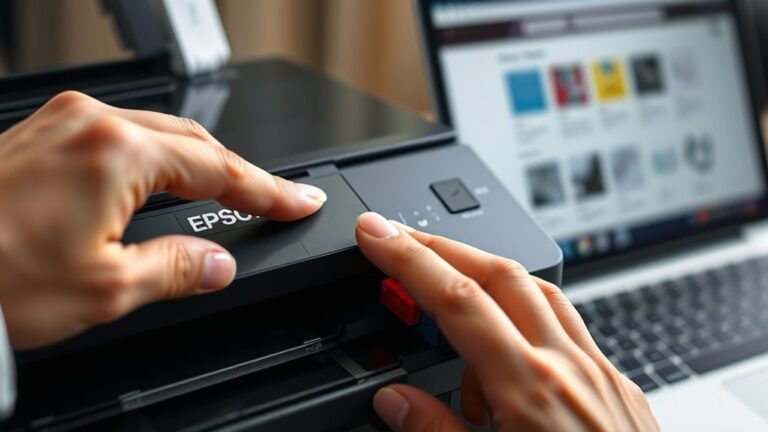
Open the printer cover to access the print heads and carefully remove the ink cartridges. Place them on a clean paper towel.
Dampen a lint-free cloth or cotton swab with distilled water or isopropyl alcohol. Gently wipe the print head nozzles to remove any dried ink or debris. Just be careful not to touch the electrical contacts.
After cleaning, let the print heads air dry for a few minutes. Once they’re dry, reinstall the cartridges securely, close the printer cover, and plug the printer back in.
Run a test print to see if the quality has improved. If it hasn’t, you can repeat the process until you get better results.
Dry and Reinstall HP Printer Heads
After cleaning, you’ll want to ensure the printer heads are properly dried to avoid any damage or smudging.
Make sure you follow the correct steps when reinstalling them. This helps ensure they fit securely and function well.
Let’s go over the best drying techniques and how to reinstall the heads correctly.
Proper Drying Techniques
Allow the printer heads to dry completely before reinstalling them to prevent any damage or ink smudging. Proper drying ensures your printer heads work effectively and last longer.
Here’s how you can dry them effectively:
- Air Dry Naturally: Place the printer heads on a clean, lint-free paper towel in a well-ventilated area. Avoid direct sunlight or heat sources to prevent warping or damage.
- Use a Gentle Fan: Position a small fan nearby to speed up drying without blowing dust onto the heads. Keep the airflow gentle to avoid disturbing the delicate components.
- Wait Patiently: Allow at least 2-3 hours for the heads to dry fully. Rushing this step can cause ink smears or clogs later.
Following these steps guarantees your printer heads are ready for reinstallation and smooth printing. Just take your time, and you’ll be good to go!
Correct Reinstallation Process
Once your printer heads are completely dry, you can begin the reinstallation process to get your HP printer back in working condition. First, carefully align the printer heads with their slots inside the printer.
Gently slide them in, making sure they click or lock securely into place without forcing them. Next, reconnect any cables or connectors you detached earlier.
Close the printer cover firmly but gently. Power on your printer and run a test print to confirm the heads are properly installed and functioning.
If you notice any issues, double-check the alignment and connections. Taking your time during reinstallation helps prevent damage and ensures your printer runs smoothly.
Following these steps will have your HP printer ready to produce clean, crisp prints again.
Test Prints to Confirm HP Printer Heads Are Clean
To verify that your HP printer heads are truly clean, you’ll want to run a test print. This step ensures the cleaning was effective and your printer is ready for regular use.
Here’s how to do it:
- Access Printer Settings: Open your printer software on your computer and find the maintenance or tools section.
- Select Test Print: Choose the option to print a test page or nozzle check pattern.
- Review the Printout: Examine the test print for any gaps, streaks, or color inconsistencies.
If you see any issues, just repeat the cleaning process or run the printer’s automated cleaning cycle once more. It’s a quick way to make sure everything looks good.
Performing a test print confirms your efforts paid off. Plus, it keeps your prints sharp and clear every time you use the printer.
Frequently Asked Questions
How Often Should I Clean My HP Printer Heads?
You should clean your HP printer heads every few months or whenever you notice print quality issues like streaks or faded colors.
Regular use helps prevent clogs, but don’t wait too long to avoid damage.
Keeping an eye on how your prints look is a good way to know when it’s time for a clean.
If your pages start looking off, give the printer heads a quick clean to keep things running smoothly.
Can Using Third-Party Ink Damage HP Printer Heads?
Think of your printer heads as delicate flowers; using third-party ink can be like watering them with harsh chemicals. It might clog or damage your printer heads, so you should stick to original ink for safer, smoother printing.
Using the right ink helps keep everything running smoothly. Third-party inks might save money upfront, but they can cause problems down the line. So, it’s usually better to play it safe with the manufacturer’s ink.
What Causes HP Printer Heads to Clog Frequently?
You’ll find HP printer heads often clog frequently due to infrequent use, poor-quality ink, or dried ink residue.
Keeping your printer active and using authentic ink helps prevent clogs and ensures smooth, consistent printing performance.
Is It Safe to Clean Printer Heads With Alcohol?
You shouldn’t clean printer heads with regular alcohol; 70% isopropyl alcohol is safer and dissolves ink effectively. Using harsh chemicals risks damage—stick to recommended cleaners to keep your HP printer running smoothly without voiding warranties.
It’s really best to avoid anything too strong or abrasive. Just a little care goes a long way in making sure your printer stays in good shape. So, next time you clean those heads, reach for the right stuff!
Can I Clean HP Printer Heads Without Removing Them?
Yes, you can clean HP printer heads without removing them by using the printer’s built-in cleaning utility. It flushes ink through the nozzles, clearing clogs safely without needing to physically remove the heads.
This means no mess and no fuss. Just run the utility from your printer’s menu or software, and it does the job for you!
Conclusion
Cleaning your HP printer heads might seem tricky, but it’s simpler than you think—and totally worth it. You might worry about damaging your printer, but following these steps carefully won’t harm a thing.
In fact, a clean print head means sharper prints, fewer wasted pages, and less frustration. Taking a few minutes now saves you time and money later.
So don’t hesitate—your printer (and patience) will thank you! Regularly cleaning your HP printer heads not only improves print quality but also extends the life of your printer. Keeping those print heads clean ensures consistent, vibrant colors and crisp text every time you print. Trust me, a little maintenance goes a long way in avoiding costly repairs or replacements down the road. Ready to get started? Let’s dive into those easy steps and get your HP printer printing like new again!