How to Change Printer Name in 3 Easy Steps
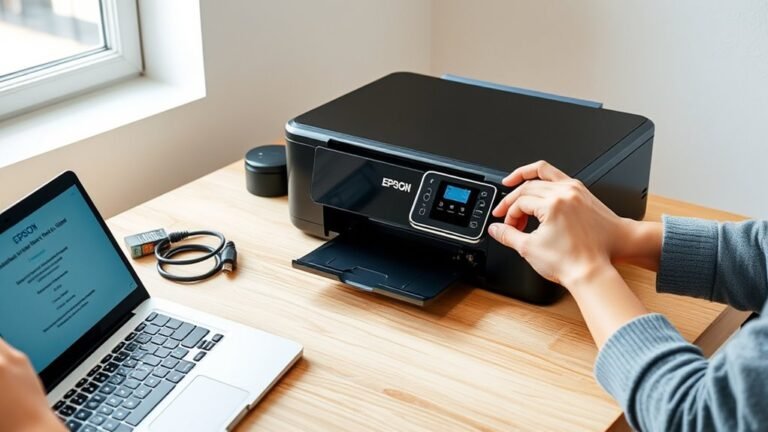
To change your printer name in 3 easy steps, first make sure your printer is connected and confirmed on your device. This is important because your computer needs to recognize the printer before you can rename it.
Next, access the printer settings, usually found under properties or preferences, and look for the label edit option.
Once you find it, enter your new printer name and save the changes. It’s that simple! Your computer and other connected devices will now recognize the printer by the updated name.
If you want to avoid common issues and ensure smooth renaming, keep following for helpful tips.
Changing your printer name can help you organize multiple devices better, especially in busy work environments or at home with several printers.
Key Takeaways
- Confirm the printer is connected to your computer or network before starting the renaming process.
- Access printer settings through properties or preferences to find the name edit option.
- Enter the new printer name in the designated field within printer settings.
- Save the changes to update the printer name and ensure recognition by connected devices.
- If issues arise, verify admin rights, check printer status, and avoid special characters in the name.
Rename Your Printer in 3 Easy Steps
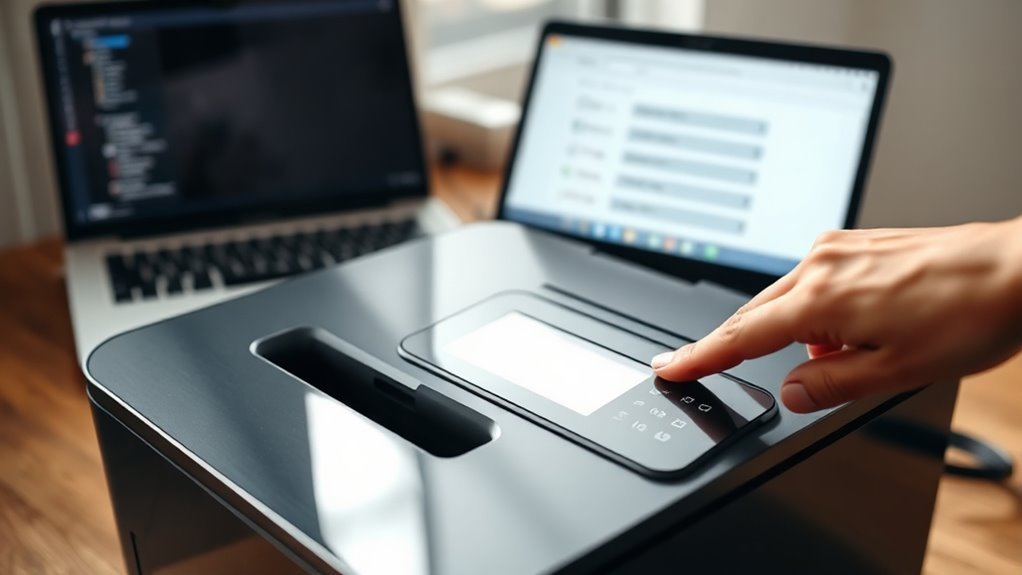
Before you start renaming your printer, make sure it’s connected to your computer or network. Once confirmed, you’re ready to rename your printer in just three simple steps.
First, access the printer settings on your device. Next, look for the option that allows you to edit the printer’s name—this is usually found under printer properties or preferences.
Finally, enter your desired new name and save the changes. This process helps you quickly identify your printer, especially if you have multiple devices connected.
Following these straightforward steps ensures your printer’s name is updated without trouble. Once renamed, your computer and other connected devices will recognize the printer by its new name, simplifying your printing tasks going forward.
Find Printer Settings to Rename Your Printer (Windows and Mac)
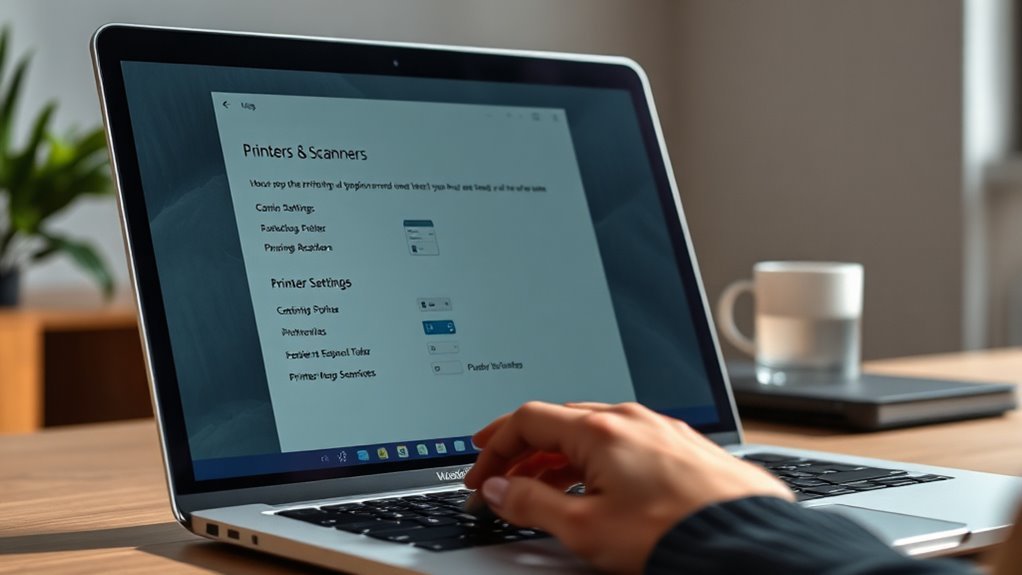
Once you’re ready to rename your printer, the next step is locating the printer settings on your computer. On Windows, click the Start menu, then open Settings and go to Devices.
Select “Printers & scanners” from the sidebar. Find your printer in the list, click it, and choose “Manage.” Here, you’ll see the option to rename your printer.
On a Mac, open System Preferences and click “Printers & Scanners.” Select your printer from the list on the left, then click “Options & Supplies.”
In the window that appears, you’ll find the name field, allowing you to edit it directly. This quick access to printer settings makes renaming straightforward on both Windows and Mac systems.
Fix Common Printer Renaming Issues
Although renaming your printer is usually straightforward, you might run into common issues like permission errors or the new name not saving properly.
Don’t worry—here are some quick solutions to get you back on track:
- Run as Administrator: Make sure you have admin rights. Without them, changes won’t save.
- Check Printer Status: Ensure the printer isn’t offline or in use during renaming.
- Restart Print Spooler Service: Sometimes, restarting this service clears glitches blocking the change.
- Avoid Special Characters: Stick to letters and numbers in the name; some characters can cause errors.
Frequently Asked Questions
Can I Rename a Printer on a Mobile Device?
Yes, you can rename a printer on a mobile device, but it depends on your printer’s app or settings.
Open the app, find the printer settings, and look for an option to edit the printer name.
It’s usually pretty straightforward, but sometimes the option might be hidden or not available depending on the brand or model.
If you don’t see it, check the printer’s manual or support site for more details.
Does Renaming Affect Printer Functionality?
No, renaming your printer won’t affect its functionality. You’ll still be able to print as usual since the change only updates the name shown on your devices.
It doesn’t mess with the printer’s core settings or how it connects. So, feel free to rename it without any worries!
How to Share a Renamed Printer on a Network?
Simply share your renamed printer by selecting it in your system’s settings, then choosing “Share.” Set sharing permissions, name it clearly, and connect other computers.
Sharing smoothly spreads printing power across your network! It’s an easy way to keep everyone printing without a hassle.
Can I Rename Multiple Printers at Once?
You can’t rename multiple printers at once directly through Windows. You’ll need to rename each printer individually.
Or, if you’re managing many printers on a network, you might want to use a script or a third-party tool to automate the process. It can save you a lot of time!
Will Renaming a Printer Delete Its Print History?
No, renaming a printer won’t delete its print history. Your print jobs and logs stay intact because the history is tied to the printer’s ID, not its display name.
Conclusion
Changing your printer’s name is surprisingly simple—who knew something so small could cause so much confusion?
Now that you’ve renamed it in just three easy steps, you won’t have to guess which printer to choose next time.
It’s ironic how such a tiny tweak can save you from a world of printing chaos.
So go ahead, rename that printer and enjoy the oddly satisfying clarity it brings to your digital life!
Renaming your printer not only makes your printing process smoother but also helps you quickly identify the right device every time. This simple printer name change can prevent mix-ups and save time, especially if you have multiple printers around. By customizing your printer’s name, you’re turning a small task into a big productivity win. So, take these easy steps to change your printer name and experience hassle-free printing like never before!