How Do You Put Ink in a Printer in 5 Easy Steps?
To put ink in your printer in five easy steps, you first need to identify your printer’s correct ink type and cartridge model. This is super important because using the wrong ink can cause problems.
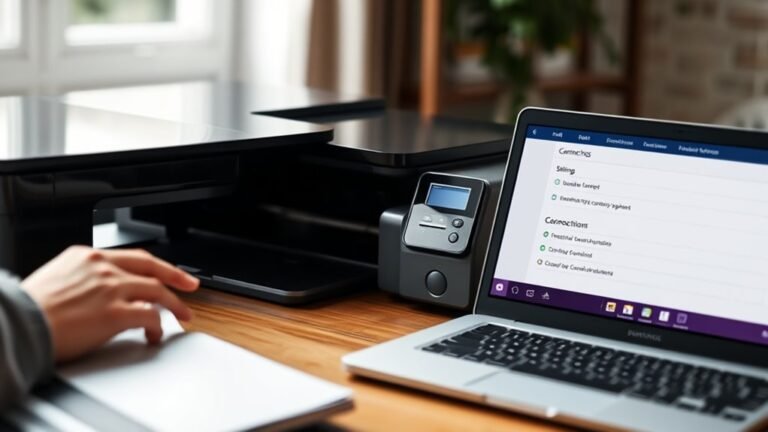
Once you know what you need, prepare a clean workspace and turn off the printer before you start.
Next, carefully remove the old cartridge without touching the contacts. This helps avoid any damage or ink smudges.
Then, either refill the cartridge by injecting ink slowly or snap in a brand-new one, whichever you prefer.
Finally, run a test print to see how it looks.
If the print quality isn’t perfect, perform a cleaning cycle to get things right.
Keep reading for detailed tips on each step to make the process even easier!
Key Takeaways
– Identify your printer’s compatible ink type and cartridge model before starting the refill or replacement process.
This step is super important to avoid any mishaps with your printer later on.
– Prepare a clean workspace with protective materials and necessary tools like gloves and a syringe or dropper.
Having everything ready before you begin makes the whole process smoother and less messy.
– Power off the printer, open it carefully, and gently remove the old ink cartridge without touching contacts or nozzles.
Be gentle here to avoid damaging any delicate parts.
– Refill the cartridge slowly through the fill hole or replace it with a new one, ensuring it clicks securely back into place.
Make sure it fits snugly so your printer doesn’t complain.
– Turn on the printer and print a test page to verify ink flow, running cleaning cycles if print quality is poor.
If it’s not perfect the first time, don’t worry! Cleaning cycles usually help fix that.
Find Your Printer’s Ink Type and Cartridge Model
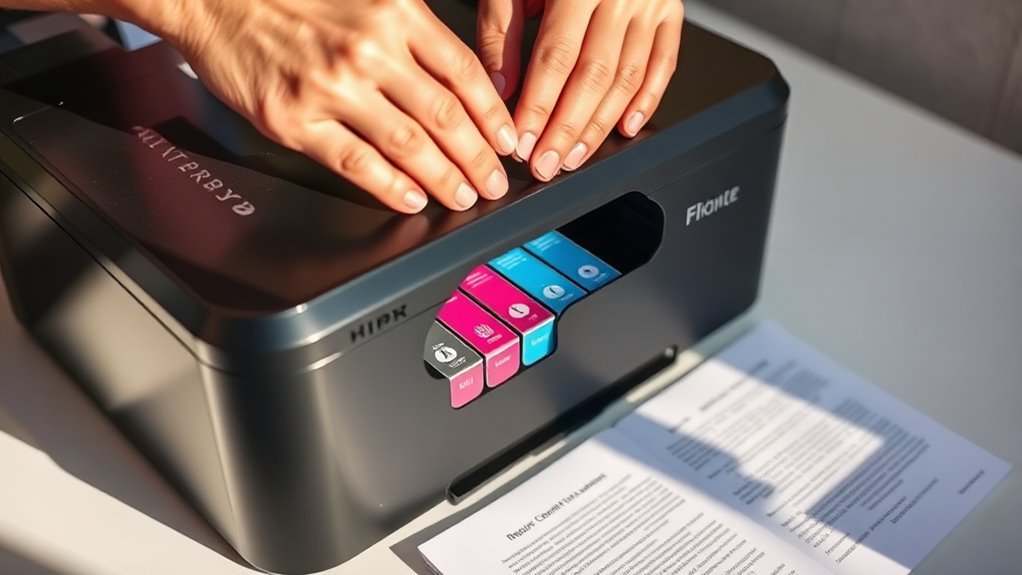
How do you know which ink type and cartridge model your printer needs? First, check your printer’s manual or manufacturer’s website; they usually list compatible ink types and cartridge numbers.
Check your printer’s manual or the manufacturer’s website to find compatible ink types and cartridge models.
If you don’t have the manual, look inside the printer where the cartridges sit—there’s often a label or printed info on the cartridge itself. You can also find the cartridge model on the old cartridge, which helps when buying replacements or refilling.
Remember, ink types vary—some printers use dye-based ink, others pigment-based. So, knowing your printer’s requirements prevents damage and ensures print quality.
Identifying the exact cartridge model ensures you get the right fit and ink formula. Taking this step saves time and avoids costly errors later on.
Prepare Your Printer and Workspace for Refilling
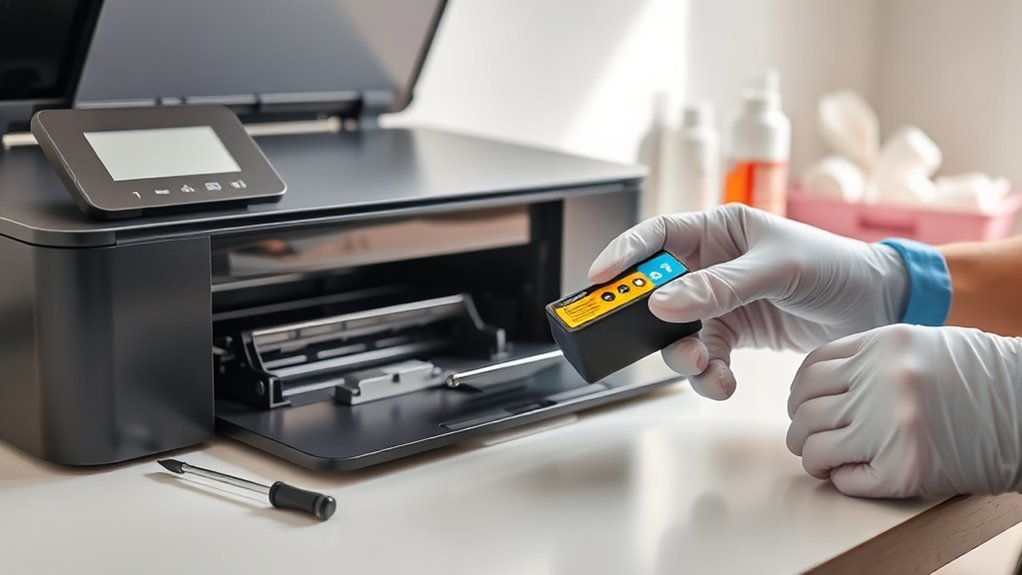
Before you start refilling your printer’s ink cartridges, set up a clean, well-lit workspace to avoid spills and mistakes. Lay down some paper towels or old newspapers to catch any accidental drips.
Make sure you have all necessary tools nearby, like gloves, a syringe or dropper, and the replacement ink. Keep a damp cloth handy to quickly wipe any spills.
Turn off your printer and unplug it to prevent any electrical issues while you work. Open the printer cover gently to access the cartridges without causing damage.
Clear your area of distractions and pets, so you can focus on careful handling. Taking these preparation steps will make the refilling process smoother and safer for both you and your printer.
Remove the Old Ink Cartridge Safely
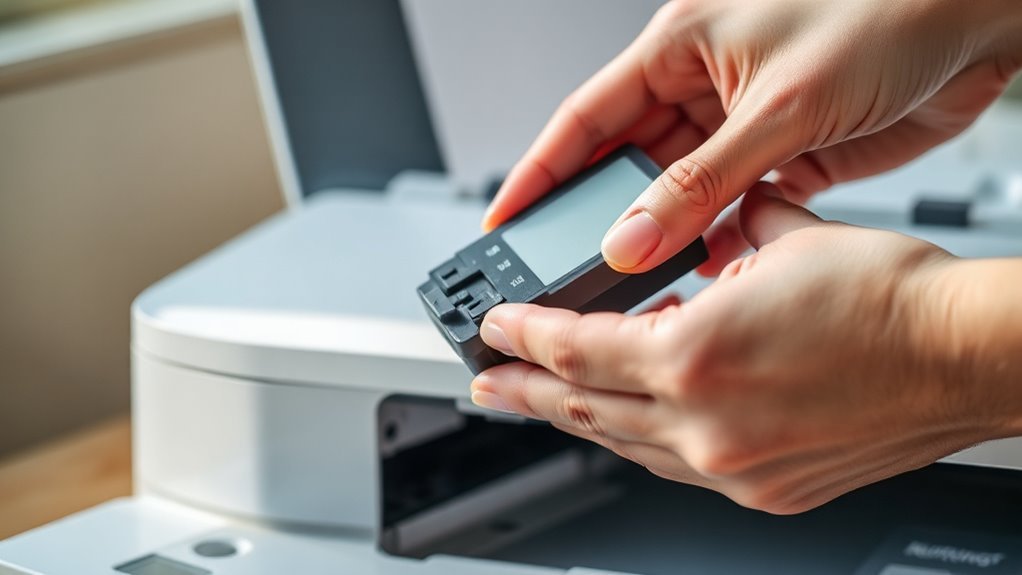
Once your printer is powered down and open, locate the ink cartridge you need to remove. Gently press the cartridge’s release tab or lever—this releases it from its slot.
Be careful not to force anything, as cartridges and printer components can be fragile. Slowly pull the cartridge straight out, avoiding any twisting or tilting that might cause ink spills.
If ink gets on your hands, wipe it off immediately with a damp cloth to help prevent staining. Place the old cartridge on a paper towel or protective surface to catch any leaks.
Remember to handle the cartridge by its plastic edges, avoiding contact with the copper-colored contacts or nozzles. This prevents damage and helps keep your printer stays in good condition for the next cartridge.
How to Refill or Replace Your Ink Cartridge
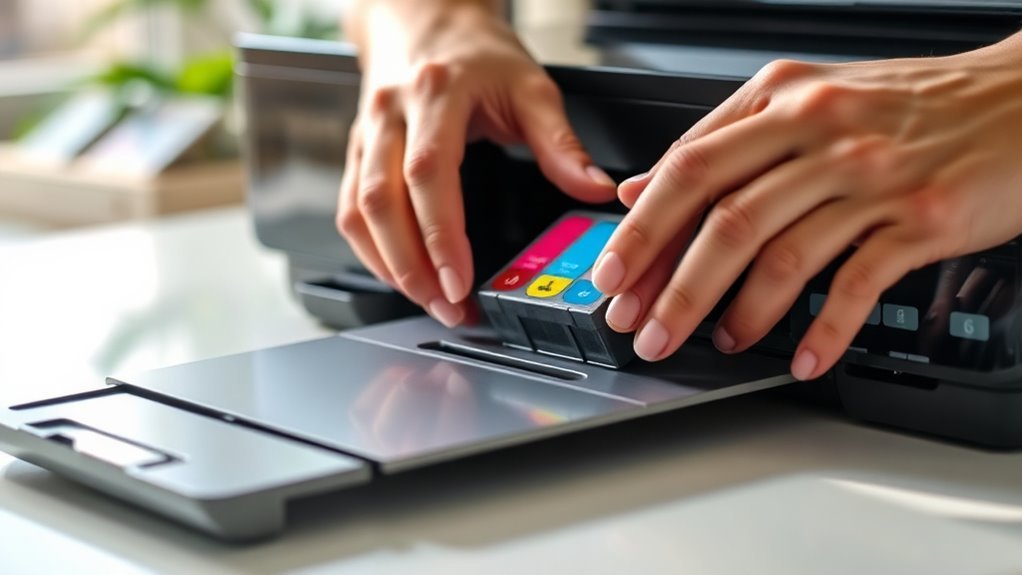
To refill or replace your ink cartridge, start by preparing a clean workspace to avoid any ink spills or stains. If you’re refilling, have your refill kit ready and follow the instructions carefully to avoid overfilling.
Begin by setting up a clean workspace and gather your refill kit to prevent spills and overfilling.
For replacement, make sure you have the correct cartridge model for your printer.
Here’s how to proceed:
- Remove the cartridge gently from the printer.
- If refilling, inject ink slowly into the cartridge’s fill hole.
- Let the cartridge sit for a few minutes to absorb the ink.
- Insert the new or refilled cartridge back into the printer, ensuring it clicks into place.
Always handle cartridges carefully to prevent damage, and try not to touch the copper contacts. That helps keep your print quality sharp.
Test Your Printer to Make Sure the Ink Works
After you’ve installed the new or refilled cartridge, you’ll want to verify that the ink is flowing correctly and the printer is functioning properly. Start by turning on your printer and accessing the control panel or printer software on your computer.
Look for an option like “Print Test Page” or “Nozzle Check.” These tests print a sample pattern to confirm ink is dispensing evenly and colors appear as expected.
If the printout looks faded or has gaps, run the printer’s cleaning cycle to clear clogged nozzles. You might need to repeat the test a few times until the output is clear.
Testing your printer right away helps you catch any issues early. This way, you can ensure smooth printing for your next project without wasting paper or ink.
Frequently Asked Questions
Can I Use Third-Party Ink Cartridges in My Printer?
Yes, you can use third-party ink cartridges, but they might void your warranty or cause print quality issues.
Make sure to check compatibility with your printer model. And it’s a good idea to read reviews before buying to avoid potential problems.
How Often Should I Replace My Printer’s Ink Cartridges?
You should replace your printer’s ink cartridges when print quality declines or the printer alerts you.
How often you do this really depends on how much you use your printer. Heavy users might find themselves changing cartridges every month.
On the other hand, if you only print occasionally, you could be replacing them every few months. Just keep in mind that letting cartridges sit too long can cause the ink to dry out.
What Should I Do if My Printer Won’T Recognize the New Cartridge?
If your printer won’t recognize the new cartridge, like Sarah’s did, try removing and reinstalling it carefully. Also, clean the cartridge contacts and restart the printer.
If that fails, go ahead and update your printer’s firmware or drivers. Sometimes that’s all it takes to get things working again.
Are There Any Environmental Benefits to Refilling Ink Cartridges?
Yes, refilling ink cartridges helps you reduce plastic waste and saves resources. You’ll cut down on landfill contributions and lower your carbon footprint.
This way, your printing habits become more eco-friendly and sustainable over time. It’s a simple change that makes a big difference!
Can Dried-Out Cartridges Be Revived or Reused?
You can revive dried-out cartridges, since about 30% of ink cartridges can be restored with cleaning or soaking. Just don’t expect a perfect fix, but it’s worth trying before buying new ones.
It can save you some money and reduce waste. So, give it a shot—it might just work!
Conclusion
Now that you’ve got the hang of putting ink in your printer, you’re ready to keep those pages flowing smoothly. Just remember, practice makes perfect, so don’t be discouraged if it feels tricky at first.
With your workspace prepped and the right cartridge in hand, you’ll breeze through refills like a pro. Keep these steps handy, and you’ll never be caught with a dry printer again!
Putting ink in a printer doesn’t have to be a hassle. By following these simple steps, you’ll maintain your printer’s performance and avoid running out of ink unexpectedly. So next time you need to replace your ink cartridge, you’ll know exactly what to do. Staying prepared with ink refills ensures your printer keeps working efficiently, delivering crisp, clear prints every time.